In this guide, we will show you the steps to root your Android 12 device via Magisk patched boot.img, without using TWRP. The latest iteration of Android has just been released by the Silicon Valley giants. And with that, there are a plethora of new and interesting features that are worthy of your attention. However, let’s not dive deep into the feature set as of now since we are mostly interested in the custom development of this build.

In this regard, gaining administrative privileges and getting access to the system partition are the topmost priorities for the end-users. Both of which could be achieved by rooting your device via Magisk. Once you do so, you would be in a position to try out various mods such as Magisk Modules, Xposed Framework, Substratum Themes, Viper4Android, among others.
However, since the latest OS has just passed the Developer Preview stage and is over to the Beta state, there are some concerns as to how one could root their devices. If you are also having doubts regarding the same, then this guide is here to help you out. Given here are the detailed instructions to root your Android 12 device via Magisk patched boot.img.
- How to Pass SafetyNet on Rooted Android 12
- Download and Install Android 12 GSI on Project Treble Devices
- Install Android 12 GSI via DSU Loader | Without Fastboot Commands
- How to Take Screenshots in Android via ADB Commands
- Download and Install Android 12 Launcher
Table of Contents
How to Root Android 12 via Magisk patched boot.img (without TWRP)
Since the OS is still in its testing phase, there’s no custom recovery as of now. Hence you cannot directly flash the Magisk App via TWRP to obtain root. This then leaves us with the second method- extracting stock boot.img from firmware, patching it via Magisk, and flashing it via Fastboot.
But for Non-Pixel devices running Android 12 Developer Preview and Beta Builds, you might have to perform an additional step- disabling AVB & DM-Verity [No Need to Flash it on Stable Build]. All this has been explained in-depth in this guide. So without any further ado, let’s start off with the guide to root your Android 12 device via Magisk patched boot.img.
STEP 1: Install Android SDK
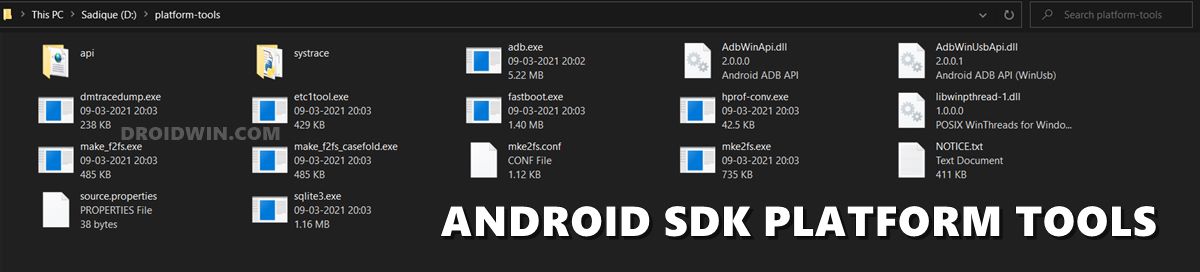
First and foremost, you will have to install the Android SDK Platform Tools on your PC. This is the official ADB and Fastboot binary provided by Google and is the only recommended one. So download it and then extract it to any convenient location on your PC. Doing so will give you the platform-tools folder, which will be used throughout this guide.
STEP 2: Enable USB Debugging and OEM Unlocking
Next up, you will also have to enable USB Debugging and OEM Unlocking on your device. The former will make your device recognizable by the PC in ADB mode. This will then allow you to boot your device to Fastboot Mode. On the other hand, OEM Unlocking is required to carry out the bootloader unlocking process.
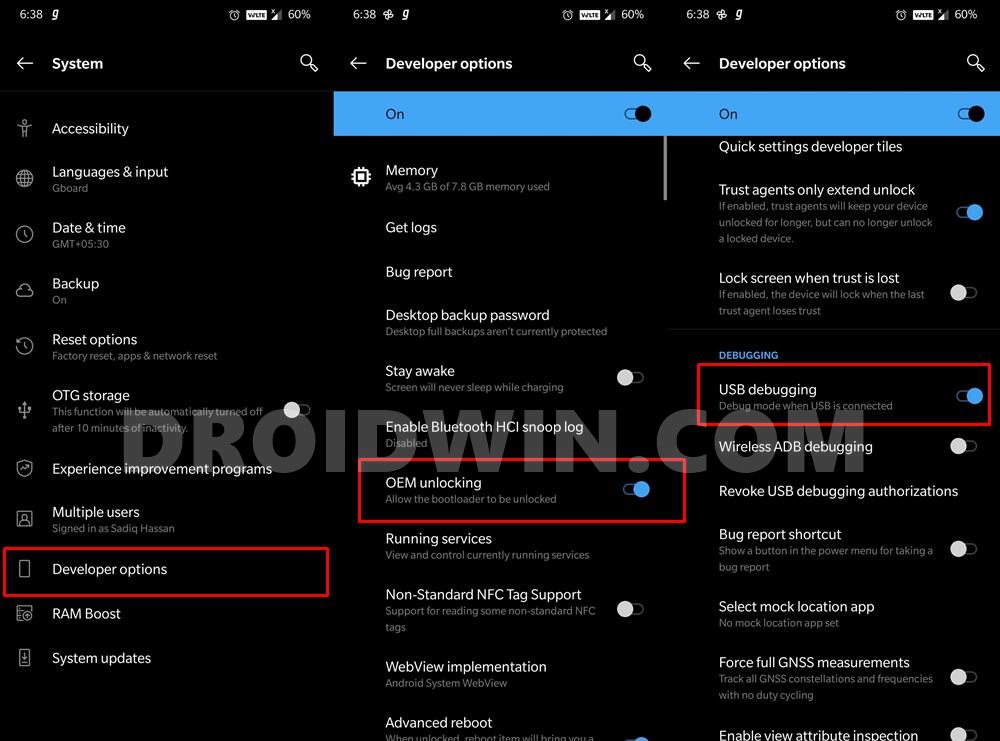
So head over to Settings > About Phone > Tap on Build Number 7 times > Go back to Settings > System > Advanced > Developer Options > Enable USB Debugging and OEM Unlocking.
STEP 3: Unlock Bootloader
Next up, you will also have to unlock the device’s bootloader. Do keep in mind that doing so will wipe off all the data from your device and could nullify its warranty as well. So if that’s all well and good, then please refer to our detailed guide on How to Unlock the Bootloader of Any Android Device.
STEP 4: Download Stock Firmware
Now download the stock firmware for your device. Make sure you download the same version that is currently installed onto your device. Once downloaded, extract it to any convenient location on your PC. We will use two files from this firmware to root your Android 12 device via Magisk patched boot.img.
The first one is the stock boot.img for rooting purposes and the vbmeta file for disabling DM Verity. [Disabling Verity might not be needed once Android 12 reaches the stable stage, but as of now, this seems to be a requirement for many devices].
STEP 5: Extract Boot.img From Firmware
You will now have to get hold of the stock boot.img file from the firmware that you have just downloaded. For Pixel devices, you can simply extract the firmware and get that file. However, for other OEMs, things are a little bit different. So refer to your device-specific guides to extract the stock boot.img file for your device from the below links:
- How to Extract OZIP Realme/Oppo Stock ROM (Firmware)
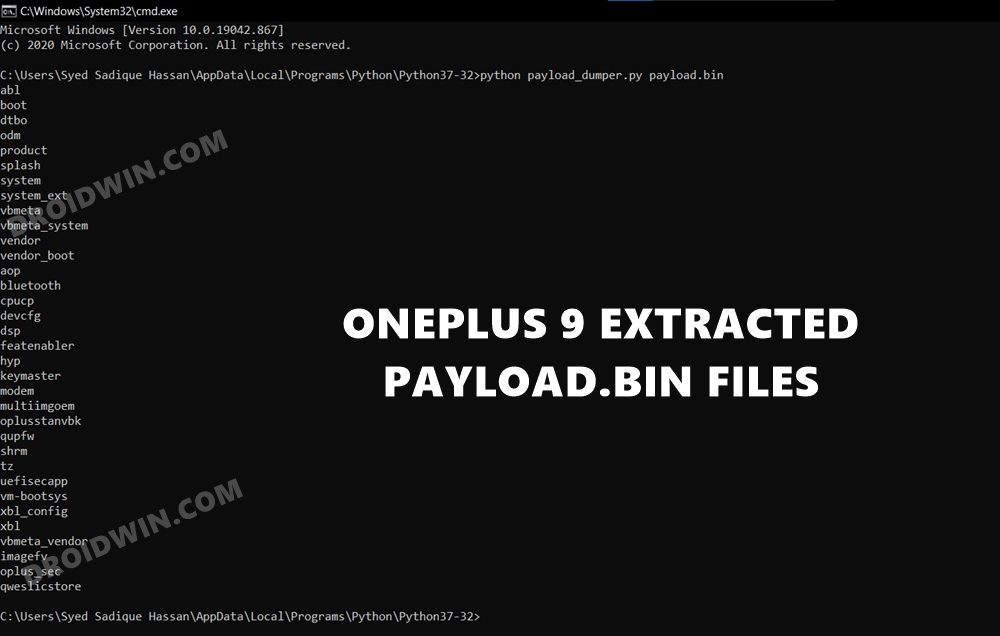
- Extract OnePlus payload.bin and get the stock boot image file
- How to Extract Sony Boot.sin and get the Stock Boot.img File
- How to Extract Boot.img from LG KDZ or DZ Firmware
STEP 6: Patch Stock Boot.img via Magisk
- First off, install the Magisk App onto your device
- Likewise, make sure that the boot.img has been transferred to your device.
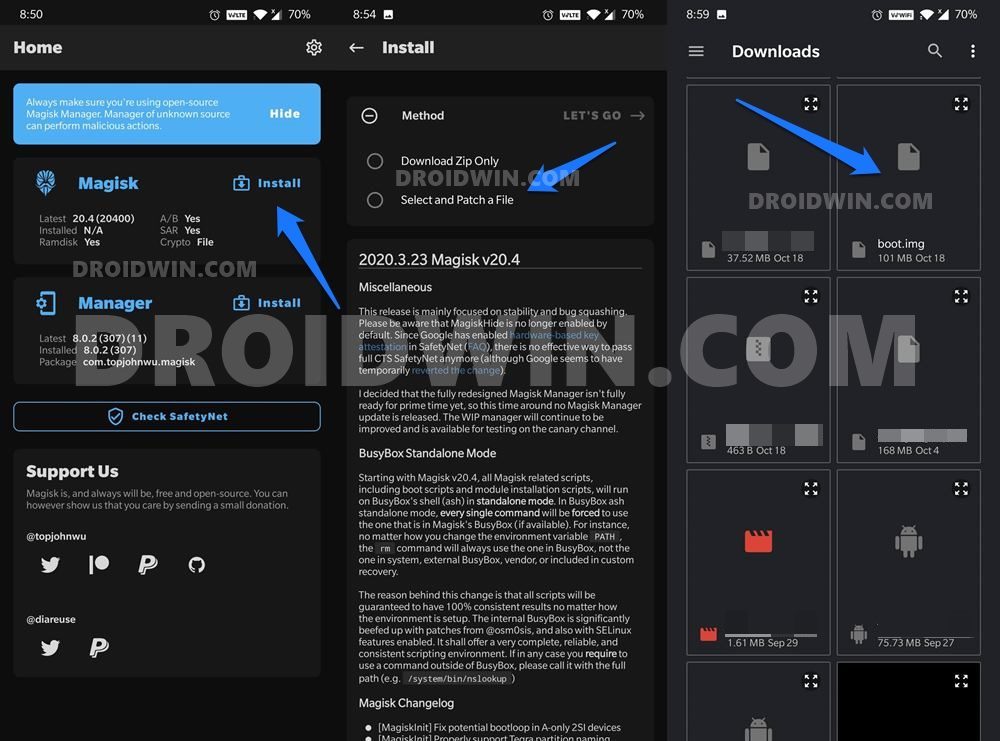
- Then tap on the Install button situated next to Magisk.
- From the Method section, choose Select and Patch a file.

- Browse to the extracted boot.img file and select it.
- Then tap on the Let’s Go option situated at the top right.
- Magisk will now load the boot.img file and will patch it accordingly. Once that is done, you would get the Download Complete message.
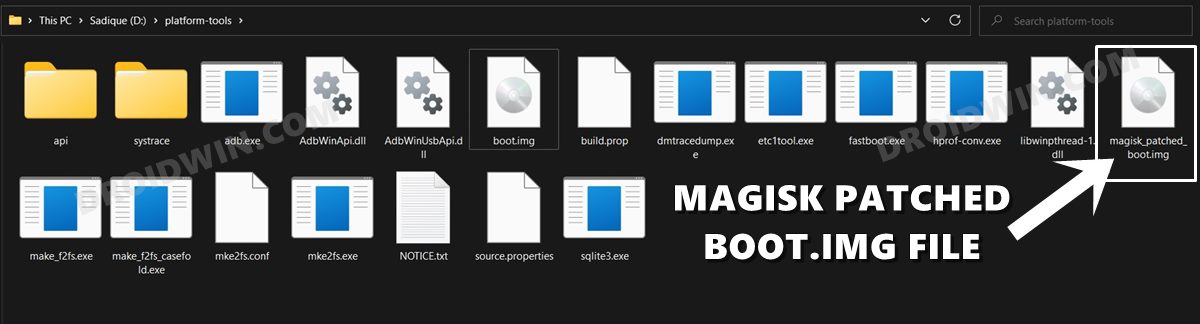
- The patched boot image file will be saved in Internal Storage > Downloads. The name of the file will be magisk_patched.img.
- If there are some additional characters at the end of this name, delete them so that the complete name remains magisk_patched.img.
- Moreover, transfer this file to the platform-tools folder on your PC and then only head over to the next step to root your Android 12 device via Magisk patched boot.img.

STEP 7: Boot to Fastboot Mode
- Connect your device to the PC via USB cable. Make sure USB Debugging is enabled.
- Then head over to the platform-tools folder, type in CMD in the address bar, and hit Enter. This will launch the Command Prompt.
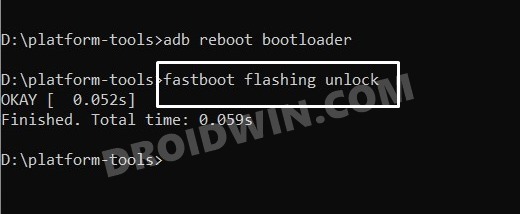
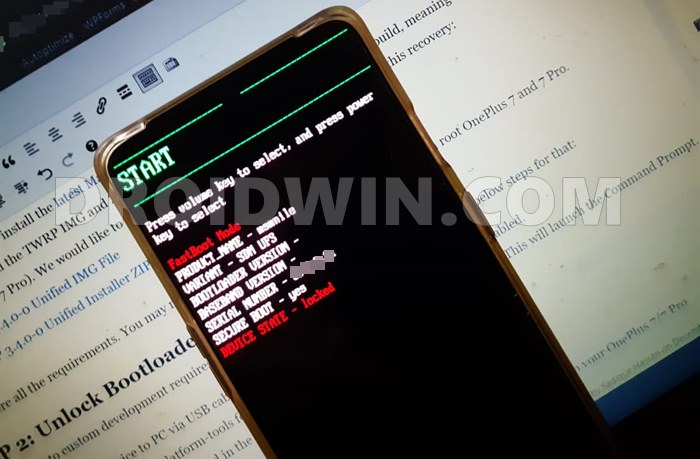
- Now type in the following command in the CMD window to boot your device to Fastboot Mode
adb reboot bootloader

STEP 8: Disable AVB and DM Verity
UPDATE 1: With Android 12 Stable, this is no longer needed (on stock and AOSP ROMs) and you could directly skip over to the next step [i.e. STEP 9]. However, for the Pixel series, beginning from Pixel 4A 5G all the way up to Pixel 6 series, you still need to flash this vbmeta file.
- So head over to the extracted firmware folder and you should find a vbmeta.img file. Transfer it to the platform-tools folder on your PC.
- Now type in the following command in this CMD window that you have opened inside the platform-tools:
fastboot flash --disable-verity --disable-verification vbmeta vbmeta.img
As soon as you execute the above command, AVB and DM Verity would be disabled. You may now proceed ahead with the final step to root your Android 12 device via Magisk patched boot.img.
STEP 9: Flash Patched Boot.img via Fastboot
[If you own Pixel 4a 5g, 5, 5a, and 6 series, then refer to another guide for the flashing instructions: How to Flash Magisk Patched Boot.img on Pixel 4A 5G, 5, 5A, 6 Series].
- To begin with, make sure that you have transferred the patched boot.img file to the platform-tools folder. Likewise, rename this file to magisk_patched_boot.img.
- Then type in the below command in the CMD window that you have opened in the platform-tools folder:
fastboot flash boot magisk_patched_boot.img
- The file will now be flashed to the current active slot (which in my case was B, as is evident from the above screenshot).
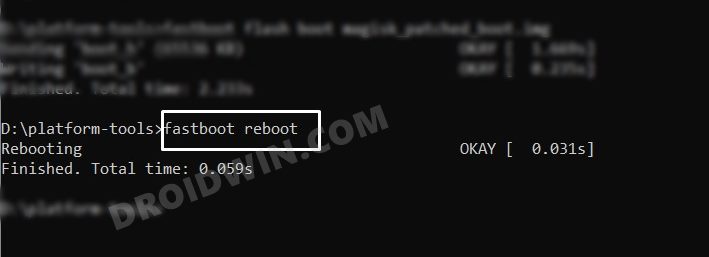
- Finally, you may now reboot the device to the OS via the following command:
fastboot reboot
That’s it. These were the steps to root your Android 12 device via Magisk patched boot.img without using TWRP Recovery. If you have any queries concerning the aforementioned steps, do let us know in the comments. We will get back to you with a solution at the earliest. And here are some other related guides that you should check out as well:


Kashif Nawaz
I updated my Pixel 4XL to June 2022 update and lost root access, using this tectorial I regain root access.
Shadyn Ebey
Dm-verity and vbmeta verification must still be disabled on Android 12 stable – at least on the Pixel 4a, 5, and 5a. If this is not performed, and the user flashes a patched boot image, the bootloader will return a “failed to load/verify boot images” at boot time.
Sadique Hassan
Thanks for sharing this useful information with us, Shadyn