In this guide, we will show you the steps to extract the Sony boot.sin file and get the boot.img file. When it comes to extracting the full potentiality of your device, gaining access to the system partition and having administrative privileges are among the topmost requirements for the end-user. Both these tasks could be achieved by rooting your device via Magisk. In this regard, there are two different methods: you could either flash the Magisk App via TWRP or without using the TWRP Recovery.
The latter one requires you to get the stock boot.img file, patch it via Magisk, and flash it via Fastboot Commands. While the second method is a slightly longer one but is mostly the preferred one for many users. This is because not every Sony device has a working TWRP Recovery. Moreover, there are quite a few complexities involved in using a custom recovery. However, nowadays OEMs don’t provide the stock firmware files in a ZIP format.
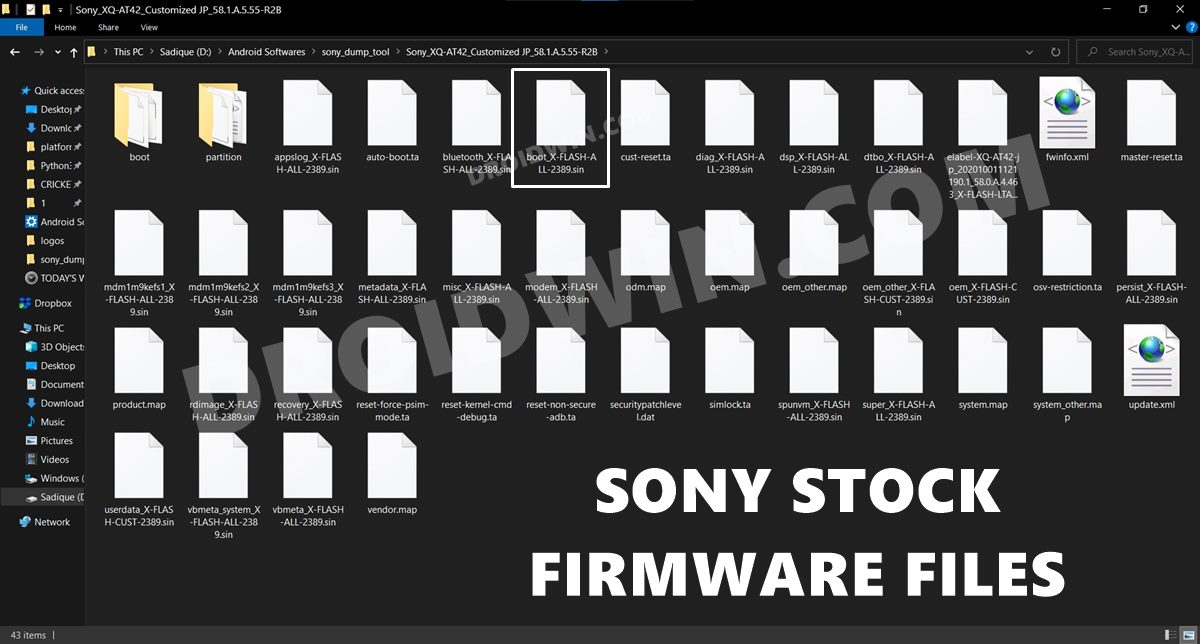
OnePlus has its payload.bin format, Realme and Oppo come with OZIP, and so on. In this regard, Sony has its firmware partition files (boot, system, vendor, vbmeta, etc) in SIN format. And there have been various queries from many concerned as to how they could extract this file format. If you also echo this question, then this guide is here to help you out. Given here are the detailed instructions to extract the Sony boot.sin file and get the boot.img file.
Table of Contents
How to Extract Sony Boot.sin and get the Stock Boot.img File
The below instructions are listed under separate sections for ease of understanding. Make sure to follow in the exact same sequence as mentioned. Droidwin and its members wouldn’t be held responsible in case of a thermonuclear war, your alarm doesn’t wake you up, or if anything happens to your device and data by performing the below steps.
STEP 1: Download Sony Stock Firmware
- To begin with, you will have to download the stock firmware for your Sony device. For that, we will use the XperiFirm Tool.
- So download the XperiFirm Tool v 5.6.1 [Credits XDA Senior Member IgorEisberg] and extract it to any convenient location on your PC.

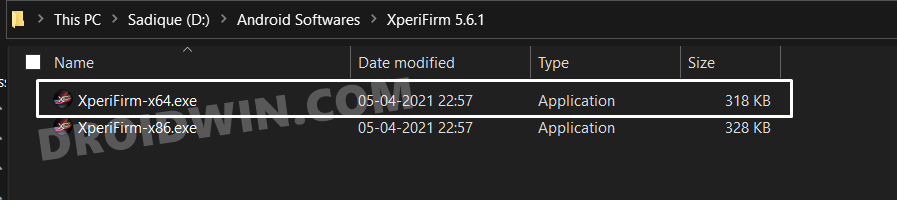
- Now go to that folder and double click on the XperiFirm-x64.exe file to launch it (32-bit user should launch the x86 file).
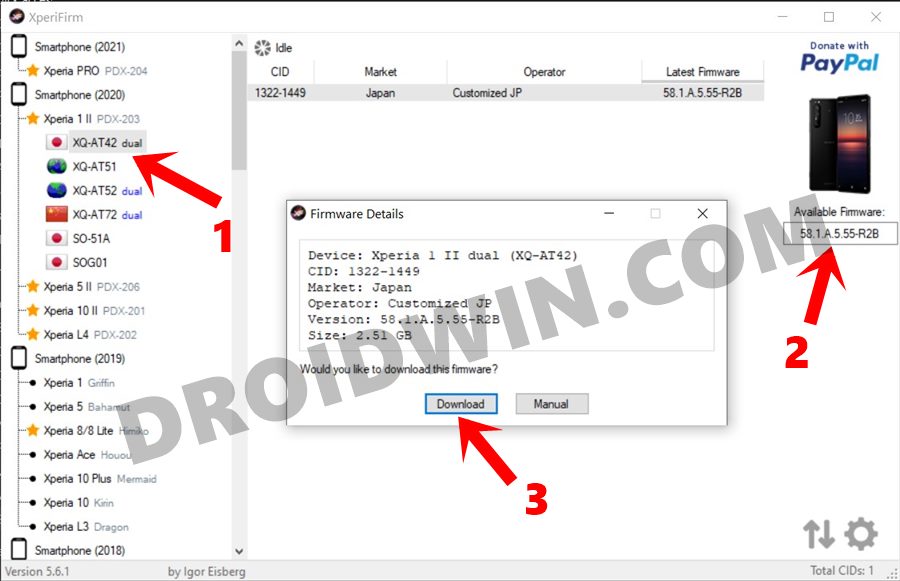
- Select your device and region from the left menu bar. Then click on the firmware version number present at the extreme right, under the Available Firmware section.
- Now click on the Download button, select the download folder and wait for the process to complete.
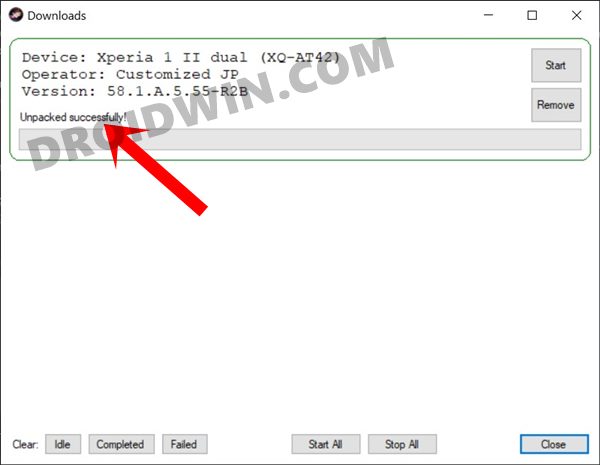
- Once done, you shall get the Unpacked Successfully message, as shown in the image.
- After this, extract the downloaded firmware file to any location on your PC.
So with this, we have got the firmware for our device. Let’s now proceed to the next step of this guide to extract the Sony boot.sin file and get the stock boot.img file.
STEP 2: Extract Sony Boot.sin file and get Boot.img
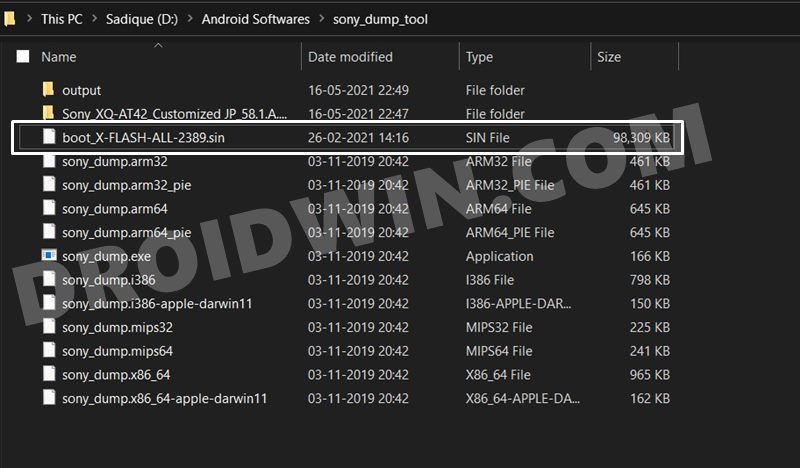
- Start off by downloading the Sony Dump Tool (Credits: XDA Senior Member munjeni)
- Once downloaded, extract it to any convenient location onto your PC.
- Now transfer the boot.sin file to this folder where you have extracted the Dump Tool.
- Within this folder, create a new folder and name it output. The extracted boot file will be placed here itself.
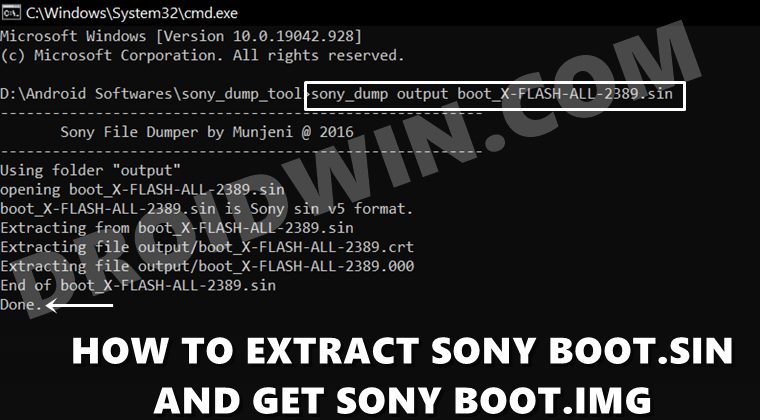
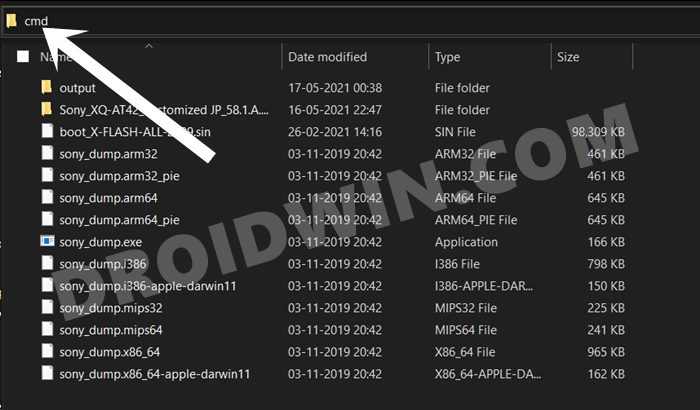
- Now head over to this Dump Tool folder’s address bar, type in CMD in its address bar, and hit Enter. This shall launch the Command Prompt.
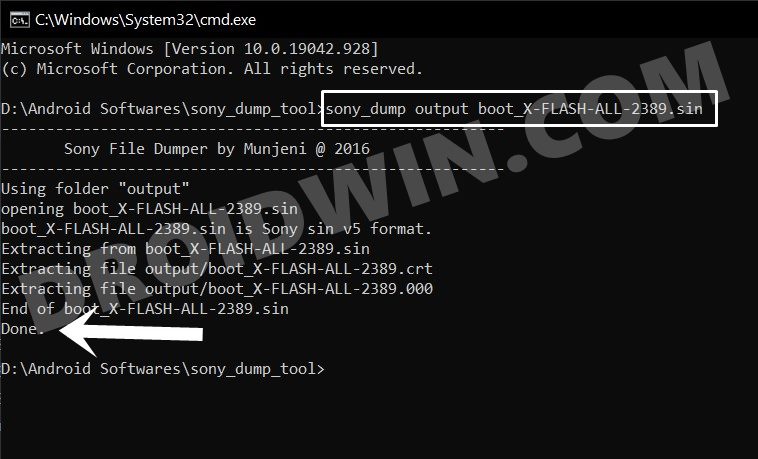
- Execute the below command in this CMD window and hit Enter (replace bootfilename accordingly):
sony-dump output bootfilename.sin
- In my case, the bootfilename corresponds to boot_X-FLASH-ALL-2389, so the command would be:
sony-dump output boot_X-FLASH-ALL-2389.sin
- The converted file will now be placed under the output folder that we had created earlier.
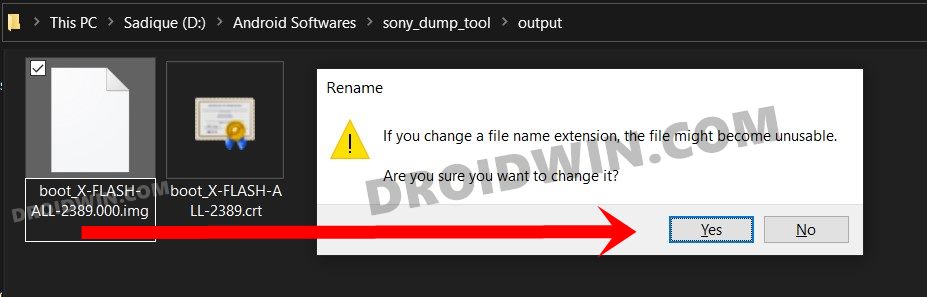
- Go to that folder, and you shall see that boot file. However, it isn’t having any extension as of now (we are not talking about the ‘crt’ Certificate file).
- So right-click on it and select Rename. Then add .img to the end of the file name.
- Windows will now give a popup asking if you really want to change the file extension. Reply Yes.
- That’s it, the process now stands complete and you have got the boot.img file from boot.sin. Just to double-check, I tried patching it via Magisk and it went totally fine without any issue. [READ: How to Root Sony Devices via Magisk and Boot.Sin File].

So this was all from this guide on how you could extract the Sony boot.sin file and get the boot.img file for root. If you have any queries concerning the aforementioned steps, do let us know in the comments. We will get back to you with a solution at the earliest.


daniel
Xperia system server
John
I’m using Sony XZ1. I got 3 boot files instead one. what one is the correct?
bootloader_X_Boot_MSM8998_LA2_0_P_114_X-FLASH-ALL-5ADA.sin
bootloader_X_BOOT_MSM8998_LA2_0_P_114_X-FLASH-ALL-5D31.sin
bootloader_X_BOOT_MSM8998_LA2_0_P_114_X-FLASH-ALL-C93B.sin
al
please consider editing the typo of the command line…
sony-dump must be sony_dump
Adrian Gooderham
Wasn’t working till I realised sony-dump should be sony_dump
Carlos
Hello, I would like to ask if (possibly) you could do an tutorial of how to root an Spreadtrum Devices (Spreadtrum nowadays is known as Unisoc), cause I dont see/dont find an actual article/post/tutorial in the internet about those type of devices. (I didnt know if there was an request page or something like that, so I just asked in the comments). Also, have a good day/night.
Sadique Hassan
Hi Carlos, I have already written an article on this topic: Root Spreadtrum Devices via Magisk Patched boot.img Please let me know if you face any issues.