In this guide, we will show you the steps to root your iPlay 50 Mini/Pro/Max via Magisk. When it comes to the tablet domain, then the offering from this OEM is popular is quite popular in its home country. And over the course of time, we are witnessing it being exported to other regions across the globe, simply due to the fact that it manages to check mark most of the prerequisites without burning a hole in your pockets.
Likewise, if we turn our attention towards custom development, then it already has been blessed with numerous custom/GSI ROMs. Apart from that, you also have the option to gain administrative privileges and access to the system partition by rooting your iPlay 50 Mini/Pro/Max via Magisk. This in turn will open the floodgates to the plethora of modules onto your tablet. So without further ado, let’s show you how this could be carried out.
Table of Contents
Benefits and Risks of Rooting
Once you root your device by flashing the Magisk patched boot.img via Fastboot Commands, you will be in a position to try out a plethora of customizations on your device. These include the likes of flashing custom ROMs, installing a custom recovery like TWRP, or flashing a custom kernel. Along the same lines, you could also flash Magisk Modules, Xposed Framework, Substratum Themes, Viper4Android, and the likes. However, this is just one side of the story.
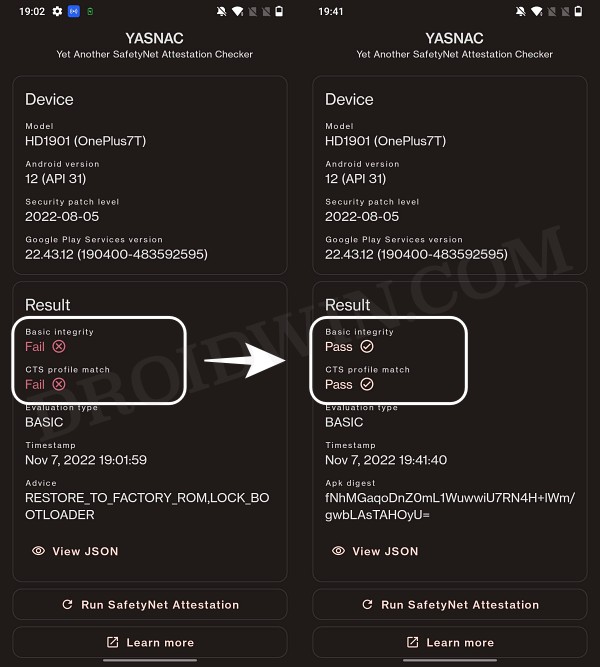
Carrying out this process also has its downsides. First off, the process requires an unlocked bootloader. Doing so will wipe off all the data and could nullify the device’s warranty as well. Likewise, WideVine L1 will be degraded to L3, resulting in the inability to stream Netflix in HD [FIXED]. Then the SafetyNet will be triggered [FIXED], which might cause issues with banking apps [FIXED]. So if all that’s well and good, then let’s get started with the steps to root iPlay 50 Mini/Pro/Max
How to Root iPlay 50 Mini/Pro/Max via Magisk
The below instructions are listed under separate sections for ease of understanding. Make sure to follow the same sequence as mentioned. Droidwin and its members wouldn’t be held responsible in case of a thermonuclear war, your alarm doesn’t wake you up, or if anything happens to your device and data by performing the below steps.
STEP 1: Install Android SDK

First and foremost, you will have to install the Android SDK Platform Tools on your PC. This is the official ADB and Fastboot binary provided by Google and is the only recommended one. So download it and then extract it to any convenient location on your PC. Doing so will give you the platform-tools folder, which will be used throughout this guide to root iPlay 50 Mini/Pro/Max.
STEP 2: Enable USB Debugging and OEM Unlocking
Next up, you will also have to enable USB Debugging and OEM Unlocking on your device. The former will make your device recognizable by the PC in ADB mode. This will then allow you to boot your device to Fastboot Mode. On the other hand, OEM Unlocking is required to carry out the bootloader unlocking process.
So head over to Settings > About Phone > Tap on MIUI Number 7 times > Go back to Settings > System > Advanced > Developer Options > Enable USB Debugging and OEM Unlocking.
STEP 3: Unlock Bootloader
Next up, you will need to unlock the device’s bootloader. However, doing so will wipe off all the data and could nullify the device’s warranty as well. So if that’s all well and good, then please refer to our guide on How to Unlock Bootloader on iPlay 50 Mini/Pro/Max. Once that is done, you may move over to the next step to root iPlay 50 Mini/Pro/Max via Magisk.
STEP 4: Get iPlay 50 Mini/Pro/Max Stock Boot.img
- First off, download the firmware which is currently installed on your device.
- Then extract it, copy the boot.img from there, and send it to your device.
STEP 5: Patch iPlay 50 Mini/Pro/Max Boot.img via Magisk
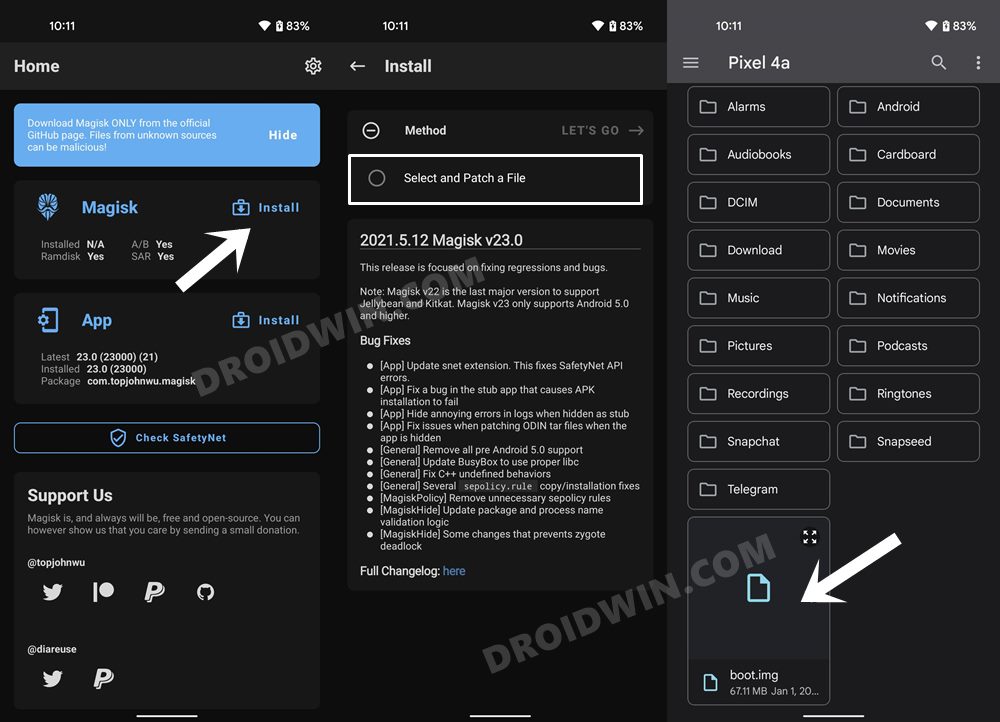
- Download and install the latest version of the Magisk App.
- Then launch it and tap on the Install button next to Magisk.
- After that, choose ‘Select and Patch a File’, navigate to the stock boot.img file, and select it.

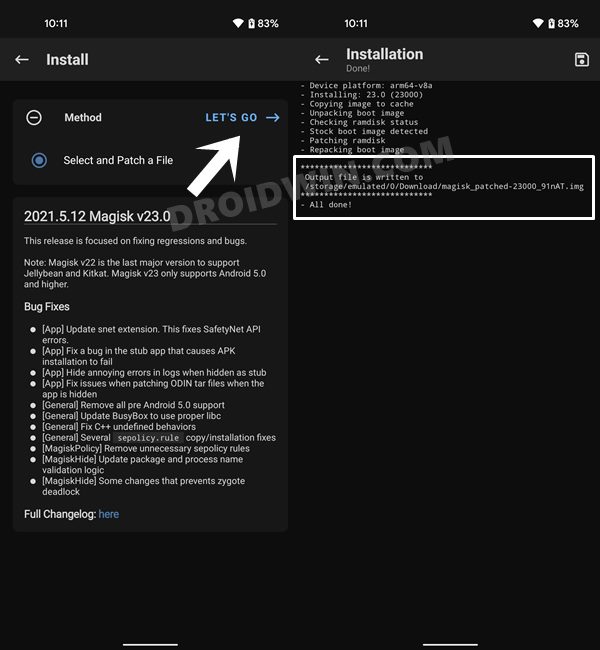
- Then tap on the Let’s Go button situated at the top right.
- The boot.img file will now be patched and placed under the Downloads folder on your device.
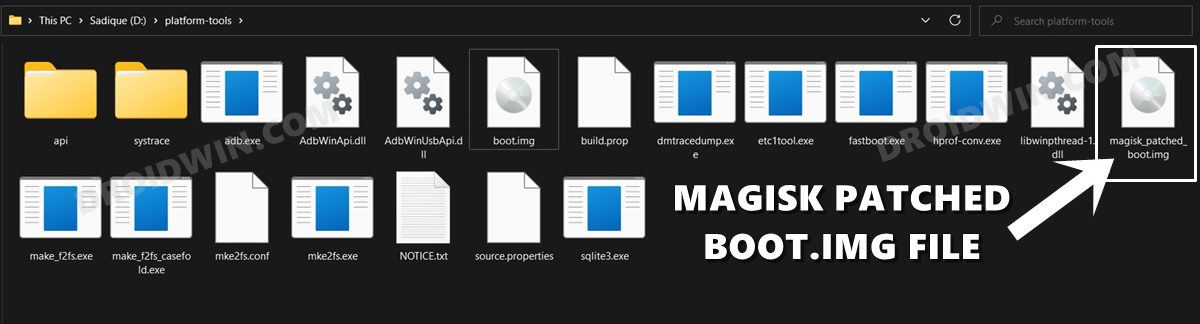
- You should transfer this file to the platform-tools folder on your PC.
STEP 6: Boot iPlay 50 Mini/Pro/Max to Fastboot Mode
- Connect your device to the PC via USB cable. Make sure USB Debugging is enabled.
- Then head over to the platform-tools folder, type in CMD in the address bar, and hit Enter. This will launch the Command Prompt.
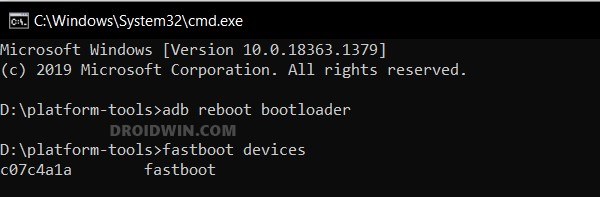
- Type in the following command in the CMD window to boot your device to Fastboot Mode
adb reboot bootloader
- Now type in the below command to verify the Fastboot Connection
fastboot devices
- If you don’t get a device ID, then install Fastboot Drivers on your PC.

STEP 7: Flash Magisk Patched Boot & Root iPlay 50 Mini/Pro/Max
- To begin with, make sure that the patched boot (magisk_patched_boot.img) is present inside the platform-tools folder.
- Then open the CMD window inside this platform-tools folder.
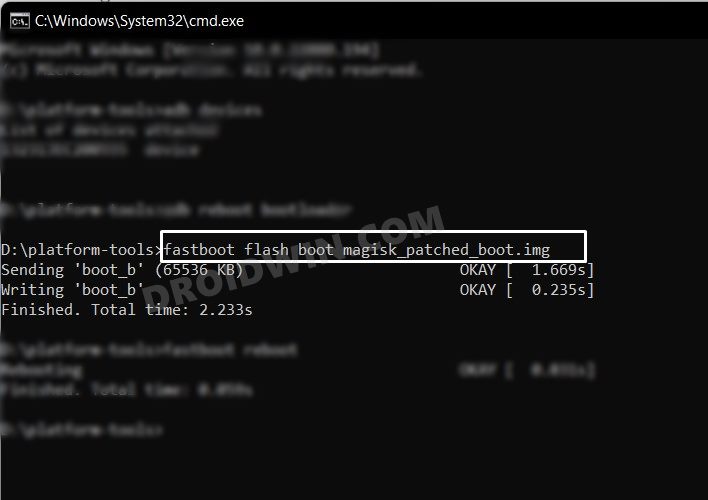
- Now type in the below command to boot your device to the temporary rooted OS.
fastboot boot magisk_patched_boot.img
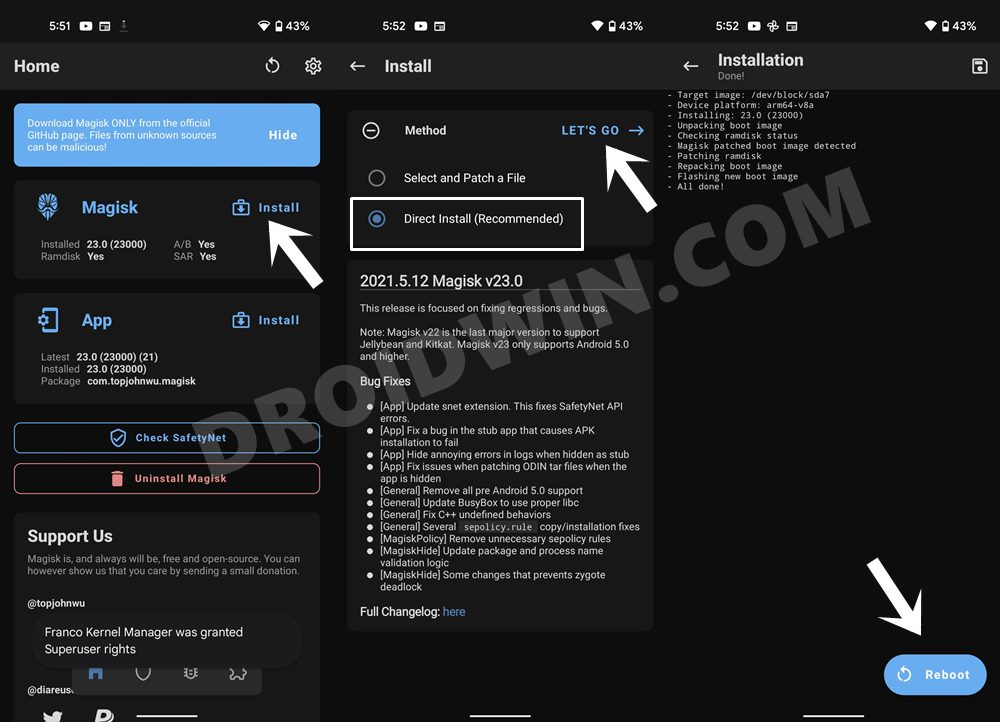
- Once your device boots up, launch the Magisk app and tap on Install.
- Then select Direct Install and tap Let’s Go situated at the top-right.
- Once done, hit the Reboot button situated at the bottom right.
- That’s it, your device will now boot to the permanently rooted OS.
That’s it. These were the steps to root your iPlay 50 Mini/Pro/Max via Magisk. If you have any queries concerning the aforementioned steps, do let us know in the comments section. We will get back to you with a solution at the earliest.
NOTE: There also exists a method to root your Xiaomi device by directly flashing the Magisk patched boot file. However, that is usually a risky approach and should be avoided. The above approach of first booting the patched file and then permanently flashing it via Direct Install of Magisk is the fail-safe method that you should opt for.


iPlay50 Mini Lite
Alright well, I don’t know why this article decided to leave this out considering how much time I wasted looking for a solution, but Alldocube actually provides firmware on their website: https://www.alldocube.com/en/firmware/
iPlay50 Mini Lite
Okay c’mon really no instructions for how to get the boot.img?
I found and followed another guide but got stuck on:
adb shell cat /proc/partitions
cat: /proc/partitions: Permission denied
So…I have no idea what to do from here.
Also fair warning don’t use ‘fastbootd’ to unlock, it won’t work. Only regular fastboot which you can get to via ‘adb reboot bootloader’.
Nanno
I can’t root Asked to say
C:\Users\Nanno\Downloads\Compressed\TWRP\platform-tools_r34.0.4-windows\platform-tools\magisk_patched_boot.img
Sending ‘boot.img’ (65536 KB) OKAY [ 1.482s]
Booting FAILED (remote: ‘unknown command’)
fastboot: error: Command failed