In this guide, we will show you two different methods through which you could enable VoLTE and VoWiFi on your Xiaomi device. Owing to the plethora of benefits involved, Voice over LTE and WiFi have been the go-to choice for the users. If we talk about the latter, then it removes your dependency from the carrier as you could easily place and receive calls via your WiFi. As far as LTE goes, many users had to do a recharge for both their data pack and talk time. But now they could eliminate the latter and directly ake calls via their data packs.
All in all, both these features behold quite a lot of perks. However, not everyone is able to make full use of these features. In some instances, the carrier seems to have blocked it whereas sometimes, it is the case of geo-restricted blocking. So even if your device supports these features you wouldn’t be able to try them out. Well, that isn’t the case any longer as this guide will show you the steps to enable VoLTE and VoWiFi on your Xiaomi device. So without any further ado, let’s get started.
Table of Contents
How to Enable VoLTE and VoWiFi on Xiaomi
There exists a root and a non-root method of carrying out this task, and we have listed both of them below. Go through both of them once and then try out the one that is in sync with your requirement. While it is along the obvious lines, we would still like to reiterate the fact that your carrier at least needs to supports both the VoLTE and VoWiFi in the first place.
If that is not the case, then obviously this guide would be of no good. Droidwin and its members wouldn’t be held responsible in case of a thermonuclear war, your alarm doesn’t wake you up, or if anything happens to your device and data by performing the below steps.
Enable VoLTE and VoWiFi on Xiaomi without Root
- To begin with, you will have to disable the carrier check for VoLTE. So bring up the dialer and type in the below command:
*#*#86583#*#*
- After that, you will need to disable the carrier check for VoWiFi. So bring up the dialer again and type in the below command:
*#*#869434#*#*
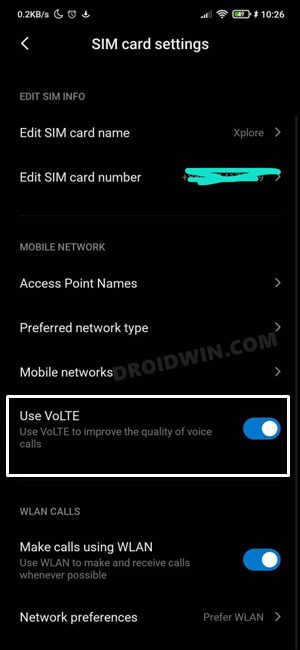
- Now head over to Settings > SIM and Cellular and select your SIM Card.
- Then scroll to the end and enable the toggle next to VoLTE and VoWiFi.

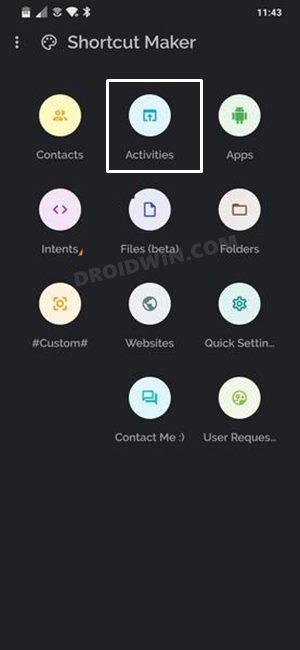
- Next up, head over to the Play Store and download the Shortcut Maker app.
- Now launch the app and select Activities.
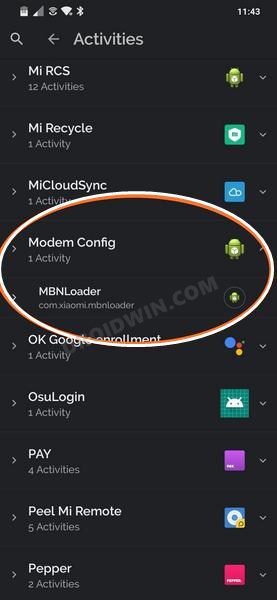
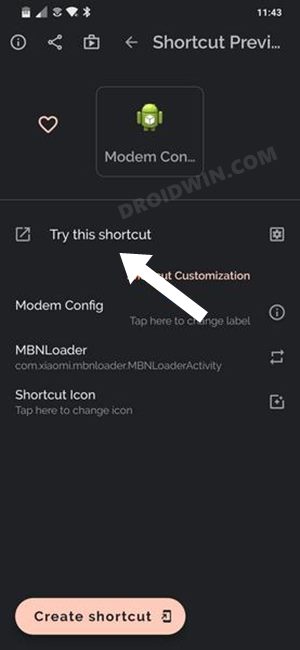
- After that, scroll to the Modem Config, tap on it to expand it, and then select MBNLoader.
- Then tap on the Try this shortcut button.
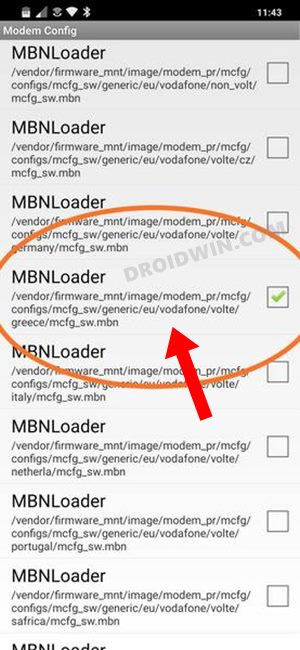
- You will now see a long list of MBNLoader, each having different regions.
- You could verify it from the details mentioned right beneath them. They will be of the following format:
vendor/firmware-location/generic/eu/carrier-name/volte/region/mcfg_sw.mbn
- So refer to the region section and select any random one. Then close the app and restart the device.
- Check if it enabled VoLTE and VoWiFi on your Xiaomi device or not. If it’s still not enabled, then this time select a different region and retry.
You will have to do so until it works out. Though it does calls for some efforts, it would prove to be worth the investment in the end. On that note, we conclude this section on how you could enable VoLTE and VoWiFi on your Xiaomi Device using the non-root method. Let’s now show you how this could be carried out on a rooted device.
Enable VoLTE and VoWiFi on Xiaomi via Root
- To begin with, download and install the Qualcomm USB Drivers on your PC.
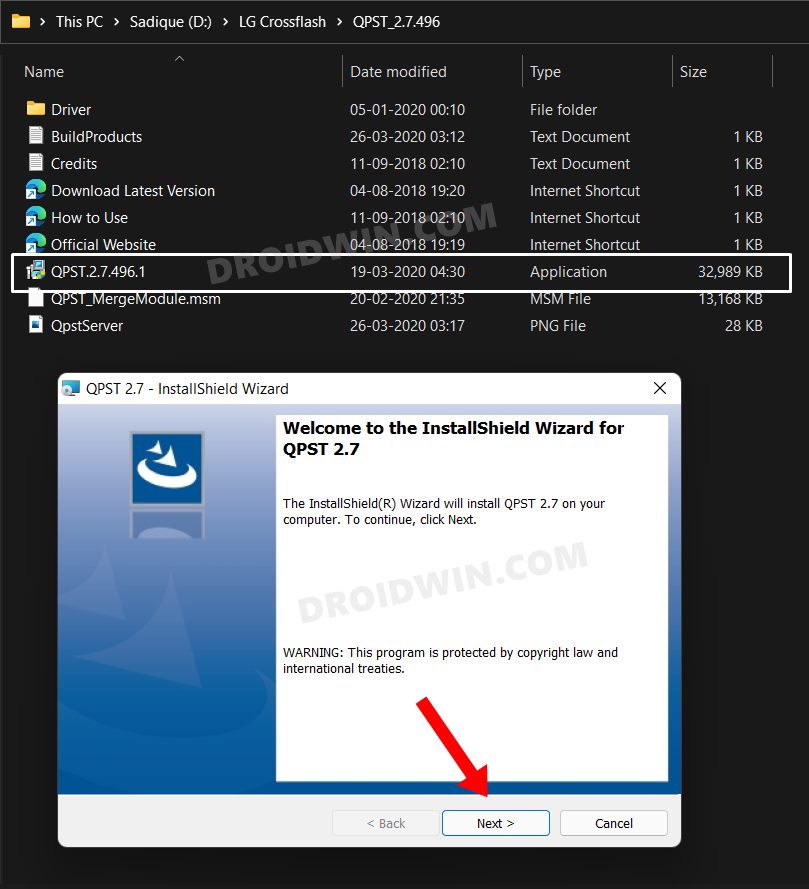
- After that, download and install the Qualcomm Product Support Tool (QPST).
- Then enable USB Debugging on your device. For that, go to Settings > About Phone > Tap on MIUI 7 times > Go back to Settings > System > Advanced > Developer Options > Enable USB Debugging.
- Now install a terminal emulator app (such as Termux) from Play Store.
- Then launch it and execute the below command:
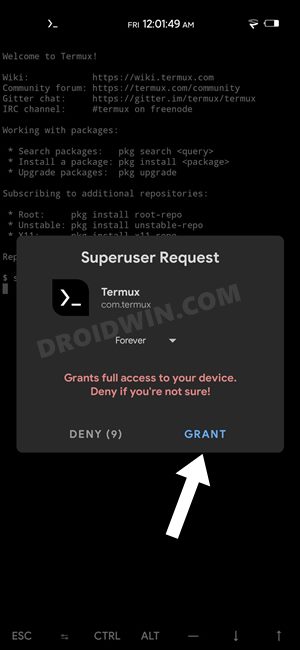
su
- You will get a Magisk request on your device, tap Grant.
- After that, copy-paste the below command and hit Enter: [if the below command doesn’t work out, then check out FAQ 1]
setprop sys.usb.config diag,serial_cdev,rmnet,adb
- Now connect your device to the PC via USB cable. [check FAQ 2 if you wish to verify the connection]
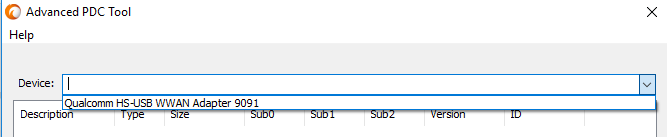
- Then launch QPST and start PDC. Select your device from the drop-down menu.
- Now activate the corresponding profile. For example, it is DT_Greece in the case of the German O2 carrier.
- After that, bring up the dialer and execute the below command to activate the setting (if it is not working, then check out FAQ 3)
*#*#869434#*#*
- Finally, restart your device. once it boots up, both the VoLTE and VoWiFi would be enabled on your Xiaomi device.
So with this, we round off the guide on how you could enable VoLTE and VoWiFi on your Xiaomi device. We have listed two different methods for the same. If you have any queries concerning the aforementioned steps, do let us know in the comments section. We will get back to you with a solution at the earliest. On that note, let’s check out some of the FAQs pertaining to this guide.
Frequently Asked Questions relating to VoLTE and VoWiFi on Xiaomi
Some of the most frequently asked queries on enabling VoLTE and VoWiFi on Xioami is the inability to execute the Diag command via Terminal Emulator on Android, PC not recognizing the device as Qualcomm HS-USB Diagnostic and the *#*#869434#*#* command not working. In this section, we will be addressing all these three queries and listing out their associated fixes as well. Follow along.
FAQ 1: Execute Diag Command via ADB Shell
If the Diag Command is not working inside the Terminal Emulator app on tour Android device, then you could also execute it inside the ADB Shell environment on your PC. Here’s how:
- To begin with, enable USB Debugging and connect your device to the PC via USB cable.
- Then download and install the Android SDK Platform Tools on your PC.
- Now head over to the platform-tools folder, type in CMD in the address bar, and hit Enter. This will launch the Command Prompt.
- Type in the following command in the CMD window to open the Shell environment:
adb shell
- After that, execute the below command to invoke the SuperUser Request.
su
- You will now get a magisk prompt on your device, tap Allow.
- Then execute the below command in the CMD window:
setprop sys.usb.config diag,serial_cdev,rmnet,adb
- Now follow up the rest of the steps from the above section.

FAQ 2: Verify Qualcomm USB Connection
- Use the Windows+X shortcut and select Device Manager from the menu that appears.
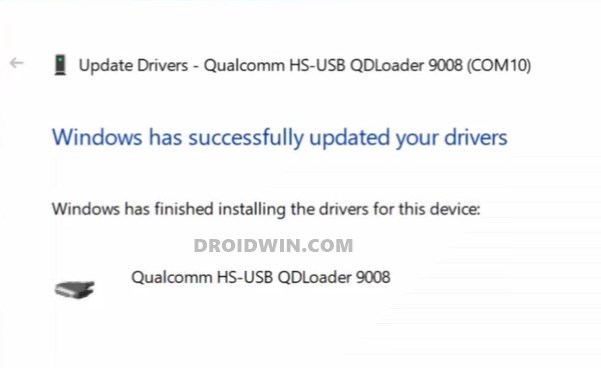
- Then expand the Ports (or Other Devices section). Your device should be listed as Qualcomm HS-USB Diagnostic (Port X). This signifies that the connection has been successfully established.
- However, if that is not the case, then reverify driver installation, try different USB cables, use USB 2.0 Port or try it out on a Windows 8/10 PC.

FAQ 3: Alternative to *#*#869434#*#*
If the above numerical command doesn’t work out, then there’s a Magisk Module as well that does the same job.
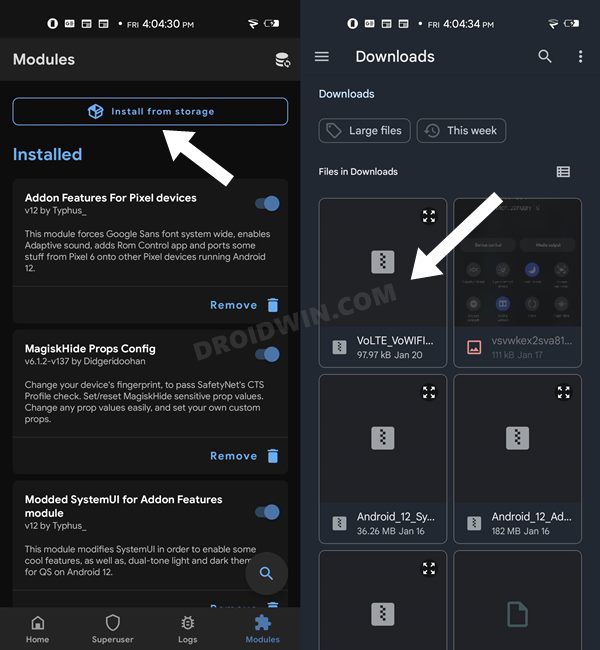
- Download the VoLTE & VoWiFi Enabler module and send it to your device.
- Then launch the Magisk app and go to the Modules section.
- After that, select this module and it will subsequently be flashed.
- Once done, hit the Restart button that appears at the bottom right.
So with this, we round off the guide regarding the instructions to enable VoLTE and VoWiFi on Xiaomi devices. All your queries regarding the same are welcomed in the comments section below.


Baloo
Hi,
doesn’t work anymore since miui 13/android 12 update..