In this guide, we will show you the steps to root your Samsung Galaxy S22 Plus device via Magisk patched AP file. The South Korean giants have recently welcomed three new devices in its ever-so-popular S series. The hype surrounding these devices was at the epitome even weeks before its launch. And once they got released, it seems to have dome full justice to that anticipation. Out of the three devices, it is the Plus variant that has maintained an equilibrium between the features and the price bracket.
Along the same lines, these devices are proving to be quite an active player in custom development. Once you unlock the device’s bootloader, you will be in a position to try out a plethora of ROMs or gain access to the system partition via root. This in turn will allow you to flash a plethora of modules as well as a custom kernel. But before you could give these tweaks a try, there’s an important prerequisite that you need to checkmark off the list. Your Galaxy S22 Plus needs to be rooted via Magisk patched AP file. And in this guide, we will show you how to do just that. Follow along.
Table of Contents
Benefits and Risks of Rooting Samsung Galaxy S22 Plus

Once you root your device, you will be in a position to flash a plethora of mods. These include the likes of Fox Magisk Modules , Substratum Themes, Xposed Framework via LSPosed, Viper4Android among others. Along the same lines, you could also flash a custom kernel and implement your desired CPU profile. However, such tweaks do come in with a few risks as well.
To begin with, rooting requires you to unlock the bootloader- which will wipe of all the data and could nullify the warranty as well. Likewise, SafetyNet will be triggered [FIXED] which will result in your inability to use banking apps [FIXED]. So if all that’s well and good, then let’s get started with the steps to root your Samsung Galaxy S22 Plus device via Magisk patched AP file.
How to Root Samsung Galaxy S22 Plus via Magisk Patched AP
The below instructions are listed under separate sections for ease of understanding. Make sure to follow in the exact same sequence as mentioned below. Droidwin and its members wouldn’t be held responsible in case of a thermonuclear war, your alarm doesn’t wake you up, or if anything happens to your device and data by performing the below steps.
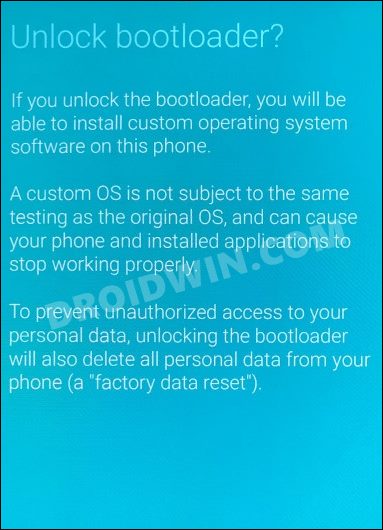
STEP 1: Unlock Bootloader
First and foremost, you will have to unlock the bootloader on your device. Do note that doing so will trip Knox and reset your device. If that’s well and good, then you may refer to our guide on How to Unlock Bootloader on Samsung Galaxy S22, S22 Plus, S22 Ultra.
STEP 2: Download Galaxy S22 Plus Stock Firmware
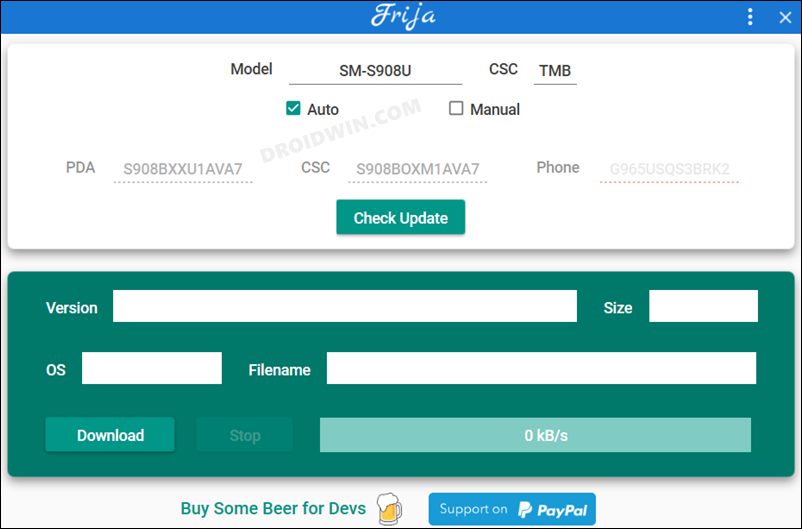
Next up, you will have to download the stock firmware for your device. For that, you could use the Frija Tool, SamLoader Tool, or websites such as SamMobile. As for this guide, let’s proceed with the Frija Tool. So check out our comprehensive guide on How to Download Samsung Stock Firmware/ROM via Frija Tool. Or you may refer to the below instructions as well:
- To begin with, download the Frija Tool and extract it to any convenient location on your PC.
- Then launch the tool and type in your device’s Model Numer and CSC Code. [Read: How to Find My Device’s CSC Code].
- Now click on the Check Update button and it shall bring up the latest available firmware.
- Finally, click on the Download button, select the directory where you wish to download the firmware, and hit Save.

- The downloading process will now begin. Once done, the tool will then decrypt the firmware.
- Once the decryption is complete, it shall spell out the Download Complete message.
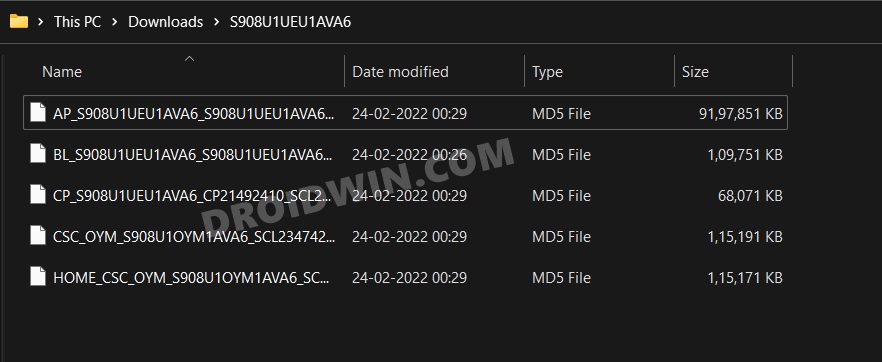
- Now go to the folder where you have downloaded the firmware and extract it.
- Upon extraction, you should get the AP, BL, CP, CSC, and HOME_CSC files. We will be using these files (except for HOME_CSC) to root your Samsung Galaxy S22 Plus via Magisk.
STEP 3: Patch Galaxy S22 Plus AP via Magisk
- To begin with, transfer the AP file from the extracted firmware folder over to your device.
- Then download and install the latest version of the Magisk App.
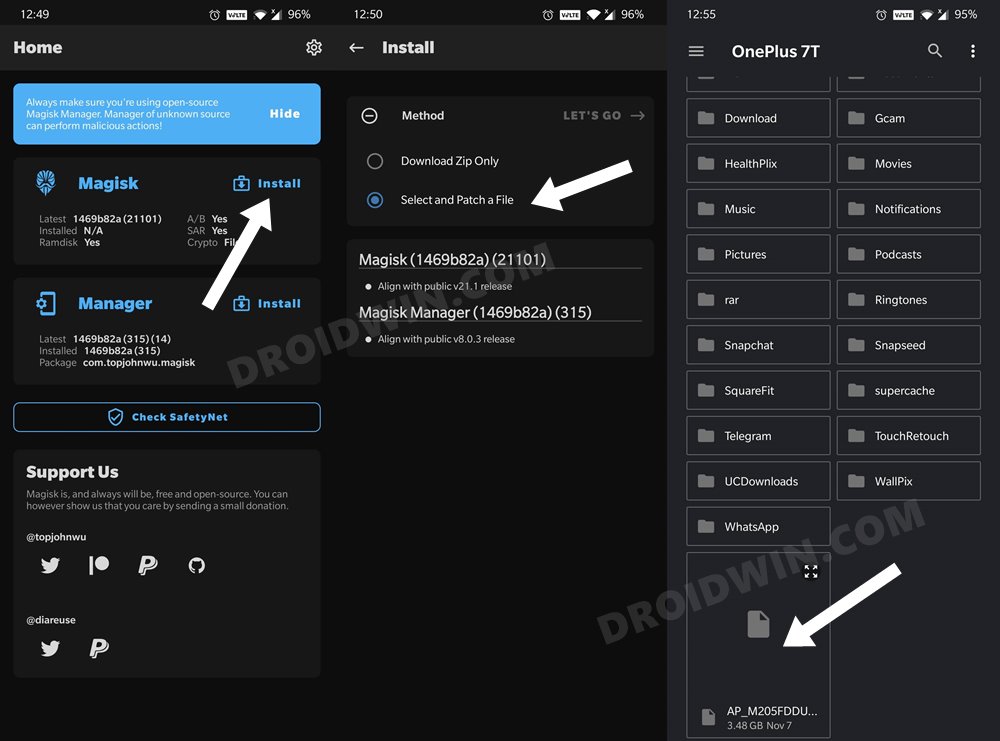
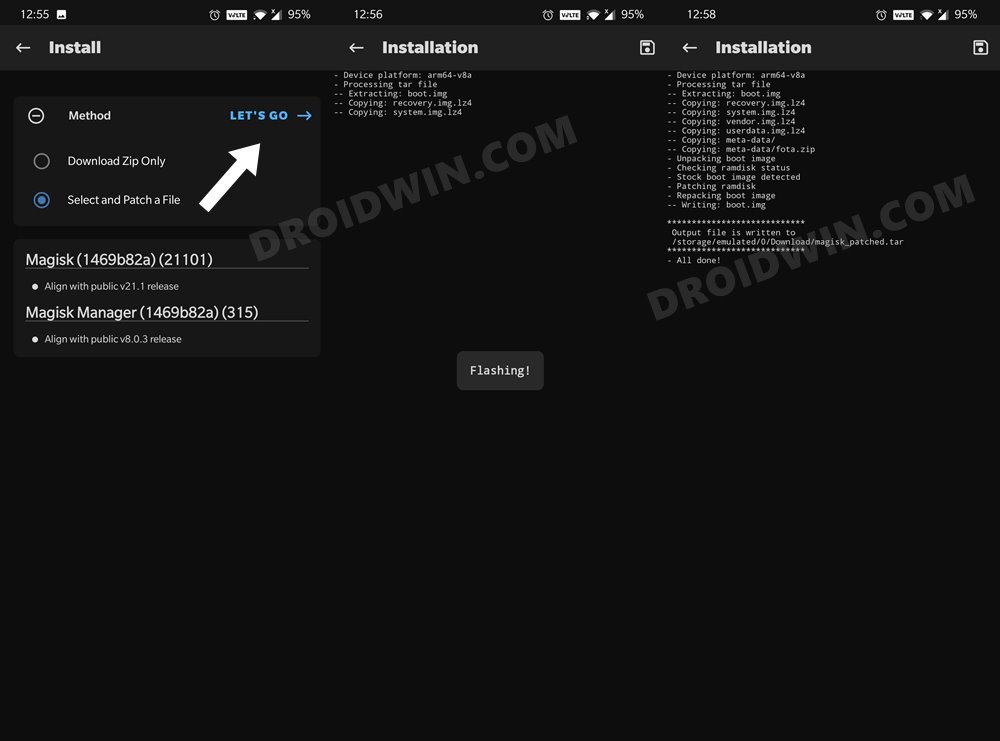
- Now launch the app and tap on the Install button next to Magisk.
- Now choose Select and Patch a File, navigate to the AP TAR file and select it.
- Then tap on the Let’s Go button situated at the top right and wait for the patching to complete.
- Once done, you should get the patched AP file named magisk_patched_ [random_number].tar under the Downloads folder.
STEP 4: Send Patched AP File to PC
You will now have to transfer this patched AP file to your PC. However, the normal USB method is known to cause some issues. Therefore, you should instead opt for the ADB Pull method. Here’s how it could be done:
- To begin with, download Android SDK Platform Tools and extract it to any convenient location on your PC.
- Then head over to this platform-tools folder, type in CMD in its address bar, and hit Enter. This shall launch the CMD window.

- Now connect your device to the PC via USB cable. Also, enable USB Debugging from Developer Options.
- Next up, use the below command to transfer the patched AP file to your PC (make sure to replace the random strings accordingly)
adb pull /sdcard/Download/magisk_patched_[random_strings]

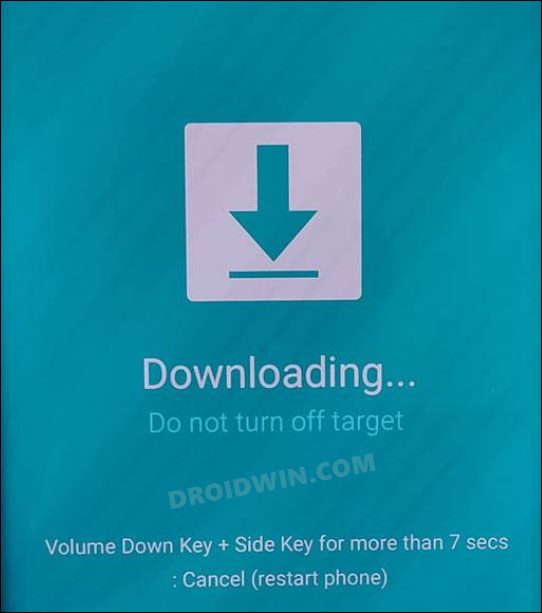
STEP 5: Boot Galaxy S22 Plus to Download Mode
You will now have to boot your S22 device to Download Mode so that Odin is able to identify it and hence allows us to carry out the flashing of the patched AP file. So refer to our guide to Boot any Samsung Device to Download Mode. Or refer to our below direct instructions:
- Start by powering off your device,
- Then press and hold Vol Up + Vol Down together and connect your device to the PC via USB cable.
- As soon as you see the Warning message on your device, release the pressed keys.
- Finally, press the Volume Up key once and your device will be booted to Download Mode.
STEP 6: Install Odin
- To begin with, download the Odin Tool from this link.
- Then extract it to a convenient location on your PC.
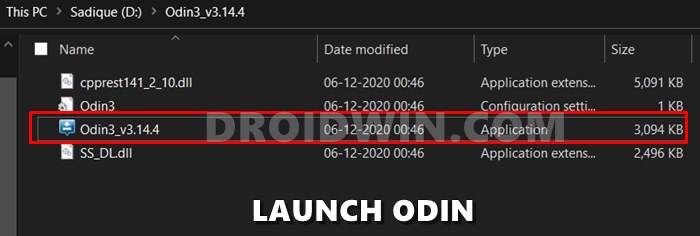
- After that, head over to the folder where you have extracted the tool.
- Finally, double-click on the Odin3_v3.14.4 EXE file to launch the tool.
STEP 7: Flash Patched AP file via Odin and Root Galaxy S22 Plus
- To begin with, launch the Odin tool on your PC.
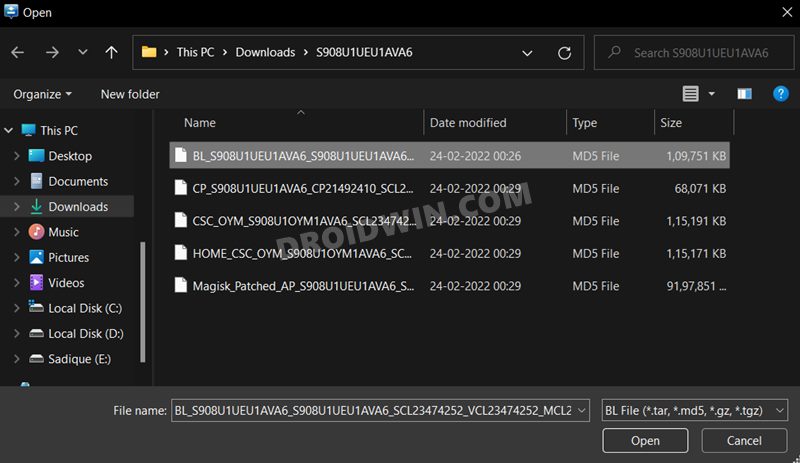
- Then click on the BL button, navigate to the extracted firmware folder and select the BL file.
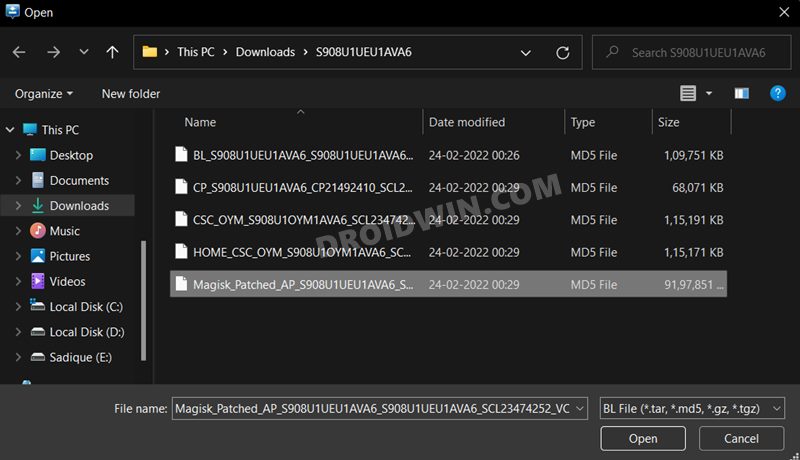
- After that, click on the AP button, navigate to the patched AP.tar file and select it.
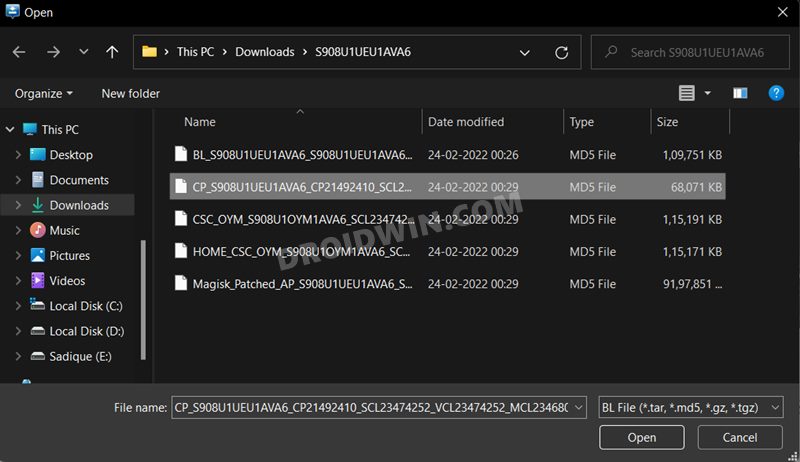
- Next up, click on the CP button, navigate to the extracted firmware folder and select the CP file.
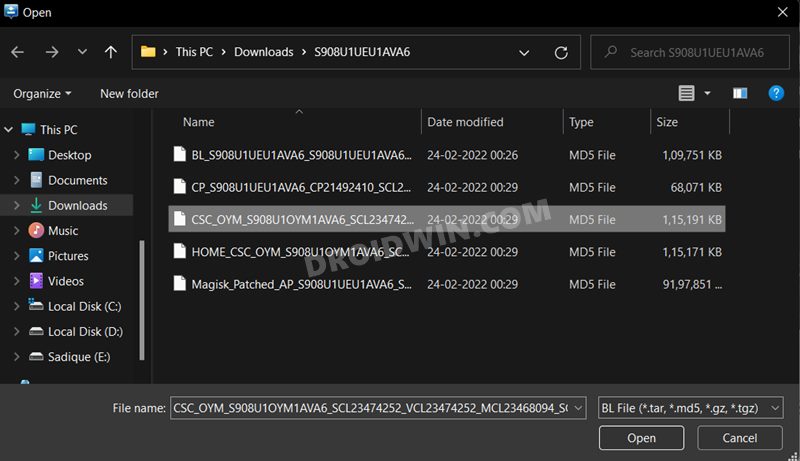
- Then click on the CSC button, navigate to the extracted firmware folder and select the CSC file [the normal CSC, not the HOME_CSC].
- Once all the files have been loaded, click on the Start button. The flashing process will now begin and could take a few minutes.
- Once done, you should get the PASS!‘ message. Likewise, your device will automatically boot to the OS.


That’s it. These were the steps to root your Samsung Galaxy S22 Plus via Magisk Patched AP file. If you have any queries concerning the aforementioned steps, do let us know in the comments. We will get back to you with a solution at the earliest.