In this guide, we will show you various methods to fix the DISM Tool not working on your Windows 11 PC. Deployment Image Servicing and Management is a command-line utility tool that comes built into the OS. It scans for corrupt files and then replaces them with their working counterpart. However, rather than replacing it from the cache directory, it does so by downloading a fresh copy from the Microsoft Servers.
Owing to this, it is usually the go-to choice when it comes to fixing issues related to system files being corrupted. However, many users aren’t able to make full use of this feature. They have voiced their concern that the DISM Tool is not working on their Windows 11 PC, with the error code 2 being the prominent one. If you are also getting bugged with these issues, then this guide will make you aware of a few nifty workarounds to rectify them. Follow along.
Table of Contents
How to Fix: DISM Not Working In Windows 11

It is recommended that you try out each of the below-mentioned workarounds and then see which one spells out success for you. So with that in mind, let’s get started.
FIX 1: Refresh DISM Tool
Your first course of action should be to refresh the DISM Tool and its underlying functionalities. So refer to the below instructions to give it a try:
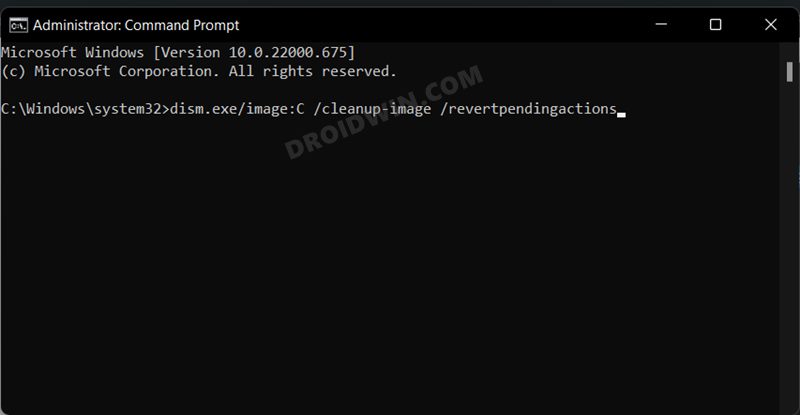
- Launch Command Prompt as an administrator and execute the below command:
dism.exe/image:C /cleanup-image /revertpendingactions

- Once done, restart your PC. Then again launch CMD as an admin.
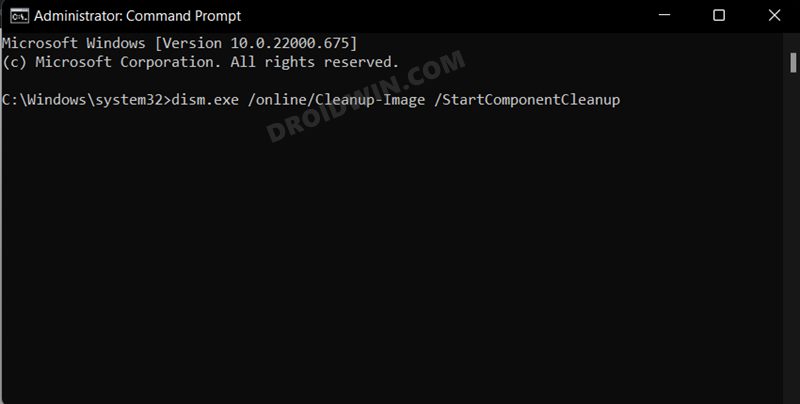
- Now execute the below command to delete the data of the component store
dism.exe /online/Cleanup-Image /StartComponentCleanup
- Again restart your PC and then check if it fixes the DISM Tool not working in Windows 11.
FIX 2: Use SFC Tool
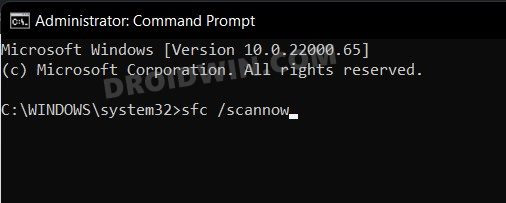
System File Checker is a tool similar to DISM, with the major difference being that instead of replacing the corrupt file with their working counterpart from the Microsoft Store, it does so by using the locally stored files in the cache directory. So let’s put this tool to the test and check out the results-
- Launch Command Prompt as an administrator
- Then type in the below command and hit Enter
sfc/ scannow
- Wait for the scan to complete. Once done restart your PC.
- Now check if it fixes the DISM Tool not working in Windows 11.
FIX 3: Run CHKDSK Command
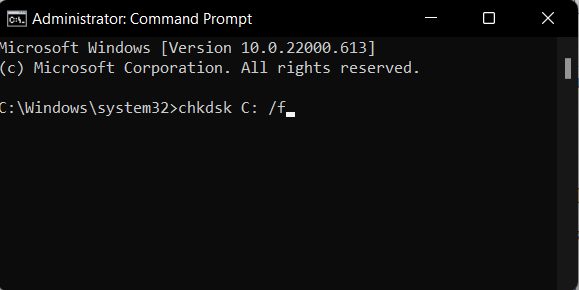
If there are any bad sectors on your disk or if some system files have got corrupted, then it could result in the underlying issue that we are currently facing. In such cases, you could make use of the Check Disk command-line tool and get these issues rectified. Here’s how
- Launch Command prompt as an admin from Start Menu
- Then copy-paste the below command and hit Enter
chkdsk C: /f
- Now, wait for the scan to complete. Once done, restart your PC.
- Check if it fixes the DISM Tool not working in Windows 11.
FIX 4: Disable Windows Firewall
Sometimes, the built-in Firewall might act a little bit over-protective and tends to red flag the data exchange process, even though it is taking place via a legitimate and trustworthy source. In the current scenario, there could be a rare chance of the Firewall not allowing the DISM Tool to establish a successful connection with the Microsoft servers, which is resulting in the tool’s inability to function. Therefore, you should consider temporarily disabling the Firewall and then test out the results. Here’s how:
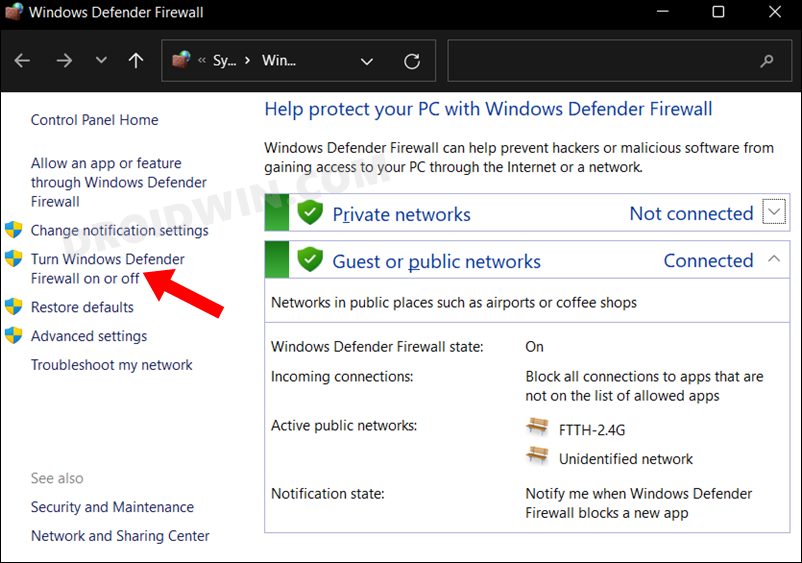
- Head over to the Start Menu, search Windows Defender Firewall, and open it.
- Then click on Turn on or off Windows Defender Firewall from the left-hand side.
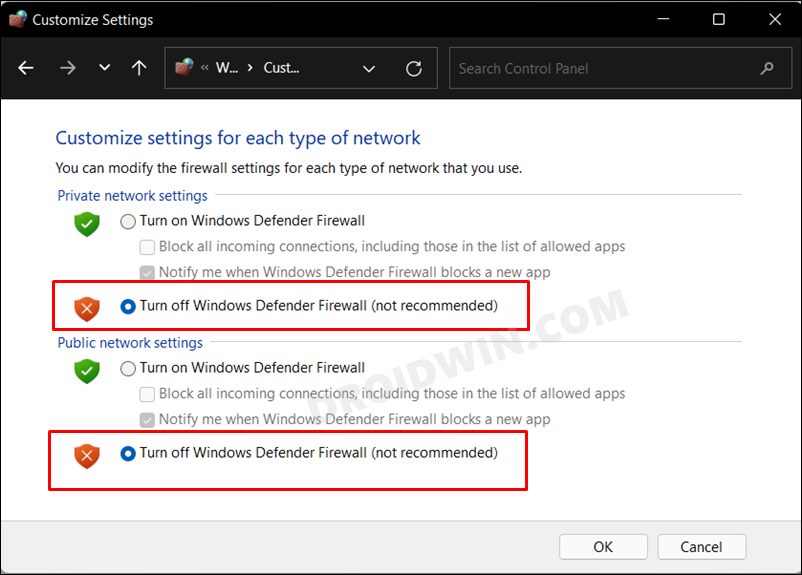
- After that, select Turn off under both the Public and Private networks.
- Check if it fixes the DISM Tool not working in Windows 11.
FIX 5: Use System Restore
If none of the aforementioned methods spelled out success, then you should consider restoring your system to an earlier point during which it was free from this issue. Here’s how it could be done-
- To begin with, open the Settings page via the Windows+I shortcut keys.
- Then go to the System tab from the left menu bar, scroll all the way to the bottom and click on About.
- After that, click on the System Protection option present on the Related Links tab.
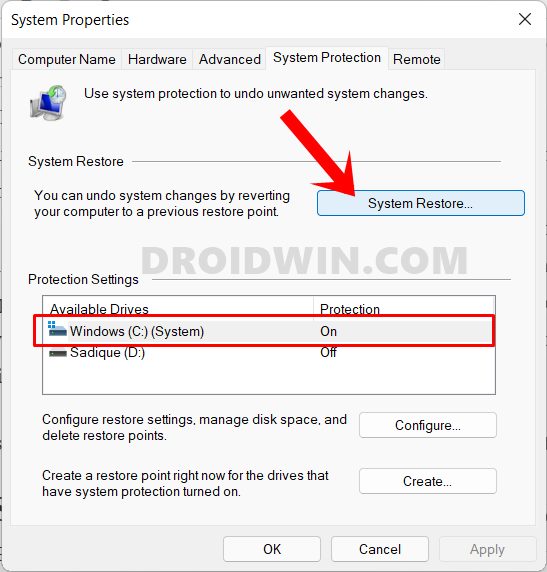
- This shall launch the System Properties dialog box. Go to the System Protection tab and click on System Restore.
- Windows will now bring up the backup under the Recommended Restore section. This is the backup that it finds most suitable according to your PC’s current condition.
- If you are satisfied with it, enable the Recommended Restore option and hit Next.
- However, if you wish to select any other custom backup, then select Chose a Different Restore point and click Next.
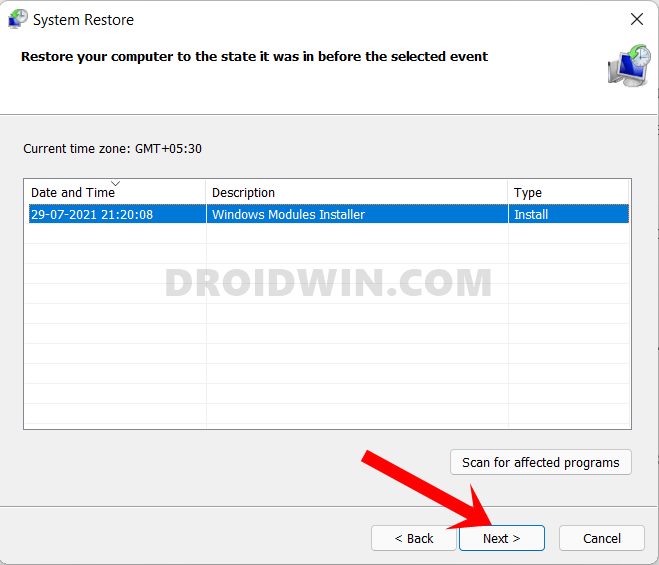
- Now select the desired restore point and hit Next.
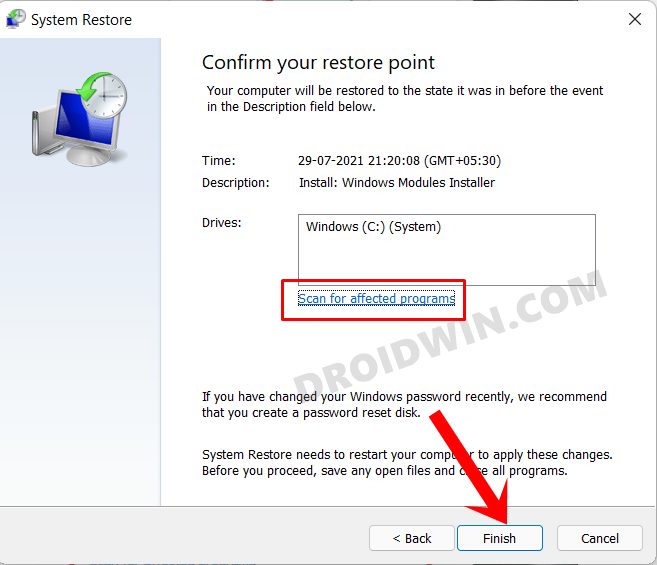
- Windows will now bring up the finalized screen showing all your selections. You may click on the Scan for Affected program option and get a list of all the programs that would be uninstalled/re-installed after this restore.
- If everything is as per your requirement, hit the Finish button and wait for the restore to complete.
- Once done, your PC will automatically boot to that system restore point, with the underlying bug being resolved.
That’s it. These were the five different methods that shall help you fix the DISM Tool not working on your Windows 11 PC. If you have any queries concerning the aforementioned steps, do let us know in the comments. We will get back to you with a solution at the earliest.


