In this guide, we will show you three different methods to downgrade your OnePlus 7/7T/7T Pro from Android 12 OxygenOS 12 to Android 11 OxygenOS 11. The twelfth iteration of the OS build has just been rolled out for the 7 series. And with that, you are about to welcome abode a plentitude of new and noteworthy features onto your device.
These include the likes of Material You theming engine, new Dark Mode, changes to Work-Life Balance, Gallery, and Canvas AOD, among others. However, at the time of writing, the updates are still in the beta stage, so a few bugs and issues are along the expected lines. And that has indeed been the case. OnePlus has laid down a long list of issues that you are likely to face while trying out this build. These include
- Unable to set photos taken by camera as wallpaper.
- Unable to wake screen by tapping screen.
- May have lagging and silent issues after reboot.
- Unexpected clock widget will be shown on the phone.
- Clock on AOD cannot be disabled.
- After downgrading to OxygenOS 11 version, reset data may fail.
- After upgrading to OxygenOS 12, the clock might become smaller when screen resolution has changed.
And let’s not forget the fact that for the first time around, you are more likely to interact with Oppo’s ColorOS rather than the originality of OnePlus OxygenOS. So if all these are way too much to deal with, then you could easily roll back to the earlier stable OS build. And in this guide, we will show you three different methods to do so. Without further ado, let’s get started with the instructions to downgrade your OnePlus 7/7T/7T Pro from Android 12 to Android 11.
Table of Contents
How to Downgrade OnePlus 7/7T/7T Pro from Android 12 to Android 11
The below instructions will wipe off all the data from your device, so please take a backup beforehand. Droidwin and its members wouldn’t be held responsible in case of a thermonuclear war, your alarm doesn’t wake you up, or if anything happens to your device and data by performing the below steps.
METHOD 1: Downgrade OnePlus 7/7T/7T Pro via the Official Method
This is the official method of carrying out the downgrade process. In this, we will be installing the Android 11 rollback package via the Local Upgrade method. This rollback firmware has been officially provided by OnePlus itself.
STEP 1: Download OnePlus 7/7T/7T Pro Android 12 to Android 11 Rollback Firmware
You may grab hold of the Android 11 downgrade firmware corresponding to your device from below:
STEP 2: Transfer Files to Device
- To begin with, download the Rollback firmware and transfer it to your device’s Internal Storage, but not inside any folder.
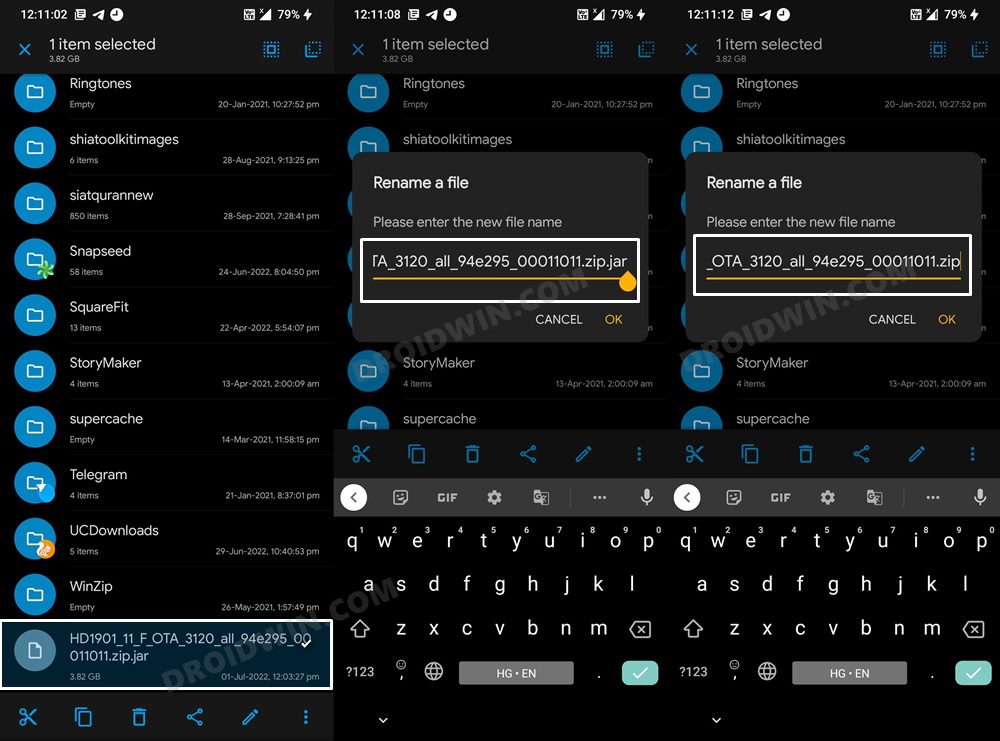
- In some instances, the downgrade firmware might be having the .JAR extension at the name. Make sure to delete that .JAR from the end so that the package ends with .ZIP.

STEP 3: Downgrade OnePlus 7/7T/7T Pro from Android 12 to Android 11 via Local Upgrade
- Go to Settings > About device > Version > Tap on Build number 7 times. This will enable Developer Mode
- Then go to the Settings > About device and tap on Up to date.
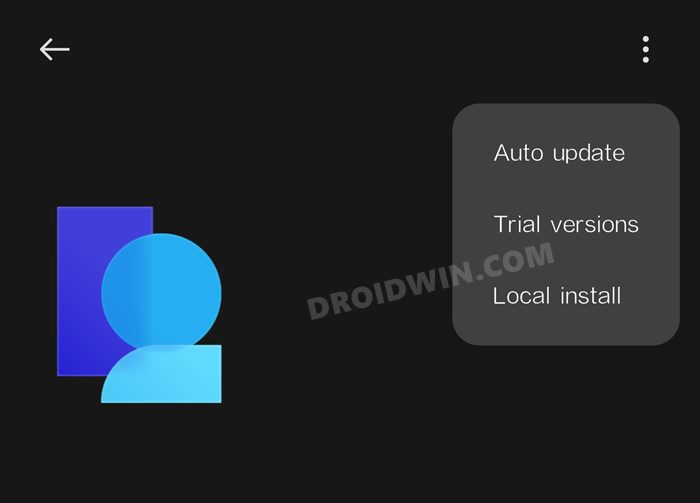
- After that, tap on the Settings (gear icon) present at the top right and select Local Install.

- Now navigate to the Android 11 firmware and select it.
- Then choose Extract -> Upgrade and wait for the process to complete.
- Once done, your device will automatically reboot to Android 11.
METHOD 2: Downgrade OnePlus 7/7T/7T Pro via MSM Tool
MSM Download Tool is the software used by OnePlus service center employees to unbrick the devices. and due to some great work by the developers at XDA, this tool is now available for everyone to use. Using this tool, we will be flashing the Android 11 OFP firmware to your device. While it does not require an unlocked bootloader, still the process is quite technical and could result in a few issues if not done correctly. With that in mind, let’s get started.
STEP 1: Install Android SDK

First and foremost, you will have to install the Android SDK Platform Tools on your PC. This is the official ADB and Fastboot binary provided by Google and is the only recommended one. So download it and then extract it to any convenient location on your PC. Doing so will give you the platform-tools folder, which will be used throughout this guide.
STEP 2: Install Qualcomm USB Drivers
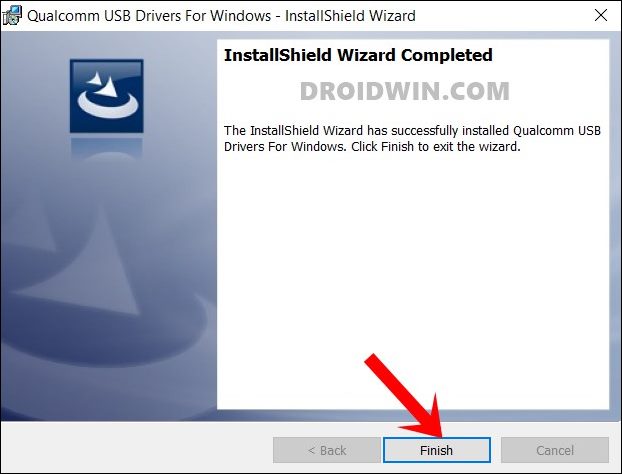
Next up, you will have to download and install the Qualcomm USB Drivers. This is needed so that your PC (and the MSM Tool) is able to identify the connected device in EDL Mode. So refer to our guide on Qualcomm HS-USB QDLoader 9008 Drivers: Download & Install

STEP 3: Download MSM Download Tool
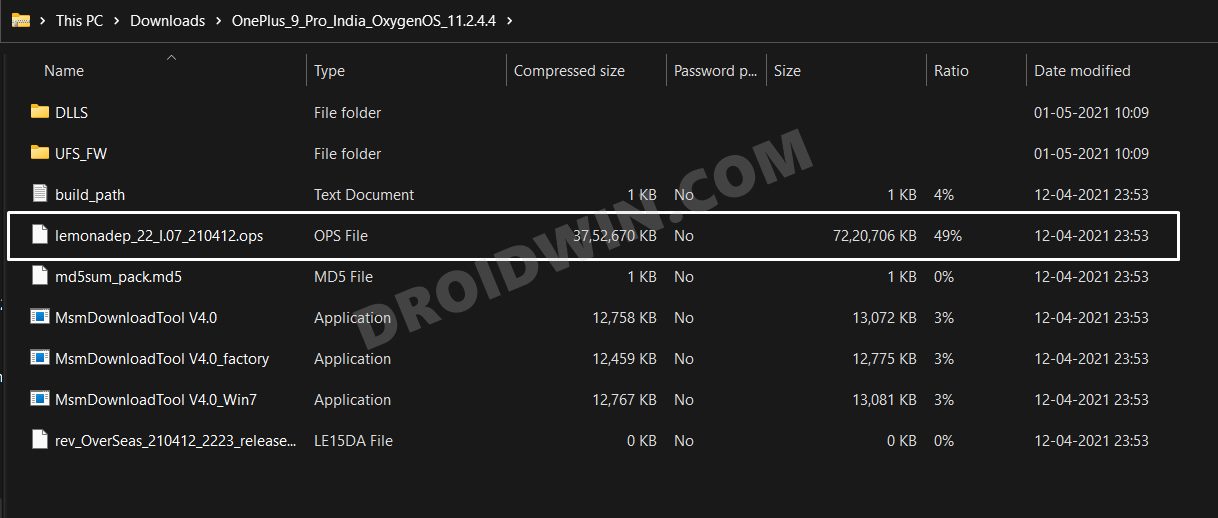
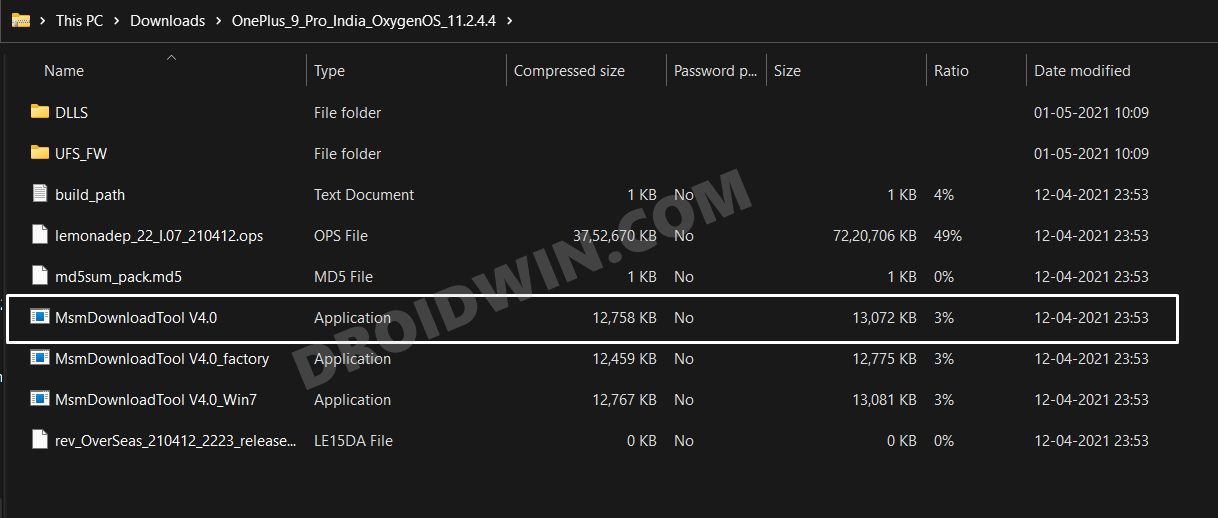
Next up, get hold of the MSM Download Tool corresponding to your OnePlus 7/7T/7T Pro from this post [make sure to download the Android 11 firmware]. Once downloaded, extract it to any convenient location on your PC. This will give you the Tool as well as the OPS Firmware for your device.

STEP 4: Boot OnePlus to EDL Mode
you will now have to boot your OnePlus device to Emergency download mode. For that, please refer to our comprehensive tutorial on How to Boot any OnePlus Device to EDL Mode. Or you could also refer to the below shorter instructions.
- To begin with, power off your device.
- Then press and hold the Volume Up and Volume Down keys together.
- With both these keys pressed, connect your device to the PC via USB cable.

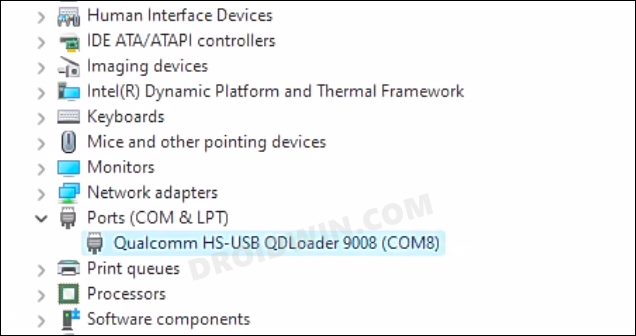
- That’s it. Your device is now booted to EDL Mode. To verify the same, press Windows+X and select Device Manager.
- Then expand the Other Device or Ports section and your device will be listed as Qualcomm HS-USB QDLoader 9008.
If your device is still being shown as QHUSB_BULK, then reverify driver installation, use USB 2.0 Port, or try using a different USB cable. Any one of these tweaks could fix the EDL connection error.
STEP 5: Flash Android 11 on OnePlus 7/7T/7T Pro via MSM Download Tool
- To begin with, launch the MSM Tool by double-clicking on the MsmDownloadTool V4.0.exe file.

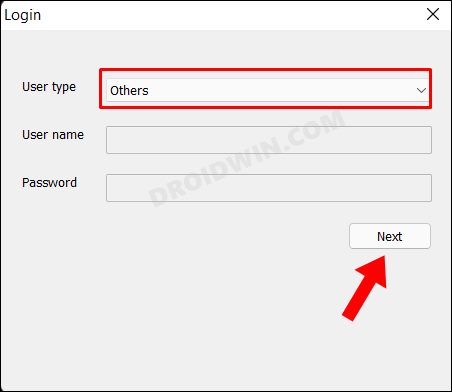
- In the Login screen, select Others under User Type. Leave Username and Password blank and click Next.

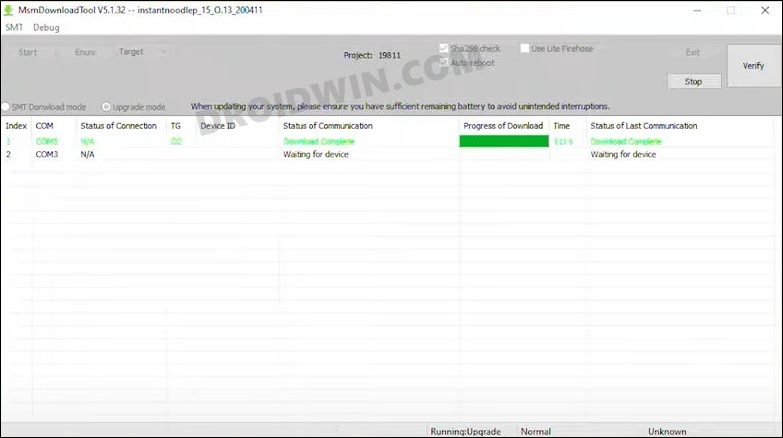
- The tool will now load and it should detect the connected device.
- You could verify the same from the COM/Status of Connection section.


- If that’s well and good, then press Start to initiate the flashing process. It could take a few minutes for the process to complete.
- Once done, you will be notified of the same and your device will automatically boot to Android 11.

These were the steps to downgrade your OnePlus 7/7T/7T Pro device from Android 12 (OxygenOS 12) to Android 11 (OxygenOS 11) using the MSM Download Tool. If you have any queries concerning the aforementioned steps, do let us know in the comments. We will get back to you with a solution at the earliest.
METHOD 3: Downgrade OnePlus 7/7T/7T Pro Via Fastboot Enhance Tool
This is a tool created by XDA Senior Member xzr467706992 and beholds a slew of intriguing features, including the ability to directly flash the payload.bin file, without the need to even manually extract it first. Do note that even though this tool was created for OnePlus 8T, however, I have personally tested it on OnePlus 7T and it works well and good [downgraded my device from Pixel Experience Android 13 to Android 11 OxygenOS 11].
STEP 1: Download Fastboot Enhance Tool
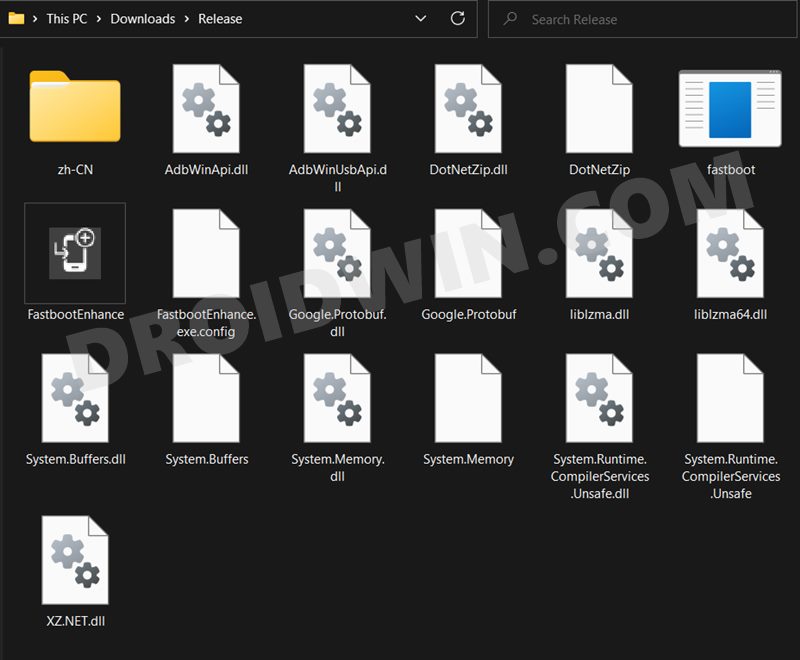
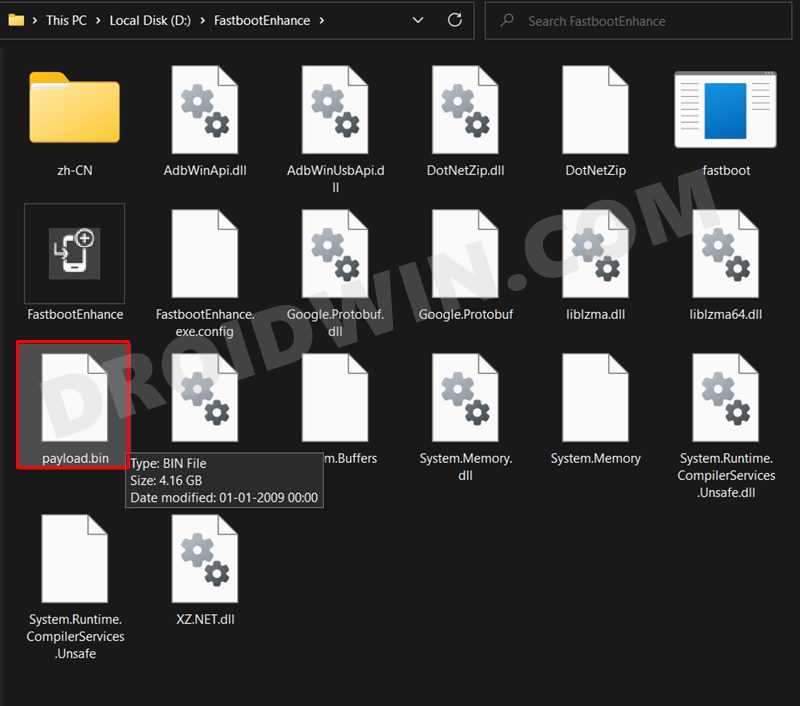
Download the Fastboot Enhance Tool from GitHub [direct link]. Once downloaded, extract it to any convenient location on your PC. The biggest advantage of this tool is that you could directory flash the payload.bin file, there is no need to extract it and get the resultant IMG files!

STEP 2: Download OnePlus 7/7T/7T Pro ROM
- Next up, get hold of the firmware for your device from below:
OnePlus 7/7T/7T Pro Stock Firmware
- Once downloaded, extract it and transfer the resultant payload.bin file to the Fastboot Enhance Tool folder.

STEP 3: Install Android SDK
Next up, install the Android SDK Platform Tools on your PC. This is the official ADB and Fastboot binary provided by Google and is the only recommended one. So download it and then extract it to any convenient location on your PC. Doing so will give you the platform tools folder, which will be used throughout this guide.


STEP 4: Install Fastboot Drivers
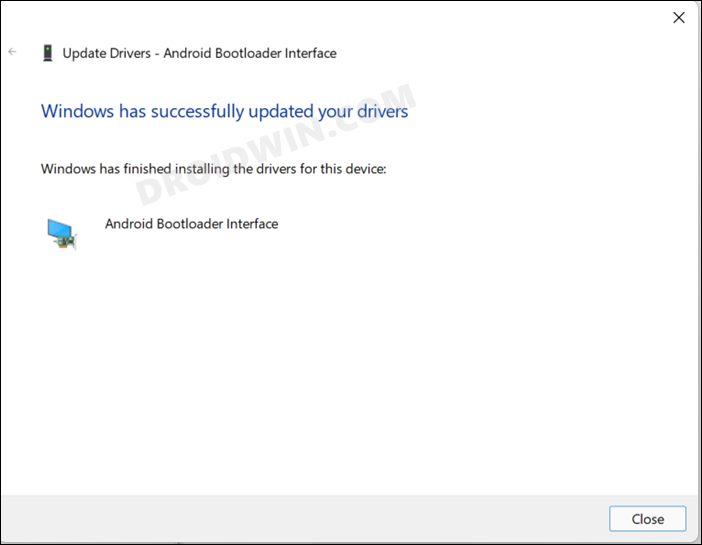
The tool doesn’t come with the Fastboot Drivers, so you will manually have to install it on your PC. For that, please refer to our guide on How to Install Fastboot Drivers in Windows 11. Likewise, make sure to install the OnePlus USB Drivers as well [they are usually automatically installed as soon as you connect your device to the Windows PC for the first time].

STEP 5: Boot to Fastboot Mode
- Connect your device to the PC via a USB cable. Make sure USB Debugging is enabled.
- Then head over to the platform-tools folder, type in CMD in the address bar, and hit Enter. This will launch the Command Prompt.
- After that, type in the following command in the CMD window to boot your device to Fastboot Mode
adb reboot bootloader

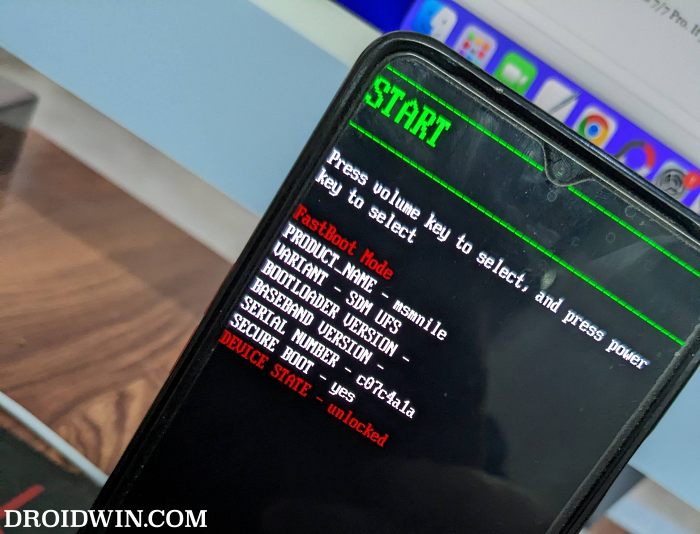
- To verify the Fastboot connection, type in the below command and you should get back the device ID.
fastboot devices

STEP 6: Flash Stock Firmware on OnePlus 7 Pro via Fastboot
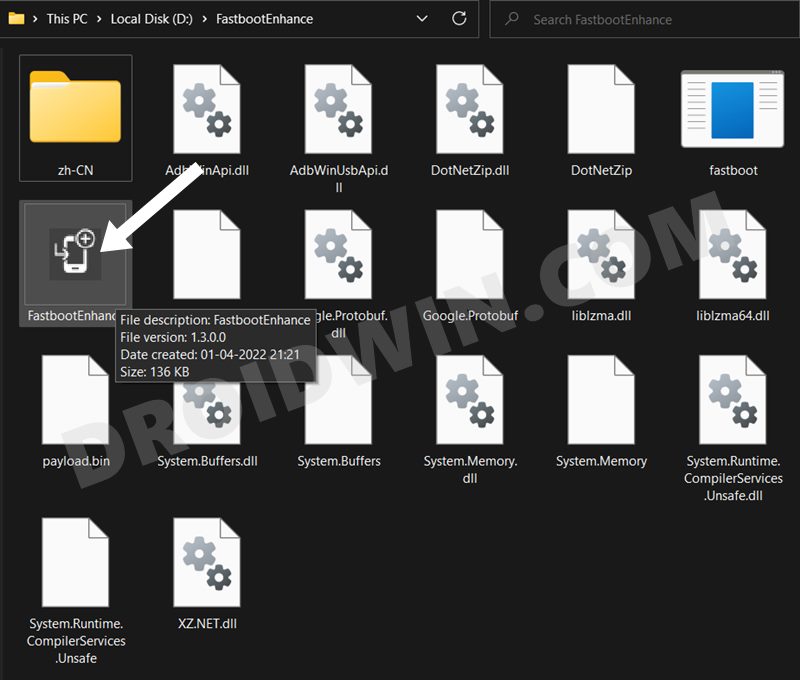
- To begin with, launch the Fastboot Enhance Tool via its EXE file.

- Your device should be listed under the Fastboot Virtualization tab, select it.

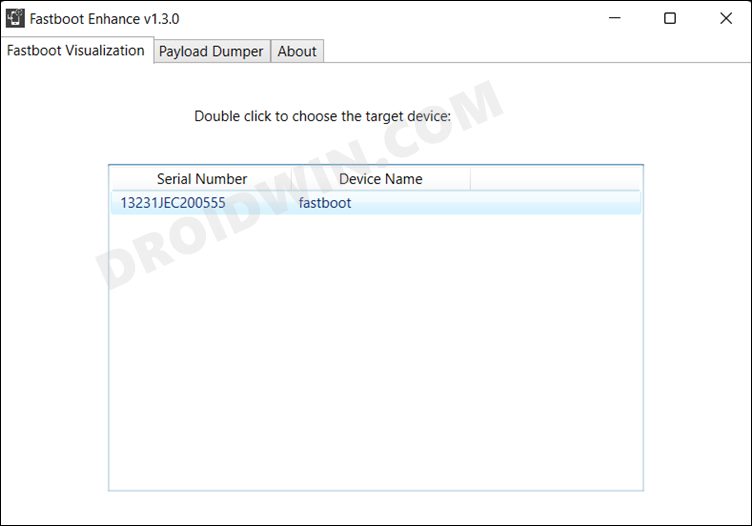
- After that, click on the Reboot to FastbootD button.

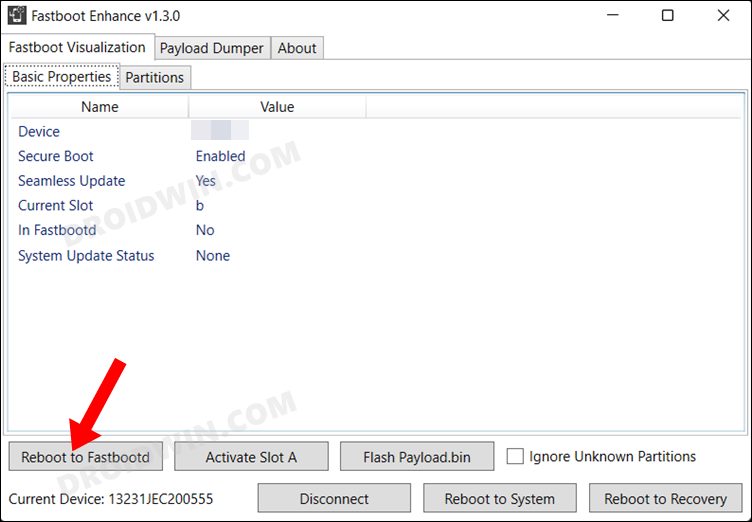
- Your device will boot to FastbootD Mode.

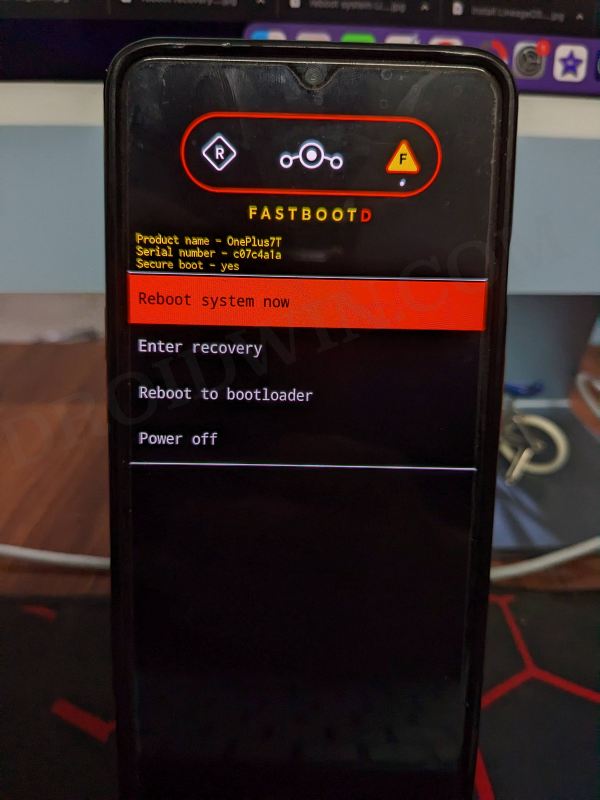
FastbootD in LineageOS. This screen might vary depending on your ROM - Now go to the Payload Dumper tab and click on Browse.

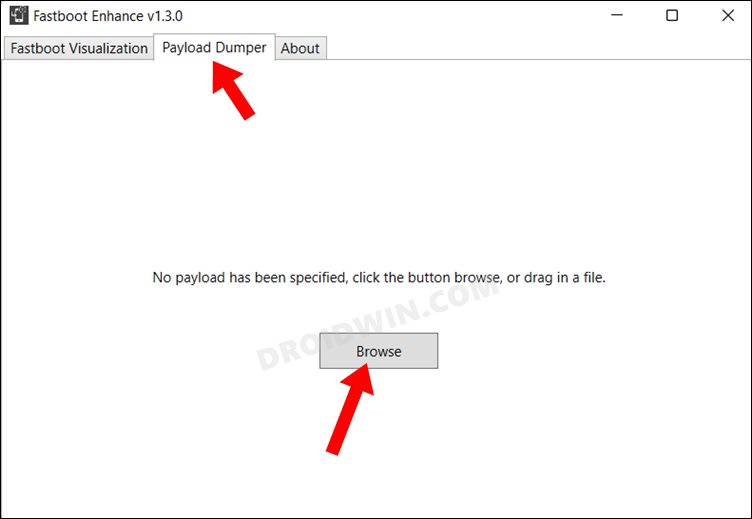
- Navigate to the payload.bin file, select it and click Open.

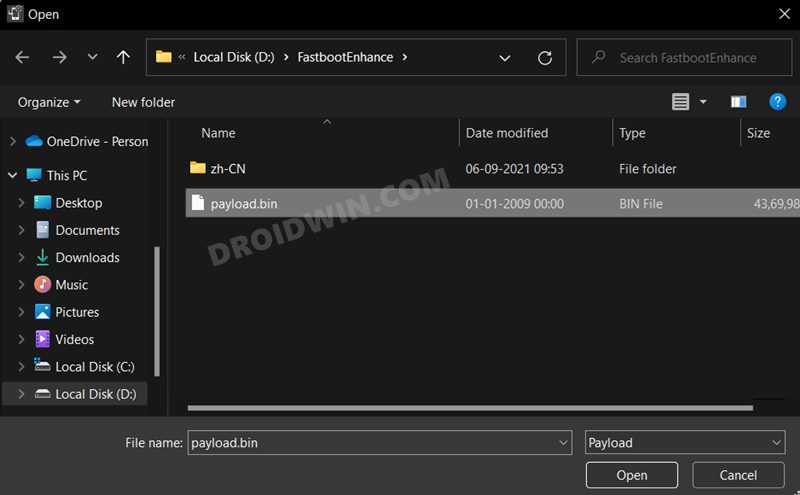
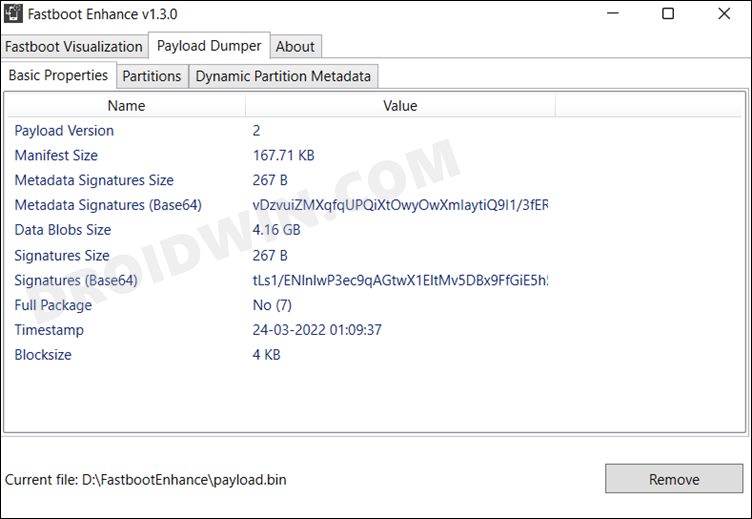
- The file will now be loaded in the tool, displaying the resultant information.

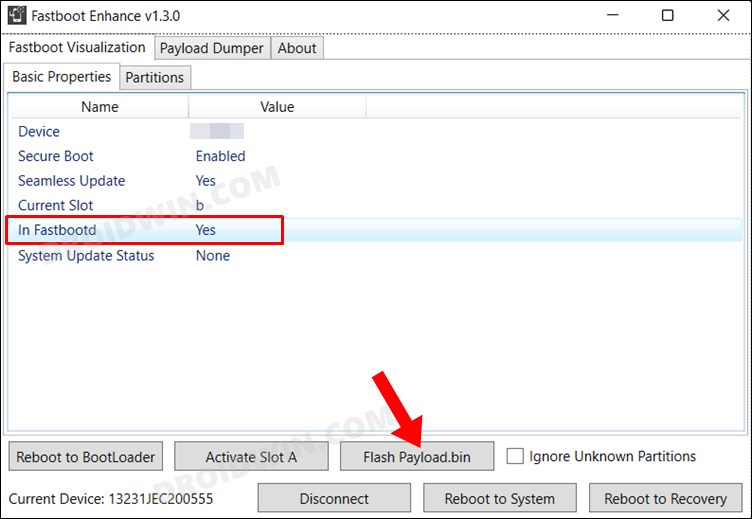
- Now go to the Fastboot Virtualization tab and click on Flash payload.bin. You might be asked to once again load the payload.bin file, do so right now.
- Once done, again click on Flash payload.bin. This time the flashing will start and it generally takes around 10 minutes to complete..

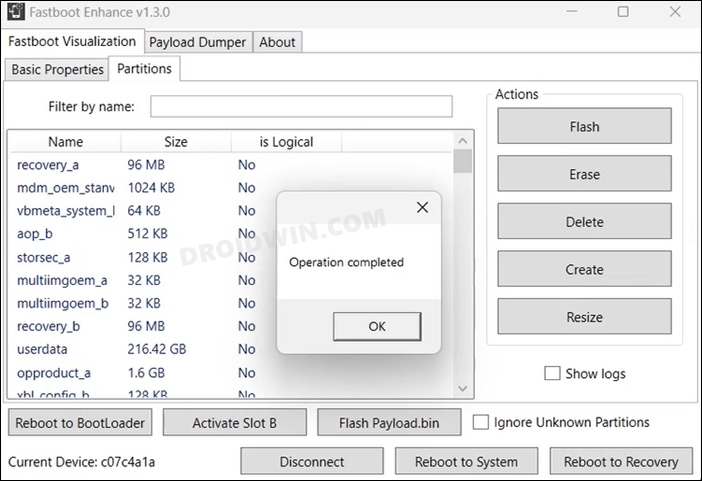
- Once complete, you will be notified of the same. You may now boot to the OS by clicking on Reboot to System.

That’s it. These were the steps to downgrade your OnePlus 7/7T/7T Pro device from Android 12 (OxygenOS 12) to Android 11 (OxygenOS 11) using the MSM Download Tool. If you have any queries concerning the aforementioned steps, do let us know in the comments. We will get back to you with a solution at the earliest.


Richard
I have a not-carrier-locked OnePlus 7 Pro (purchased from OnePlus), Model GM1917. Can I safely apply this IN downgrade patch to it?
Roger Cerasoli
Thanks for the great info! When I try to downgrade my 7 Pro using the local update method, I get a “Verification failed” error message. Any ideas on a work-around for this?
Thank you!
Kishan Singh
I installed Pixel experience 13 by seeing your guide however the rom is not good for day to day usage and I want to downgrade to Oxygen OS 10 last version. It would be very helpful if you guide me how should i downgrade from PE13 to OOS10.
Patrick
Hello,
thanks for posting the downgrading instructions. I´m attempting to install OS11 on my One Plus 7 Pro (EU) and came across some issues.
The first method via local upgrade didn´t work, becuase the phone didn`t recognize the installation package.
Trying the second method I could not establish a working connection between the device and MSM. The device manager sucessfully lists my phone as Qualcomm HS-USB QDLoader 9008 (COM5), but shows the yellow warning sign next to it. The corresponding status lists a Code 52.
The device is listed on MSM as COM5 but shows N/A as status of connection.
Do you have any suggestions on how to proceed?
Cheers, Patrick
Sadique Hassan
Hi Patrick, you need to disable Driver Signature Verification on your PC. For that, press and hold the Shift key and then hit Restart. This will take you to the Recovery Environment. From there, go to Troubleshoot > Advanced Options > Startup Settings > Restart < Press F7 or 7 to select Disable Driver Signature Verification. Your PC will now restart and there should no longer be a yellow exclamation make next to Qualcomm HS-USB QDLoader 9008 (COM5). Let me know if it works out.