In this guide, we will show you the steps to enable and use the ADB Commands in the OnePlus stock recovery. There’s no denying the fact that ADB and Fastboot Commands are among the most powerful tools that a tech enthusiast could have. From carrying out advanced tasks such as flashing TWRP or custom ROMs, to basic tasks like booting to Fastboot mode, there’s a lot to try out (check out the complete list). Then there are another set of commands that makes use of the adb shell.
These shell commands could again be segregated into two halves. The first set of shell commands could be executed while your device is booted to OS. These include the like of uninstalling system apps bloatware via ADB. Then there are the second bunch of shell commands that could only be used when your device is booted to a custom recovery like TWRP. These include the adb push/pull commands or the command to extract the boot.img directly from your device.
It is this latter set of commands that might be a cause of concern for many. This is because not every device has a working TWRP Recovery. Even if a device has this recovery, some users prefer not to install it due to the complexities involved. So I decided that since our device already has the stock recovery installed, why not extract maximum benefits of the same. Keeping that in mind, today we will show you how to enable and use the ADB Commands directly in the OnePlus stock recovery itself.
Table of Contents
How to Enable and Use ADB Commands in Stock Recovery

The below instructions are listed under separate sections for ease of understanding. Make sure to follow in the exact same sequence as mentioned. Droidwin and its members wouldn’t be held responsible in case of a thermonuclear war, your alarm doesn’t wake you up, or if anything happens to your device and data by performing the below steps.
STEP 1: Extract Recovery.img from OnePlus Firmware
To begin with, download the firmware file for your OnePlus device. Then extract it to any convenient location on your PC. Doing so shall give you a couple of files, including the all-important payload.bin. Since OnePlus packs all the partition files inside this bin file, you will have to extract it.
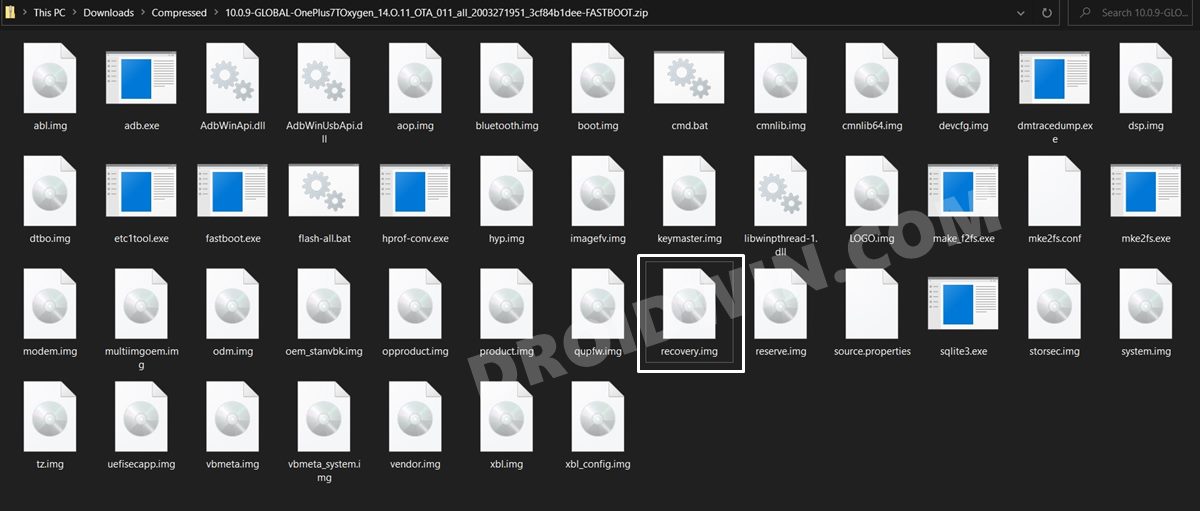
For that, please refer to our guide to How to Extract the payload.bin file. Once the extraction is complete, you shall get all the IMG partition files, including the stock recovery, which would be named recovery.img.
STEP 2: Download Android Image Kitchen
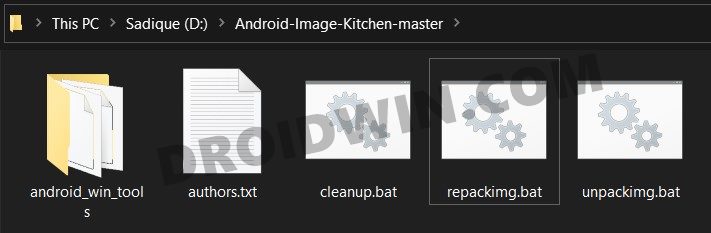
Next up, download the Android Image Kitchen Tool and extract it to any convenient location on your PC. This tool will be used to unpack and repack the stock recovery file. Furthermore, we would also need an advanced text editor, so make sure you download it beforehand. As for this guide, we are using Notepad++.
STEP 3: Unpack Recovery.img
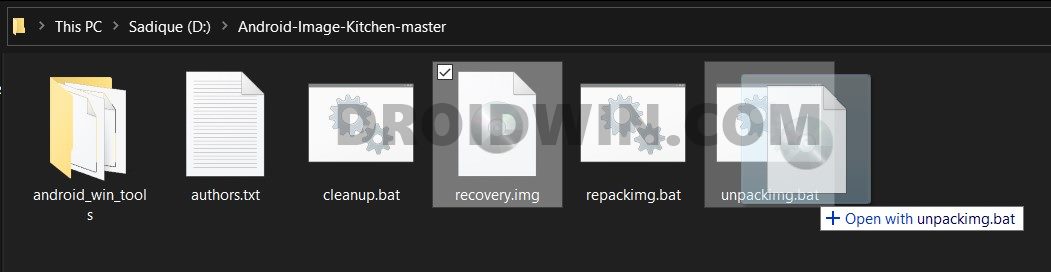
- Transfer the recovery.img file to the extracted Android Image Kitchen folder. Then drag this file to the unpackimg.bat file.

- Doing so shall extract the recovery file and you would get two folders: split_img and ramdisk.
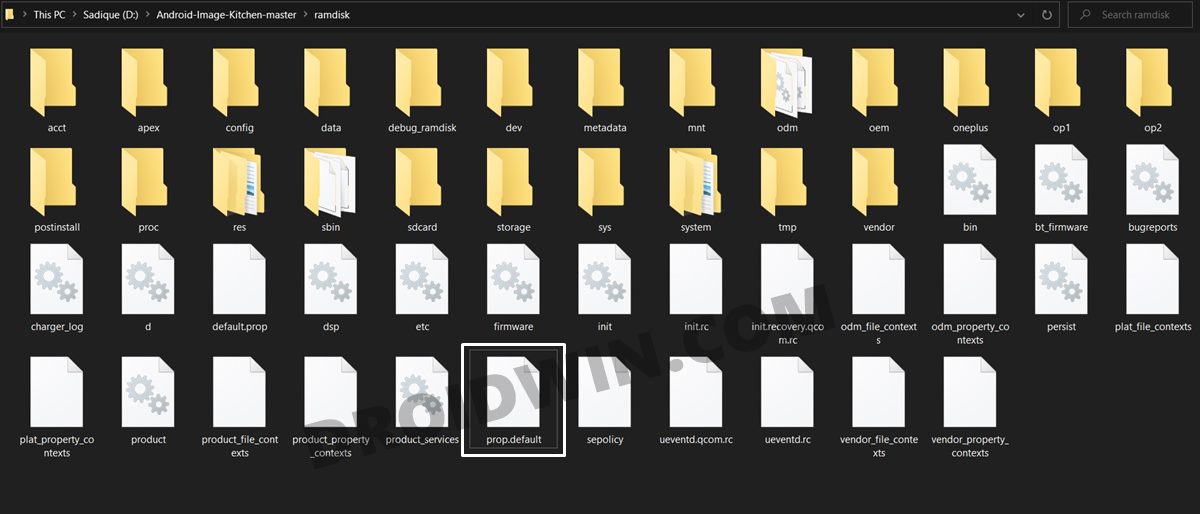
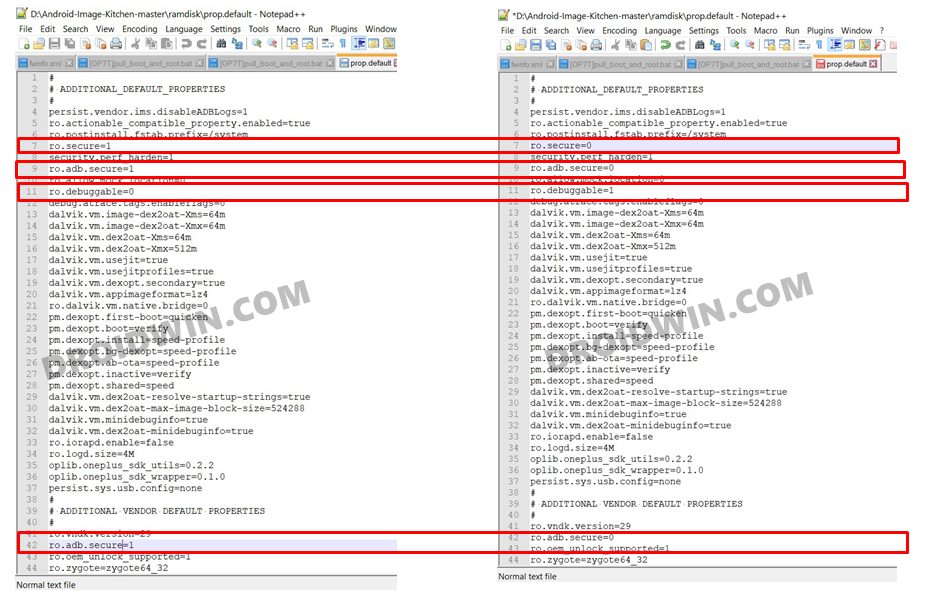
- Head over to the ramdisk folder and you shall now see the prop.default file. Right-click on it and select Edit via Notepad++.
- Bring up the Find box (Ctrl+F) and look for the following line:
ro.adb.secure
- Change its value from 1 to 0. This will prevent ADB from asking for authorization. This is needed because we cannot authorize for ADB connection while booted to Recovery. Moreover, there might be two or more such lines of ro.adb.secure, make sure you make changes to all of them.
- Then search for:
ro.debuggable
- Change itas value from 0 to 1. This will enable the ADB Debugging on the OnePlus Stock Recovery.
- Finally, search for the following line:
ro.secure
- Change its value from 1 to 0. Once all the three values have been changed, save the file.
STEP 4: Repack Recovery.img
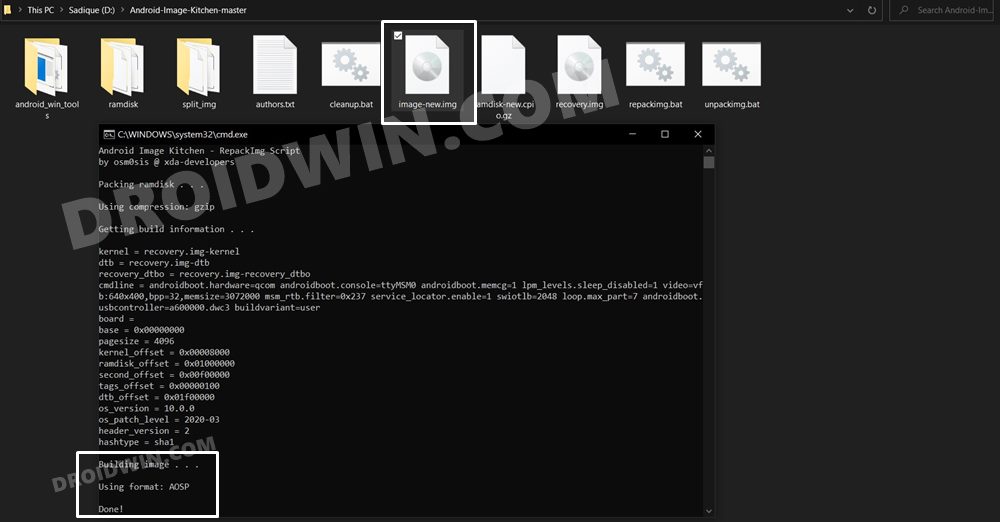
- Now that we are done with changing the values, its time to repack them into one single file.
- So drag the ramdisk and split_img folders to the repackimg.bat file.
- You shall get the image-new.img file, which is your newly created stock recovery that supports ADB! You may now flash this recovery file or temporary boot to it via the required Fastboot Commands.
- For reference, you may check out these guide TWRP: fastboot flash vs fastboot boot: Which command to use | How to Install TWRP Recovery on Android [don’t worry, the commands will be same for stock and custom recovery].

STEP 5: Trying out this recovery
As far as the usage of this goes, once excellent example is of removing the Magisk Modules directly from the stock recovery. So if you ever get stuck in bootloop adfter installing a magisk module and you don’t have TWRP installed, then create the ADB enabled sotkc recovery as mentioned above, ann then try out the below steps: Here’s what I did:
- Booted to Stock Recovery via
adb reboot recovery
- Then enabled shell via:
adb shell
- Now access the file directory, so go to the below directory:
/data/adb/modules
- You may now uninstall the error-causing module.
With this, we conclude the guide on how to enable and use the ADB Commands in the OnePlus stock recovery. If you have any queries concerning the aforementioned steps, do let us know in the comments. We will get back to you with a solution at the earliest.


