In this guide, we will show you the steps to unbrick your Asus ROG Phone 3 via Fastboot Commands. Such has been the dominance of the ROG series that the gaming smartphones have now become synonym with the offerings from Asus. In this regard, the third addition to this series managed to impress quite a lot of users. To begin with, it took its already impressive features from its predecessor and notched it up a level.
Apart from its striking specs sheets, the device became quite an active player in custom development. Be it for flashing ROMs or a custom recovery like TWRP, the possibilities stand endless. Likewise, once you gain administrative access via Magisk, you could then flash a plentitude of mods. These include the likes of Magisk Modules, Xposed Framework, Viper4Android, Substratum Themes. But this is just one side of the coin.
Flashing these tweaks might prove to be risky as well, if not done correctly. In those cases, a soft brick or boot looped device is on the cards. Fortunately, you could easily fix these issues, and this guide shall make you aware of just that. Given here are the detailed instructions to unbrick your Asus ROG Phone 3 via Fastboot Commands.
- Asus ROG Phone 3: Install TWRP Recovery | Root via Magisk
- How to Root Asus ROG Phone 3 via Magisk without TWRP
Table of Contents
Unbrick Asus ROG Phone 3 via Fastboot Commands
The below instructions are listed under separate sections for ease of understanding. Make sure to follow in the exact same sequence as mentioned. Droidwin and its members wouldn’t be held responsible in case of a thermonuclear war, your alarm doesn’t wake you up, or if anything happens to your device and data by performing the below steps.
Install Android SDK

First and foremost, you will have to install the Android SDK Platform Tools on your PC. This is the official ADB and Fastboot binary provided by Google and is the only recommended one. So download it and then extract it to any convenient location on your PC. Doing so will give you the platform-tools folder, which will be used throughout this guide to unbrick the Asus ROG Phone 3 via Fastboot Commands.
Download Asus ROG Phone 3 Firmware
You will now have to download the firmware for your device from the below official links. Once downloaded, extract it to any convenient location on your PC. Doing so shall give you a couple of files, including the all-important payload.bin.
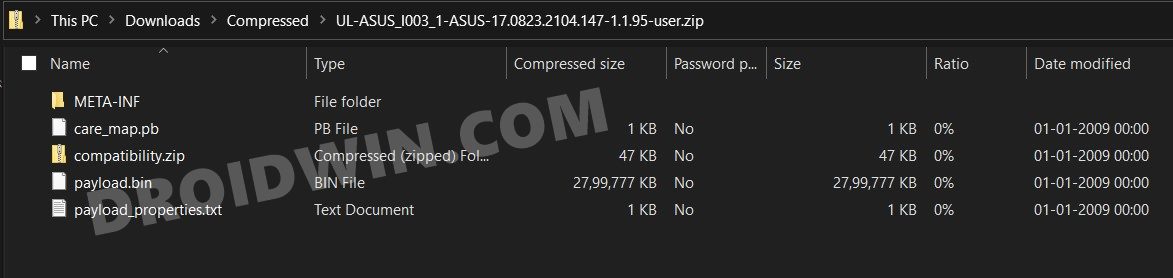
- ROG Phone 3: Stock Firmware Collection
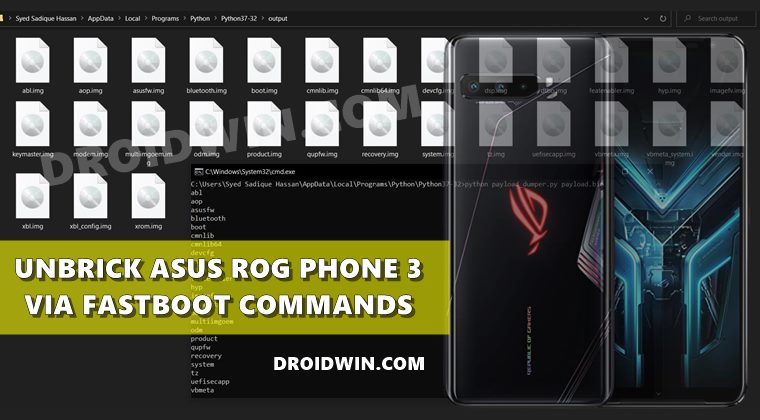
Extract Asus ROG Phone 3 Payload.bin
Once you have got hold of the payload.bin file, you need to extract it. This is turn will give us all the partition files (boot, system, vendor, etc). So please refer to our detailed guide to How to Extract payload.bin and get Fastboot Files.
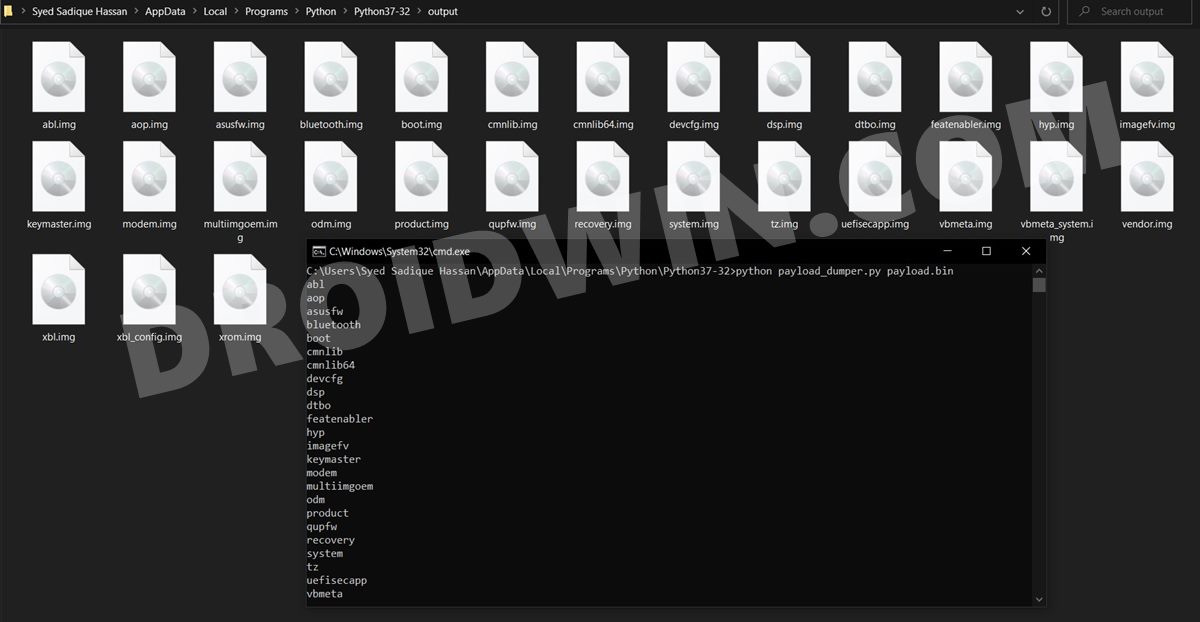
Once you have successfully extracted the payload bin, you will get all the files inside Python’s Output folder (as explained in the linked guide). Make sure to transfer all those files to the platform-tools folder.
Boot Device to Fastboot Mode
Since your device is currently soft-bricked, you wouldn’t be able to boot to Fastboot Mode the normal way. Rather you would have to take the help of hardware keys. So start by powering off your device. Then press and hold the Power and Volume Up keys for a few seconds and your device shall boot to Fastboot.
Flash Asus ROG Phone 3 via Fastboot Commands
Head over to the platform-tools folder, type in CMD in the address bar, and hit Enter. This will launch the Command Prompt. Now type in each of the below commands, one at a time, to flash the files to their respective partitions and hence unbrick the Asus ROG Phone 3 via Fastboot Commands.
fastboot flash abl abl.elf
fastboot flash aop aop.img
fastboot flash asusfw asusfw.img
fastboot flash bluetooth bluetooth.img
fastboot flash boot boot.img
fastboot flash cmnlib cmnlib.mbn
fastboot flash cmnlib64 cmnlib64.mbn
fastboot flash devcfg devcfg.img
fastboot flash dsp dsp.img
fastboot flash dtbo dtbo.img
fastboot flash featenabler featenabler.img
fastboot flash hyp hyp.img
fastboot flash imagefv imagefv.img
fastboot flash keymaster keymaster.img
fastboot flash modem modem.img
fastboot flash multiimgoem multiimgoem.img
fastboot flash odm odm.img
fastboot flash product product.img
fastboot flash qupfw qupfw.img
fastboot flash recovery recovery.img
fastboot flash system system.img
fastboot flash tz tz.img
fastboot flash uefisecapp uefisecapp.img
fastboot flash vbmeta vbmeta.img
fastboot flash vbmeta_system vbmeta_system.img
fastboot flash vendor vendor.img
fastboot flash xbl xbl.img
fastboot flash xbl_config xbl_config.img
fastboot flash xrom xrom.img
So with this, we round off the guide on how to unbrick the Asus ROG Phone 3 via Fastboot Commands. If you have any queries, do let us know in the comments. We will get back to you with a solution at the earliest.
FAQs: Asus ROG Phone 3 Unbrick Fastboot Commands
If you face an error or two while executing any of the above commands, then here are a few workarounds that you could try out.
- First and foremost, if you face any issues while executing the command for the ‘not so important files’ (files apart from system, boot, vbmeta, vendor), then skip that error and move over to the next command. Then complete the rest of the commands and try powering on your device.
- Next up, you may also consider wiping the mdmddr and ddr partitions of your device. For that, execute the below two commands and then execute all the other ones:
fastboot erase mdmddr
fastboot erase ddr
- You may also consider manually setting Slot A as the current active slot and then proceed with the other Fastboot Commands. So use the following command for that:
fastboot set_active a
- If none of the above tweaks worked out, then you would have to wipe off all the data from your device. For that, start off by using the below command and then use the rest of the commands:
fastboot -w
So these were the various workarounds that will help you to unbrick the Asus ROG Phone 3 via Fastboot Commands.