In this guide, we will show you the steps to install various Android 14/13 Custom ROMs on your Redmi Note 12 4G/5G. The newest addition to the Note series has grabbed the attention of the masses, not just for generic users but even for tech enthusiasts alike. This is because the Redmi series has always been known to be among the most active players in custom development and its twelfth iteration is no different either.
However, for some users, the underlying OS skin is not in sync with their requirements, mainly due to the fact that it’s bloated with tons of unnecessary preinstalled apps. Well, if you are of the same opinion as well, then this guide will give you a perfect platform to break free from the shackles of the stock MIUI ecosystem and welcome numerous AOSP-based ROMs that offer a clean, stock, fast, and stable usage experience. So without further ado, let’s get started.
Table of Contents
Prerequisites to Installing Android 14/13 Custom ROMs on Redmi Note 12 4G/5G

Installing any of the below-listed ROMs will wipe off all the data from your device, so please take a backup beforehand. Droidwin and its members wouldn’t be held responsible in case of a thermonuclear war, your alarm doesn’t wake you up, or if anything happens to your device and data by performing the below steps.
STEP 1: Install Android SDK

First and foremost, you will have to install the Android SDK Platform Tools on your PC. This is the official ADB and Fastboot binary provided by Google and is the only recommended one. So download it and then extract it to any convenient location on your PC. Doing so will give you the platform-tools folder, which will be used throughout this guide to install the ROM on Redmi Note 12 5G.
STEP 2: Enable USB Debugging and OEM Unlocking
Next up, you will also have to enable USB Debugging and OEM Unlocking on your device. The former will make your device recognizable by the PC in ADB mode. This will then allow you to boot your device to Fastboot Mode. On the other hand, OEM Unlocking is required to carry out the bootloader unlocking.
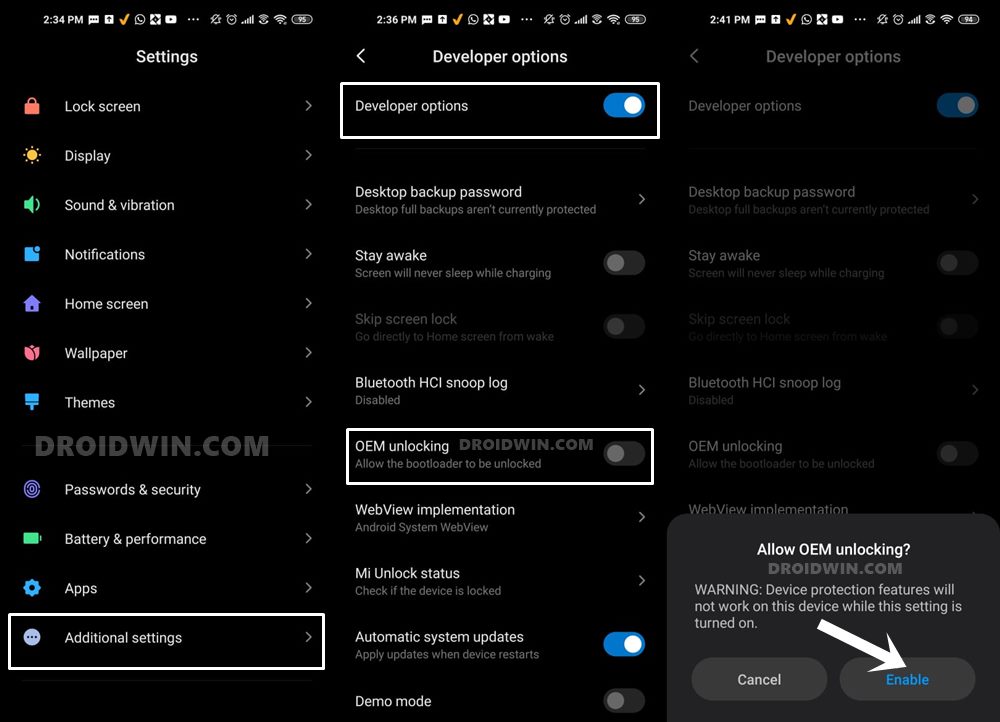
So head over to Settings > About Phone > Tap on Build Number 7 times > Go back to Settings > System > Advanced > Developer Options > Enable USB Debugging and OEM Unlocking.
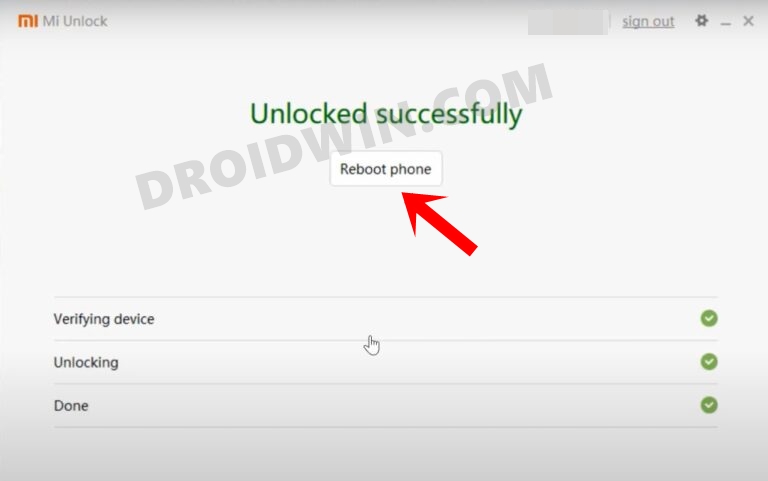
STEP 3: Unlock Bootloader on Redmi Note 12 5G
Next up, you will also have to unlock the device’s bootloader. Do keep in mind that doing so will wipe off all the data from your device and could nullify its warranty as well. So if that’s all well and good, then please refer to our detailed guide on How to Unlock Bootloader on any Xiaomi Device.
STEP 4: Download Android 14/13 Custom ROMs for Redmi Note 12 5G
Grab hold of the ROM and its associated files for your device from below. Moreover, rename the ROM file to rom.zip. Likewise, transfer all the files [ROM and its associated files like boot, vendor, dtbo, etc.] to the platform-tools folder.
crDroid Android 14
DOWNLOAD ROM | RECOVERY
[FOR REDMI NOTE 12 5G/POCO X5 5G]

DOWNLOAD: ROM | DFE | Preflash
[For Redmi Note 12 4G]
Paranoid Android 13
DOWNLOAD FASTBOOT ROM
[For Redmi Note 12 5G]
Derpfest Android 13
DOWNLOAD LINK
[For POCO X5 5G (moonstone) & Redmi Note 12 (sunstone)]
Evolution X Android 13
DOWNLOAD LINK
FOR REDMI NOTE 12 5G/POCO X5 5G
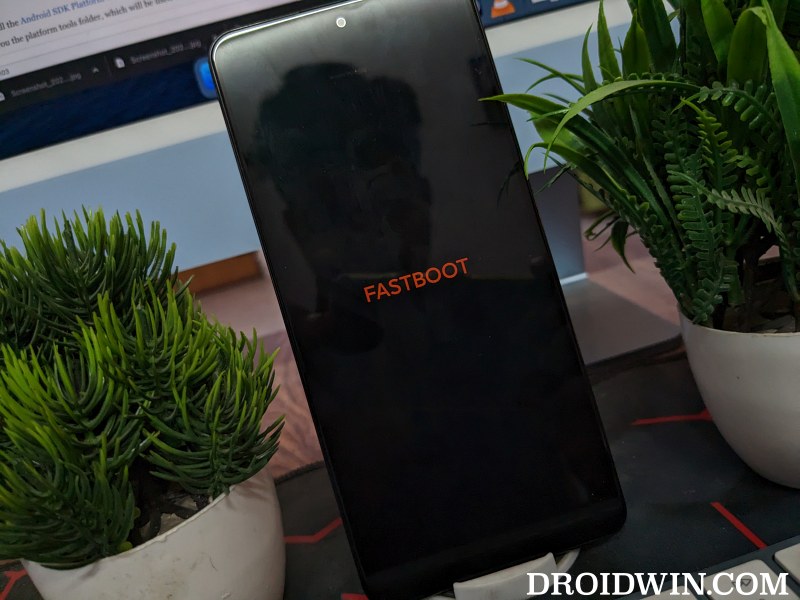
STEP 5: Boot to Fastboot Mode
- Connect your device to the PC via a USB cable. Make sure USB Debugging is enabled.
- Then head over to the platform-tools folder, type in CMD in the address bar, and hit Enter. This will launch the Command Prompt.

- Type in the following command in the CMD window to boot your device to Fastboot Mode
adb reboot bootloader

- To verify the Fastboot connection, type in the below command and you should get back the device ID.
fastboot devices

- If you are not getting any serial ID, then please install the Fastboot Drivers on your PC.
Install crDroid Android 14 on Redmi Note 12 5G
- First off, install TWRP Recovery on your Redmi Note 12 5G.
- Then boot your device to TWRP using the below command:
adb reboot recovery
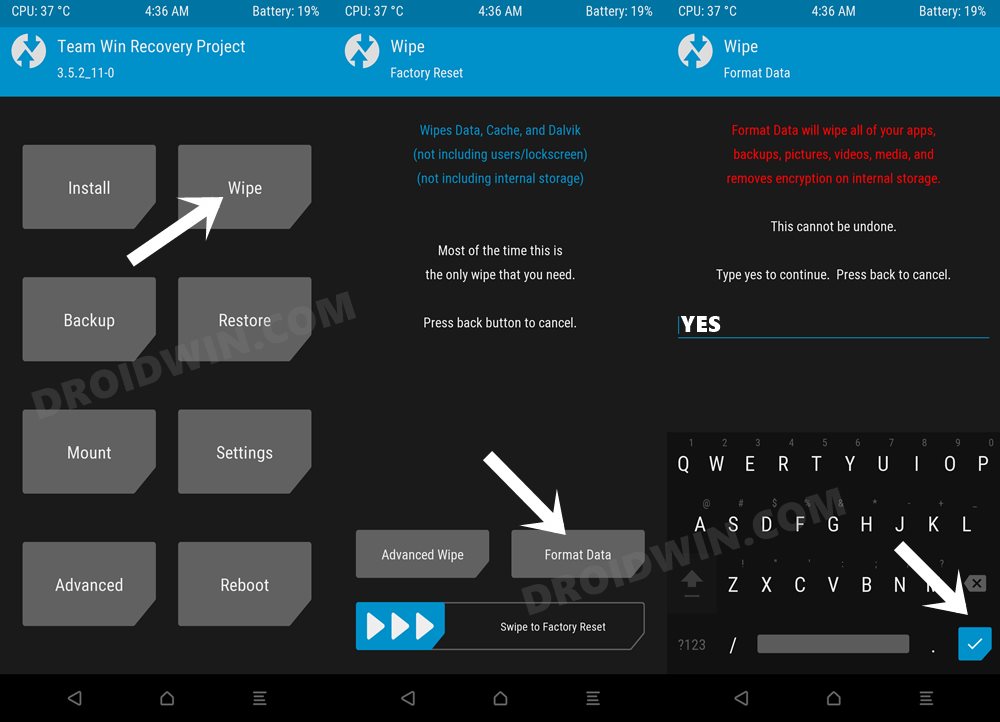
- Now go to Wipe > Format Data > Type in YES > tap on check.
- Once done, go to Install, select the rom.zip, and flash it.
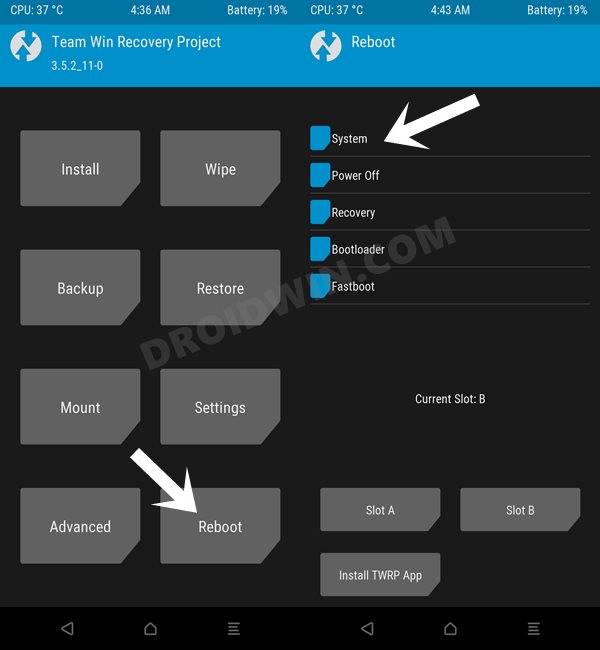
- Finally, go to Reboot and select System to boot to crDroid ROM!
Install crDroid Android 14 on Redmi Note 12 4G
- From TWRP, go to Install, select the preflash, and flash it.
- Again go to Install, select the rom.zip file, and flash it as well.
- Now go to Wipe, select Format Data, type in YES, and hit checkmark.
- Once done, go to Reboot and select Recovery. Your device will boot to TWRP.
- Now flash the DFE.zip file. Again, reboot to Recovery. Flash GApps [optional].
- Finally, select Reboot > System and your device will boot to the OS.


Install Paranoid Android on Redmi Note 12 5G
- From Fastboot Mode, use the below command to flash the ROM:
fastboot update --skip-reboot rom.zip
- Once done, use the below command to boot your device to recovery.
fastboot reboot recovery
- From recovery, do a factory reset/format data.
- Once done, you may now boot your PC to the OS.
That’s it. These were the steps to install various Android 13 Custom ROMs on your Redmi Note 12 5G. If you have any queries concerning the aforementioned steps, do let us know in the comments. We will get back to you with a solution at the earliest.


Forester
This Custom has gotten thread lock under xda forums moderator after asking for missing kernel source link.