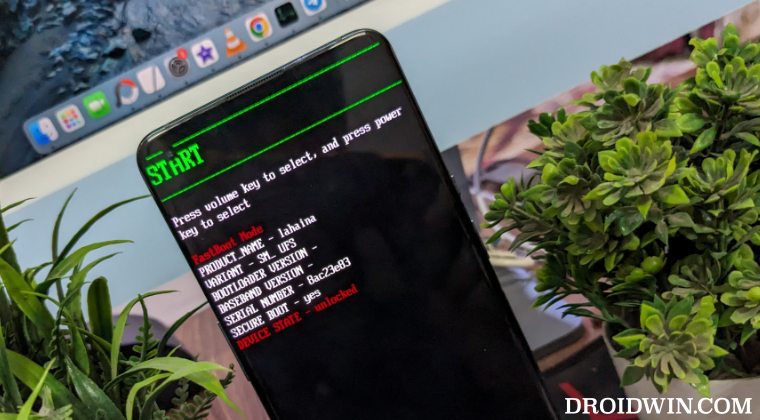
When it comes to custom ROMs, then there are quite a few players in this domain, however, despite that, LienageOS has firmly established itself as among the most trusted names in the town. Apart from offering a clean stock usage experience, it has encapsulated itself in a fast snappy, and performance-enhanced ecosystem. However, even though the ROM scores great on the performance and UI/UX point of view, for some it is barebone and lacks the basic customization tweaks. If you also echo the same thought, then the LineageOS iode might exactly be what you are looking for.
Table of Contents
What is LineageOS iode ROM?
Using the LineageOS ROM as the base, iode beholds a slew of other functionalities in its arsenal, with security and privacy being two of its major USPs. The ROM has “only added a few useful options commonly found in other custom ROMs, made some cosmetic changes, modified a few default settings to prevent data leaks to Google servers.
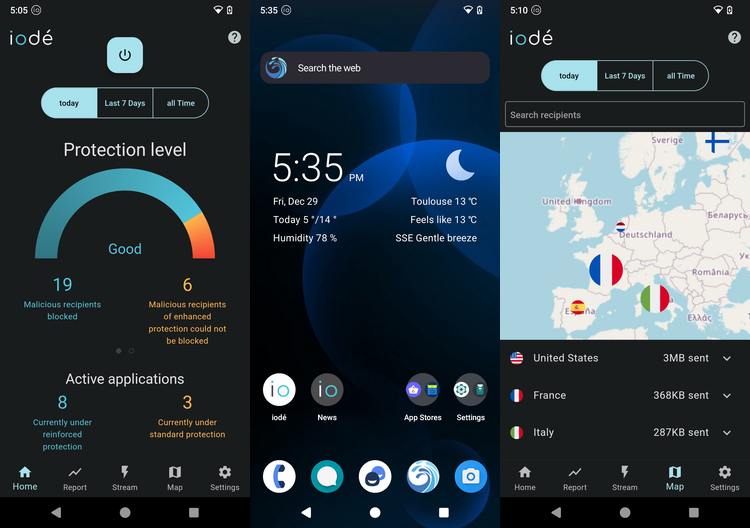
Apart from that, Google’s default DNS server has been replaced by Quad9’s ‘unblocked’ servers in all parts of the OS. Likewise, they have included MicroG as well as a coherent set of default apps (mostly open-source ones). Talking about which, here’s a list of all the preinstalled apps that this ROM comes with:
List of Preinstalled Apps in LineageOS iode ROM
- MicroG core apps: GmsCore, GsfProxy, FakeStore.
- NLP backends for MicroG: DejaVuNLPBackend (default), MozillaNLPBackend, AppleNLPBackend, RadioCellsNLPBackend, Nominatim Geocoder.
- App stores: FDroid (with F-Droid Privileged Extension) and Aurora Store.
- Browser: our own fork of Firefox (with Qwant as the default search engine, many other ones added, telemetry disabled, parts of telemetry code removed) instead of Lineage’s default browser Jelly.
- SMS: QKSMS instead of Lineage’s default SMS app.
- Email: p≡p (Pretty Easy Privacy).
- Camera: our own fork of Open Camera, with a few tweaks.
- Maps/Navigation: Magic Earth GPS & Navigation (the only one free but not open source).
- Keyboard: OpenBoard instead of AOSP keyboard.
- PDF: Pdf Viewer Plus.
- Personnal notes: Carnet.
- {Ad/Malware/Data leak}-blocker: iodé.
- News: to keep users informed about our developments, as well as a FAQ.
- Meteo: Geometric Weather.
How to Install LineageOS iode ROM on Android
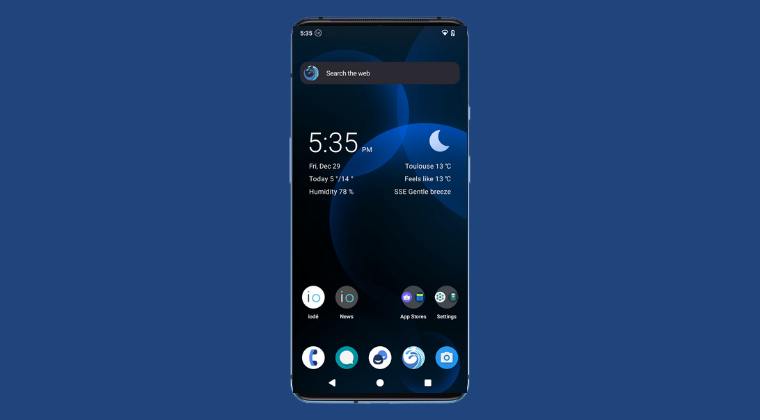
Before starting with the process, make sure to take a complete device backup beforehand. Droidwin and its members wouldn’t be held responsible in case of a thermonuclear war, your alarm doesn’t wake you up, or if anything happens to your device and data by performing the below steps.
STEP 1: Install Android SDK
First off, download and extract the Android SDK Platform Tools to any convenient location on your PC [this is the official ADB and Fastboot binary provided by Google].

STEP 2: Enable USB Debugging and OEM Unlocking
Next up, enable USB Debugging and OEM Unlocking on your device. The former will make your device recognizable by the PC in ADB mode. This will then allow you to boot your device to Fastboot Mode. if we talk about OEM Unlocking, then it is required to carry out the bootloader unlocking process. So refer to the below steps to get this job done:
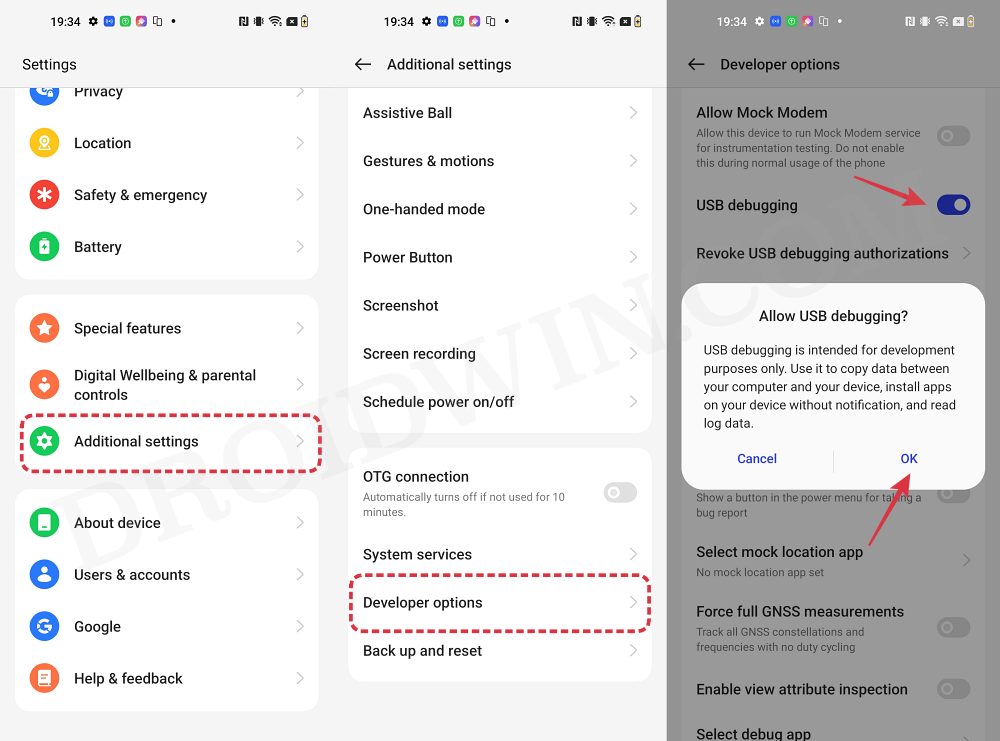
- Head over to Settings > About Phone > Tap on Build Number 7 times.
- Then go back to Settings > System > Advanced > Developer Options.
- Now enable the toggles next to USB Debugging and OEM Unlocking.
STEP 3: Unlock Bootloader
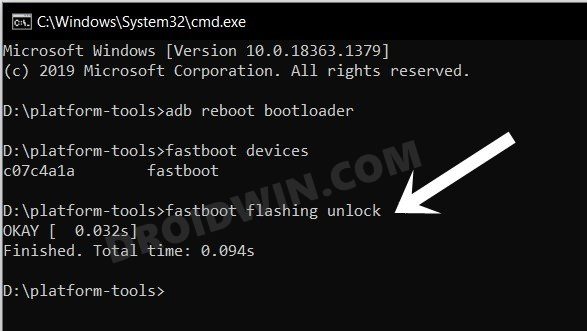
Next up, unlock the bootloader on your device. Do note that doing so will wipe off all the data and it could nullify its warranty as well. So if that’s all well and good, then please refer to our detailed guide on How to Unlock Bootloader on OnePlus 9, 9 Pro and 9R
STEP 4: Download LineageOS iode ROM
- You may now get hold of the ROM from below. Moreover, once you have downloaded the ROM, extract it to any convenient location on your PC.
DOWNLOAD LINK: LineageOS iode
STEP 5: Boot to Fastboot Mode
- Connect your device to the PC via a USB cable. Make sure USB Debugging is enabled.
- Then head over to the platform-tools folder, type in CMD in the address bar, and hit Enter. This will launch the Command Prompt.
- After that, type in the following command in the CMD window to boot your device to Fastboot Mode
adb reboot bootloader

- To verify the Fastboot connection, type in the below command and you should get back the device ID.
fastboot devices

STEP 6: Flash LineageOS iode ROM
- Head over to the folder where you have extracted the ROM.
- Then double-click on the flash-all.bat file to launch it.
- Wait for the flashing to complete. Once done, accept or decline bootloader relocking.
- If your answer is Yes, then boot to the OS and uncheck OEM Unlocking in Developer Options.
That’s it. On that note, we round off this guide on how you could flash the LineageOS iode ROM. Still, have any doubts? The comments section is all yours, make your voices heard there and we’ll chalk out the best fix for you.
