In this guide, we will show you the steps to flash the Indian ROM onto your Redmi Note 12 Pro/Pro+ 5G device. The Redmi Note series has always been known to provide power-packed devices at a price that wouldn’t burn a hole in your pockets. And the twelfth iteration of these devices has continued this legacy as well.
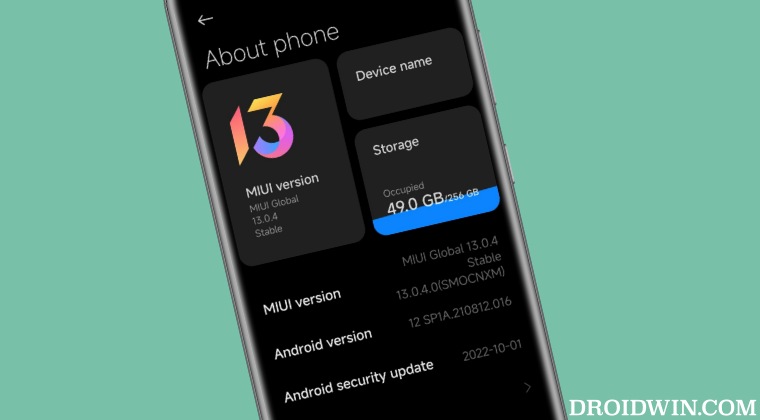
If we turn our attention toward the software side, then it comes with MIUI 13.0.4 based on Android 12 out of the box with the Android 13 beta lined up. So if it’s all going well and good, then why is there a need to manually flash the Indian ROM onto your Redmi Note 12/Pro/Pro+ 5G? Well, there could be quite a few reasons for the same but let’s make you aware of some of the most common use case scenarios.
Table of Contents
Why Should You Manually Flash Indian ROM on Redmi Note 12 Pro/Pro+ 5G
Even though you will be receiving OTA updates but that wouldn’t come in useful under every circumstance, and in those cases, you will have to manually flash the firmware. So what are those special circumstances? Let’s check it out:
- If you are planning to root your device, then you will have to download the Fastboot ROM to get hold of the boot.img [which will subsequently be patched via Magisk and Flashed via Fastboot Commands].
- Likewise, to disable DM Verity, you will need the flash the vbmeta.img, which again could only be accessed after downloading the firmware.
- In some instances, the update is rolled out in a staged manner, that is, not everyone would receive it in one go. In such cases, you could grab hold of the update file and manually flash it onto your device.
- if your device ends up in a bootloop or soft brick state, then you will have to download the firmware, extract the files, and flash them to their respective partitions to unbrick the device.
These were some of the most important use cases wherein you would want to manually flash the Indian ROM onto your Redmi Note 12 Pro/Pro+ 5G device. So without any further ado, let’s show you how this could be carried out.
How to Flash Indian ROM on Redmi Note 12 Pro/Pro+ 5G
The below instructions are listed under separate sections for ease of understanding. Make sure to follow in the same sequence as mentioned. Droidwin and its members wouldn’t be held responsible in case of a thermonuclear war, your alarm doesn’t wake you up, or if anything happens to your device and data by performing the below steps.
Install Android SDK

To begin with, install the Android SDK Platform Tools on your PC. This is the official ADB and Fastboot binary provided by Google and is the only recommended one. So download it and then extract it to any convenient location on your PC. Doing so will give you the platform-tools folder, which will be used throughout this guide.
Enable USB Debugging and OEM Unlocking
Next up, you will have to enable USB Debugging and OEM Unlocking on your device. The former will make your device recognizable by the PC in ADB mode. This will then allow you to boot your device to Fastboot Mode.
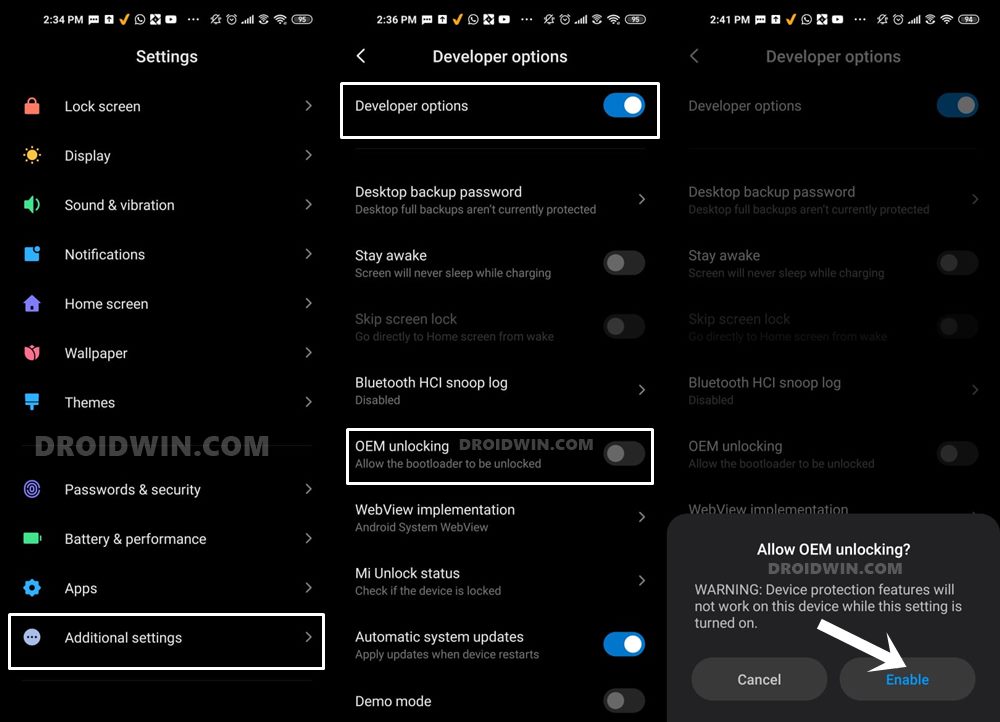
On the other hand, OEM Unlocking is required to carry out the bootloader unlocking process. So head over to Settings > About Phone > Tap on MIUI Number 7 times > Go back to Settings > System > Developer Options > Enable USB Debugging and OEM Unlocking.
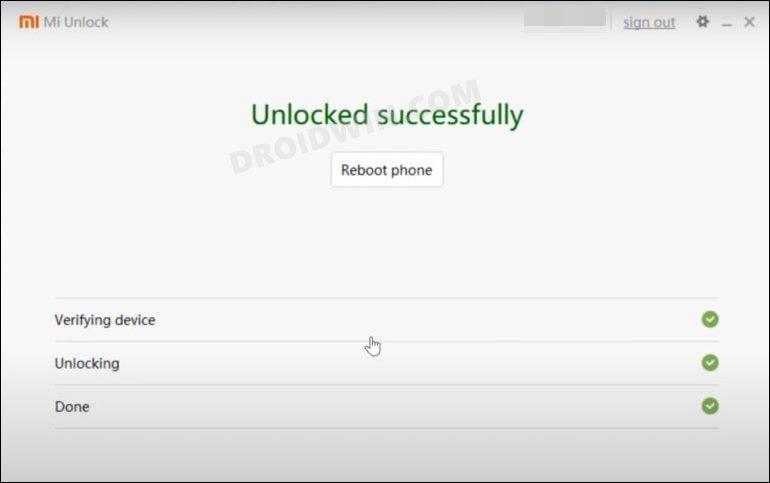
Unlock Bootloader on Redmi Note 12 Pro/Pro+ 5G
You will also have to unlock the bootloader on your Redmi Note 12 Pro/Pro+ 5G before you could flash the Indian ROM. Do keep in mind that doing so will wipe off all the data and might make the device’s warranty null and void as well. So if that’s well and good, then refer to our guide to Unlock Bootloader on any Xiaomi Device.
Download Redmi Note 12 Pro/Pro+ 5G Fastboot ROM
Next up, download the Fastboot ROM for your device. Make sure to download the same firmware version that is currently installed onto your device. You may either download the same from the MI official site or via third-party sites such as Xiaomi Firmware Updater. As for this guide, I am using the Redmi Note 12 Pro/Pro+ (ruby) Fastboot Stable ROM version V13.0.4.0.SMOINXM [Direct Download Link].
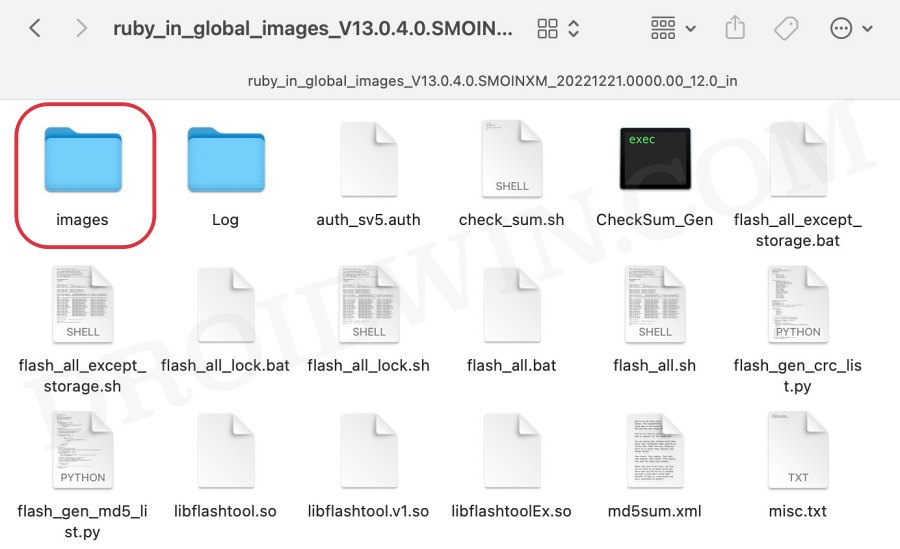
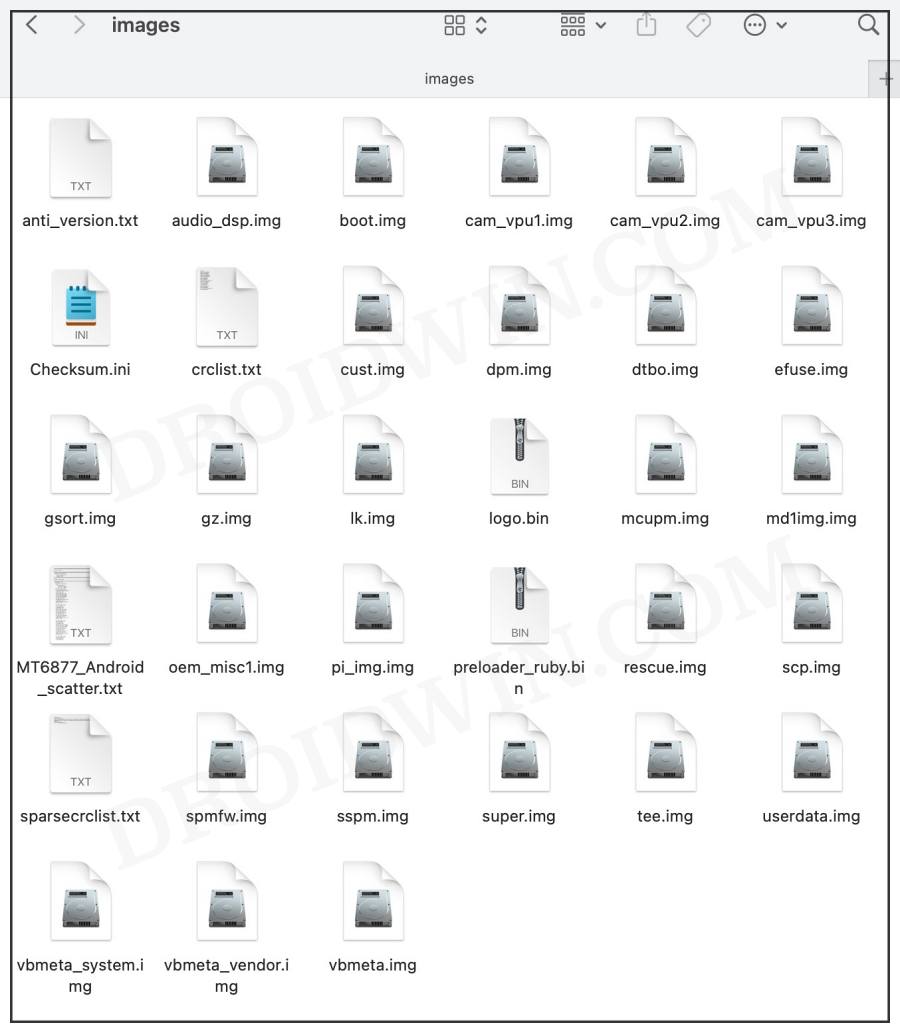
Once you have downloaded the ROM, extract it to any convenient location on your PC. Once extracted, go to the Images folder. Within that, you should see the partition files, transfer all of them to the platform-tools folder on your PC
Flash Indian ROM on Redmi Note 12 Pro/Pro+ 5G
- Head over to the platform tools folder, type in CMD in the address bar, and hit Enter. This will launch the Command Prompt.
- Now type in the below commands, one at a time, in this CMD window to flash the firmware files.
- Moreover, if you get any error after executing any of these commands, then don’t leave the process mid-way.
- Rather continue executing the rest of the commands and then check the results.
fastboot erase boot_ab
fastboot erase expdb
fastboot erase metadata
fastboot erase opcust
fastboot erase opconfig

fastboot flash preloader_ab preloader_ruby.bin
fastboot flash vbmeta_ab vbmeta.img
fastboot flash vbmeta_system_ab vbmeta_system.img
fastboot flash vbmeta_vendor_ab vbmeta_vendor.img
fastboot flash md1img_ab md1img.img
fastboot flash spmfw_ab spmfw.img
fastboot flash audio_dsp_ab audio_dsp.img
fastboot flash pi_img_ab pi_img.img
fastboot flash dpm_ab dpm.img
fastboot flash scp_ab scp.img
fastboot flash sspm_ab sspm.img
fastboot flash mcupm_ab mcupm.img
fastboot flash cam_vpu1_ab cam_vpu1.img
fastboot flash cam_vpu2_ab cam_vpu2.img
fastboot flash cam_vpu3_ab cam_vpu3.img
fastboot flash gz_ab gz.img
fastboot flash lk_ab lk.img
fastboot flash dtbo_ab dtbo.img
fastboot flash tee_ab tee.img
fastboot flash logo_ab logo.bin
fastboot flash countrycode countrycode.img
fastboot flash super super.img
fastboot flash cust cust.img
fastboot flash rescue rescue.img
fastboot flash userdata userdata.img
fastboot flash boot_ab boot.img

fastboot oem cdms
fastboot set_active a
fastboot reboot
The second last command will set Slot A as the current active partition and the last command will boot your device to the OS. So on that note, we round off the guide on how you could flash the Indian ROM onto your Redmi Note 12 Pro/Pro+ 5G. If you have any queries concerning the aforementioned steps, do let us know in the comments. We will get back to you with a solution at the earliest.
Device stuck in Fastboot Mode: How to Fix
If after executing all the commands your device is still stuck in a fastboot mode, then you will have to factory reset the device using the below command and then reflash the firmware using all the aforementioned commands. This will fix the bootloop/softbrick and your device will boot to the OS.
fastboot -w
