In this guide, we will show you the steps to transfer your iPhone backup to your PC. With the release of the iPhone 15 series running the latest iOS 17, many users had reported that their device got stuck in a bootloop or bricked state when they tried the device-to-device transfer. To make matters worse, some users have also said that they are being asked to sign in to random Apple IDs before they can carry out the data restore process.
So in all these cases, your best bet is to transfer your iPhone backup to your PC and then do a restore process the old-school way. Not to mention the fact that it’s always a great idea to have a backup of your data onto an external drive or location. So with that in mind, let’s get started with the process.
Table of Contents
How to Transfer your iPhone Backup to your PC
It is recommended that you try out each of the below-mentioned workarounds and then see which one spells out success. So with that in mind, let’s get started. Droidwin and its members wouldn’t be held responsible in case of a thermonuclear war, your alarm doesn’t wake you up, or if anything happens to your device and data by performing the below steps.
METHOD 1: The Traditional Way
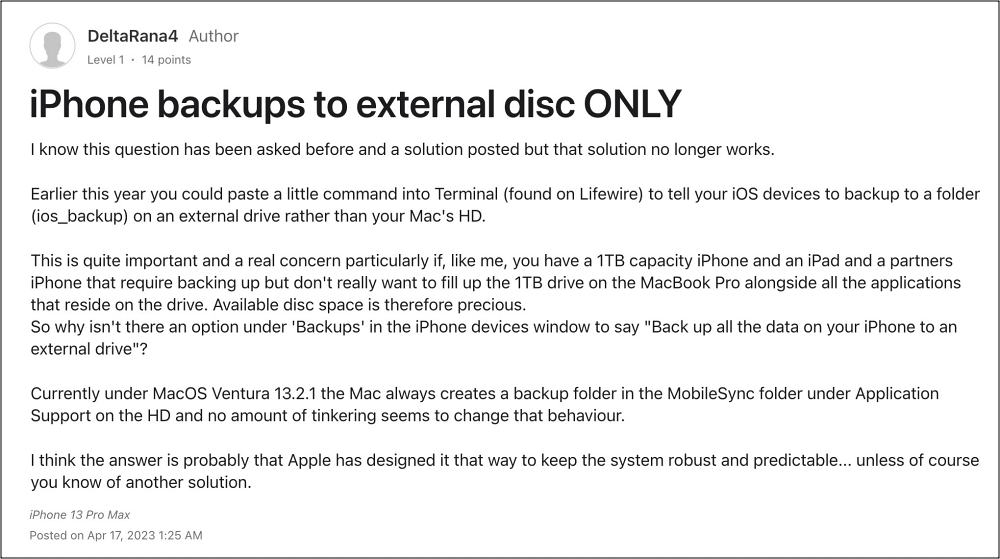
To backup an iPhone to an external hard drive with iTunes, you need to create a destination in the external drive and use a symlink to tell iTunes to save the iPhone backup to the external hard drive. Here’s how it could be done [Credits: Apple Forum Member Musab259]:

- Connect iPhone and external hard drive to Mac. Create a folder named MobileSync on an external hard drive.
- Find your old iPhone backup on your Mac. You could open iTunes > click iTunes > select Preferences > select Devices > select a backup > click Show in Finder.
- Move the whole folder, Backup, to the folder MobileSync on an external hard drive. If you don’t need these old backups, you could delete them and then create a folder named Backup on an external hard drive.
- Open Terminal on Mac. Enter ln-s/Volumes/External/Backup~/Library/Application\Support/MobileSync/Backup. You should know that “External” should be the name of your external hard drive
- Select your iPhone in the sidebar of iTunes. Click Back Up Now. After the process has been finished, you can check whether your iPhone backup has been saved to the external hard drive.
METHOD 2: Using Third-Party Apps
You could also get this job done via third-party apps which provide an easy-to-use interface as well. However, some users don’t prefer these apps because they don’t wish to involve an app when it comes to handling their data. However, if that is not the case with you, then you could opt for the iMazing app [or any other of your choice], which has been advised by one of the reputed Apple Forum Members.

That’s it. These were the two different methods to transfer your iPhone backup to your PC. If you have any queries concerning the aforementioned steps, do let us know in the comments. We will get back to you with a solution at the earliest.
- Stutter and Lag on iOS 17: Here’s one way to fix them!
- iOS 17 Sleep Focus not turning off automatically: How to Fix
- iMessage Search cannot find old messages on iOS 17!
- iMessage Check-In Feature not working in iOS 17 [Fixed]
- Contact Posters not working on iOS 17: How to Fix
- Reminders shopping list not working on iOS 17 [Fixed]


