In this guide, we will show you the steps to relock the bootloader on your Nothing Phone 1. Few devices have managed to create such an astronomical amount of hype that this brand did in such a short span of time. While one major factor for the same is its unique Glyph interface, but that isn’t the only one. Since OnePlus is on a downward spiral trend, there was a genuine lack of options for the end users, with Samsung being the sole player in the market in that price domain.
However, Nothing seems to have broken this monopoly and has made its presence felt, in quite some style. And we aren’t just talking about the general users. It has a lot to offer to tech enthusiasts as well. Be it for flashing custom/GSI ROMs or gaining administrative access by rooting your device via Magisk, there’s a lot to look forward to.
However, this is just one side of the coin. Unlocking the bootloader and rooting the device comes with a few downsides too [which we will discuss shortly]. Owing to this, many users prefer to return to the stock ecosystem. If you are also on the same page, then this guide shall help you relock the bootloader on your Nothing Phone 1. Follow along.
Table of Contents
Why Should I Relock the Bootloader on Nothing Phone 1
Unlocking the bootloader brings in quite a few caveats with itself. Among them, it’s the failure of SafetyNet that results in the inability to use banking and payments apps that might prove to be of great inconvenience to the end users [though you could pass SafetyNet and use banking apps on rooted device].
Likewise, the Widevine L1 certification will be downgraded to L3, resulting in the inability to watch DRM contents in HD [though it could be fixed as well]. So if all these are way too much to deal with, then the best route forward is to relock the bootloader on your Nothing Phone 1. And in this guide, we will show you how to do just that.
How to Relock Bootloader on Nothing Phone 1
The below process will wipe off all the data from your device, so take a complete device backup beforehand. Droidwin and its members wouldn’t be held responsible in case of a thermonuclear war, your alarm doesn’t wake you up, or if anything happens to your device and data by performing the below steps.
STEP 1: Remove all Modules and Root
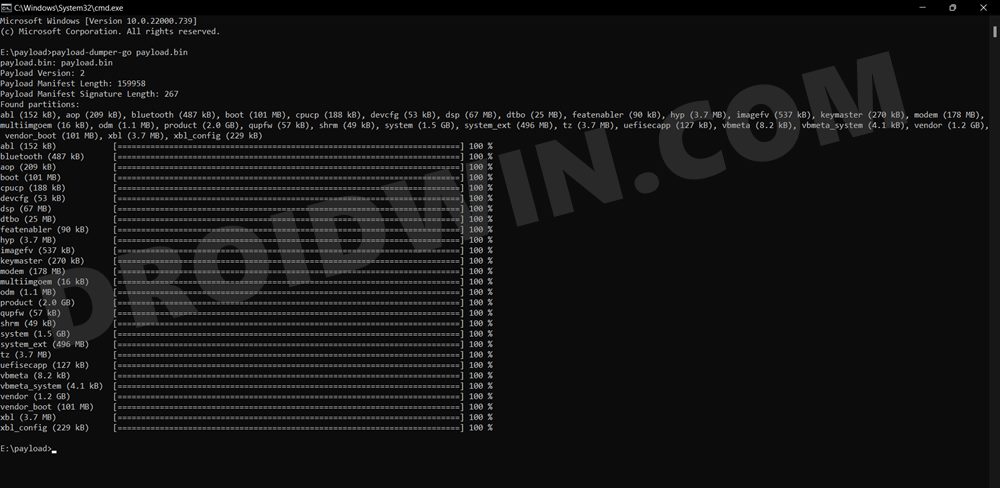
First and foremost, you will have to unroot your device, uninstall all the modules, and remove custom ROM and recovery. While you could do each of these tasks individually, but a shorter path will be to simply factory reset the device and then flash the stock firmware- all via fastboot commands. So refer to our guide on Nothing Phone 1: Flash Stock Firmware via Fastboot Commands.
STEP 2: Install Android SDK

First and foremost, you will have to install the Android SDK Platform Tools on your PC. This is the official ADB and Fastboot binary provided by Google and is the only recommended one. So download it and then extract it to any convenient location on your PC. Doing so will give you the platform-tools folder, which will be used throughout this guide.
STEP 3: Enable USB Debugging and OEM Unlocking
Next up, you will have to enable USB Debugging and OEM Unlocking on your device. The former will make your device recognizable by the PC in ADB mode. This will then allow you to boot your device to Fastboot Mode. On the other hand, OEM Unlocking is required to carry out the bootloader locking process.
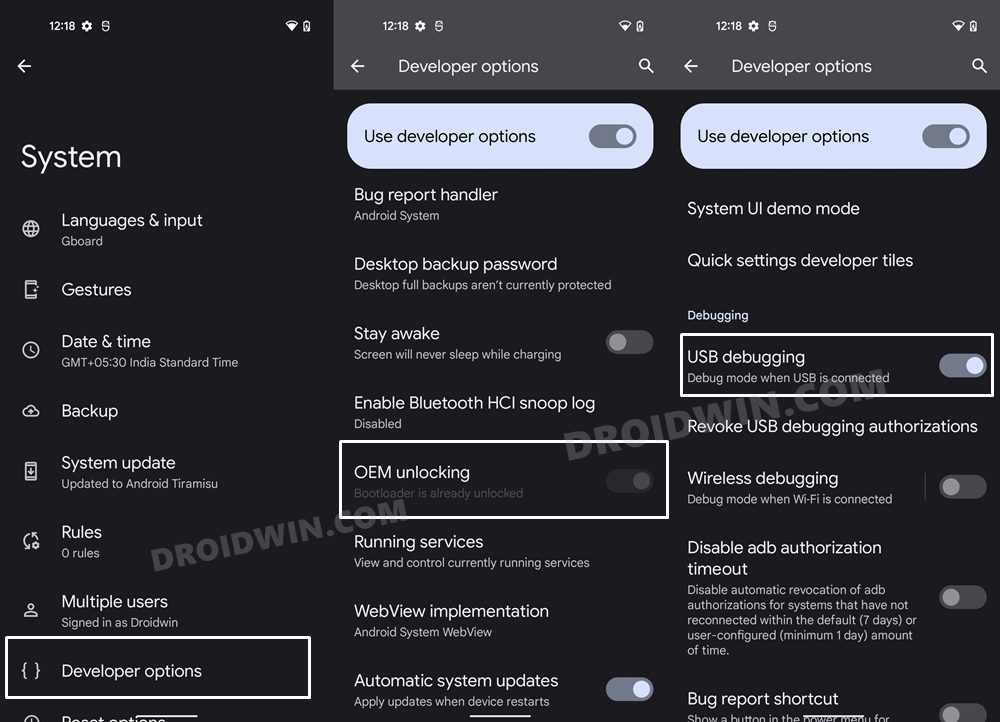
So head over to Settings > About Phone > Tap on Build Number 7 times > Go back to Settings > System > Advanced > Developer Options > Enable USB Debugging and OEM Unlocking.
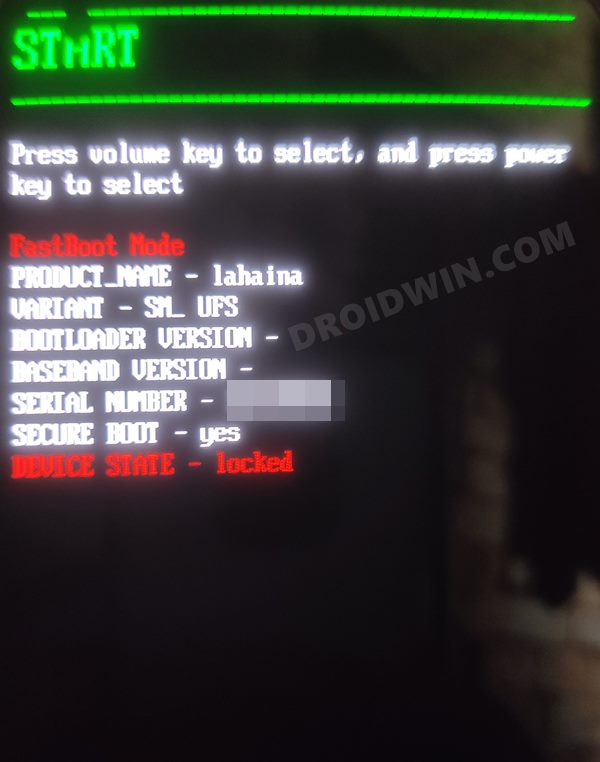
STEP 4: Boot Nothing Phone 1 to Fastboot Mode
- Connect your device to the PC via USB cable. Make sure USB Debugging is enabled.
- Then head over to the platform-tools folder, type in CMD in the address bar, and hit Enter. This will launch the Command Prompt.

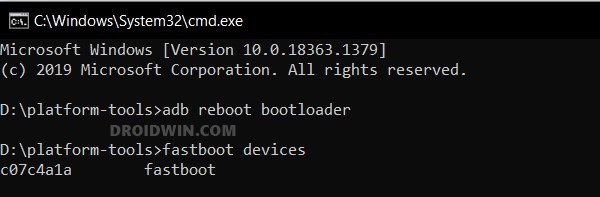
- Type in the following command in the CMD window to boot your device to Fastboot Mode
adb reboot bootloader
- Now type in the below command to verify the Fastboot Connection
fastboot devices
- If you get a device ID followed by the fastboot keyword, then the connection stands successful and you may now proceed ahead to relock the bootloader on your Nothing Phone 1.

STEP 4: Relock the Bootloader on Nothing Phone 1
- Type in the below command in the CMD window that is opened inside the platform-tools
fastboot flashing lock
- If you had unlocked the critical partition as well, then use the below command to relock them as well
fastboot flashing lock_critical
- You may now get a confirmation message on your device. Use the Volume keys to select the Relock the Bootloader option and hit the Power key to confirm it.
- The device will undergo a reset and then the bootloader will be unlocked. Do keep in mind that the first boot might take up to a minute, this is completely normal.
- Furthermore, you will have to log in to Google ID and set up your device from scratch, since a wipe has taken place. But we would advise you not to restore the data now, instead, move over to the next section.
That’s it. These were the steps to relock the bootloader on Nothing Phone 1. If you have any queries concerning the aforementioned steps, do let us know in the comments. We will get back to you with a solution at the earliest.