In this guide, we will show you a nifty method using which you can easily play Android games on your Windows PC via Google Play Games. The introduction of Windows Subsystem for Android was among the most talked about topics in town among tech enthusiasts. Right from executing ADB Commands to rooting your PC and even trying out your favorite games directly on the large screen, well things couldn’t have been any better. Or could it?
Well, the absence of Google Play Service was a major missing piece in the jigsaw. For the unaware, until and unless you have this GMS package, you won’t be able to install and run any games from the Play Store. So at that point in time, our only bet was to sideload APK from third-party sites, which involved a fair bit of risk.
Fortunately, you can now put all those concerns as Google has officially rolled out the Play Games package using which you can now play Android games on your Windows PC directly by downloading and installing them from the Play Store. And in this guide, we will show you how to do just that. So without any further ado, let’s start off with this intriguing journey.
Table of Contents
How to Play Android Games on Windows via Google Play Games
The below instructions are listed under separate sections for ease of understanding. Make sure to follow the same sequence as mentioned.
STEP 1: Verify System Requirement
First and foremost, please make sure that your PC checkmarks all the below-listed requirements. [if it doesn’t, then you may still try out this guide and see if it spells out success or not].
- Windows 10 v2004 or higher
- An SSD with 10GB of free space should be available
- Intel UHD 630 or higher
- 4-Core CPU or higher (Some games specifically require an Intel CPU)
- 8GB of RAM or higher
- Hardware Virtualization enabled [explained below]
STEP 2: Enable Windows Hardware Virtualization
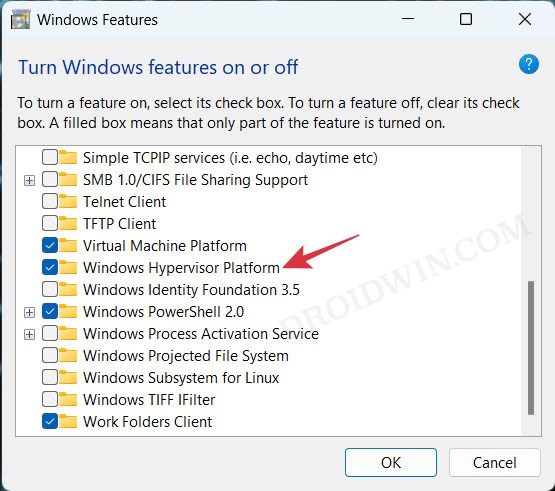
- Head over to Settings > Apps > Optional Features.
- Then select More Windows Features, check Windows Hypervisor Platform, and click OK.

- You’ll now be asked to restart your PC. Do so right away.
- Once installed [which might take a few minutes], your PC will boot to the OS.
STEP 3: Install Google Play Games on Windows 11
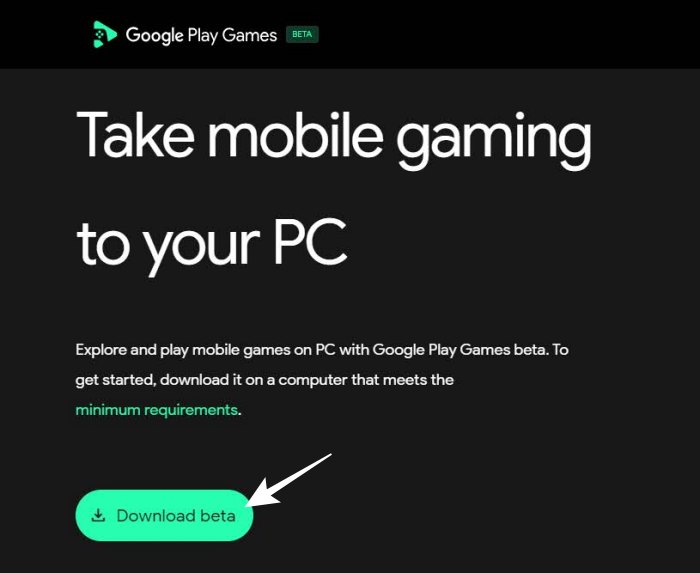
- First off, download the Google Play Games from its official site.
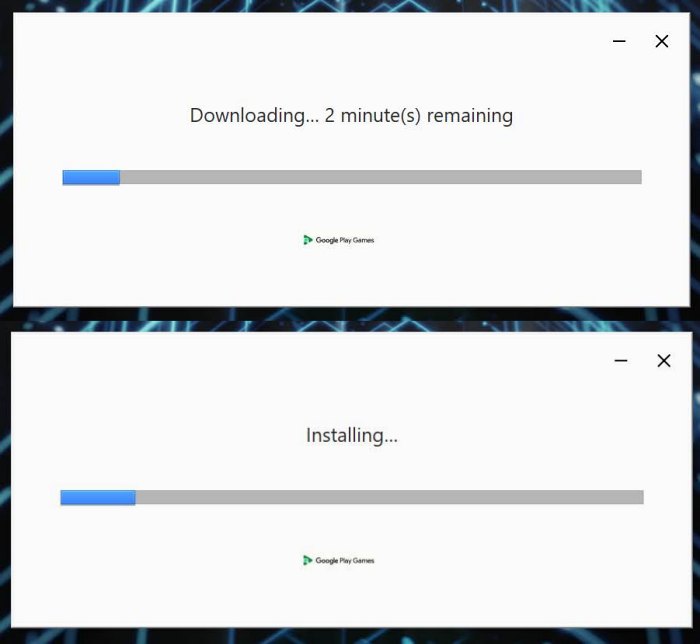
- Once done launch it and it will then download the required files.
- After that, the installation will proceed and subsequently open.
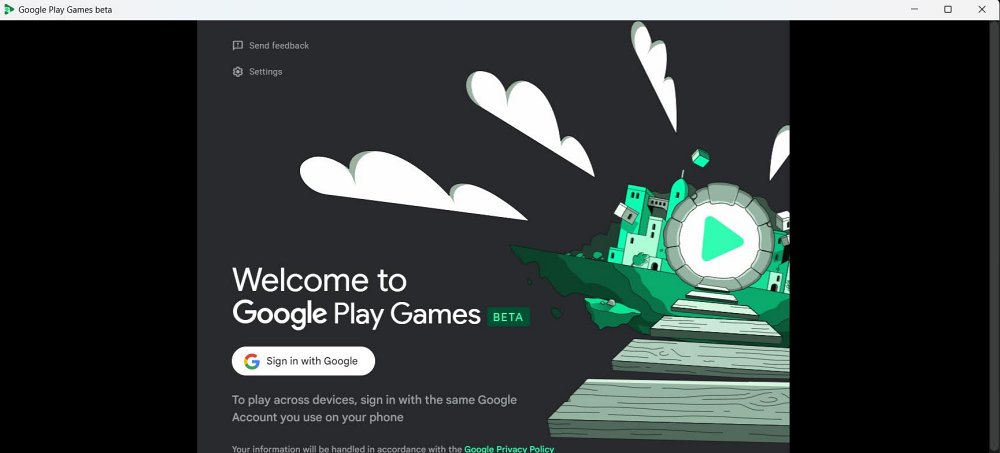
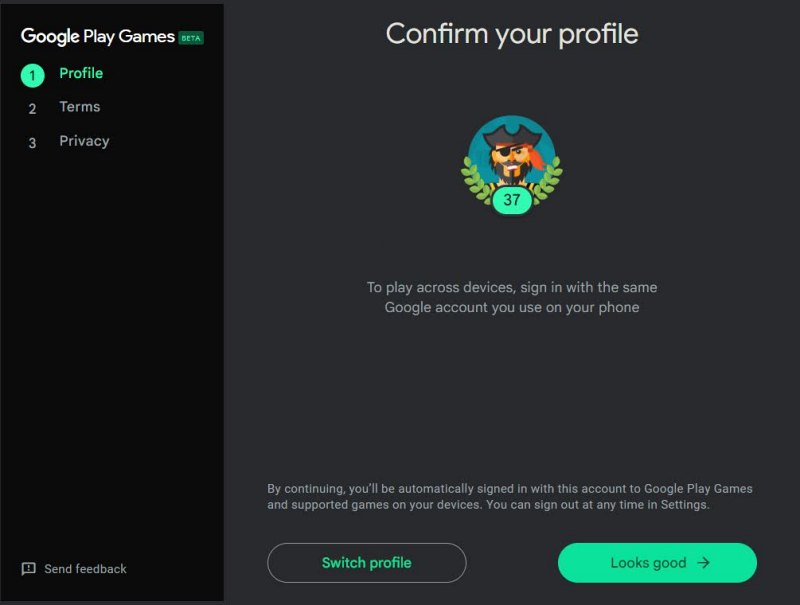
- Click on Sign in with Google and then sign in via your account.
- Then proceed with the on-screen instructions to complete the sign-in.
- Once done, the Google Play Games Beta will launch on your Windows PC.
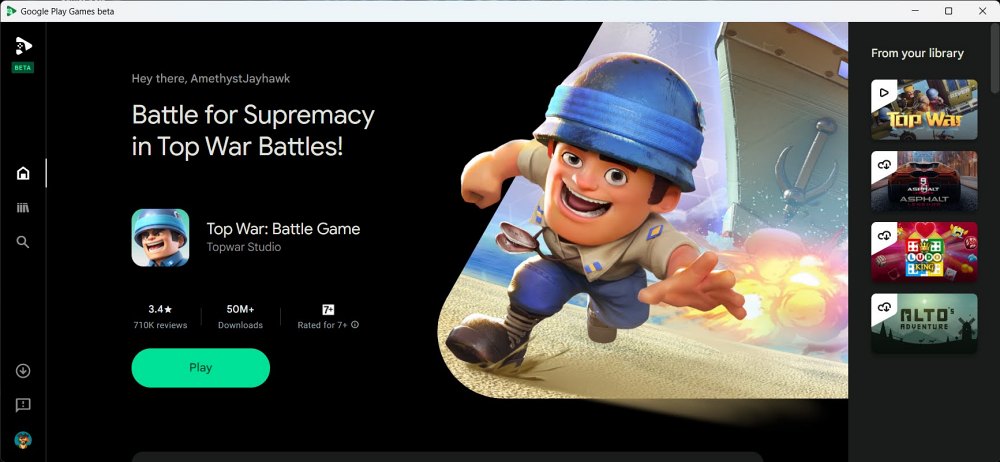
STEP 4: Install Android Games on Windows 11
- Go through the entire Play Store catalog and then install the game of your choice.
- Once done, hit Play and the game should run straightaway.
- If you want to close the game, select Quit from the in-game menu or just hit Alt+F4.
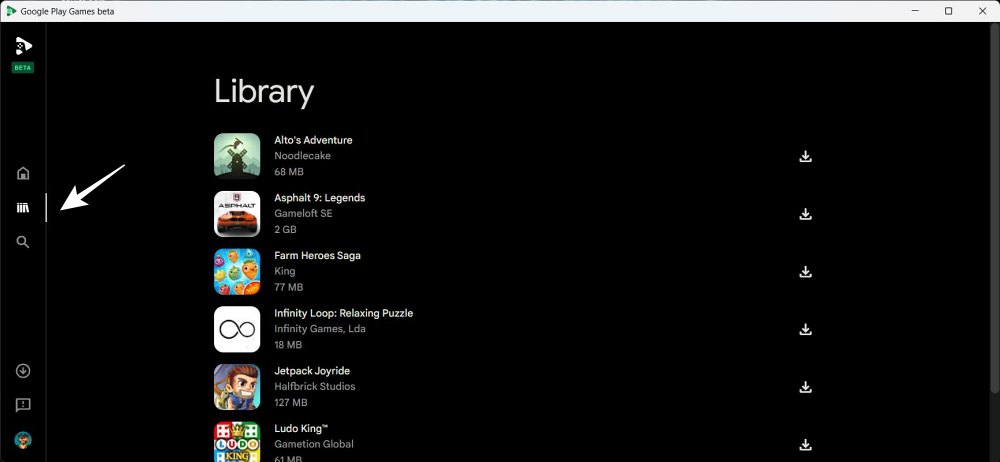
- To further customize the game settings, then go to Google Play Games Beta Library.
- On supported games, you should see the settings icon. Click on it and customize the controls as per your need.
So these were the steps to play Android games on your Windows PC via Google Play Games. If you have any queries concerning the aforementioned steps, do let us know in the comments. We will get back to you with a solution at the earliest.


Adam
Thanks again, thanks for taking your time to share…