In this guide, we will show you the steps to fix the Unable to start Windows Subsystem for Android error. The ability to run Android apps on the PC was always among the most requested features by the tech enthusiast. So when the Redmond giants announced that they were adding the Windows Subsystem for Android in the latest OS build, it managed to receive quite a few positive receptions.
While its release got slightly delayed, it’s now finally available for the beta testers (yes, for the beta tester and not for the developer preview users!). As a result, you could now easily install your preferred Android games, sideload the desired APKs, or even install the Play Store onto your Windows 11 PC. But since the feature is currently in the beta stage, a few bugs and issues are imminent.
Among them, “Unable to start Windows Subsystem for Android” is one of the most common errors that users are currently facing. If you are also getting bugged with this issue, then fret not. In this guide, we will make show you the steps to rectify this issue once and for all. So without further ado, let’s get started.
Table of Contents
How to Fix Unable to start Windows Subsystem for Android

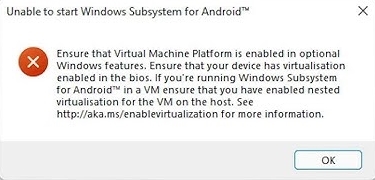
The aforementioned error accompanies the following error message: Ensure that Virtual Machine Platform is enabled in optional Windows features. This message is popping up as and when users are trying to launch Windows Subsystem for Android. So what is the plausible explanation for this error? Well, it is happening because Virtualisation stands disabled on your Windows 11 PC. In simpler words, Virtualisation is needed to run non-native Windows apps inside the Windows ecosystem.
Since Android apps are also part of the non-native app environment, you will need to enable the Virtualisation on your PC. If you don’t do so, then you wouldn’t be able to install and run Android apps in Windows 11. With that in mind, this guide will show you three different methods to enable Virtualisation in Windows 11 that shall help you fix the Unable to start Windows Subsystem for Android error. This should also fix the “Ensure that Virtual Machine Platform is enabled in optional Windows features” error.
Method 1: Enable Virtualization in Windows 11 via Control Panel
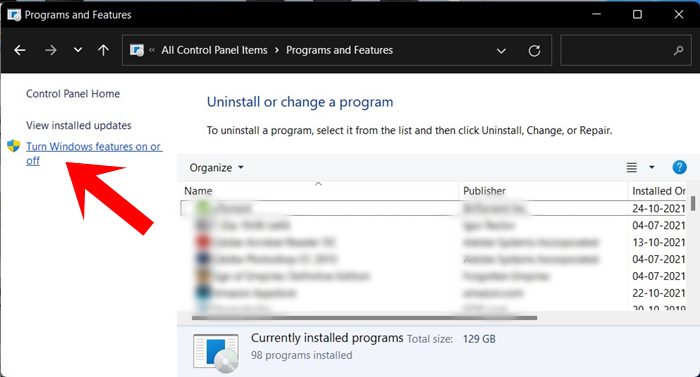
- Open Control Panel from the Start Menu and click on Programs and Features.

- Then click on ‘Turn Windows features on or off’ from the left menu bar.
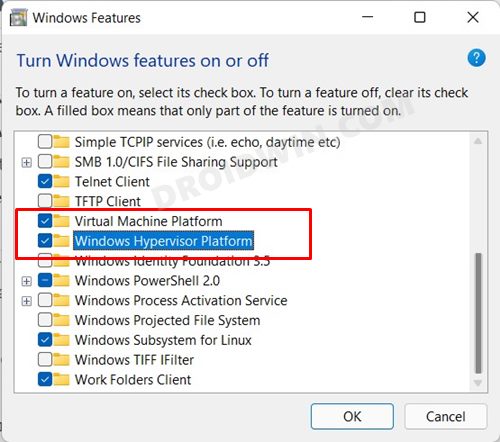
- Now, checkmark ‘Virtual Machine Platform’ and ‘Windows Hypervisor Platform’ and click OK.
- Finally, restart your PC for the changes to take place. Once it boots up, the Unable to start Windows Subsystem for Android error should be fixed.

Method 2: Enable Virtualization in Windows 11 from BIOS
- To begin with, power off your PC. Then turn it back on. As soon as it is booting up, continuously press the Esc key. This shall bring up the Start menu. Now just press the key that corresponds to BIOS (which is usually F10).
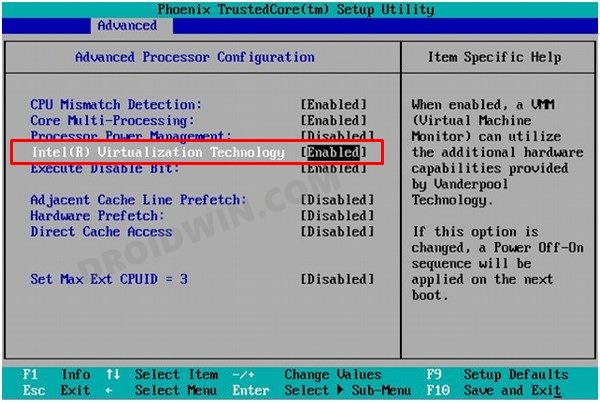
- Your PC shall now boot to the BIOS. Go to its Advanced tab and you should see the Intel Virtualization Technology, enable it.
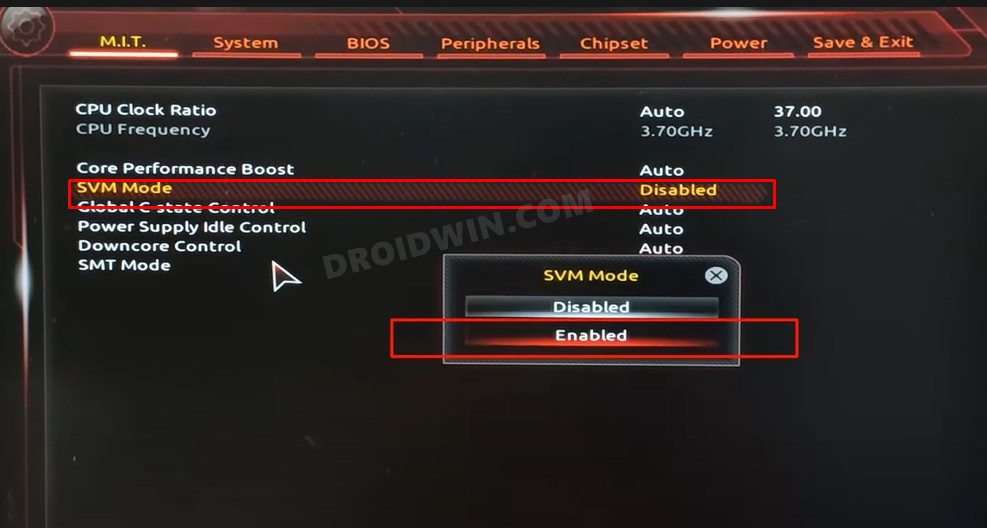
- On the other hand, AMD users would see the SVM Mode (Secure Virtual Machine). Make sure to enable it.
- Now save the changes and reboot your PC to the OS. Once it boots up, the Unable to start Windows Subsystem for Android error should be fixed.
Method 3: Enable Nested Virtualization in Virtual Machine
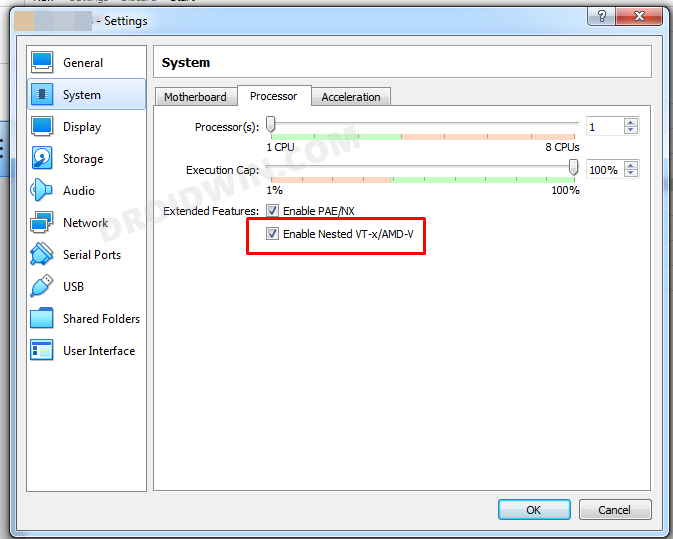
If you are running Windows 11 inside a Virtual Machine, then you should consider enabling the Nested Virtualization. This will then allow you to run virtual machine instances inside the Virtual Machine itself!
- If you are using VirtualBox, then you need to enable Nested VT-x/AMD-V.
- On the other hand, VMware users would directly see the Nested Virtualization option, so make sure you enable it.
- If you are using Hyper-V, then you need to execute the below command on the physical Hyper-V host [make sure to replace the VMName keyword accordingly].
Set-VMProcessor -VMName <VMName> -ExposeVirtualizationExtensions $true

With this, we round off the guide on how you could fix the Unable to start Windows Subsystem for Android error. This shall also fix the Ensure that Virtual Machine Platform is enabled in optional Windows features error message. If you have any queries concerning the aforementioned steps, do let us know in the comments. We will get back to you with a solution at the earliest. Moroever, given below are some other WSA guides that deserve your attention:
- How to Install and Run Android Apps on Windows 11
- How to Install Windows Subsystem for Android on Unsupported PC
- Fix: IP Address Unavailable in Windows Subsystem for Android
- Sideload Android Apps on Windows 11 [Without Amazon App Store]
- Install Google Play Store in Windows 11 via Windows Subsystem for Android
- How to Install Windows 11 on any PC using Virtual Machine


qazi
how to install wsa on m1 mac , via parallels 17 trial 14 days version?