In this guide, we will show you various methods through which you could fix the issue of being unable to install the Windows Update KB5001716. The Redmond giant has recently rolled out its latest update with a new user interface (UI) functionality for Windows Update as well as the usual under-the-hood bug fixes. However, many users have voiced their concern that they are unable to welcome abode this update onto their PC. If you are among the affected users, then this guide will make you aware of numerous workarounds to address this bug. Follow along.
Table of Contents
Fix Cannot Install Windows Update KB5001716
It is recommended that you try out each of the below-mentioned workarounds and then see which one spells out success. So with that in mind, let’s get started.
FIX 1: Use Windows 11 Troubleshooter
The OS comes built-in with quite a few troubleshooting apps and one of them is aimed specifically at rectifying update-related issues. So let’s put this tool to the test and check out the results.
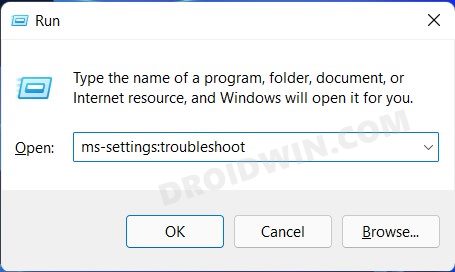
- Use the Windows+R shortcut keys to open the Run dialog box.
- Then type in the below command and hit Enter.
ms-settings:troubleshoot

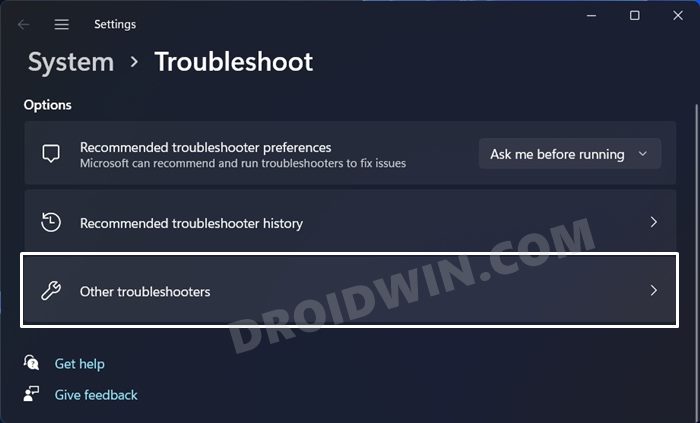
- It shall take you to the Windows Troubleshooter page, click on Other Troubleshooter.
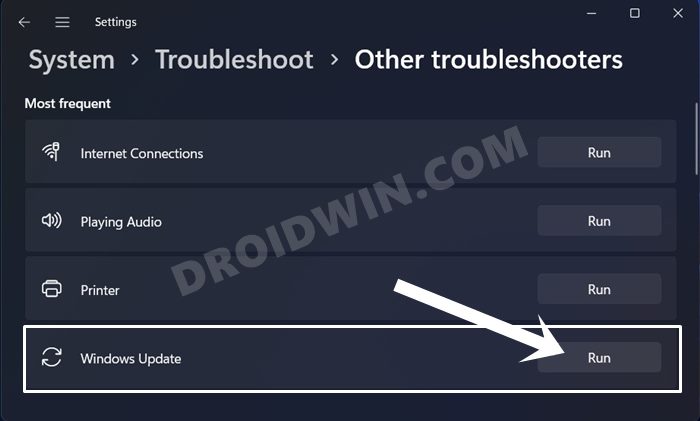
- Now click on the Run button next to Windows Troubleshooter.
- The scanning process will now begin. Once complete, it shall bring in the fixes, just click on it to apply it.
- Finally, restart your PC for the fix to be implemented, and then check out the results.
FIX 2: Delete Windows 11 Update Cache
If a lot of temporary data related to Windows Update gets accumulated over the due course of time, then it might conflict with the regular cycle of Windows updates. Therefore, the best route is to delete all these temporary cache files from your PC right away. Here’s how it could be done:
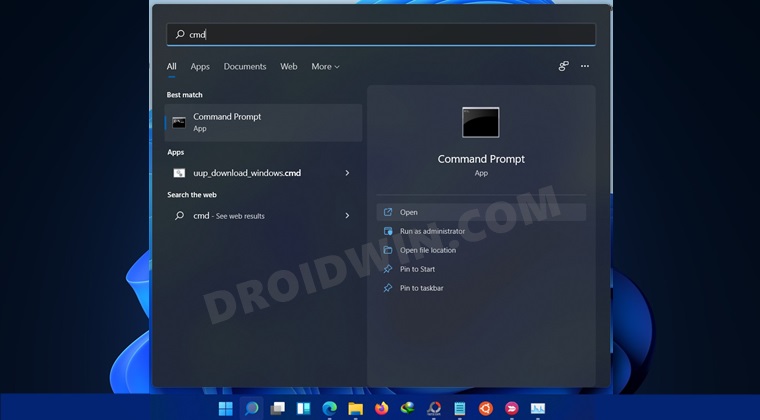
- Head over to the Start Menu, search CMD, and open Command Prompt as an administrator.
- Now execute the following three commands in this CMD window, one at a time:
net stop bits
net stop wuauserv
net stop cryptsvc
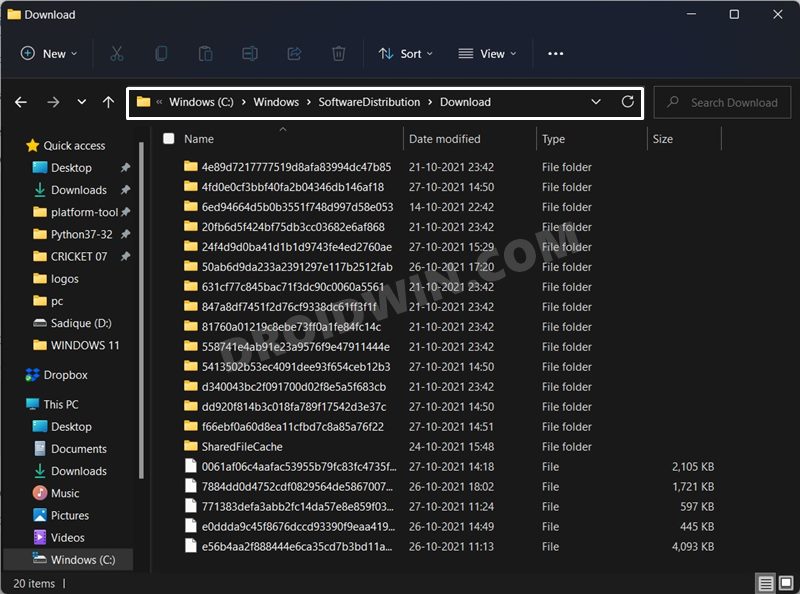
- After that, launch File Explorer via Windows+E shortcut keys.
- Then copy-paste the below location its address bar:
C:\Windows\SoftwareDistribution\Download
- Now delete all the files from that folder.
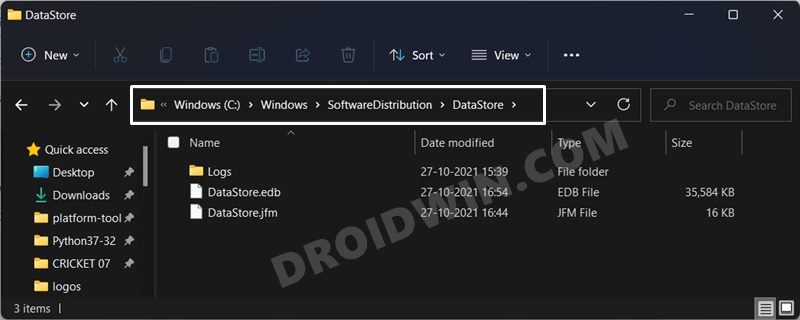
- After that, head over to the below location:
C:\Windows\SoftwareDistribution\DataStore
- As before, delete all the files from that folder.
- Once that is done, go back to the CMD window and execute the following three commands, one at a time:
net start bits
net start wuauserv
net start cryptsvc
- Once that is done, restart your PC and then check if you are able to install the Windows Update KB5001716.
FIX 3: Restart Windows 11 Update Service
You might also get bugged by this issue if the update service is not functioning along the expected lines in the backend. In such cases, you should stop and then restart this service, using the instructions listed below:
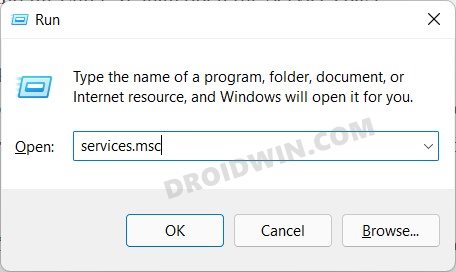
- To begin with. bring up the Run dialog box via Windows+R shortcut keys.
- Then type in the below command and hit Enter. It shall open the Services menu
services.msc
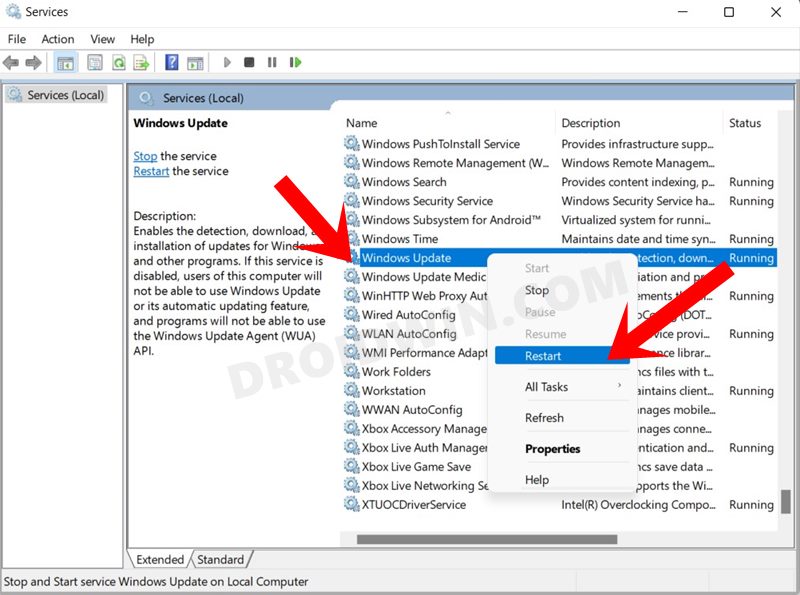
- Scroll to the Windows update service, right-click on it, and select Restart.
- If that option is greyed out, then you need to first ‘Start’ it, after which you may perform the restart.
- Once done, it is recommended to restart your PC and then check if it fixes the update issue.
FIX 4: Use DISM/SFC/CHKDSK Commands
System File Checker and Deployment Image Servicing and Management are two command-line utility tools that scan for corrupt Windows files and then replace them with their working counterpart. The major difference between the two is the SFC replaces the corrupt files with the working ones from the cached directory on your PC.
On the other hand, DISM does so by downloading the working files from the online Microsoft servers. Then if we talk about CHKDSK (CheckDisk) then it is used to check for corrupt or damaged disk partitions and then repair them accordingly. As of now, we will be making use of all these three tools to fix the underlying issue. Follow along.
- To begin with, right-click on the Start Menu and select Windows Terminal (Admin).
- Then click on the down arrow present next to the new tab icon and select Command Prompt from the list.
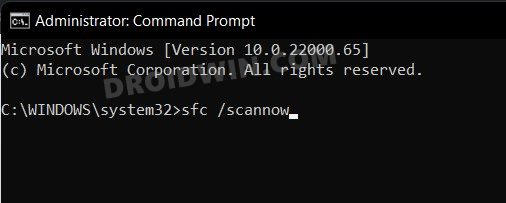
- Once the CMD window is opened, copy-paste the below command to open the SFC Tool:
sfc /scannow
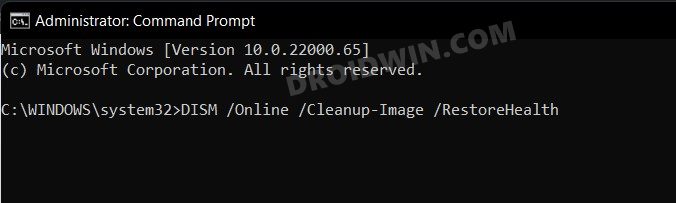
- Once the SFC Scanning is complete, it’s time to use the DISM Tool. So copy-paste the below command:
DISM /Online /Cleanup-Image /RestoreHealth
- Once DISM finishes the scanning, it’s time to use the Check Disk command. So execute the below command in the CMD window:
CHKNTFS C:

Once all three commands have been executed, it is recommended to restart your PC. Once it boots up, check if you are able to install the Windows Update KB5001716
FIX 5: Reset Windows Update Component
If the Windows Update component’s configuration files get corrupted or are facing any issues, then its consequences will be felt across the entire Windows update schedule. So you should consider resetting it back to its factory default state. To do so, launch Command Promot as an admin and then execute the following ten commands, one at a time:
net stop wuauserv
net stop cryptSvc
net stop bits
net stop msiserver
ren C:\Windows\SoftwareDistribution SoftwareDistribution.old
ren C:\Windows\System32\catroot2 catroot2.old
net start wuauserv
net start cryptSvc
net start bits
net start msiserver
Once all the commands have been executed, you should restart your PC. Once it boots up, verify if the issue has been resolved or not.
FIX 6: Manually Install Windows 11 Update
If none of the aforementioned methods managed to spell out success, then the last way out is to manually get hold of the updates and then subsequently install them. All this has been explained in-depth in this guide, do check it out: How to Manually Download a Particular/Specific Windows 11 Update. Or you may refer to the below shorter instructions:
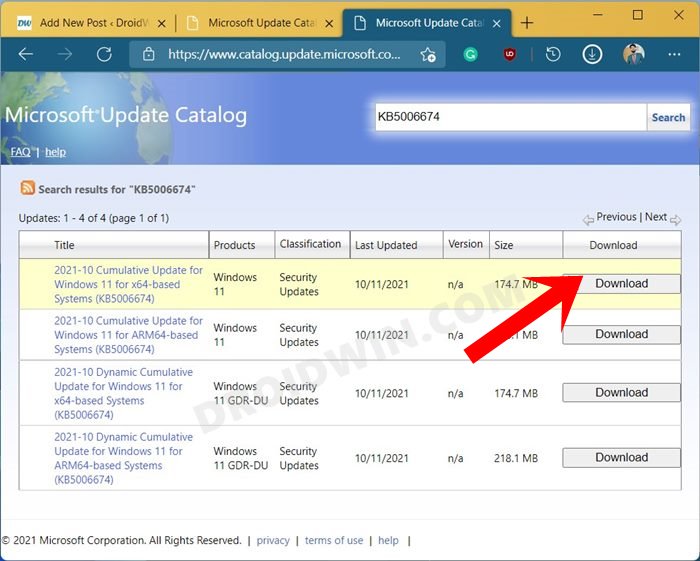
- To begin with, head over to the official Microsoft Catalogue site,
- Then enter the Update File’s KB number and tap on Download.
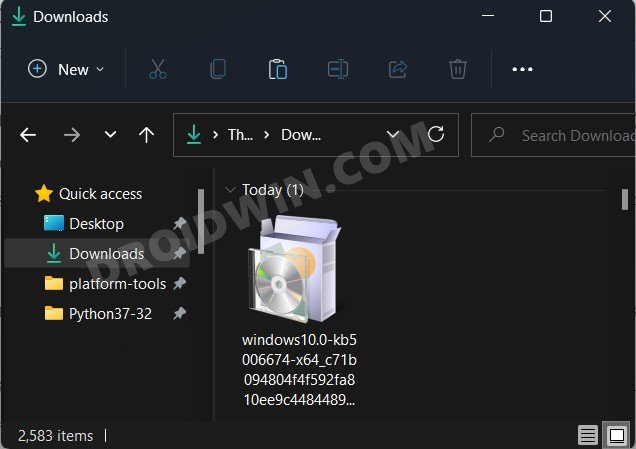
- The update file will then be downloaded as an MSU installer, double click to open it.
- Then proceed with the on-screen instructions to install it.
- Once done, restart your PC and check out the results.
That’s it. These were the various methods that should help you fix the issue of being unable to install the Windows Update KB5001716. If you have any queries concerning the aforementioned steps, do let us know in the comments. We will get back to you with a solution at the earliest.