In this guide, we will show you the steps to enable the Group Policy Editor in Windows 11 Home Edition. The GPE in Windows is used to review, configure and modify various Group Policy settings. Administrators make use of the same to carry out some system-level policy changes for all the users spread across a network. Along the same lines, a general user could also use it to execute various tweaks and modifications to their system. However, Microsoft doesn’t make it available for every version of Windows.
For the unawares, Windows has four major builds- Profession, Student, Enterprise, and Home. Most of our readers might be on the Home Edition, which doesn’t come natively with a Group Policy Editor. Rather, Professional Editon is the only edition of Windows that comes built-in with GPE. But there does exist a handy workaround through which you could enable the Group Policy Editor in Windows 11 Home Edition. And in this guide, we will make you aware of just that. So without further ado, let’s get started.
Table of Contents
How to Enable Group Policy Editor in Windows 11 Home Edition

Well, I have personally tried it on my Windows 11 PC and faced no issue whatsoever. But even then, I would highly recommend you to take a complete system backup by creating a Windows 11 Restore Point. Once that is done, you may proceed with the below steps to open the GPE and hence fix the “Windows cannot find gpedit.msc” error once and for all.
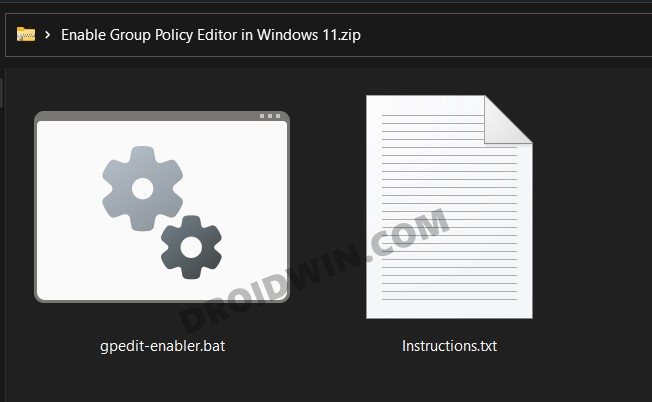
- To begin with, download the Enable GPE Windows 11 ZIP file [Credits: MajorGeeks].
- Then extract it to any convenient location on your PC.

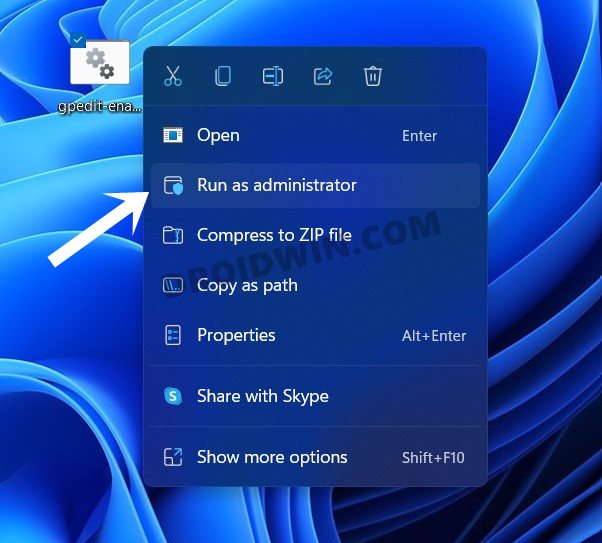
- You shall get the gpeditenabler.bat file. Right-click on it and select Run as Administrator.
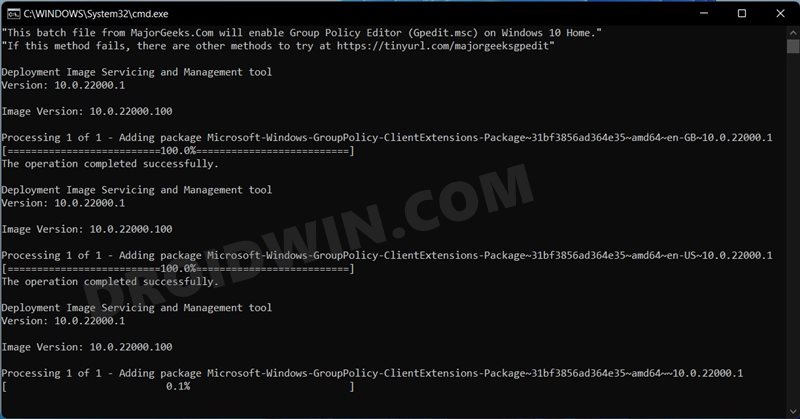
- The Command window will now launch and it shall install the required extension packages.
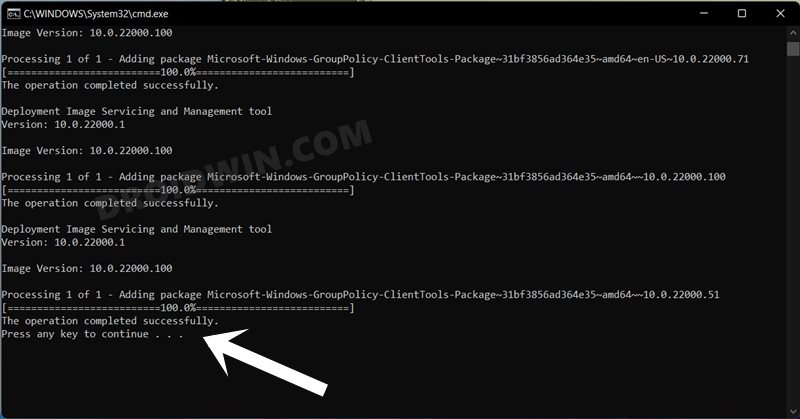
- Once the installation is complete, you shall be notified of the same.
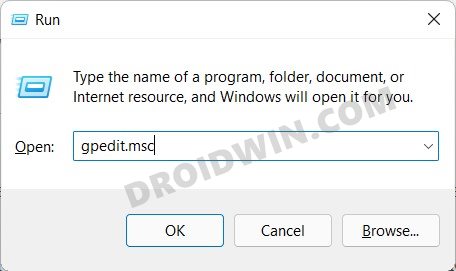
- Now bring up the Run dialog box via Windows+R shortcut keys, type in gpedit.msc, and hit Enter.
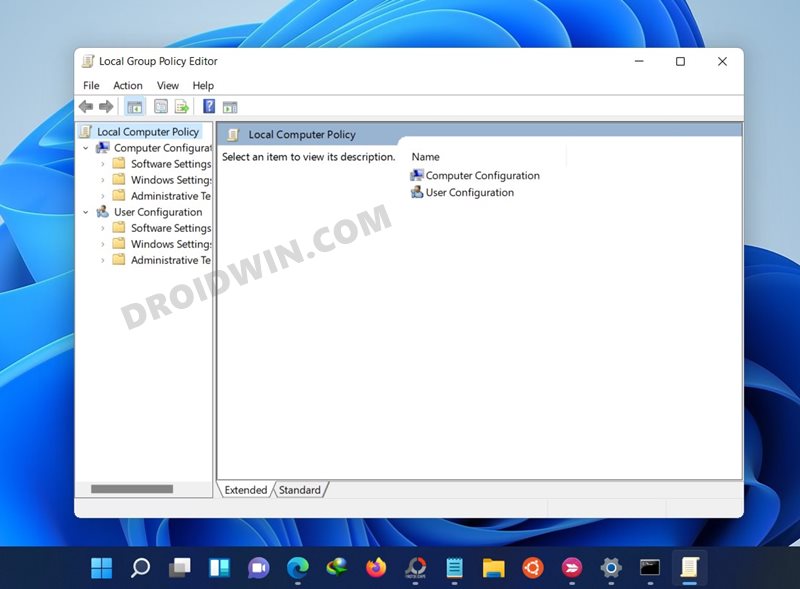
- This shall launch the Group Policy Editor on your Windows 11 PC and your tasks stand complete.
That’s it. These were the steps to enable the Group Policy Editor in Windows 11 Home Edition. You may now carry out the desired configuration and modifications related to the GPE.
What are the Commands inside this Batch File?
So this might be a general query from a lot of you as to what exactly are the commands of that batch file that you have executed. Well, here are all the commands residing inside that batch file (to verify it yourself, right-click on the file > Show More Options > Edit. The file will now open inside Notepad and you could check out its contents):
pushd "%~dp0"

dir /b %SystemRoot%\servicing\Packages\Microsoft-Windows-GroupPolicy-ClientExtensions-Package~3*.mum >List.txt
dir /b %SystemRoot%\servicing\Packages\Microsoft-Windows-GroupPolicy-ClientTools-Package~3*.mum >>List.txt

for /f %%i in ('findstr /i . List.txt 2^>nul') do dism /online /norestart /add-package:"%SystemRoot%\servicing\Packages\%%i"
pause
Conclusion
On that note, we round off the guide on how to enable the Group Policy Editor in Windows 11 Home Edition. And as mentioned before, it shall also fix the “Windows cannot find gpedit.msc” error. If you have any queries concerning the aforementioned steps, do let us know in the comments. We will get back to you with a solution at the earliest.


