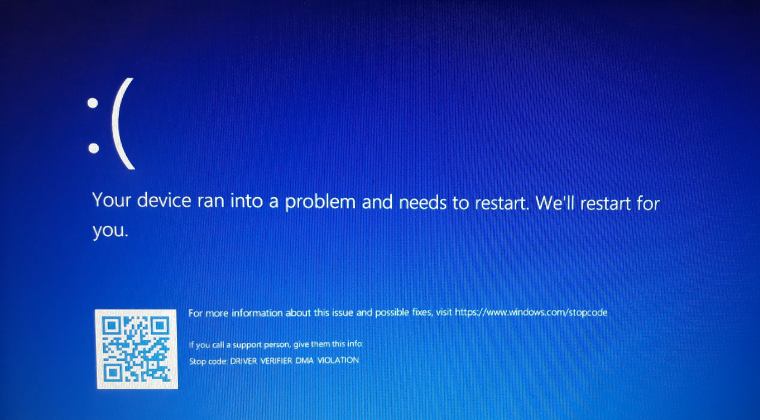
In this guide, we will show you various methods to fix the DRIVER_VERIFIER_DMA_VIOLATION BSOD error in Windows 11. Recently I installed an update on my Windows PC [which was pending for ages]. While the update was successfully installed, however, the real fiasco began right after that- the PC got stuck in a bootloop and was unable to boot to the OS, the only saving grace was the fact that I could access the OS [more on that later].
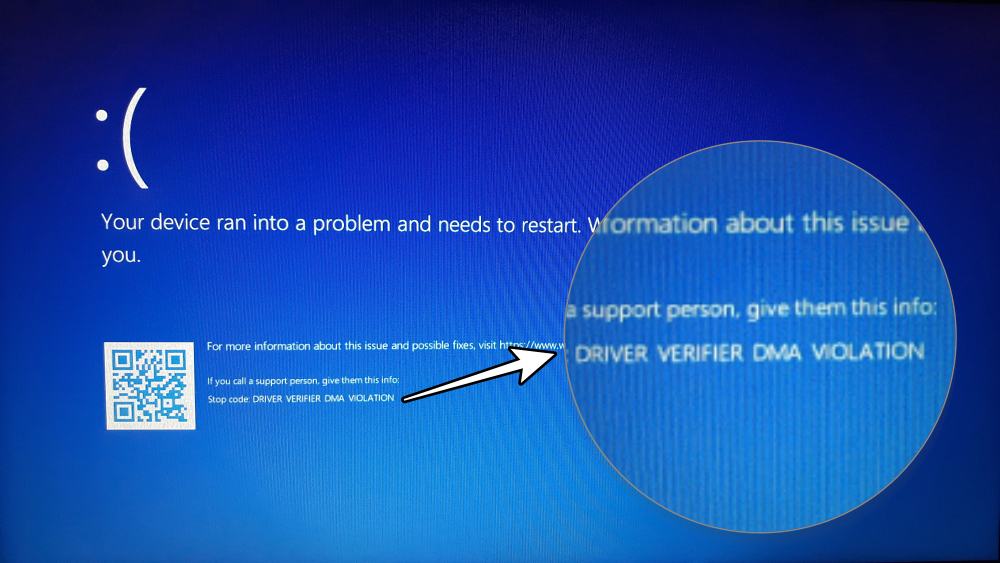
But guess what, my friend [with a Lenovo laptop] was stuck in a similar situation, but he wasn’t even able to access the BIOS via any function keys whatsoever. So I did a detailed investigation into this issue and managed to find a few nifty methods that should help you fix the DRIVER_VERIFIER_DMA_VIOLATION BSOD error on your Windows 11 PC. So without further ado, let’s check them out.
Table of Contents
Fix DRIVER_VERIFIER_DMA_VIOLATION BSOD in Windows 11
It is recommended that you try out each of the below-mentioned workarounds and then see which one spells out success. So with that in mind, let’s get started. Droidwin and its members wouldn’t be held responsible in case of a thermonuclear war, your alarm doesn’t wake you up, or if anything happens to your device and data by performing the below steps.
The Prerequisite: Create a Bootable Windows 11 USB
- Get hold of a pen drive having at least 8GB free space [though 16GB is recommended].
- The pendrive will be formatted. So make sure to take a backup of the data beforehand.
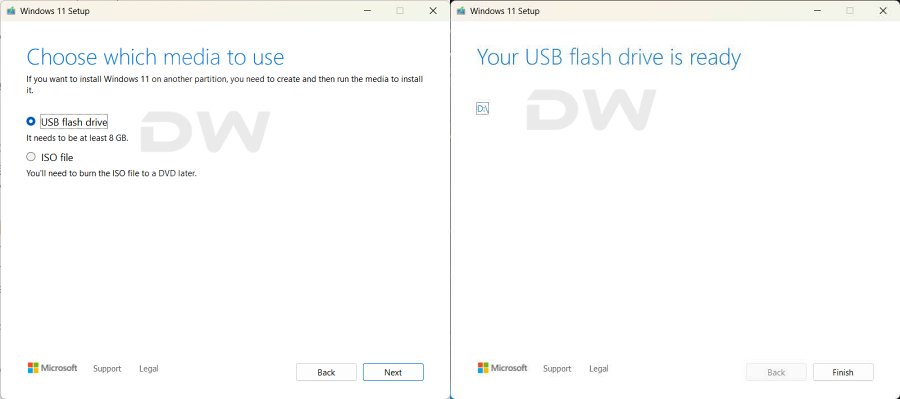
- Now download the Windows 11 Media Creation Tool.
- Then launch it, select your pendrive, and proceed with the on-screen instructions to create a bootable USB.

- Once done, boot your PC to BIOS [you may refer to this guide for the same].
- Lenovo PC also has a Nova button that you can press via a PIN for 4-5 seconds and then release the PIN, the laptop should boot to BIOS.
- Now change the boot order and select your USB Drive [pendrive] as the primary bootable drive.
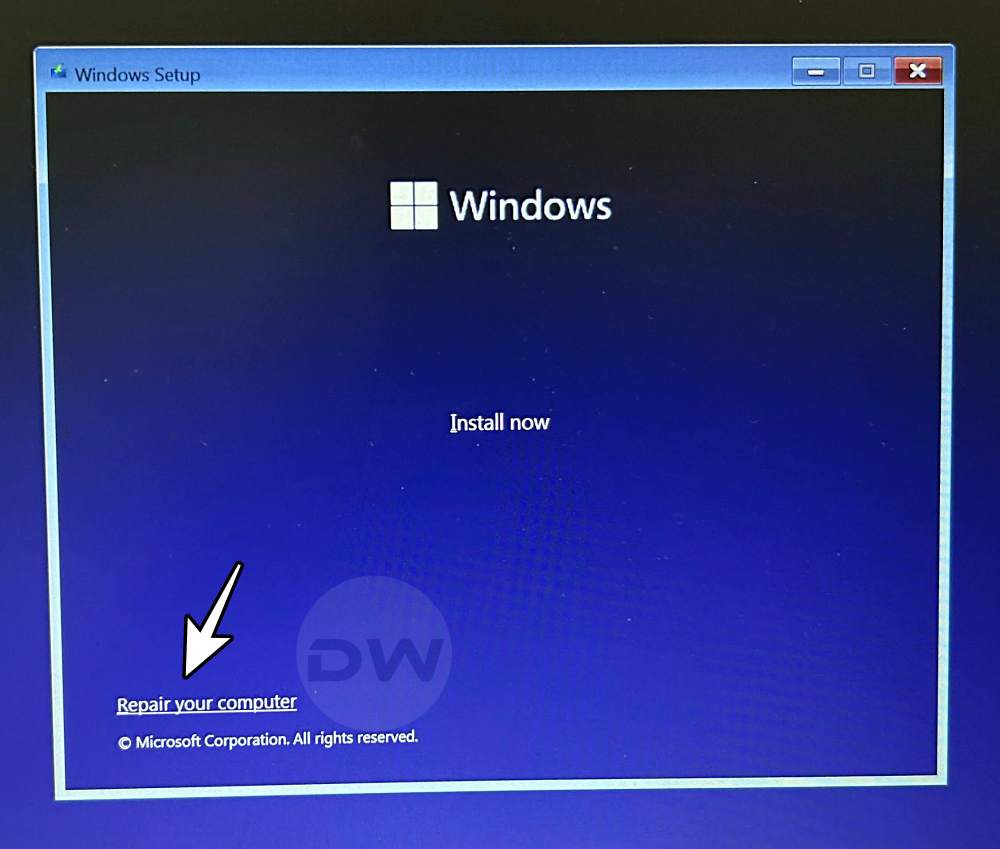
- Save and exit the changes. Your PC will now boot via the pendrive and you should be taken to the Windows 11 setup screen.
- Click Next in the language screen and then click on “Repair your computer” at the bottom left.
- You’ll be taken to the Windows Recovery Environment.

Congrats! You have now passed the major hurdle. Let’s proceed ahead and fix the DRIVER_VERIFIER_DMA_VIOLATION BSOD error on your Windows 11 PC.
Non-Command Prompt Fixes
These are the fixes that don’t require the use of Command Prompt. Just make sure that you are booted to the Windows Recovery Environment, as explained in the Prerequisites section, and then get started with the below fixes.
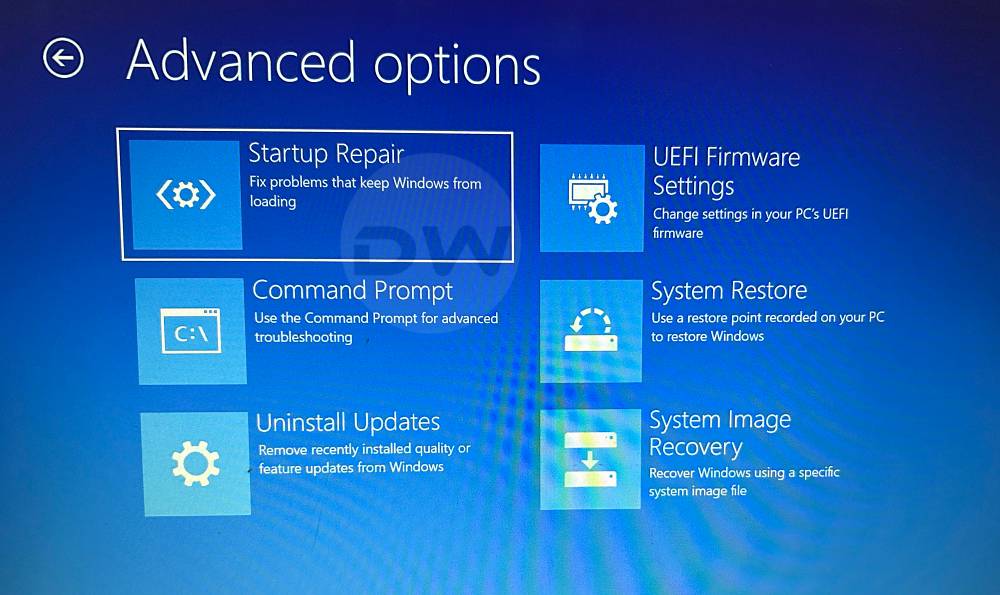
FIX 1: Startup Repair
As is evident from its name, this feature will rectify all the issues that are preventing your PC from booting to the OS. So select Startup Repair from the Windows Recovery Environment, proceed with the on-screen instructions to put this tool to the test, and then check if it rectifies the issue.
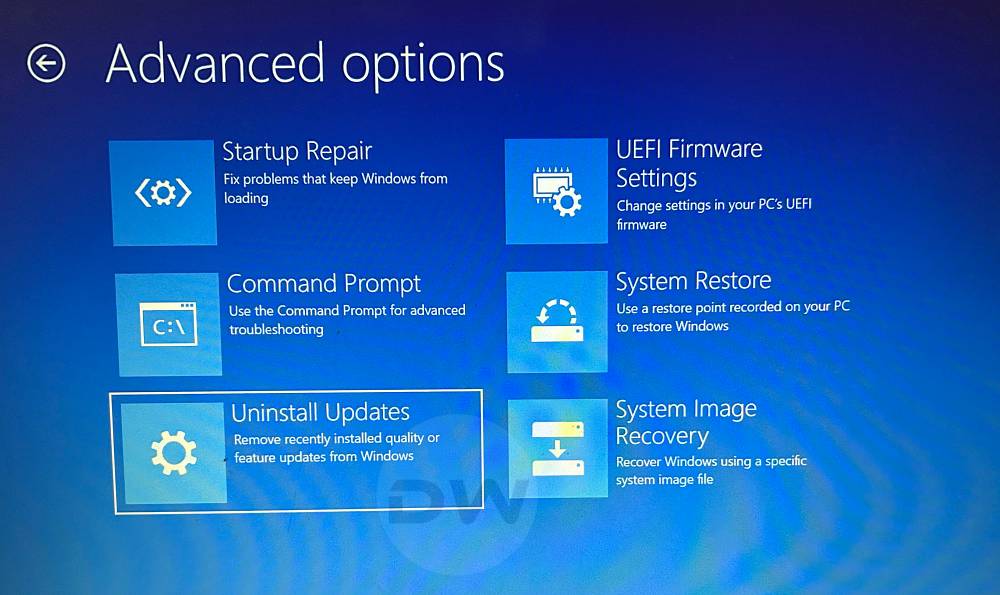
FIX 2: Uninstall Updates
If the culprit is the latest install update on your PC, then this is just the right functionality to rectify this issue. It will remove that update and roll back to the earlier stable working build which in turn should boot your PC to the OS. So do give this tweak a try and check if it fixes the DRIVER_VERIFIER_DMA_VIOLATION BSOD error in Windows 11.
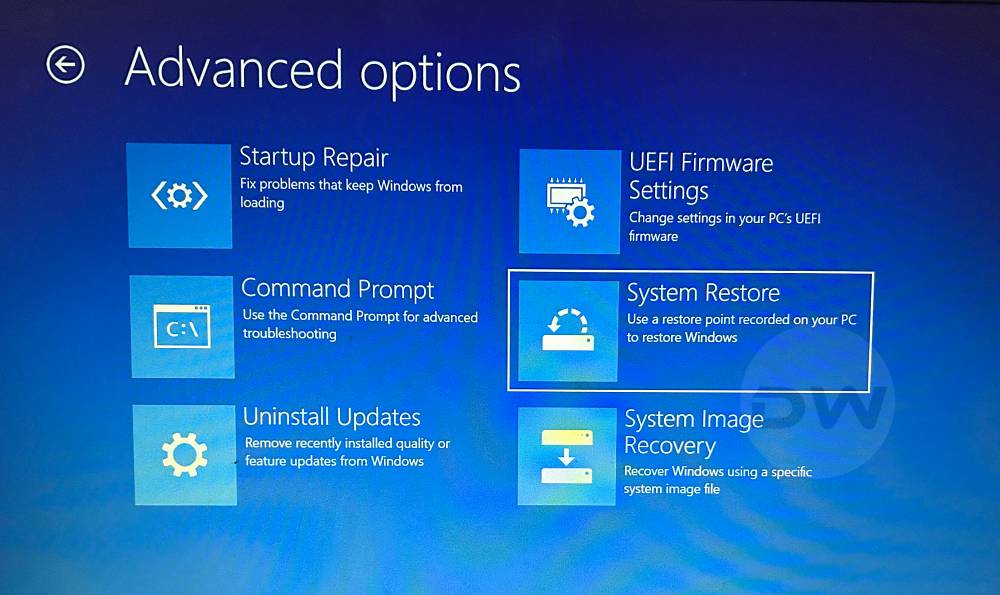
FIX 3: System Restore
If you had scheduled a system restore on your PC, then it would have taken a few backups of a working instance of the system. And now is just the right time to restore that backed-up data and get our PC up and running again. So select the System Restore option from the Windows Recovery Environment and then proceed with the on-screen instructions to get the job done.
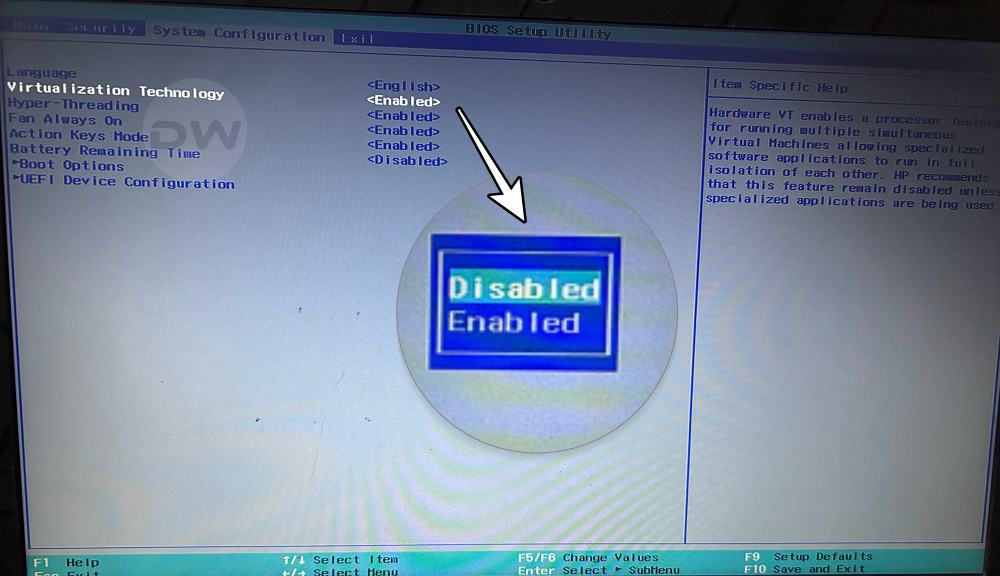
FIX 4: Disable Virtualization
In simpler terms, Virtualization lets your PC emulate a different operating system, like Android or Linux on your Windows PC. However, in some instances, it might also conflict with the proper functioning of your PC. Therefore, it is recommended that you turn off this functionality and then test out the result:
- Boot your PC to BIOS and go to Advanced.
- Then disable the Virtualization Technology.
- Likewise, also disable the VT-d [if present].
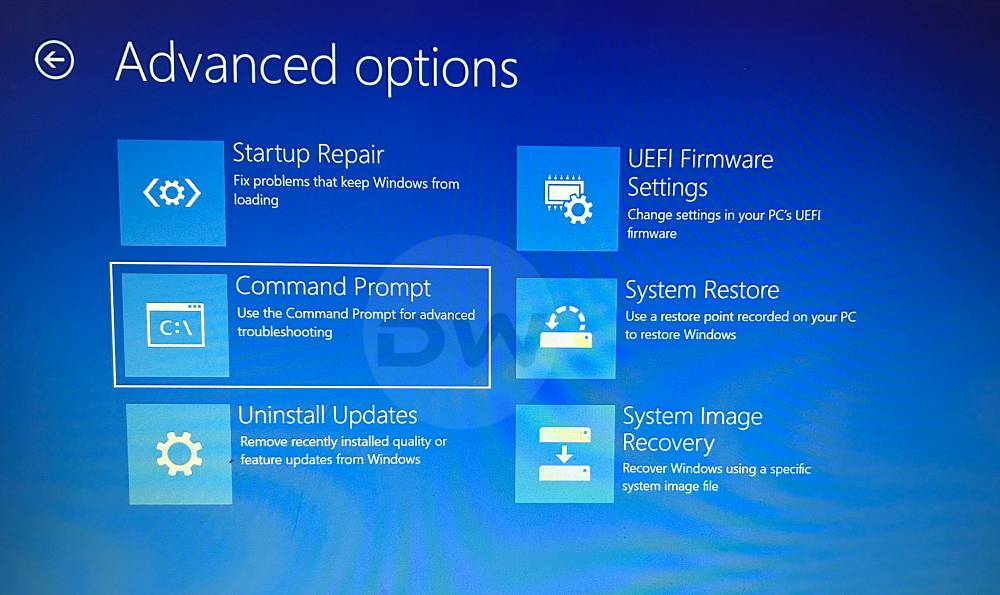
Command Prompt Fixes
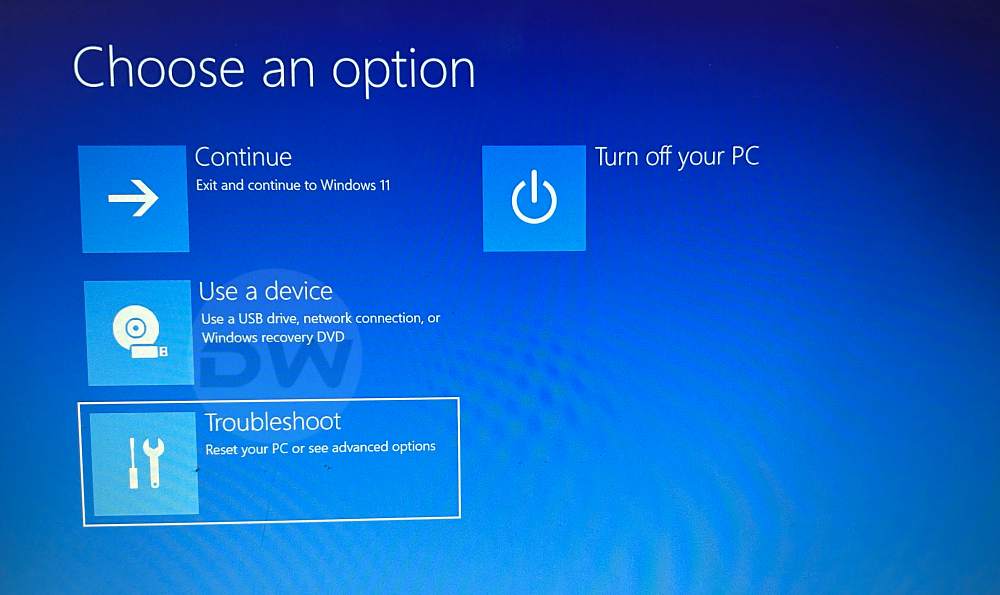
These fixes would require the use of the CMD window, which could be invoked right via the Windows Recovery Environment itself. So from the said screen, go to Troubleshoot > Advanced options > Command Prompt. Now try out each of the below-listed fixes until it spells out success for you.
FIX 1: Via SFC
System File Checker checks the integrity of system files. If some of these files are corrupted or missing, then SFC will replace them with their working counterparts, which are located in C:\Windows. So let’s put this tool to the test and check out the results. For that, simply execute the below command and wait for the process to complete:
sfc /scannow
FIX 2: Via DISM Command
Deployment Image Servicing and Management (DISM.exe) is a command-line tool that can be used to service and prepare Windows images. For that, execute each of the three below commands, one after another, and then check if it spells out success for you or not.
Dism /Online /Cleanup-Image /CheckHealth
Dism /Online /Cleanup-Image /ScanHealth
Dism /Online /Cleanup-Image /RestoreHealth
FIX 3: Via CHKDSK
ScanDisk Repair or CheckDisk measures the health of the drives and repairs them accordingly. So let’s try out this tool and check if it manages to fix the DRIVER_VERIFIER_DMA_VIOLATION BSOD error on your Windows 11 PC [c: is the drive name, replace it accordingly, if needed].
chkdsk c: /f /x /r
FIX 4: Via Bootrec.exe
You could also make use of Bootrec.exe to fix issues related to the Master Boot Record, Boot Sector, and/or the Boot Configuration Data. So let’s give it a try and check out the results. For that, you need to execute the below four commands, one after the other:
bootrec.exe
BOOTREC /FIXMBR
BOOTREC /FIXBOOT
BOOTREC /RebuildBcd
FIX 5: Via Rstrui.exe
If you had enabled the System Restore feature before the issue first popped up, then you could make use of the Rstrui.exe tool to restore the backup data which in turn should boot your PC to the working OS. So execute the below command to bring up the rstrui.exe tool, then a restore point, and proceed with the on-screen instructions to restore your PC to working condition.
rstrui.exe
FIX 6: Via System Reset
If none of the aforementioned methods spelled out success, then your last course of action should be to do a reset. However, do note that this will wipe off all the data on your PC. So proceed ahead with caution and at your own risk.
systemreset -cleanpc
That’s it. These were the various methods that should help you fix the DRIVER_VERIFIER_DMA_VIOLATION BSOD error in Windows 11. If you have any queries concerning the aforementioned steps, do let us know in the comments. We will get back to you with a solution at the earliest.