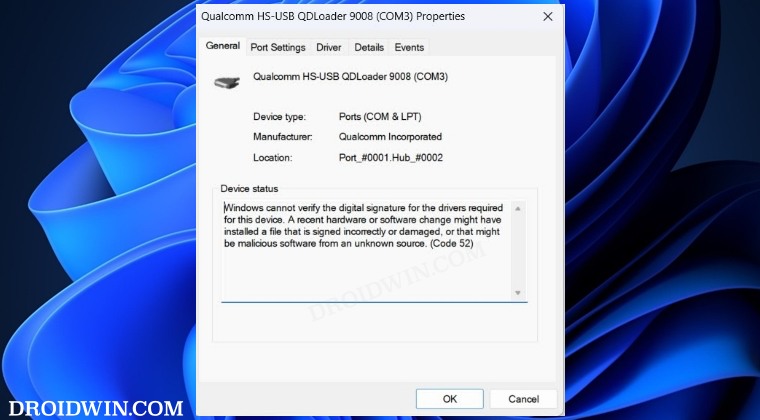
In this guide, we will show you various methods to fix the Windows Cannot Verify the Digital Signature for the Drivers error. This message usually pops up when you have plugged in a USB drive that Windows is unable to identify or is refusing to do so due to security concerns. So if you open Device Manager [Windows X shortcut], then your device will have a yellow exclamation mark next to it. Moreover, upon right-clicking on it, you’ll see the Device Status as:
Windows cannot verify the digital signature for the drivers required for this device. A recent hardware or software change might have installed a file that is signed incorrectly or damaged, or that might be malicious software from an unknown source. (Code 52)

If you are also currently facing a similar issue, then this guide will make you aware of numerous workarounds to fix the “Windows Cannot Verify the Digital Signature for the Drivers” error once and for all. Follow along.
Table of Contents
Fix Windows Cannot Verify the Digital Signature for the Drivers
It is recommended that you try out each of the below-mentioned workarounds and then see which one spells out success. So with that in mind, let’s get started.
FIX 1: Reinstall Drivers
Your first course of action should be to uninstall the drivers and then reinstall their fresh instance from scratch. Here’s how it could be done:
- Right-click on the Windows icon and select Device Manager.
- Then right-click on your device and select Uninstall Device.
- Now unplug your device from the PC and restart the latter.
- Then re-plug the USB back in and check out the result.
FIX 2: Via Registry Editor
Before starting, make sure to take a registry backup, just to be on the safer side.
- Use Windows+R to launch Run, then type in regedit, and hit Enter.
- This will launch Registry Editor. Now copy-paste the below location:
HKEY_LOCAL_MACHINE\SYSTEM\CurrentControlSet\Control\Class\{36FC9E60-C465-11CF-8056-444553540000} - On the right-hand side, you should see UpperFilters and LowerFilters.
- Delete both these files and restart your PC. Check if it fixes the issue.
FIX 3: Disable Driver Signature Verification
If you are trying to install unsigned drivers, then Windows will straightaway prevent you from doing so. This is done from the security point of view but if you are sure that the drivers are trustworthy enough, then you could disable the Signature Verification and check if it fixes Windows Cannot Verify the Digital Signature for the Drivers error. Here’s how it could be done:
- Press and hold the Shift key and while doing so, click Restart.
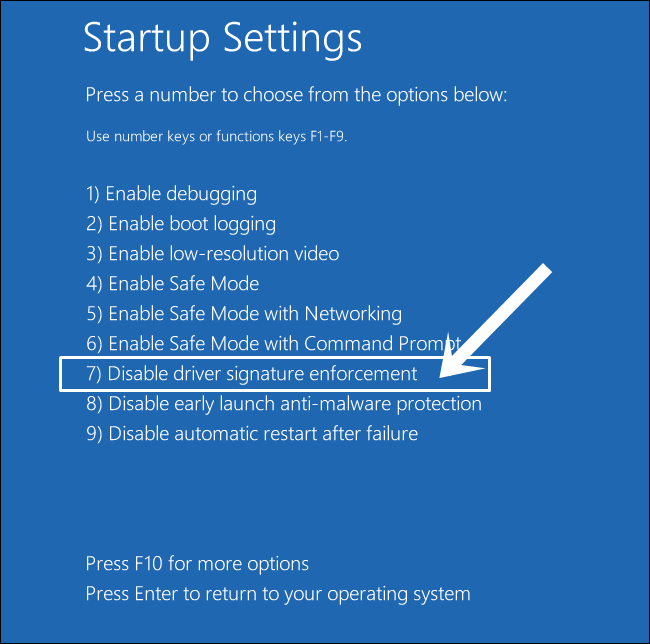
- Then go to Troubleshoot > Advanced options > Startup settings > Restart.
- Finally, press the 7 or F7 key and your PC will boot with Driver Signature disabled.
- Now try installing the drivers once again and check out the results.

FIX 4: Reinstall Standard Enhanced PCI to USB Host Controller
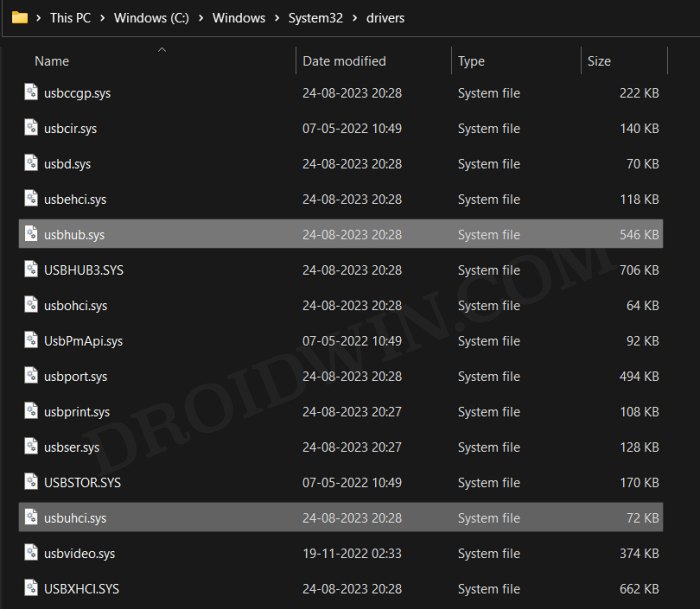
- First off, take ownership of the below files as explained in this guide:
C:\Windows\system32\drivers\usbehci.sys
C:\Windows\system32\drivers\usbhub.sys
- Then rename usbehci.sys to usbehciold.sys and usbhub.sys to usbhubold.sys.
- Now press Windows+X and select Device Manager. Then expand Universal Serial Bus Controllers.
- Then right-click on Standard Enhanced PCI to USB Host Controller, and select Uninstall.
- Now restart your PC and the drivers will be installed automatically. Check out the results.
FIX 5: Using SFC and DISM Commands
System File Checker and Deployment Image Servicing and Management are two command-line utility tools that scan for corrupt Windows files and then replace them with their working counterpart. The major difference between the two is whereas the SFC replaces the corrupt files with the working ones from the cached directory on your PC, DISM does so by downloading the working files from the online Microsoft servers. And as of now, we will be making use of both these tools to fix the underlying issue. Follow along.
- Right-click on the Start Menu and select Windows Terminal (Admin).
- Then click on the down arrow present next to the new tab icon and select Command Prompt from the list.
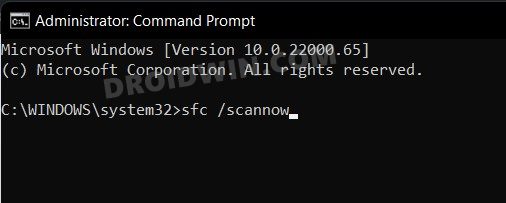
- Once the CMD window is opened, copy-paste the below command to open the SFC Tool:
sfc /scannow
- Once the SFC Scanning is complete, it’s time to use the DISM Tool. So copy-paste the below command:
DISM /Online /Cleanup-Image /RestoreHealth

- Once DISM finishes scanning, restart your PC and check out the results.
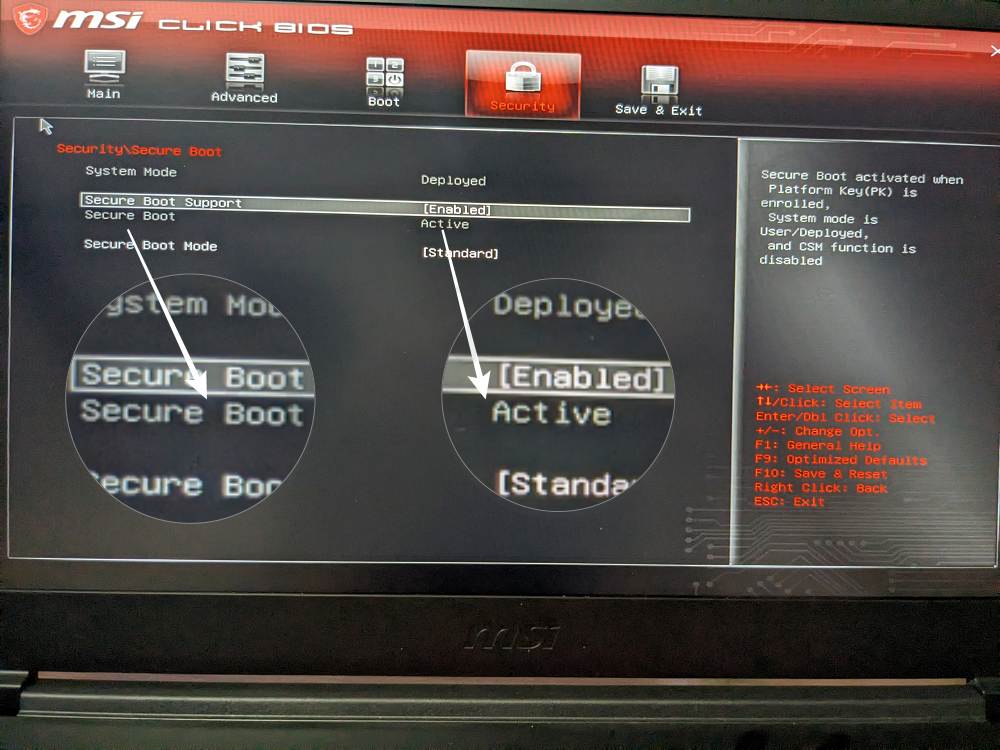
FIX 6: Disable Secure Boot
If none of the aforementioned methods spelled out success, then your last course of action should be to disable secure boot on your PC. While there is a high chance that you will now be able to easily install the drivers, however, there’s a huge risk attached to this method as well. You might not be able to re-enable Secure Boot until you factory reset your PC. So only refer to our guide if you understand this risk: How to Disable Secure Boot in Windows 11.
That’s it. These were the various methods to fix the Windows Cannot Verify the Digital Signature for the Drivers error. If you have any queries concerning the aforementioned steps, do let us know in the comments. We will get back to you with a solution at the earliest.