In this guide, we will show you the steps to disable Secure Boot on your Windows 11 PC. With the launch of the eleventh iteration of the OS, the Redmond giant has further upped the security measures. It now requires you to have both the Trusted Platform Module TPM 2.0 and Secure Boot enabled in the BIOS. If we talk about the latter one, then it prevents you from installing digitally unauthorized software which in turn prevents your PC from being part of malware and virus attacks.
While many not be in sync with my statement, but I still believe that, at least for advanced users, they are the best judge for their system and hence they should have a say in that as well, rather than being completely dependent on what BIOS has to offer. For instance, recently I had to install a Qualcomm EDL Drivers, which even though are legitimate, but their origin source is still up for debate.
As a result, the PC refused to let my device booted to EDL mode have any interaction with the system. So I had two options in hand- either to go to the service center and shell out hefty bucks or simply disable Secure Boot on my Windows 11 PC and get this job done myself, absolutely free [there are no brownie points in guessing which one I chose]! So in this guide, we will show you how to do just that. So without any further ado, let’s get started.
How to Disable Secure Boot in Windows 11
If you are unable to install a digitally unsigned driver, then in some cases, simply disabling Driver Signature Enforcement might get this job done. So before opting for the extreme approach of disabling secure boot, it is recommended that you try disabling the driver signature. But if that doesn’t work out, then you have no choice but to disable secure boot.
Moreover, once you are done installing the software, it is recommended that you re-enable Secure Boot. Regarding this, some users have reported that they had to factory reset their PC to their default state before they were able to re-activate Secure Boot. So make sure to keep this point in mind before carrying out the below steps.
- Press and hold the Shift key and while doing so, click Restart.
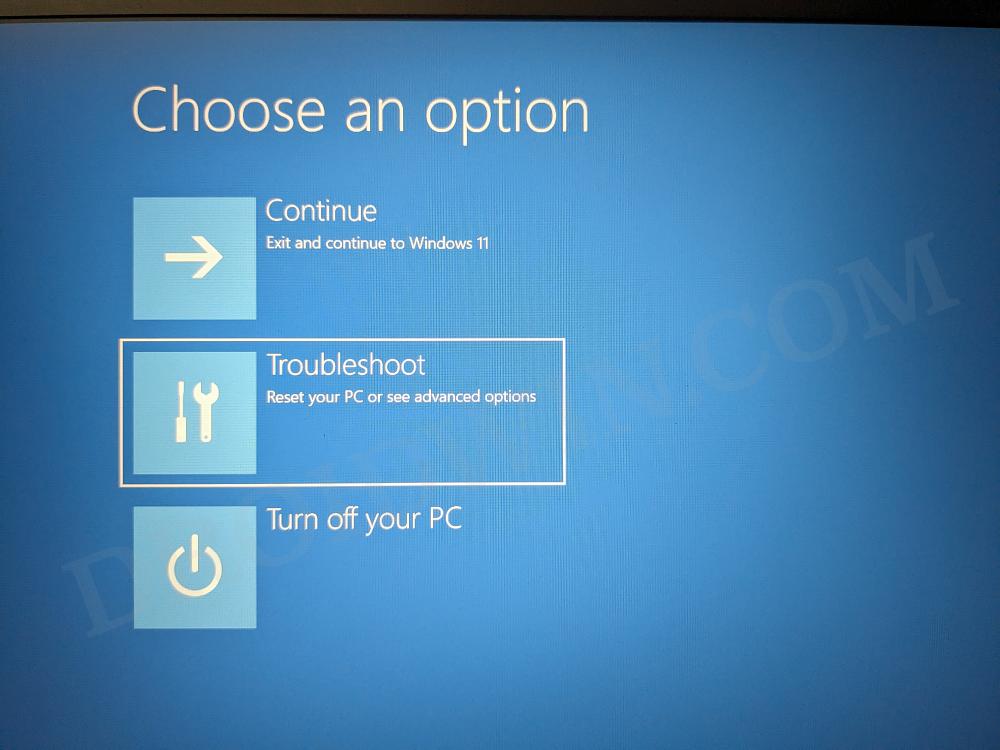
- Then select Troubleshoot.

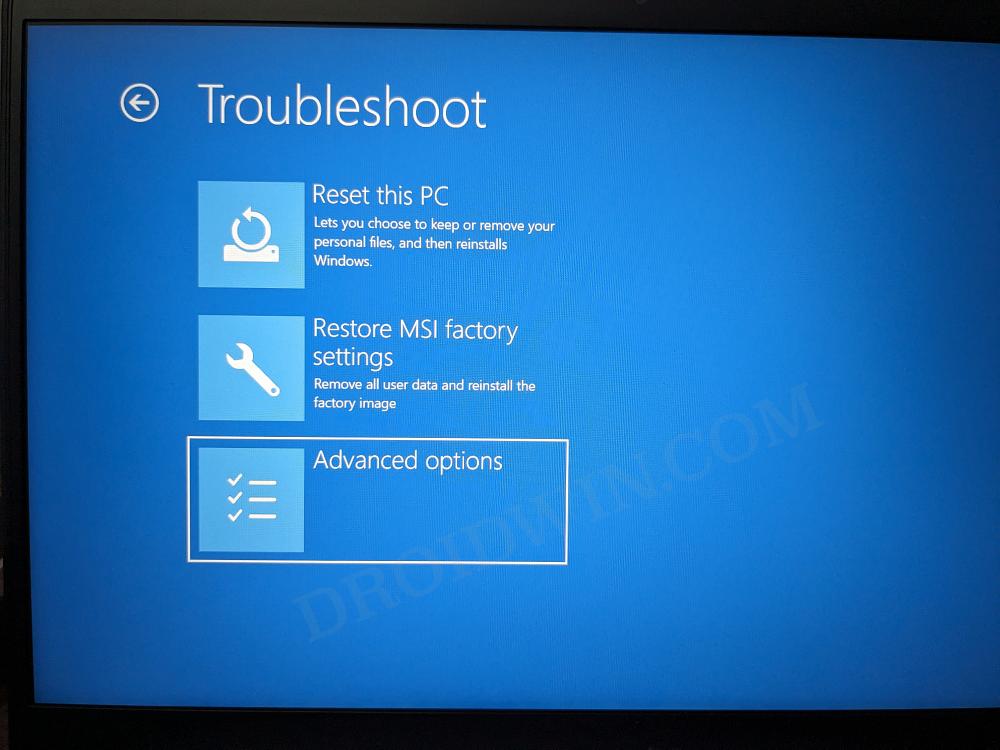
- After that, choose Advanced Options.
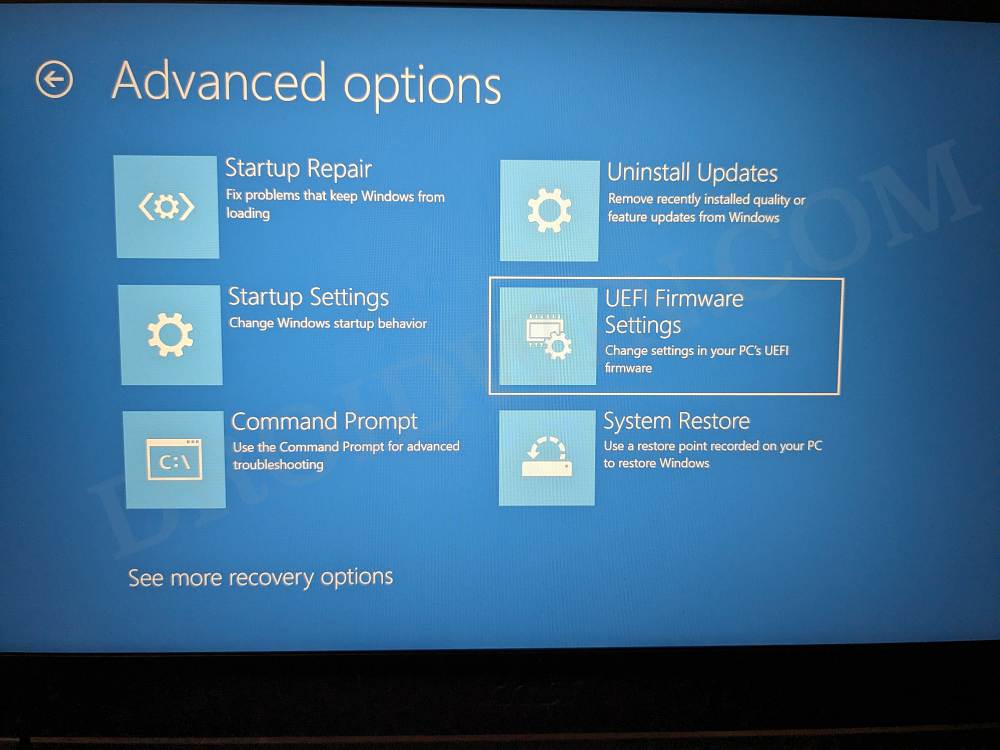
- Now select UEFI Firmware Settings and hit Restart. Your PC will boot to the BIOS.
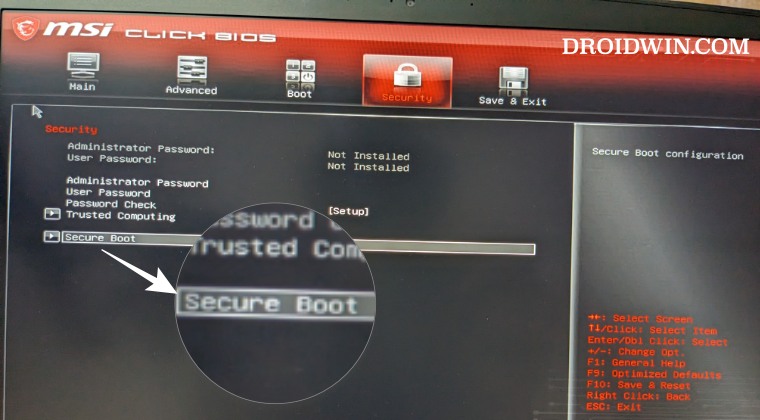
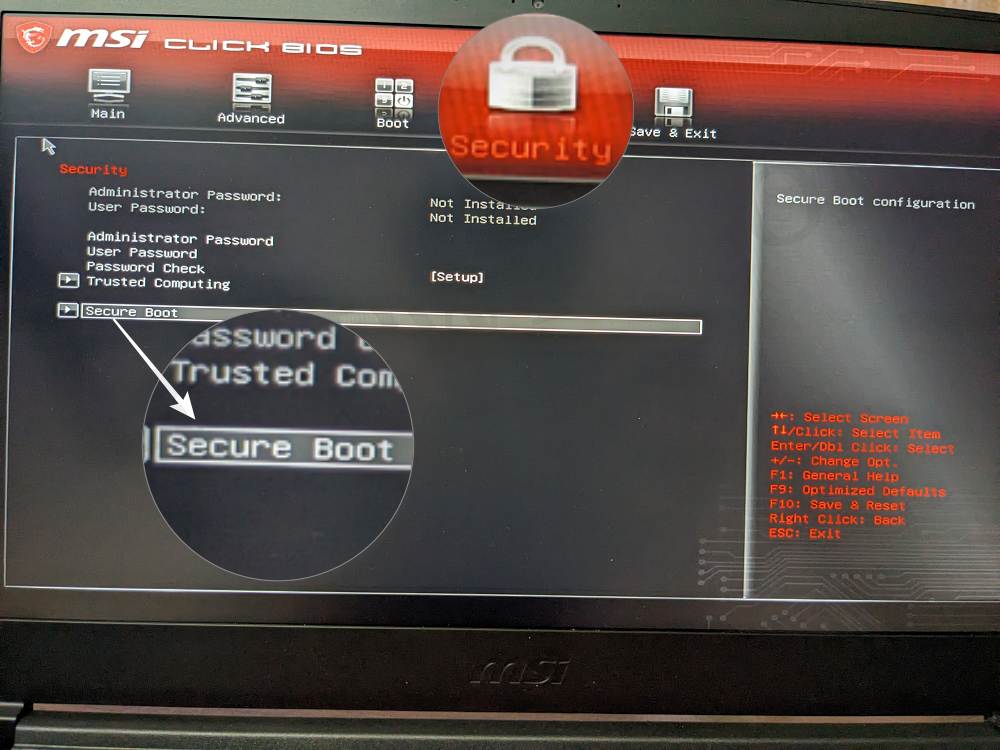
- Depending on the OEM, Secure Boot could be found under Security, Boot, or Authentication tab.
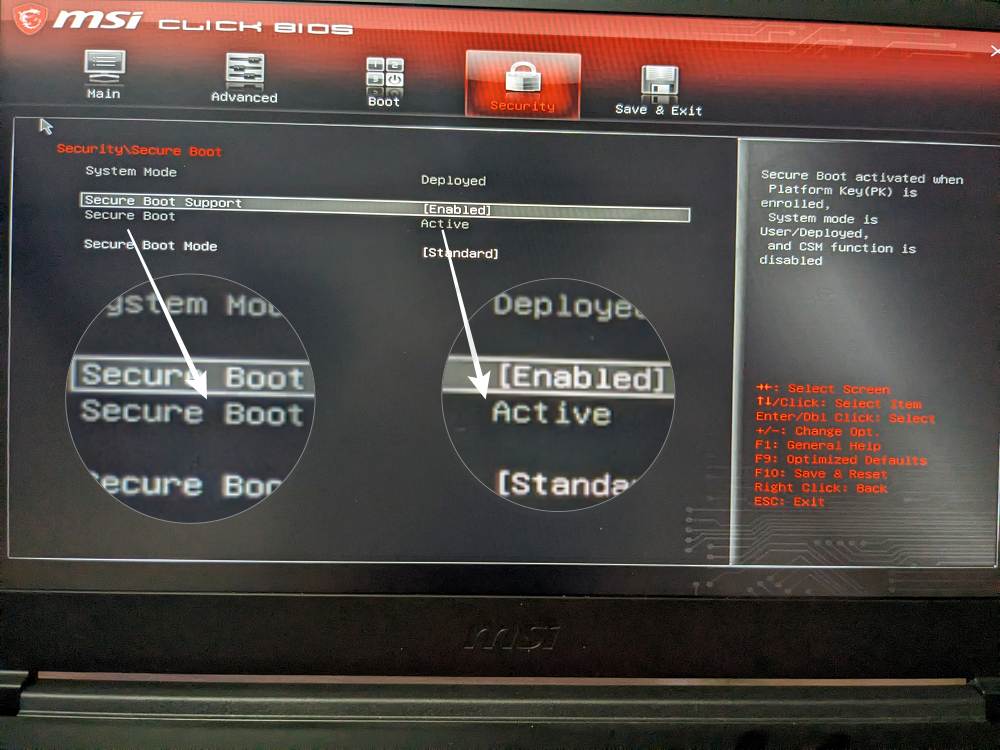
- So select Secure Boot and set it to Disabled. Then save changes and exit BIOS. Your PC will now boot to the OS.
- That’s it. Secure Boot is now disabled on your Windows 11 PC and you can install the desired drivers.

NOTE: Some OEMs [especially MSI] might not allow you to disable Secure Boot and the option will be greyed out. While there exists a few workarounds that might help you still get this job done, however, we wouldn’t recommend doing so as we have seen reports of PCs getting bricked when users tried to un-grey that option and disable secure boot.
How to Re-Enable Secure Boot in Windows 11
Once you are done carrying out the desired tweaks, it is recommended that you re-enable Secure Boot on your Windows 11 PC. Here’s how it could be done:
- Press and hold the Shift key and while doing so, click Restart.
- Then select Troubleshoot > Advanced Options > UEFI Firmware Settings. Your PC will now boot to the BIOS.
- Depending on the OEM, Secure Boot could be found under Security, Boot, or Authentication tab.
- Select Secure Boot and set it to Enable. Then save changes and exit BIOS. Your PC will now boot to the OS.
- Secure Boot is now enabled on your Windows 11 PC and you can install the desired drivers.
That’s it. These were the steps to disable and re-enable Secure Boot on your Windows 11 PC. If you have any queries concerning the aforementioned steps, do let us know in the comments. We will get back to you with a solution at the earliest.


