In this guide, we will show you the detailed steps to root the Windows Subsystem for Android via Magisk. The latest iteration of the OS has bought in quite a few noteworthy features, with UI tweaks being a major part of the same. However, it was the ability to run Android apps on the Windows PC that managed to grab most of the limelight. And the reason for the same needs no justification as such.
However, its implementation wasn’t perfect during the initial days. But with subsequent builds, most of the issues seem to have been ironed out. While it only allows you to install apps from Amazon, you could still sideload APKs or even install Play Store and then try your preferred apps. Apart from that, there’s another impressive development that has recently been doing the rounds.
There now stands the possibility to gain administrative access and hence tweak the in-game settings as per our requirement. In other words, you could now root your Windows 11 PC via Magisk (yes, it sounds a little bit strange, but we should probably get used to it). And in this guide, we will show you how to do just that. Given here are the detailed instruction steps to root the Windows Subsystem for Android via Magisk.
Table of Contents
How to Root Windows Subsystem for Android via Magisk
The below instructions are listed under separate sections for ease of understanding. Make sure to follow in the exact same sequence as mentioned.
STEP 1: Uninstall Previous Version of Windows Subsystem for Android
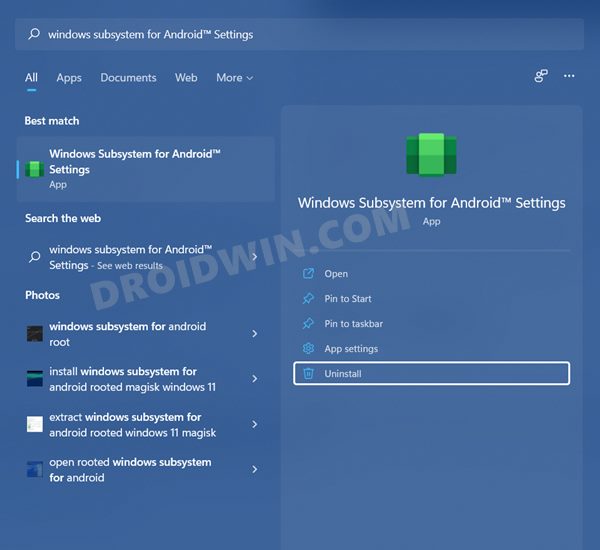
First and foremost, if you have any version of Windows Subsystem for Android installed, then please uninstall it first. For that, head over to Start Menu, search Windows Subsystem, and select Uninstall.
STEP 2: Install Android SDK Platform Tools
You will have to install the Android SDK Platform Tools on your PC. This is the official ADB and Fastboot binary provided by Google and is the only recommended one. So download it and then extract it to any convenient location on your PC. Doing so will give you the platform-tools folder, which will be used throughout this guide.

STEP 3: Download Rooted Windows SubSystem for Android
Next up, download the Rooted Windows SubSystem for Android with GApps+Magisk from the below link. Make sure to download the one that corresponds to your architecture (arm64 or X64). To check that, head over to Settings > System > About > Check out System Type under Device Specification.
- WSA-with-magisk-GApps-pico_1.8.32822.0_arm64_Release-Nightly
- WSA-with-magisk-GApps-pico_1.8.32822.0_x64_Release-Nightly
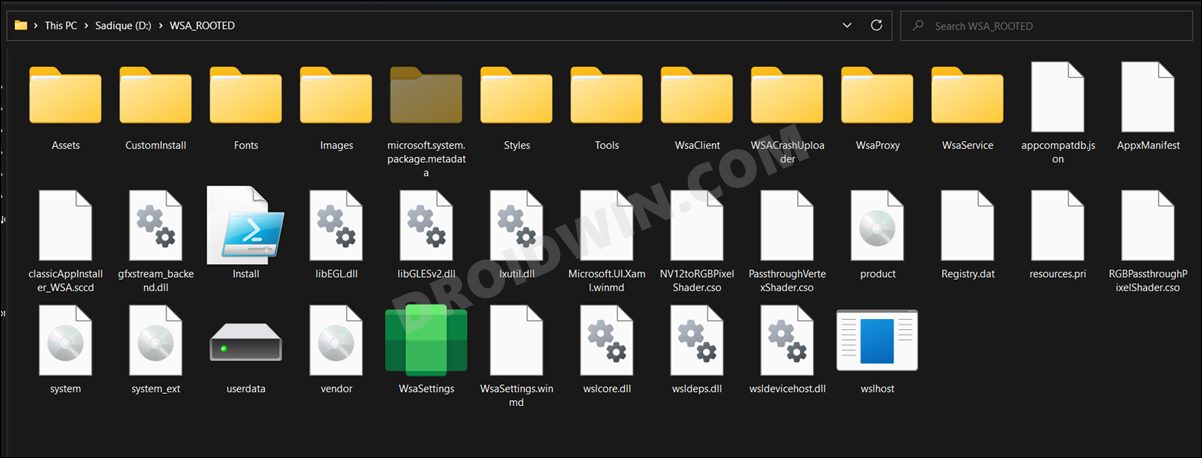
Moreover, once you have downloaded the WSA, extract it to any convenient location on your PC. (this location will be used later on). Just make sure that the name of the folder where you are extracting it shouldn’t have any space. For example, WSA Rooted is not acceptable whereas WSA_Rooted is fine (from the PowerShell point of view).
STEP 4: Download Magisk for Windows 11
After that, download the Magisk APK that will be used to root your PC. Do note that the Magisk required to root your Windows 11 PC is different from the one that is used to root Android smartphones. So download the one that we have provided below (which is designed specifically for Windows 11). Once downloaded, extract it, copy the magisk.apk from there and transfer it to the platform-tools folder on your PC.
- Magisk APK for Windows Subsystem for Android: Download Link
STEP 5: Enable Developer Mode in Windows 11
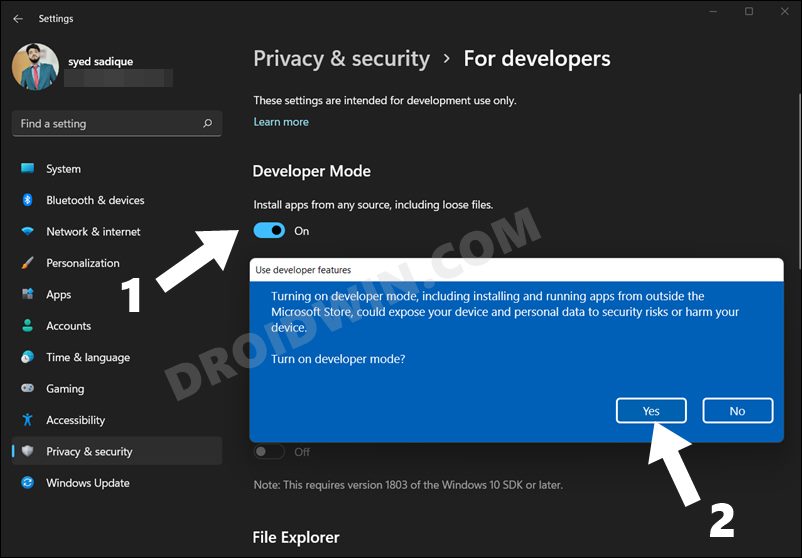
- Use the Windows+I shortcut keys to open the Settings menu.
- Then select Privacy and Security from the left menu bar and go to the For Developers section.

- After that, turn on the toggle next to Enable Developer Mode.
- If you get a confirmation dialog box, click Yes.
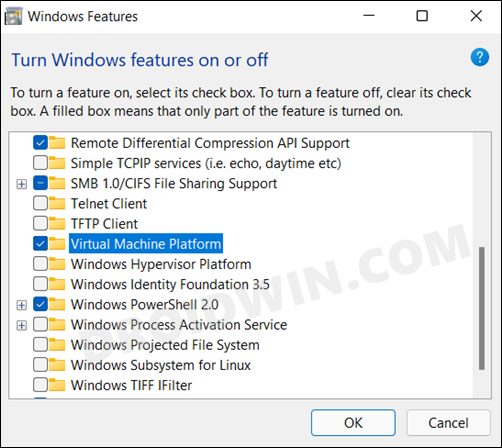
STEP 6: Enable Virtual Machine Platform in Windows 11
- Head over to the Start Menu, search Turn Windows features on or off, and open it.
- After that, checkmark Virtual Machine Platform and hit OK.
- Finally, restart your PC for the changes to take place.
STEP 7: Install Rooted Windows SubSystem for Android
Let’s now start off with the steps to install and register the rooted Windows Subsystem for Android onto your Windows 11 PC. Follow along.
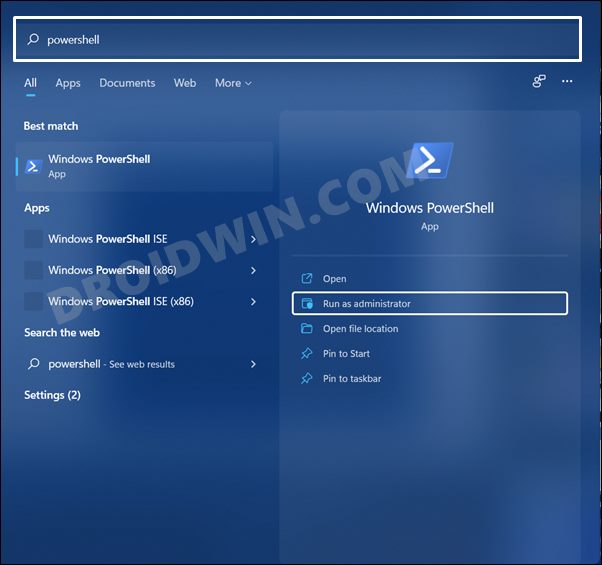
- To begin with, head over to the Start Menu, search Powershell, and launch it as an administrator.
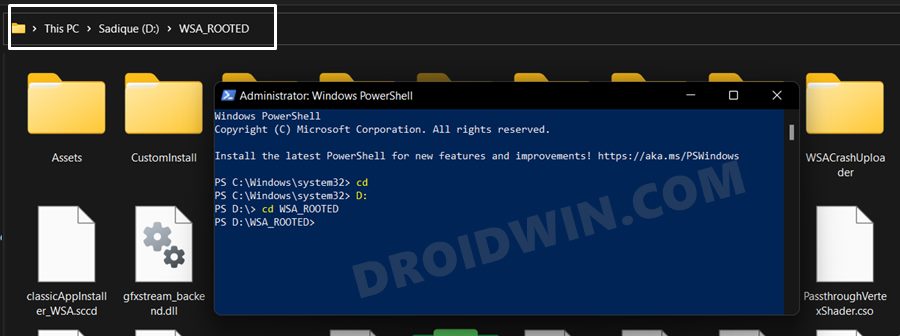
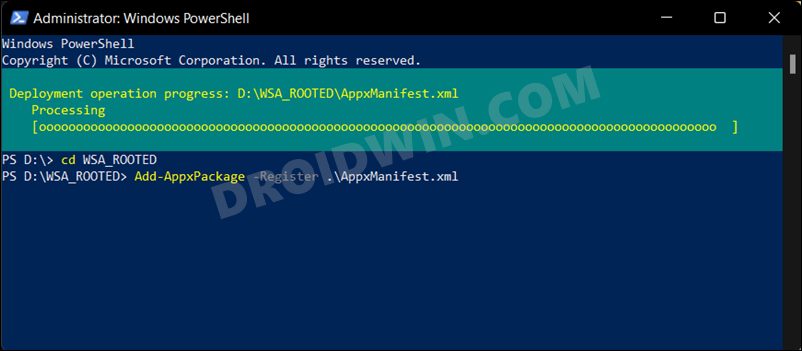
- Then change the directory to the folder where you have extracted the WSA. For example, I have extracted the WSA to D:\WSA_ROOTED, so here’s how I will change the location into this directory:
cd
D:
cd WSA_Rooted
- Once you are inside the directory where the extracted WSA is present, just execute the below command to install the rooted WSA package:
Add-AppxPackage -Register .\AppxManifest.xml
STEP 8: Enable Developer Mode in Windows SubSystem for Android
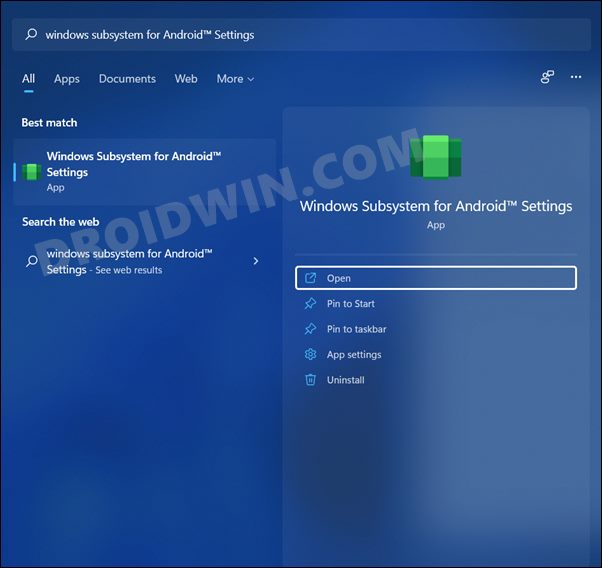
- Head over to the Start Menu, search Windows SubSystem for Android, and open it.
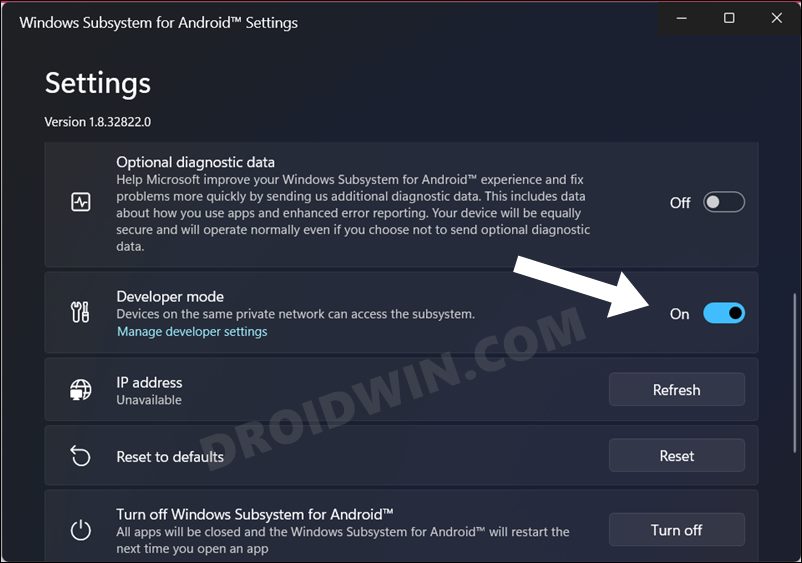
- After that, enable the toggle next to Developer Mode.
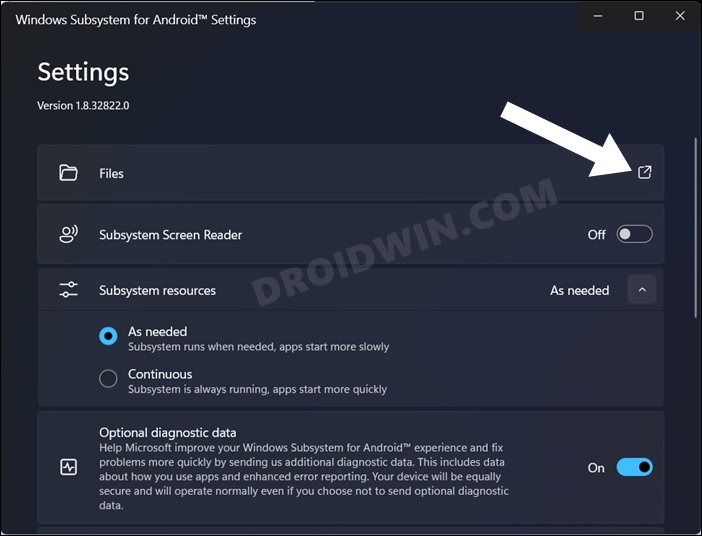
- Once that is done, click on the arrow next to Files.
- This shall open the Windows SubSystem for Android.
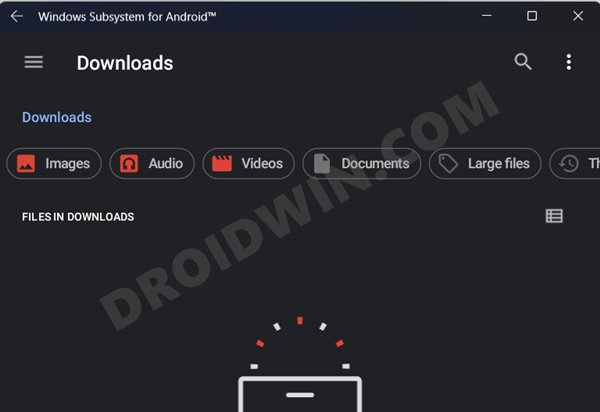
- Subsequently, it will open its own File Explorer, signifying that the installation is successful.
STEP 9: Establish Wireless ADB Connection
- You will now have to create a wireless ADB connection between the Windows Subsystem for Android and the OS.
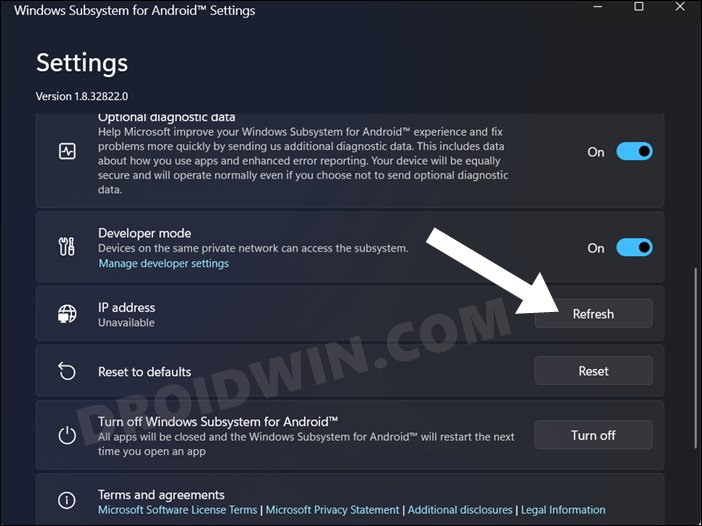
- For that, click on the Refresh button next to IP Address in the Windows Subsystem for Android.
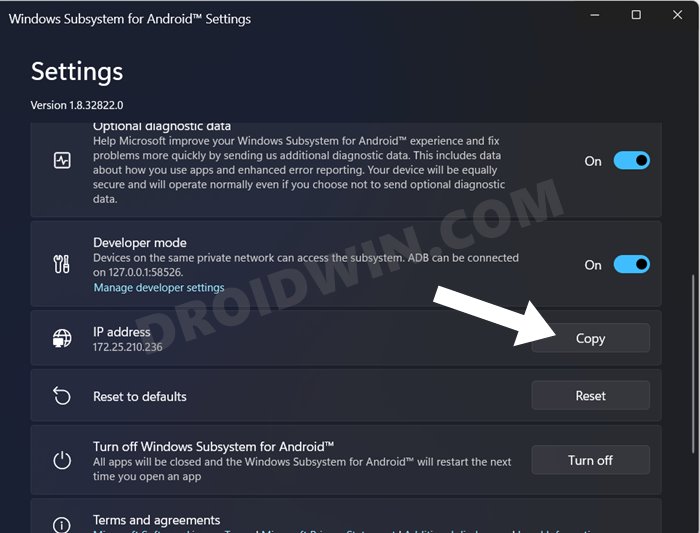
- Then click on the Copy button next to the IP address that appears.
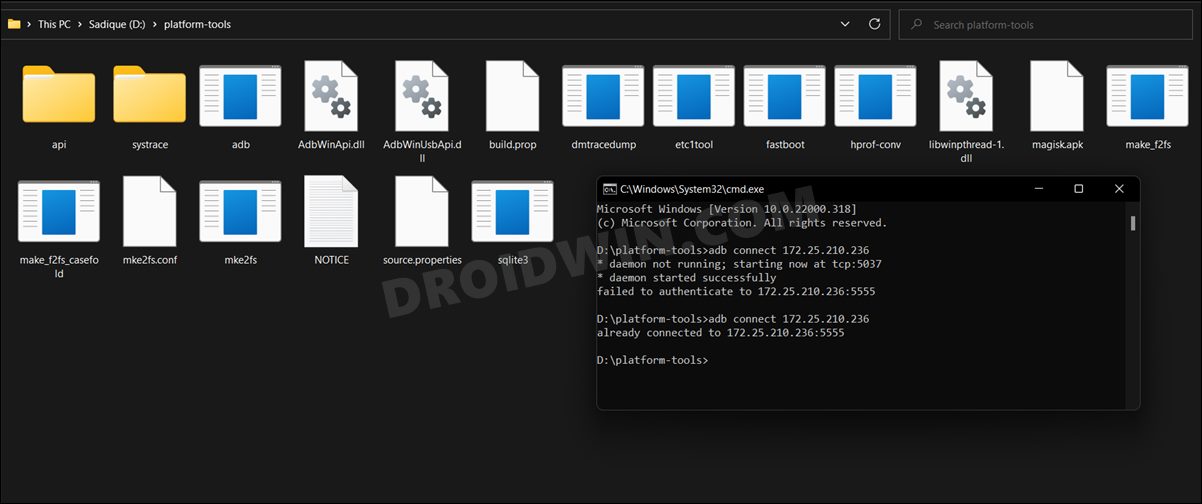
- Now go to the platform-tools folder, type in CMD in the address bar, and hit Enter. This shall launch the Command Prompt window.
- Now execute the below command in the CMD window, replacing the IP keyword with the IP Address that you had copied earlier
adb connect IP
- You might get an error the first time you execute the command, not an issue, just execute that command again and you shall get success.

STEP 10: Install Magisk in Windows 11
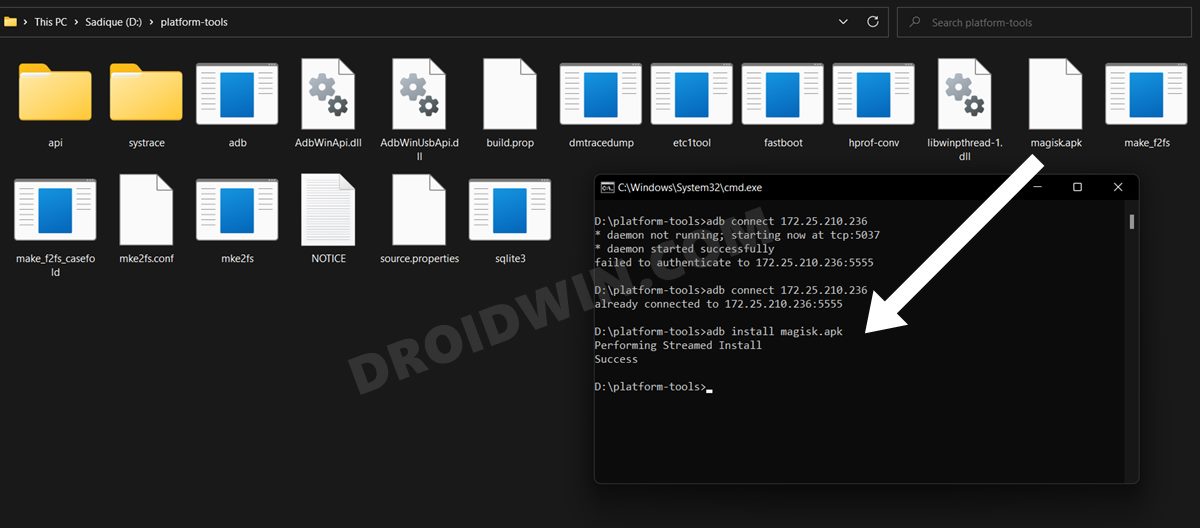
- Now execute the below command in the CMD window that you have opened in the platform-tools folder. Make sure that you have already transferred the magisk.apk file to this folder.
adb install magisk.apk
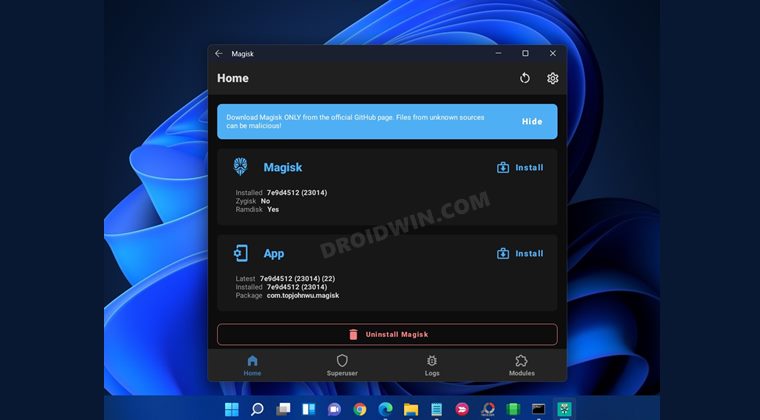
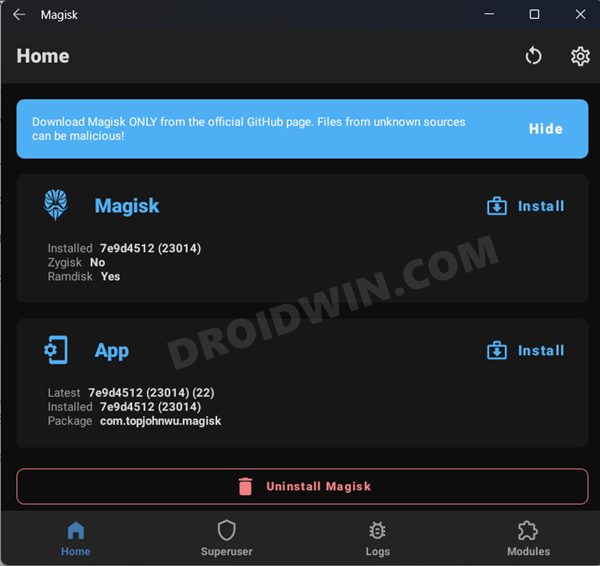
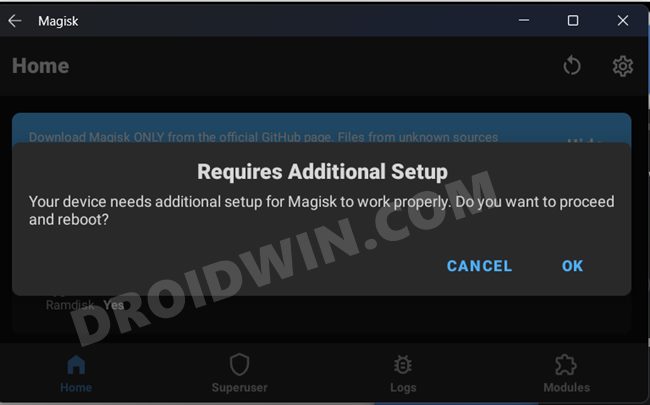
- The Magisk app is now installed on your PC. So head over to the Start menu, search Magisk, and open it.
- It will now ask you to download a proprietary code, click OK. That’s it the process stands complete.

How to Verify if My Windows 11 PC is Rooted?
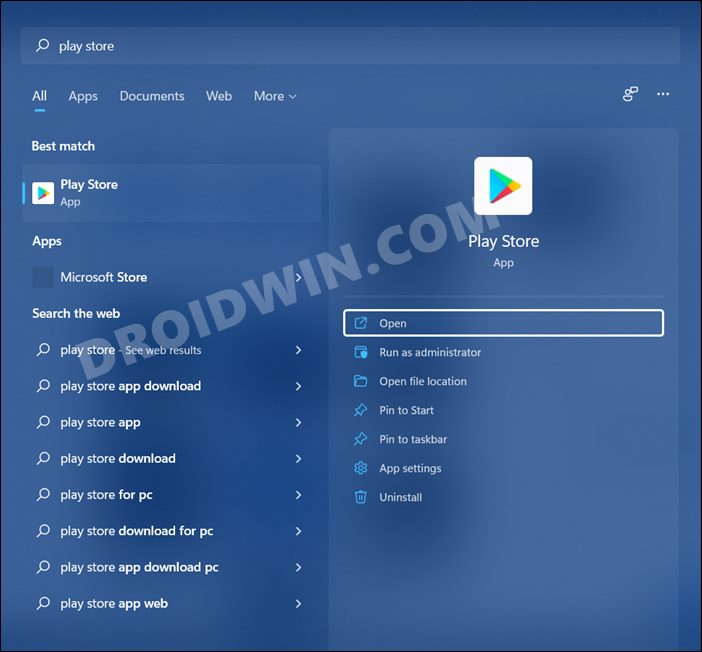
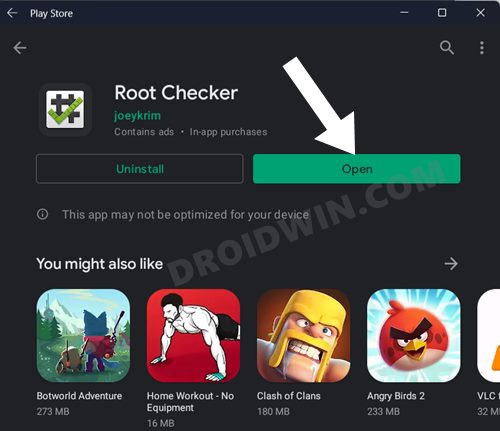
- Glad you asked. First off, head over to the Start Menu, search Play Store, and open it.
- Then download and install the Root Checker app.
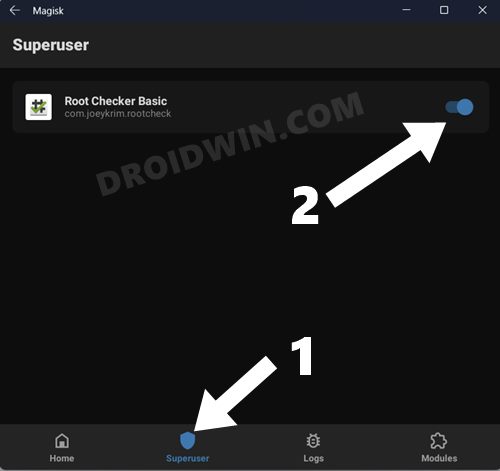
- Once done, launch the Magisk App and go to its SuperUser tab. Then enable the toggle next to Root Checker.
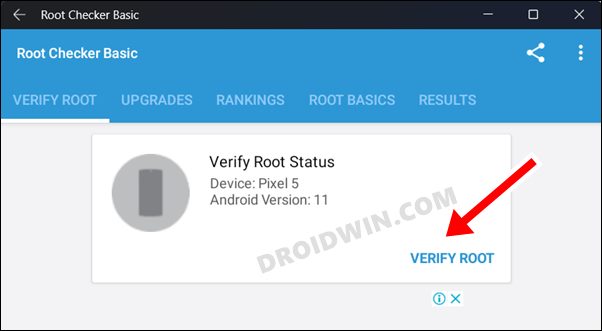
- After that, open the Root Checker app and tap on Verify Root (your PC might be verified as a Pixel device running a random Android build, most probably Pixel 5 running Android 11!).
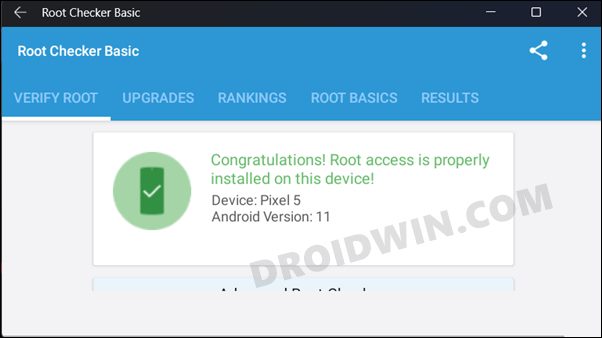
- You should now get the Congratulations message, as shown below
These were the steps to root the Windows Subsystem for Android via Magisk. If you have any queries concerning the aforementioned steps, do let us know in the comments. We will get back to you with a solution at the earliest.
- How to Install Windows Subsystem for Android on Unsupported PC
- How to Sideload Android Apps on Windows 11 [Without Amazon App Store]
- Install Google Play Store in Windows 11 via Windows Subsystem for Android
- Fix: IP Address Unavailable in Windows Subsystem for Android
- Unable to start Windows Subsystem for Android: How to Fix