In this guide, we will show you the detailed steps to flash the SuperiorOS GSI ROM on your Android device. While many Android devices enjoy active support from the development community, there are a few that are left behind. Whether it’s due to the complexities involved, the device being less popular, or the OEM itself refusing to make the source code public, there could be quite a few reasons why they aren’t blessed with these ROMs when compared to their counterparts.
Fortunately, this is where the role of a Generic System Image comes in handy. As is evident by its name, these are “generic” and hence could be installed across all devices that came with Android 8+ out of the box [Project Treble supported to be precise]. Moreover, there are many noteworthy players in this domain that have already made a name for themselves, so which one should you ultimately opt for?
Well, if you are looking for a clean stock OS with tons of intriguing features which is then packed into a fast stable, and snappy OS, then flashing the SuperiorOS GSI ROM on your Android device might be the best bet. So without any further ado, let’s show you how this could be carried out.
Table of Contents
How to Flash SuperiorOS GSI ROM on any Android Device
The below instructions are listed under separate sections for ease of understanding. Make sure to follow in the exact same sequence as mentioned. Droidwin and its members wouldn’t be held responsible in case of a thermonuclear war, your alarm doesn’t wake you up, or if anything happens to your device and data by performing the below steps.
STEP 1: Install Android SDK

First and foremost, you will have to install the Android SDK Platform Tools on your PC. This is the official ADB and Fastboot binary provided by Google and is the only recommended one. So download it and then extract it to any convenient location on your PC. Doing so will give you the platform-tools folder, which will be used throughout this guide to install the latest Android 14 GSI ROM on your device.
STEP 2: Enable USB Debugging and OEM Unlocking
Next up, you will also have to enable USB Debugging and OEM Unlocking on your device. The former will make your device recognizable by the PC in ADB mode. This will then allow you to boot your device to Fastboot Mode. On the other hand, OEM Unlocking is required to carry out the bootloader unlocking.
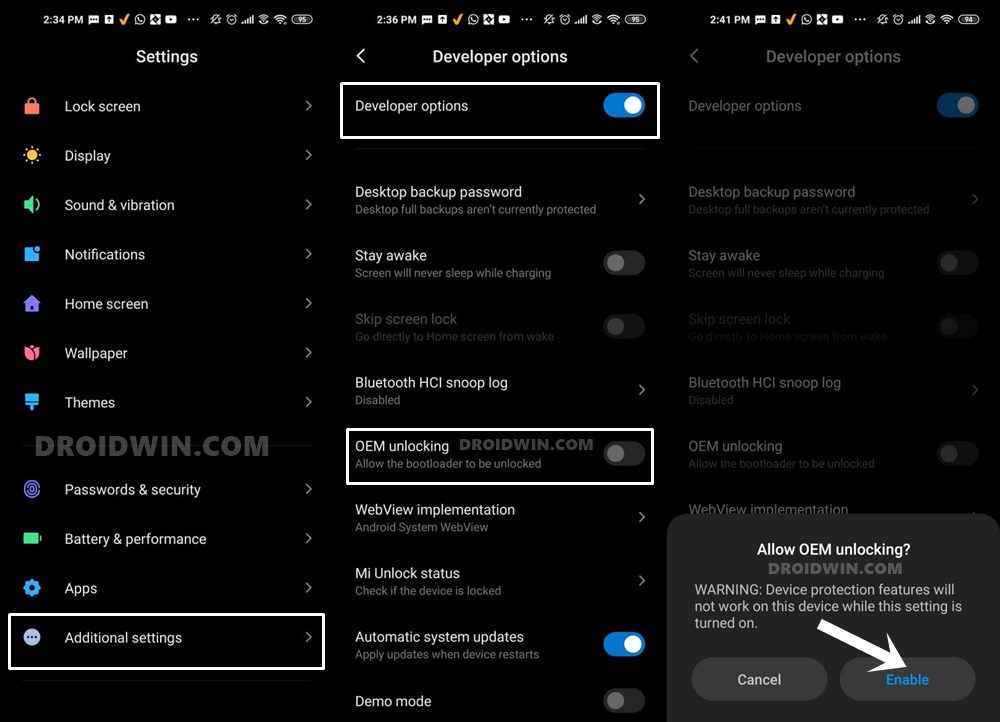
So head over to Settings > About Phone > Tap on Build Number 7 times > Go back to Settings > System > Advanced > Developer Options > Enable USB Debugging and OEM Unlocking.
STEP 3: Unlock Bootloader
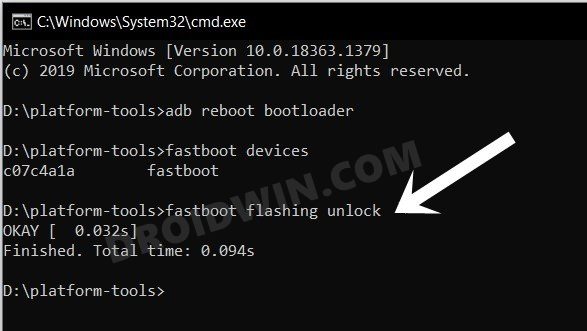
Next up, you will also have to unlock the device’s bootloader. Do keep in mind that doing so will wipe off all the data from your device and could nullify its warranty as well. So if that’s all well and good, then please refer to our detailed guide on How to Unlock Bootloader of Any Android Device.
STEP 4: Download Android 14 GSI ROM
- You may now grab hold of the GSI ROM from the below link
SUPERIOROS: DOWNLOAD LINK | VIDEO GUIDE
Which GSI to Download: arm64/a64/bgn/bvn/bgs/vndklite?
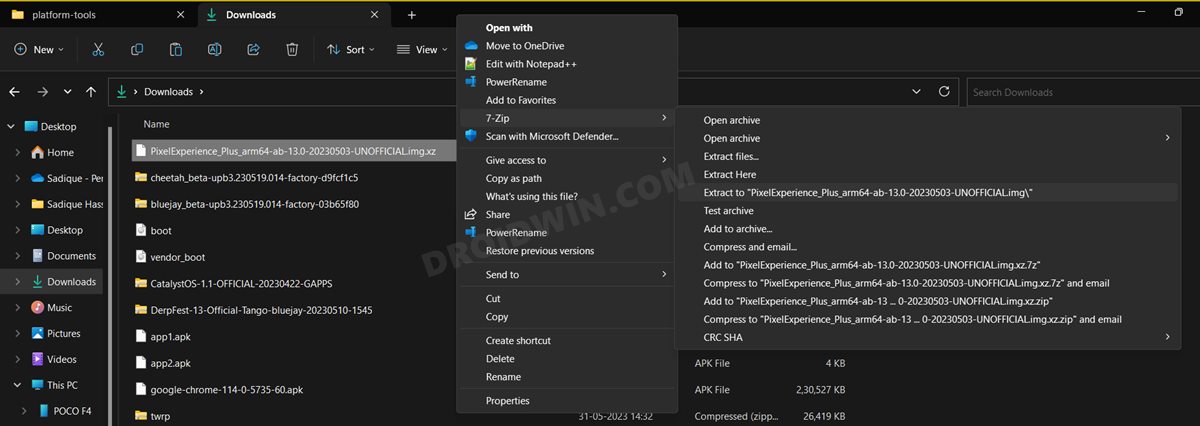
- Now extract it via 7-ZIP to the platform-tools folder on your PC.
- This will give you the system.img file, which will act as our GSI ROM.

STEP 5: Download vbmeta
- First off, download the stock firmware for your device
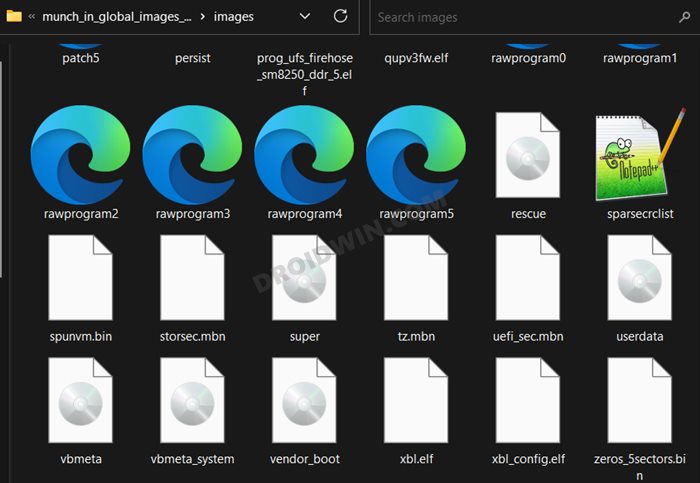
- Then extract it and get hold of the vbmeta.img file.
- Now transfer the vbmeta.img to the platform-tools folder on your PC.

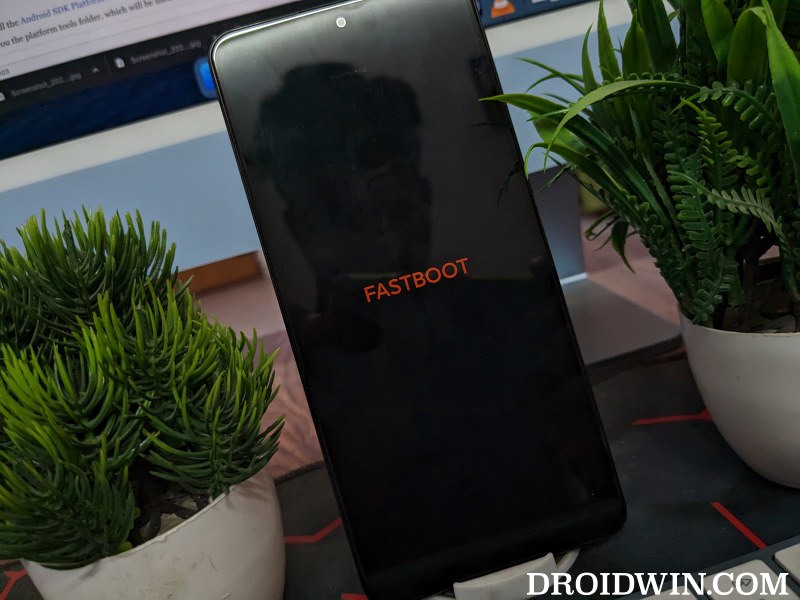
STEP 6: Boot Device to Fastboot Mode
- First off, connect your device to the PC via a USB cable. Make sure USB Debugging is enabled.
- Then head over to the platform-tools folder, type in CMD in the address bar, and hit Enter. This will launch the Command Prompt.

- Type in the following command in the CMD window to boot your device to Fastboot Mode
adb reboot bootloader

- To verify the Fastboot connection, type in the below command and you should get back the device ID.
fastboot devices

- If you are not getting any serial ID, then please install the Fastboot Drivers on your PC.
STEP 7: Disable Verity Check
Type in the below command to flash the vbmeta and hence disable the verification check of the vbmeta partition on your device
fastboot --disable-verification flash vbmeta vbmeta.img
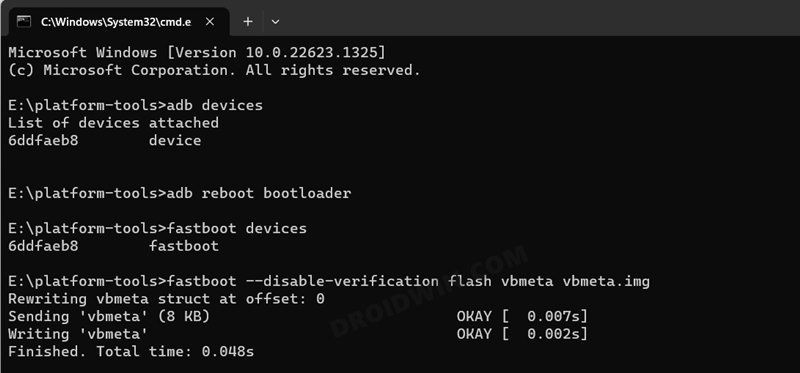
STEP 8: Flash Android 14 GSI ROM via Fastboot
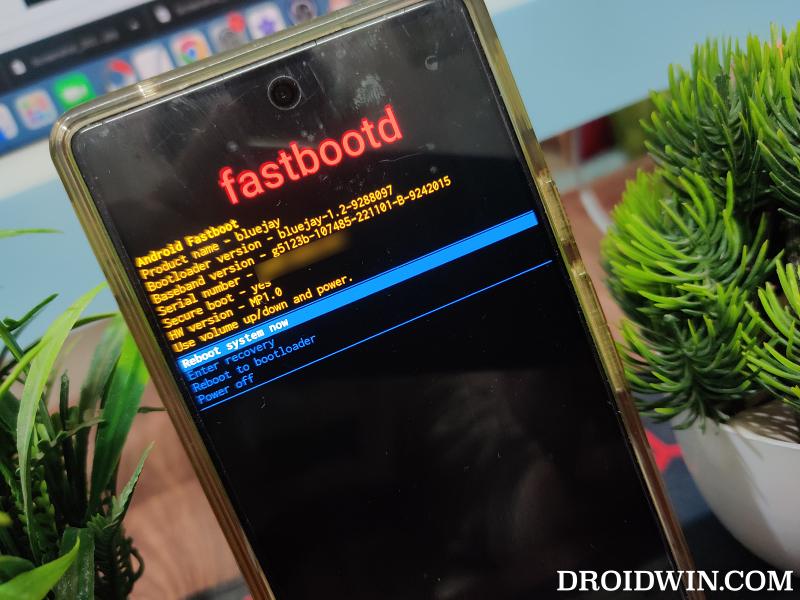
- As of now, your device will be in the Fastboot Mode. So type in the below command to boot to FastbootD Mode
fastboot reboot fastboot

- Now delete the logical partition to free up some space on your device:
fastboot delete-logical-partition product_a

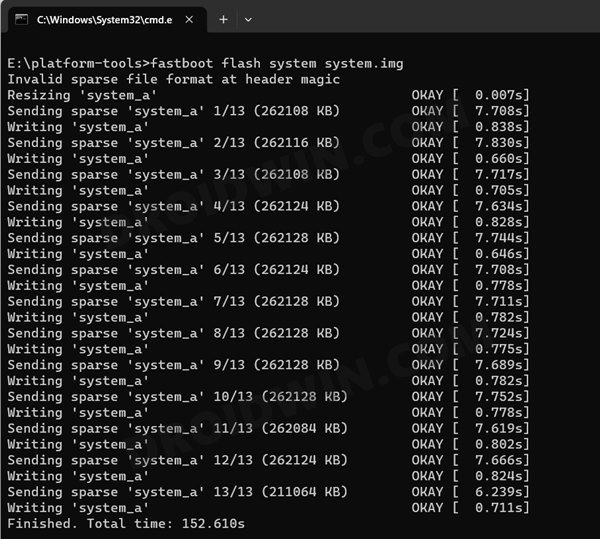
- You may now flash the GSI ROM via the below command [system.img is the name of the GSI ROM]
fastboot flash system system.img

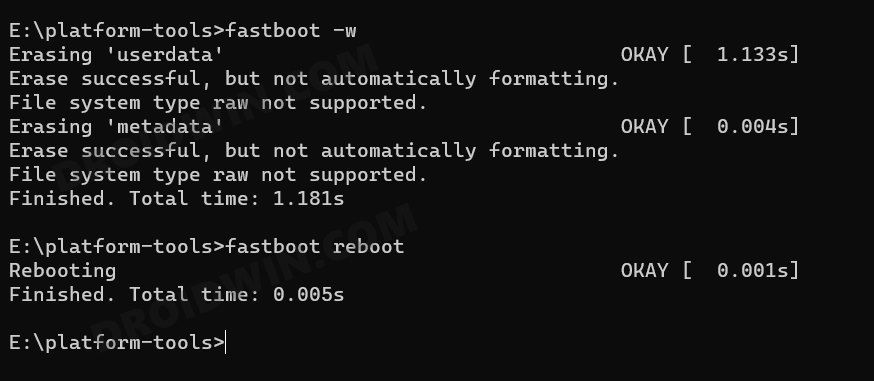
- Once done, you’ll now have to do a format data, so use the below command
fastboot -w

- Finally, reboot your device to the newly installed OS via the below command
fastboot reboot
That’s it. These were the steps to install the SuperiorOS Android 14 GSI ROM on your device. If you have any queries concerning the aforementioned steps, do let us know in the comments. We will get back to you with a solution at the earliest. And do check out the below-linked guides to fix numerous GSI-related bugs and issues:
- Fix WiFi/Internet/Network not working in GSI ROM
- 5G, Bluetooth, 90Hz Display, DT2W not working in GSI ROM: How to Fix
- Fast Charging not working in GSI ROM: How to Fix
- Brightness Slider not working in GSI ROM: How to Fix
- Headphone Jack not working in GSI ROMs: How to Fix
- How to Resize System Partition to Install GSI ROM
How to Install Android 14 GApps
If you have flashed a GSI that doesn’t have GApps but you wish to install it, then do refer to our guide on How to Download and Install Android 14 GApps.
