In this guide, we will show you the steps to enable the delete file confirmation dialog box in Windows 11. There exist two different methods to bid adieu to files and folders on your PC. The first one is by using the Delete key which sends the file straight to the Recycle Bin. The benefit of this method is that you could easily restore that deleted file as and when needed. On the other hand, the second approach of deleting files is via the Shift+Delete shortcut keys.
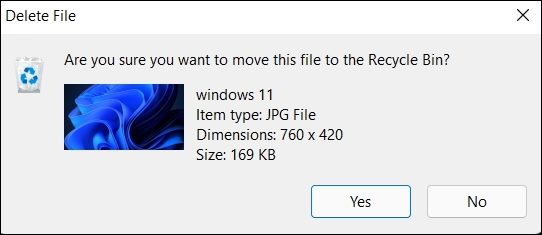
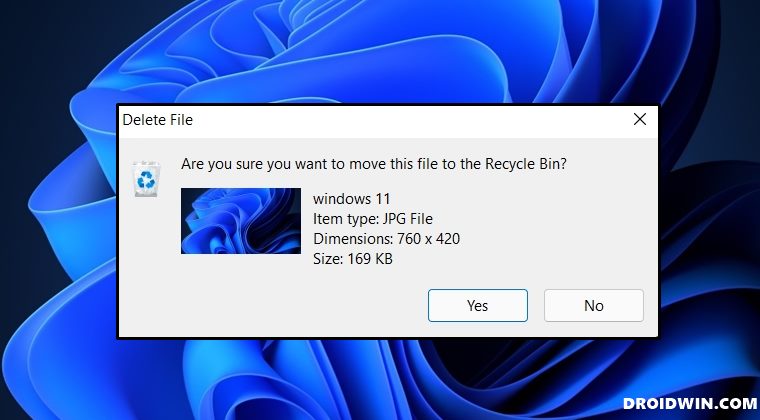
Doing so will delete the file from your PC for good, and there’s no turning back. In this regard, whenever you are about to permanently delete a file, Windows will throw up a confirmation dialog box. This will give you an opportunity to reconfirm whether you really wish to delete this file/folder or not. But what about when you just delete a file? Well, in those cases, Windows wouldn’t bring up any confirmation pop-up and straightaway send the file to the Recycle Bin.
The reason might be the fact that even if you unintentionally delete a file, you could still recover it from the Recycle Bin. So there’s no need to ask for confirmation. While this does makes sense up to an extent, but that isn’t a viable approach for me and countless other users. This is because manually browsing through a plethora of files in the Recycle Bin and finding the right one calls for a lot of effort. If you are also on the same page, then this guide will show you the steps to enable the delete file confirmation dialog box in Windows 11.
Table of Contents
How to Enable Delete File Confirmation Dialog in Windows 11
There exist three different methods through which you could carry out the said task. And we have listed all of them below. You may try out the one that is in sync with your requirement. With that said, the first method is the shortest and easiest approach and is the recommended one. However, if you wish to dig deep into the OS and try out a few advanced tweaks, then the second and the methods are aimed at you, tech enthusiast!
Enable Delete File Confirmation Dialog in Windows 11 Via Recycle Bin
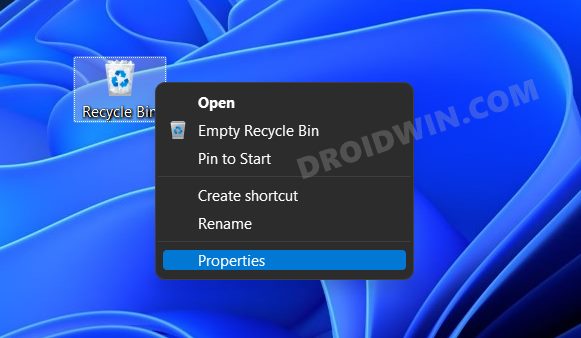
- Right-click on the Recycle Bin icon present on your desktop and select Properties.

- After that, checkmark the ‘Display delete confirmation dialog’ option present at the bottom.
- Finally, hit Apply > OK to save the changes. That’s it.
- You have successfully enabled the delete file confirmation dialog box in Windows 11 via Recycle Bin.

Enable Delete File Confirmation Dialog in Windows 11 Via Registry Editor
- Head over to the Start Menu, search Registry Editor, and open it.
- Then copy-paste the below location in its address bar:
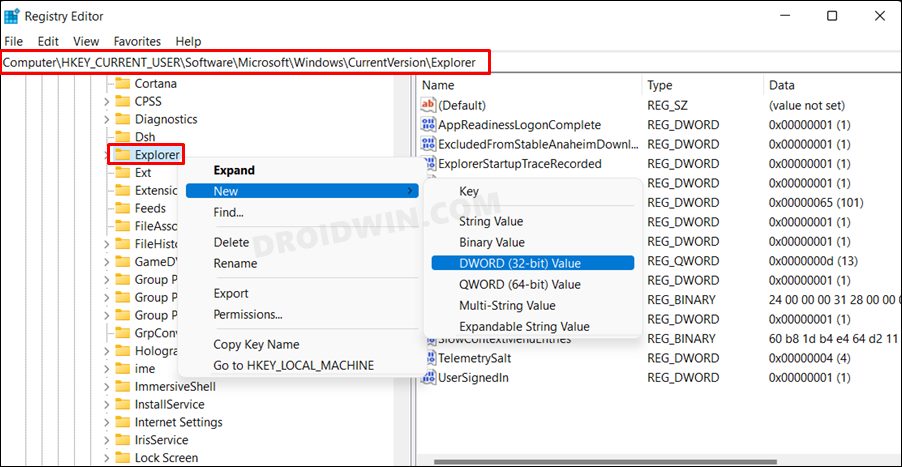
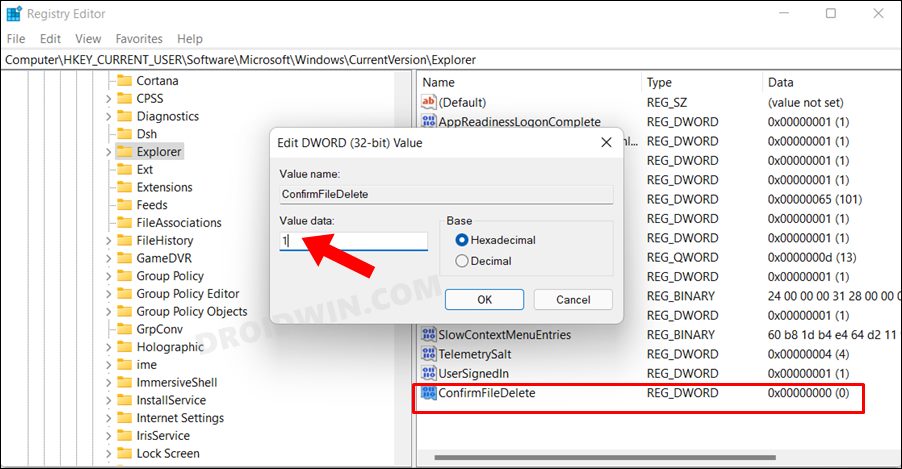
HKEY_CURRENT_USER\Software\Microsoft\Windows\CurrentVersion\Policies\Explorer
- After that, right-click on the Explorer folder and select New > DWORD (32-bit) Value.
- Name this file ConfirmFileDelete. Then double click to open it.
- Assign 1 in the Value Data field and hit OK to save the changes.
- That’s it. The delete file confirmation dialog box now stands enabled on your Windows 11 PC.
Enable Delete File Confirmation Dialog in Windows 11 Via Group Policy Editor
If you are on Windows 11 Home, then you will have to enable the Group Policy Editor. You may refer to our guide on How to Enable Group Policy Editor in Windows 11 Home. [Other editions of Windows already have it enabled]. Once done, you may proceed with the below instructions steps:
- Head over to the Start Menu, search Group Policy Editor, and open it.
- Now go to the below location from the left menu bar:
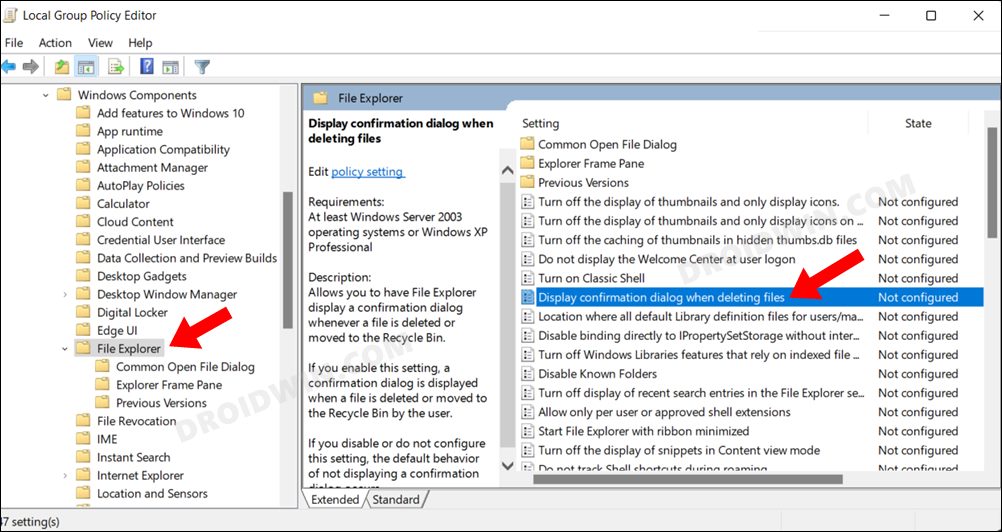
User Configuration > Administrative Template > Windows Components > File Explorer
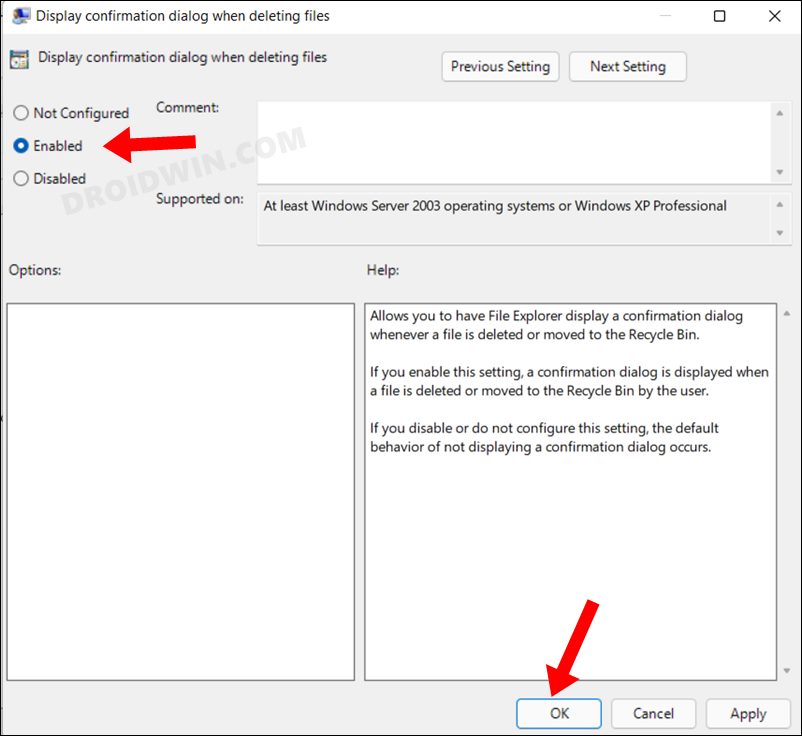
- Once you reach there, double-click on the ‘Display confirmation dialog when deleting files’ policy present on the right-hand side to open it.
- Then select Enabled from the top left menu and hit Apply > OK to save it. That’s it.
With this, we round off the guide on how you could enable the delete file confirmation dialog box on your Windows 11 PC. We have listed three different methods for the same. with the first method being the most straightforward approach. Rounding off, if you have any queries concerning the aforementioned steps, do let us know in the comments section. We will get back to you with a solution at the earliest.


