In this guide, we will show you the quick and easy steps to downgrade your Mac from macOS 14 Sonoma to macOS 13 Ventura. Apple has recently taken off the curtains from the fourteenth iteration of the OS build. And with that, there is a slew of new and intriguing features waiting to make a permanent abode on your Mac. Some of the noteworthy ones include the likes of the new lock screen, desktop widgets, FaceTime, and iMessage enhancements.
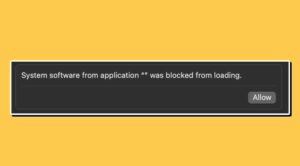
Apart from that, there’s a new Game Mode, web app support, emoji tap backs, a new emoji stickers interface, and new tools for editing PDFs. However, this is just one side of the coin. The OS is currently in a developer preview stage, so there are bound to be quite a few rough edges. Not only that, but many third-party apps are also not yet compatible with the latest OS release.
So if the plethora of noteworthy features had completed you to install the latest offering from the Cupertino giant but you are now ruing your decision for being an early adopter of this yet-to-be-stable OS, then fret not. In this guide, we will show you a nifty method through which you could easily downgrade your Mac from macOS Sonoma 14 to macOS Ventura 13. So without any further ado, let’s get started.
How to Downgrade macOS Sonoma 14 to macOS Ventura 13
Before starting with the downgrade, make sure to take a backup of all the data on your Mac as the System Volume [Macintosh HD] will be formatted during the process. Droidwin and its members wouldn’t be held responsible in case of a thermonuclear war, your alarm doesn’t wake you up, or if anything happens to your device and data by performing the below steps.
- Downgrading macOS involves erasing the current installation. So make sure that the external storage that contains the backup is connected correctly.
- Once that is done, you’ll now have to erase the current installation. So restart your Mac.
- Then Silicon [M1/M2] users: While it’s booting up, press and hold the Power button until the Startup option appears.
- Intel users: Press and hold the Command+R keys to boot to Recovery Mode.
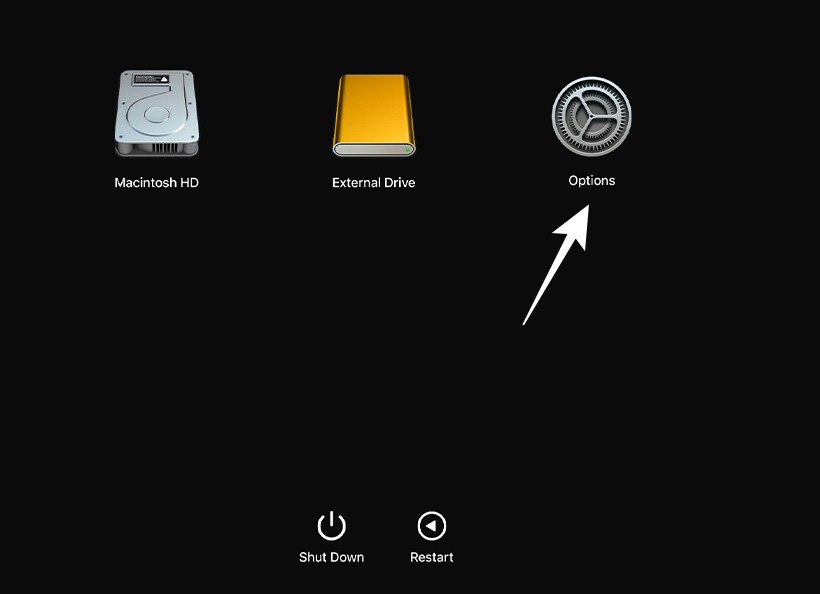
- Then select Options and click Continue.

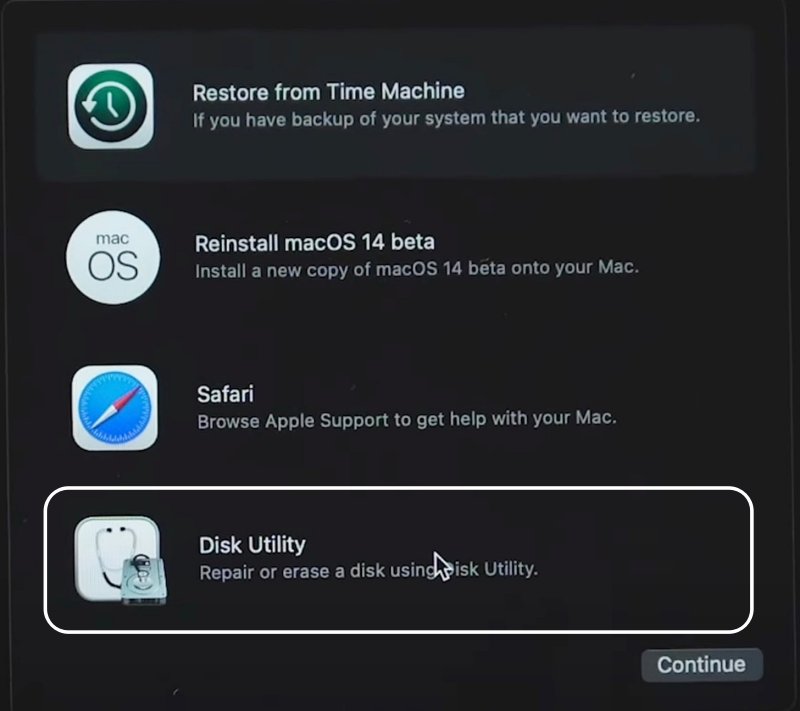
- As of now, you’ll see Reinstall macOS 14 Beta. So go to Disk Utility.
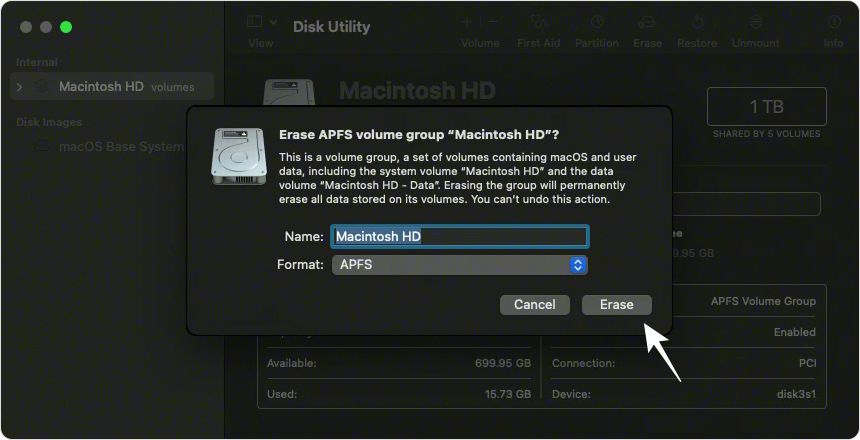
- Then select your System Volume [Macintosh HD] and Erase > Erase Mac > Erase Mac and Restart.
- You’ll be taken to Recovery Assistant. Connect your Mac to WiFi.
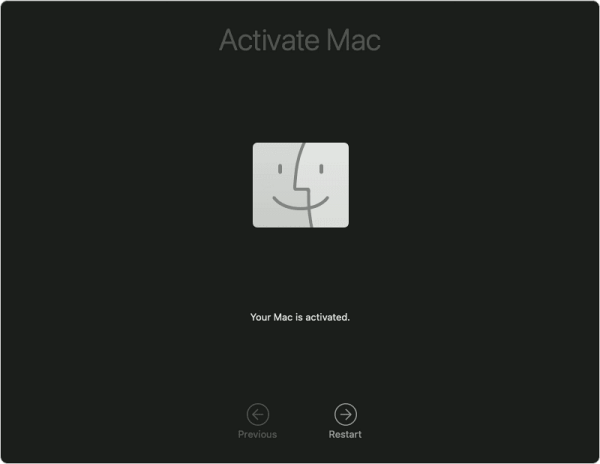
- Now activate your Mac and click on Exit to Recovery. You’ll now be taken to Recovery.
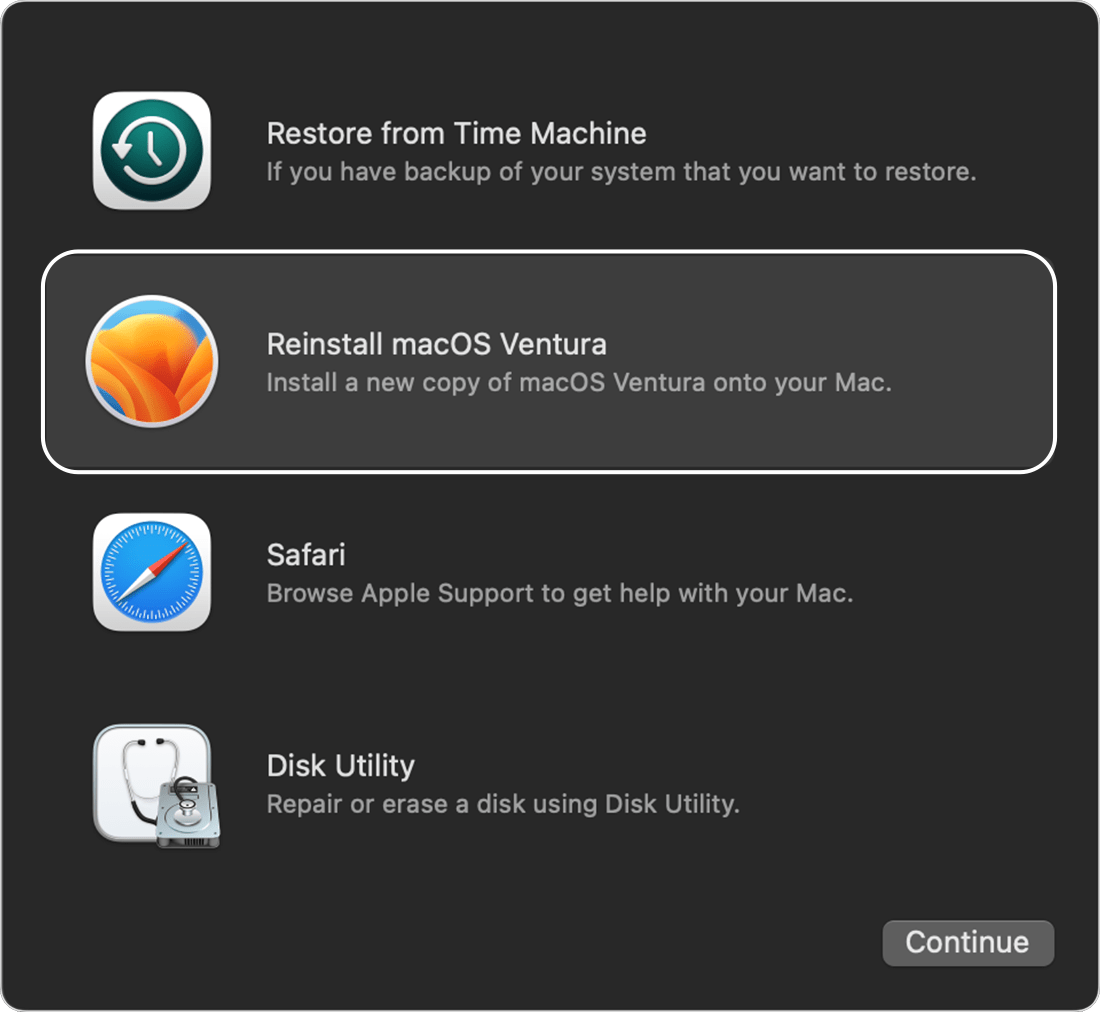
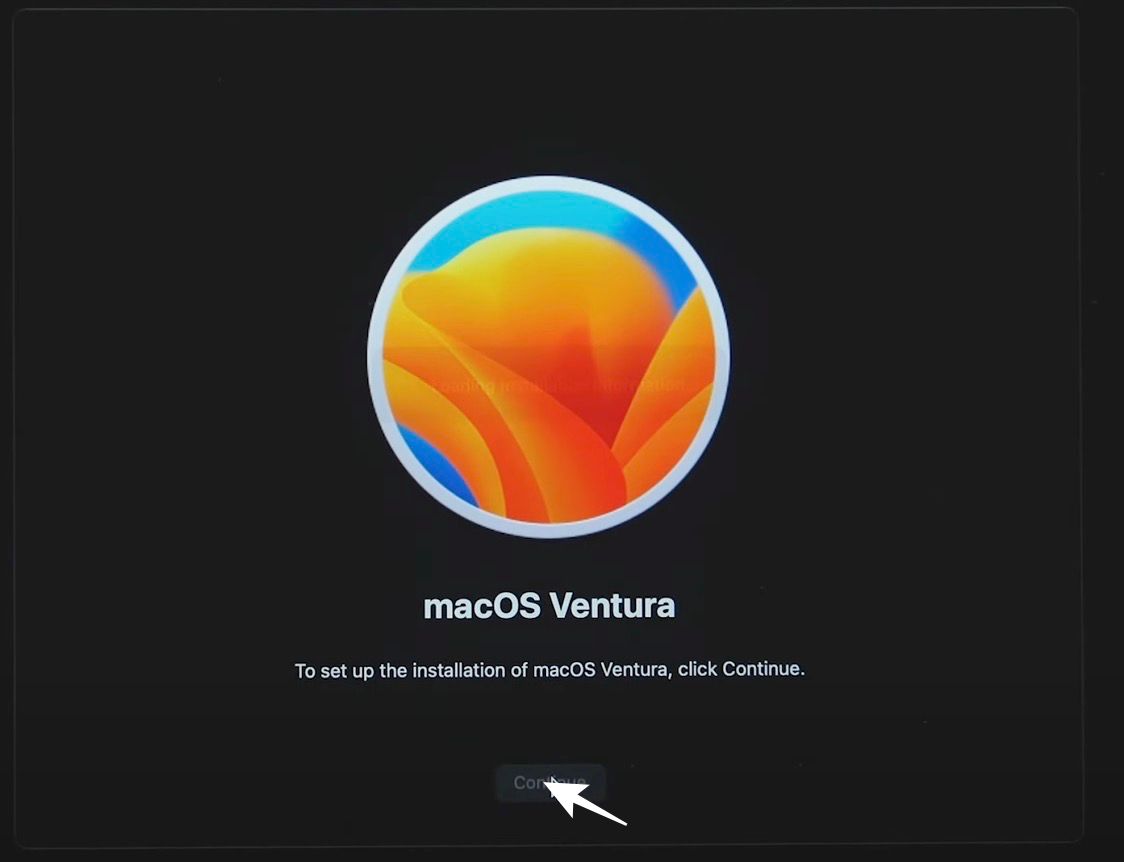
- This time you should see the Reinstall macOS Ventura option, click on it and hit Continue.
- Agree to the Terms and Conditions, select the System Volume [Macintosh HD] disk, and hit Continue.
- macOS Ventura will now be installed on your PC and the process could take a few hours.
- Once done, your Mac will boot to Ventura. So proceed with the on-screen instructions and set it up as needed.
That’s it. These were the steps to downgrade your Mac from macOS Sonoma 14 to macOS Ventura 13. If you have any queries concerning the aforementioned steps, do let us know in the comments. We will get back to you with a solution at the earliest.