In this guide, we will show you various methods to fix the issue of the Scan to Network Folder not working on Mac. After setting up the network folder, you can then scan documents from your printer to that folder wirelessly. However, according to various user reports, their printer does see that shared folder, but it can’t connect to it. The accompanying error message is “The test was unsuccessful. Try again.” If you are also facing this problem, then this guide will make you aware of numerous workarounds that should rectify this bug. Follow along.
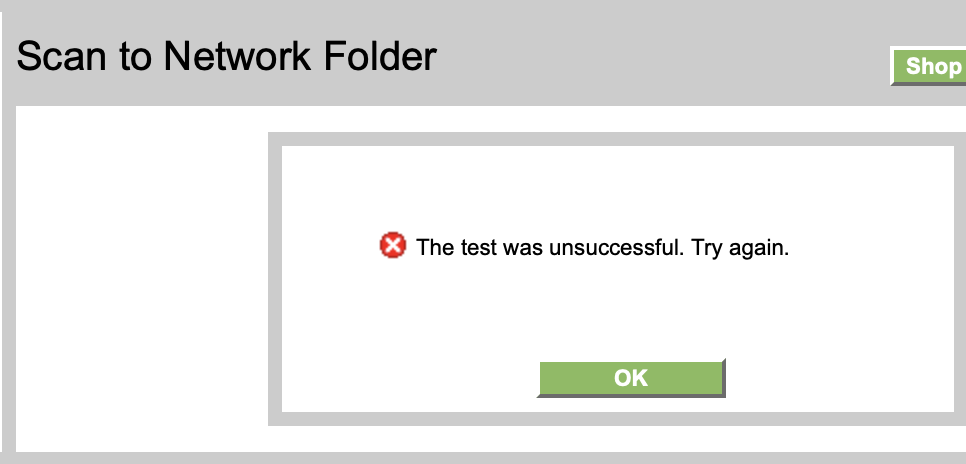
Table of Contents
Fix Scan to Network Folder not working on Mac
It is recommended that you try out each of the below-mentioned workarounds and then see which one spells out success. So with that in mind, let’s get started.
FIX 1: Try Account Workarounds
- First off, verify your username and password that you have entered [if you are using your full username, then try using your first name only, all in lowercase, and then check out the results.].
- Next up, make sure that your account has admin privileges as well.
- Likewise, you should have given the read and write permissions to the shared folder.
FIX 2: Try Network Tweaks
- Reverify that you have used the correct IP from System Settings > Network > Wi-Fi > Details.
- Likewise, both your Mac and printer should be connected to the same network.
- The shared folder address should be something along the following lines \\IP\Shared_Folder_Name. For example, if your IP is 192.168.80.191, and the shared folder name is HPScans, then the path should be \\192.168.80.191\HPScans.
FIX 3: Toggle File Sharing
Next up, you should consider disabling and then re-enabling File Sharing. This will refresh its underlying settings and could rectify the issue that we are currently dealing with. So let’s give it a try using the below-listed steps and check out the results.
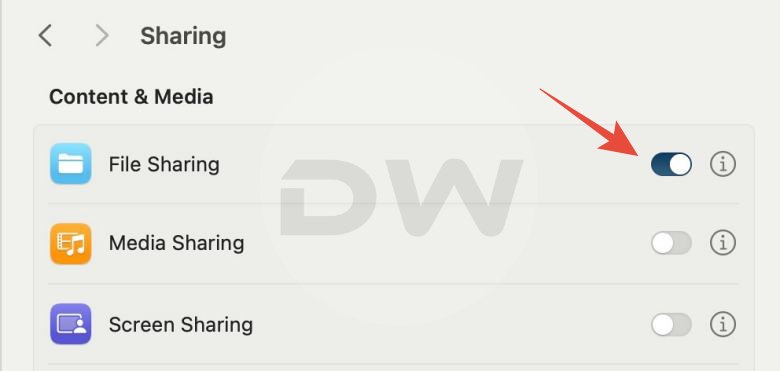
- Head over to System Settings > General > Sharing.
- Then go to File Sharing and disable the toggle next to it.

- Now restart your Mac and then re-enable File Sharing
- Check if Scan to Network Folder is working on your Mac.
FIX 4: Re-Add Shared Folder to File Sharing
You should also consider deleting and then re-adding the Shared Folder to the File Sharing functionality to refresh its settings. Here’s how it could be done:
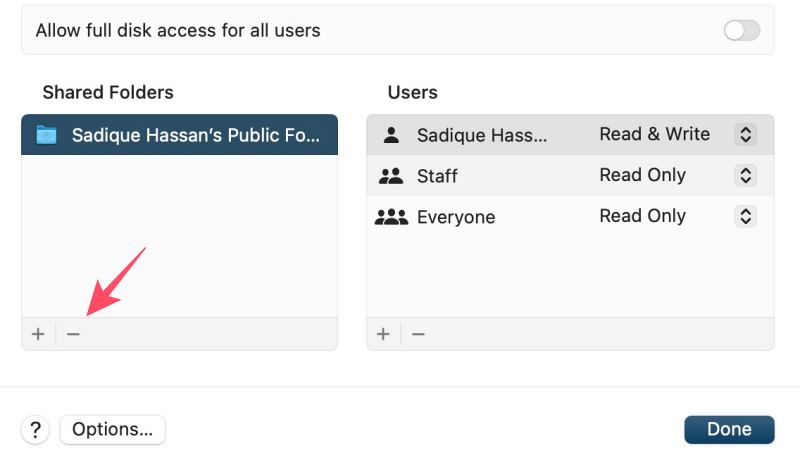
- Head over to System Settings > General > File Sharing.
- Then go to File Sharing Information and remove the Shared Folder.
- Now restart your Mac and re-add the Shared folder there.
- Check if Scan to Network Folder is working on your Mac.
FIX 5: Grant ACL Permissions
For all scans saved from the printer to that folder to be accessible to all users on the network, we will need to change permissions on that folder by adding ACLs. On macOS, there are two types of permissions POSIX and ACL. When setting permissions in System Preferences/Sharing we are only setting POSIX permissions. So you’ll have to set the ACLs permissions as well, as explained below:
- First off, go to Launchpad > Others > Terminal.
- Then type in the below command and hit Enter:
chmod +a "group:examplegroup allow list,add_file,search,add_subdirectory,delete_child,readattr,writeattr,readextattr,writeextattr,readsecurity,file_inherit,directory_inherit" /path/to/folder
- The key argument is “directory_inherit” which means all files added to that folder will inherit the permissions of the folder.
- In the example above you can choose “everyone” or “staff” for the group.
- The path will be along the lines of \\192.168.xx.xxx\Shared_Folder_Name [replace 192.168.xx.xxx with your IP Address].
That’s it. These were the various methods that should help you fix the issue of the Scan to Network Folder not working on Mac. If you have any queries concerning the aforementioned steps, do let us know in the comments. We will get back to you with a solution at the earliest.