In this guide, we will show you the steps to completely disable the Voice Typing feature on your Windows 11 PC. The Voice to Text might come in handy in quite a few cases. For instance, if you don’t wish on typing a large essay, then you could just read it out and your PC will do the rest. You could even issue specific commands such as editing a sentence, highlighting it, or even deleting it. So when this functionality has so much to offer, why would one consider disabling it? Well, it is due to the privacy risks involved.
Look, by default, this feature is disabled on your PC and it cannot access the microphone in that switched-off state. However, if you are right at the edge of your seats when it comes to privacy, then your best bet will be to be on the safer side and straightaway bid adieu to this feature. And in this guide, we will show you how to do just that [and also the steps to bring it back]. So without further ado, let’s get started with the steps to completely disable the Voice Typing feature on your Windows 11 PC.
Table of Contents
How to Completely Disable Voice Typing in Windows 11
We have listed two different methods to get the job done- via Registry Editor and using Group Policy Editor. Go through both these methods and then try out the one that is in sync with your requirements.
Using Registry Editor
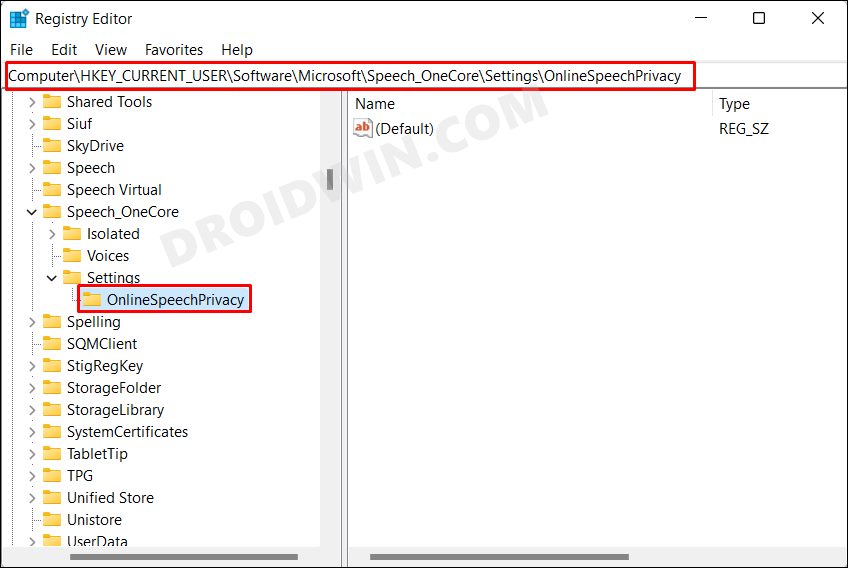
- Head over to the Start Menu, search Registry Editor, and open it.
- Then copy-paste the below location in the address bar and hit Enter
HKEY_CURRENT_USER\Software\Microsoft\Speech_OneCore\Settings\OnlineSpeechPrivacy

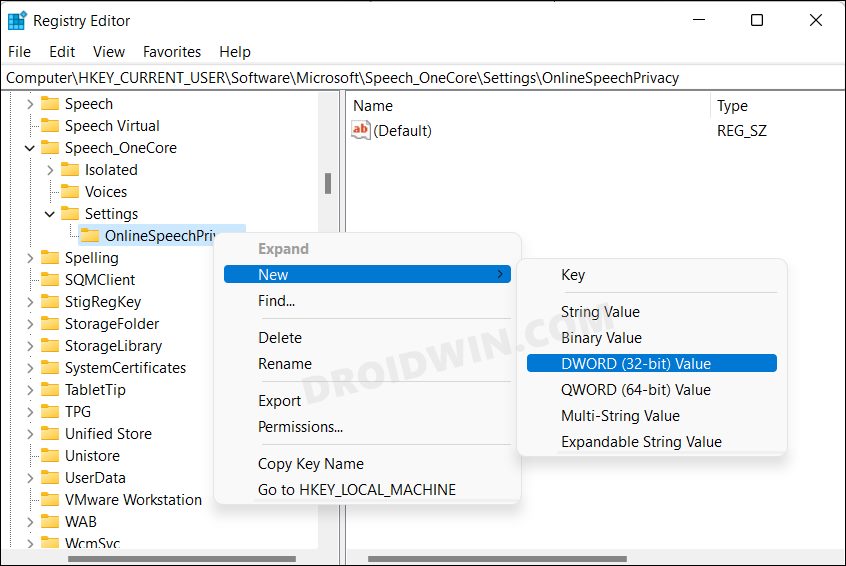
- Now right click on the OnlineSpeechPrivacy folder and select New DWORD (32-bit) value.
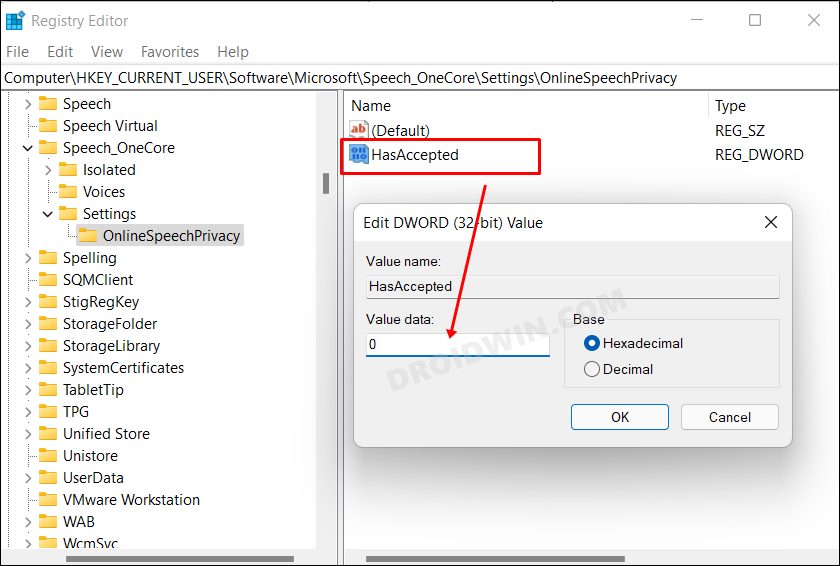
- Name it HasAccepted and then double click to open it.
- Type in 0 under the Value Data field and hit OK to save it.
- Finally, restart your Windows 11 PC and the Voice Typing stand disabled.
Via Group Policy Editor
- To begin with, enable the Group Policy Editor on your Windows 11 PC.
- Then bring up the Run dialog box via Windows+R shortcut keys.
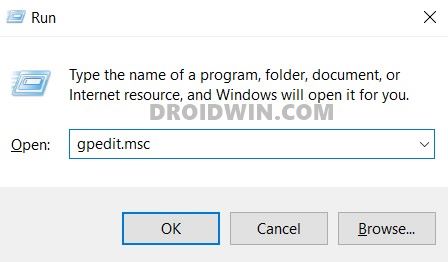
- After that, type in the below command and hit Enter to open Group Policy Editor
gpedit.msc
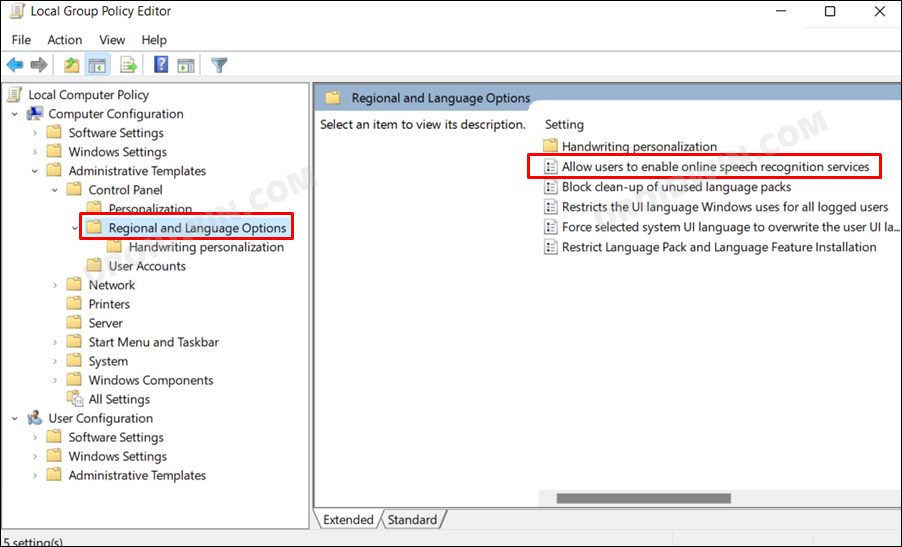
- Then go to the following location from its left menu bar
Computer Configuration > Administrative Templates > Control Panel > Regional and Language Options
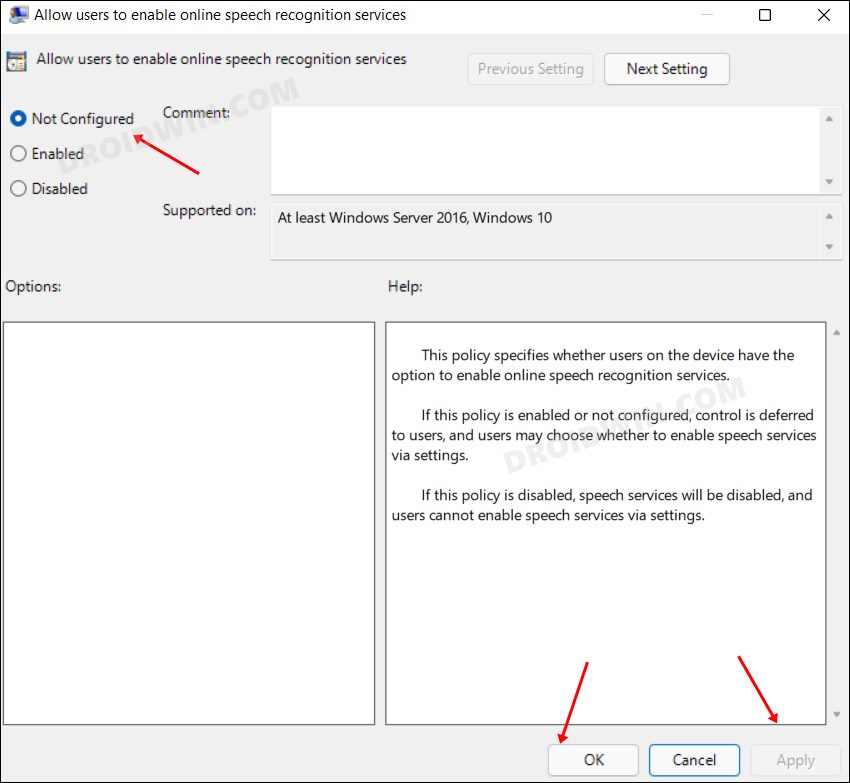
- Now go to the right-hand side and open Allow users to enable online speech recognition services.
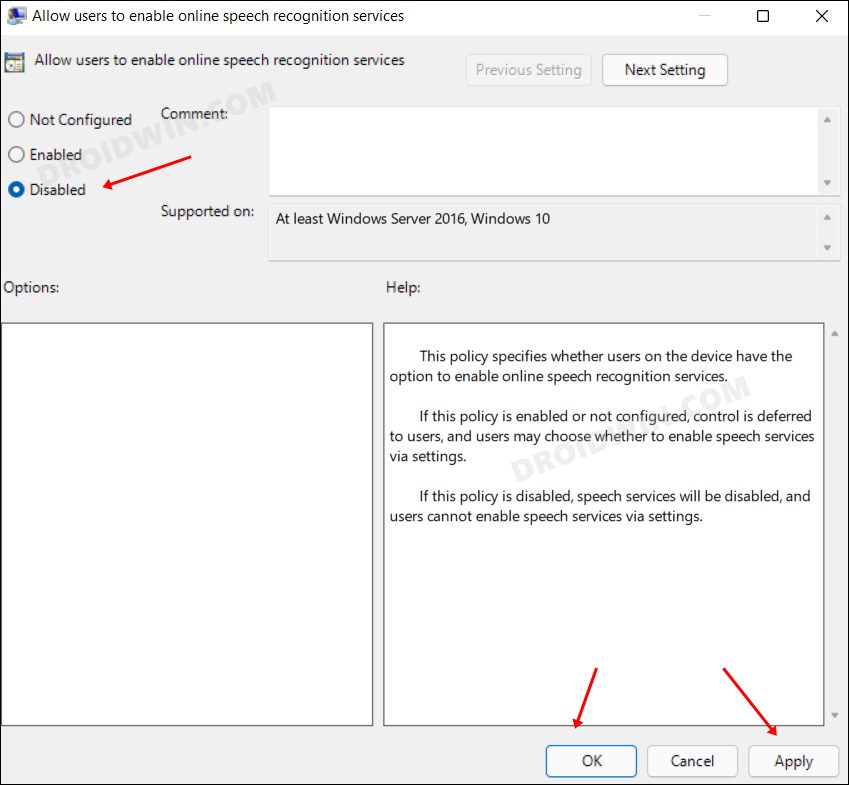
- Then select Disabled followed by Apply > OK to save the settings.
- Finally, restart your PC to implement the policy.
That’s it. These were the two different methods to disable the Voice Typing feature on your Windows 11 PC. Let’s now make you aware of the steps to undo this change, in case the need arises in the foreseeable future.
How to Re-Enable Voice Typing in Windows 11
If there’s a change in plan and you wish to bring back Voice Typing, then refer to the below instructions, depending on the method you initially opted to enable this feature.
Using Registry Editor
- Launch Registry Editor and head over to the below location
HKEY_CURRENT_USER\Software\Microsoft\Speech_OneCore\Settings\OnlineSpeechPrivacy
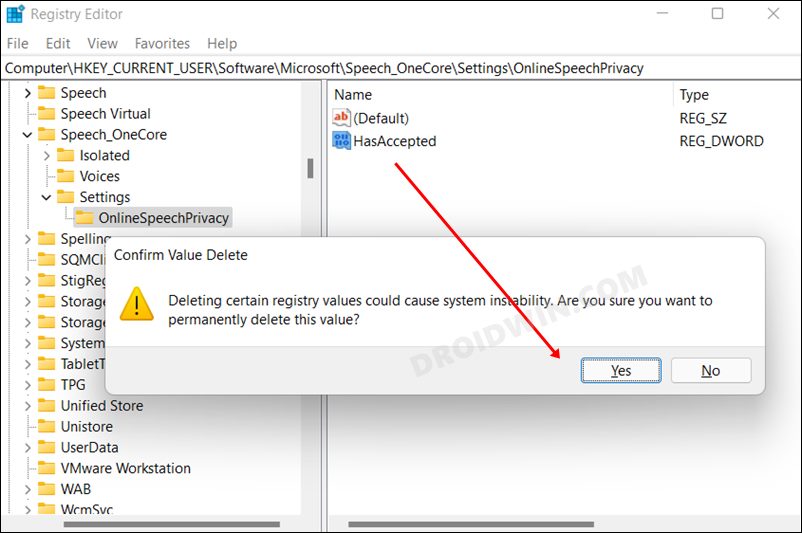
- Then select the HasAccepted file and hit Delete.
- Reply OK in the confirmation dialog box. That’s it.
Via Group Policy Editor
- Go to the below location inside the Group Policy Editor
Computer Configuration > Administrative Templates > Control Panel > Regional and Language Options
- Then open Allow users to enable online speech recognition services.
- Change its state to Not Configured and hit Apply > OK to save the settings.
So with this, we round off the guide. If you have any queries on how to disable [or re-enable] the Voice Typing feature on your Windows 11 PC, then do let us know in the comments section below. We will get back to you with a solution at the earliest.


