This guide will show you various methods to fix the printer not working issue in macOS Ventura. The printer is one such hardware that has always had its fair share of ups and down with Mac [more downs than ups to be fair]. Issues with Big Sur and Monterey have already been documented in the past and unfortunately, similar behavior is being noted with the thirteenth iteration of the OS.
Numerous macOS Ventura users have voiced their concern that their printer is not working along the expected lines after updating to macOS Ventura. Whether it’s Epson, Lexmark, HP, or Oki, each of these manufacturers are currently bugged with this problem. If you are also in the same boat, then this guide will make you aware of numerous workarounds that shall help you rectify this issue. So without further ado, let’s check them out.
Table of Contents
Fix Printer not working in macOS Ventura
It is recommended that you try out each of the below-mentioned workarounds and then see which one spells out success for you. So with that in mind, let’s get started.
FIX 1: Install Printer Update
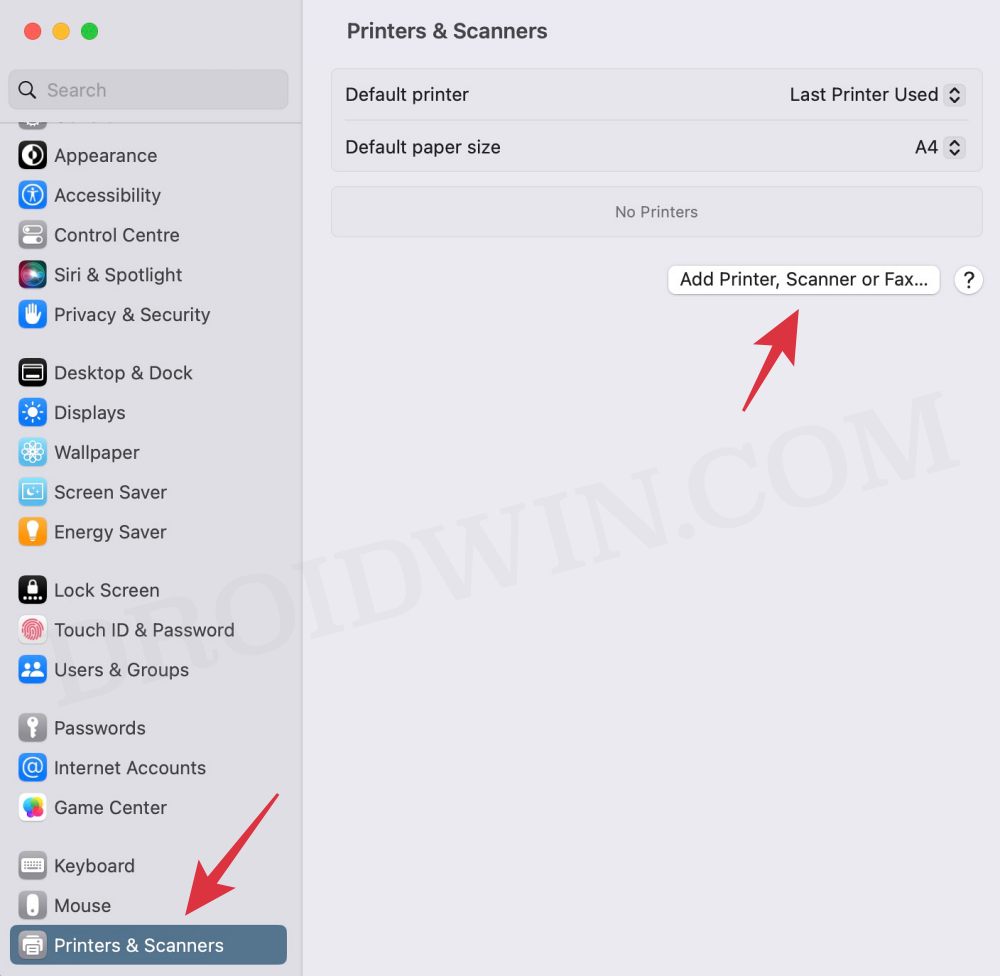
- To begin with, go to System Settings > Printers and Scanners.
- Select your printer from the list and hit the minus sign next to it to remove it.
- Then click on Delete Printer in the confirmation dialog box.
- Once done click on the plus icon and select Add Printer or Scanner.

- After that, select the printer type: USB, Wireless, or Ethernet connection.
- Then select your printer under the “Use or Print Using” drop-down list and click on Add.
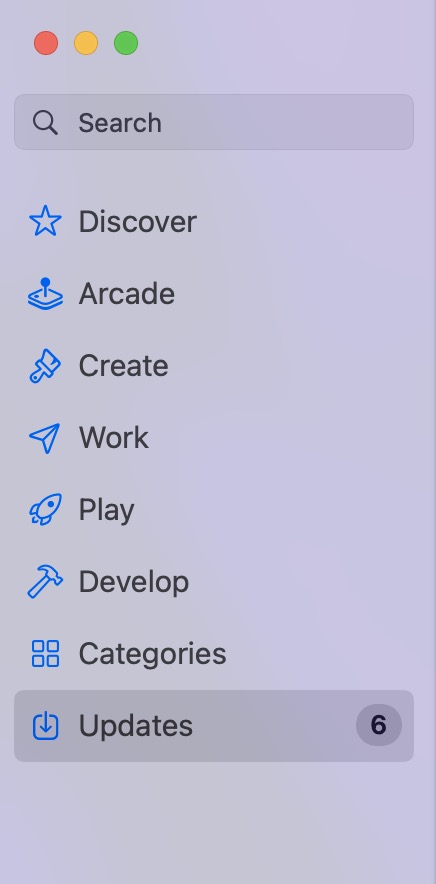
- Now click on the Apple logo and select App Store.
- Then go to the Updates tab and download and install the available printer update.
- Check if it fixes the Printer not working issue in macOS Ventura.

FIX 2: Reinstall Printer
Next up, you should consider removing and then re-adding the printers on your Mac. Doing so will refresh its underlying settings and could well rectify the issue that we are currently dealing with. So give it a try using the below given steps ad then check out the results.
- Power off your printers and go to System Settings > Printers and Scanners.
- Select your printer from the list and hit the minus sign next to it to remove it.
- Then click on Delete Printer in the confirmation dialog box.
- Now open Finder and go to Library > Printers. Then delete the folder named after your printer.
- After that, go to Library > Printers> PPD > Contents > Resources and delete the file named after your printer.
- Then go to Library > Cache and delete the folder named after your printer.
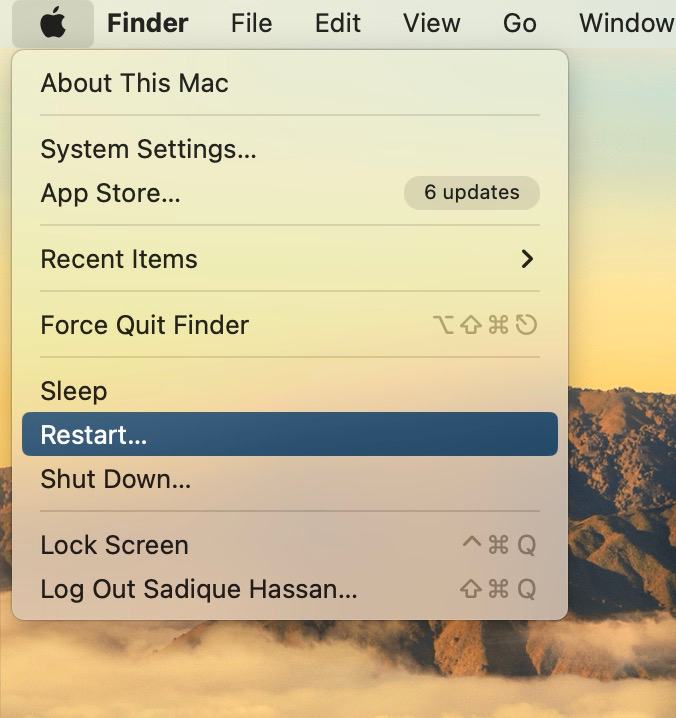
- Now restart your Mac and power on the printer.
- Go to your printer’s Download site and grab the latest drivers, corresponding to your product’s model number.
- Then launch the driver setup file and proceed with the on-screen instructions to complete the process.
- Check if it fixes the Printer not working issue in macOS Ventura.
FIX 3: Disable Antivirus/Firewall
In some instances, a firewall or antivirus might also conflict with the printer. Therefore, you should consider temporarily disabling it using the below-listed instructions and then check out the results.
- Open System Settings and select Network from the left-hand side.
- Then go to Firewall and disable the toggle next to it.
- Check if it fixes the Printer not working issue in macOS Ventura.

FIX 4: For HP Printers
In case there are any issues with the HP Smart app on your Mac, then its repercussions are bound to be faced by the printer. Therefore, you should consider uninstalling it and removing its data and then reinstalling its fresh instance from scratch. Here’s how it could be done:
- Launch Finder, go to Application, and drag and drop the HP Smart app into the trash.
- Then go to the Users/Username/Library/Application Support folder and delete the files from there, if any.
- Now download and install the latest version of the HP Smart app from the App Store.
- Check if it fixes the Printer not working issue in macOS Ventura.
FIX 5: For Lexmark Printers
When installing the Lexmark drivers, then instead of selecting the Lexmark driver, you should select AirPrint and then check if it works out in your favor. [Verify from here whether your printer supports AirLink or not]
FIX 6: Reset Printer System
If none of the aforementioned methods managed to spell out success, then your last course of action should be to reset the printer settings back to their factory default state. Here’s how it could be done:
- To begin with, go to System Settings > Printers and Scanners.
- Then right-click the blank space in the Printers list and select “Reset printing system”.
- After that, click on Reset in the confirmation dialog box.
- Wait for the process to complete [until there are no printers on the list].
- Once done, restart your Mac and go to System Preferences > Printers and scanners.
- Then click on the plus icon, select your printer from the list and click Add.
- Now click “Print Using…” and then select your printer from the list. That’s it.
These were the six different methods that shall help you fix the issue of the printer not working in macOS Ventura. If you have any queries concerning the aforementioned steps, do let us know in the comments. We will get back to you with a solution at the earliest.


