This guide will show you two different methods to limit/stop the battery charge of your Android device after a specific percentage. We have seen some major tectonic shifts in the battery domain during the past few years. While 4000mAh was once considered a luxury, it is now being treated as the minimum level that every device should offer [well, at least Android]. Likewise, fast-charging technology, which once stood as the USP of flagships, has now been incorporated into the budget offerings as well.
Not to mention the fact it is breaking new barriers every other month, with the level going all the way up to 150W. Even the wired charging technology might get obsolete in a few years, with the number of devices supporting wireless charging growing every other day. And yes, the reverse wireless charging is slowly catching up as well. In between all this, one thing remains constant- the tendency of the users to keep their devices in a plugged-in state overnight.
While nowadays, most devices come with an adaptive battery feature [and other related tweaks] that keeps a check on the charging percent and ascertain how much power the device really need, but there exists a much more effective rule that you could put in place- to limit or rather stop the battery charge of your Android device after a specific percentage. And in this guide, we will show you how this could be carried out. Follow along.
Table of Contents
How to Limit Battery Charge on Android after a Specific Percentage
There exist two different methods through which you could get the job done- via a third-party app and using a specific command. We have listed both these approaches below, you may refer to the one that is in sync with your requirement. Moreover, both these methods require root access.
If your device isn’t rooted, then check out this guide- How to Root Android 12 via Magisk. Droidwin and its members wouldn’t be held responsible in case of a thermonuclear war, your alarm doesn’t wake you up, or if anything happens to your device and data by performing the below steps.
Method 1: Via Magisk Modules [Root]
- To begin with, download the desired Magisk module from below:
Charging Limit 80
Charging Limit 85
Charging Limit 90
Charging Limit 95
- Then launch Magisk, go to Modules, and tap on Install from Storage.
- Now select the desired mod and it will be flashed. Once done, hit Reboot.
Method 2: Via Third-Party App [Root]
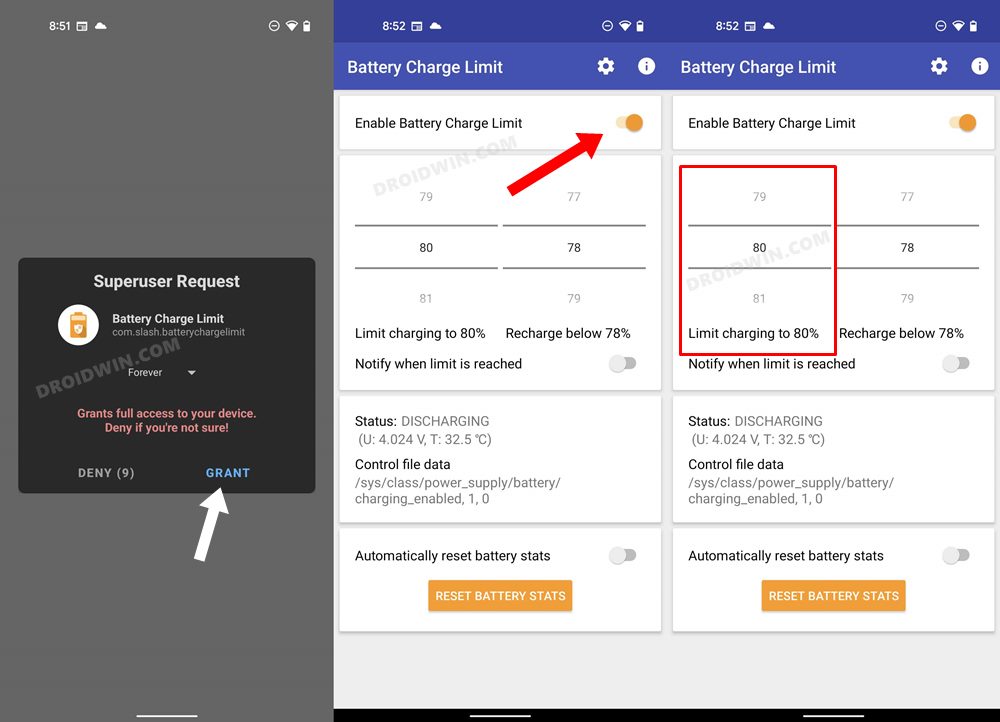
- To begin with, download and install the Battery Charge Limit app.
- Then launch the app and grant it the Magisk Request.

- After that, enable the toggle next to Enable Battery Charge Limit.
- Now set the desired limit under the Limit Charging section. That’s it.
Method 3: Via Command [Root]
- Download and extract Android SDK Platform Tools on your PC.

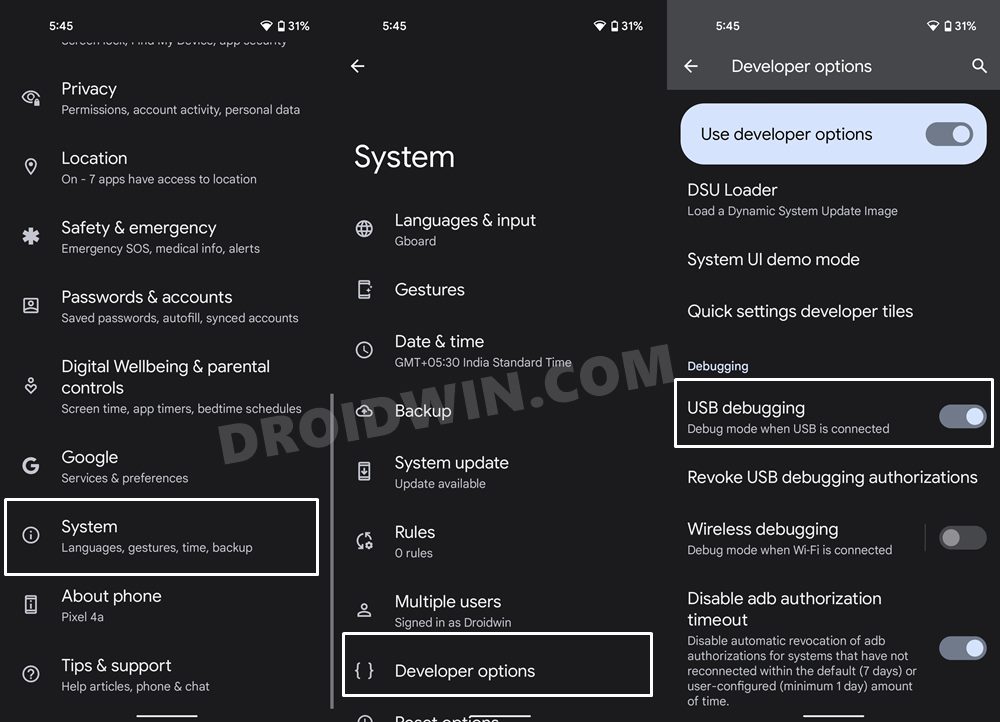
- Then enable USB Debugging and connect your device to the PC via USB cable.
- After that, go to the platform-tools folder, type in CMD in the address bar, and hit Enter.
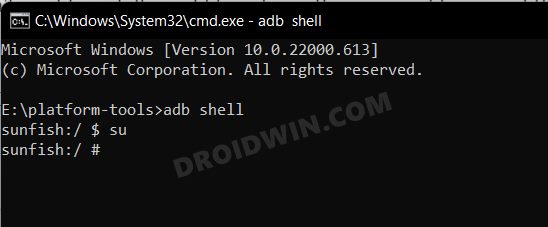
- This will launch the Command Prompt. Type in the following command to open the shell environment
adb shell
- After that, execute the below command to invoke the root permission
su
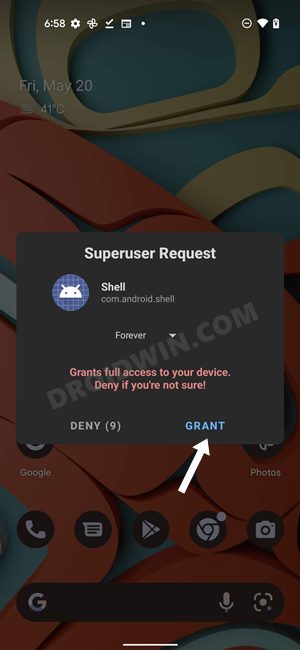
- You will now get a Magisk request on your device, tap Grant.
- Now input the following command to limit the charging percentage [as an example, we are taking 90, make sure to replace it with the desired level].
echo 90 > /sys/devices/platform/google,charger/charge_stop_level
- That’s it. Now just reboot your device for the changes to take place.

So these were the two different methods to limit/stop the battery charge of your Android device after a specific percentage. If you have any queries concerning the aforementioned steps, do let us know in the comments. We will get back to you with a solution at the earliest.
Method 4: Via IFTTT Webhooks & MacroDroid [Non-Root]
While this is the lengthiest of the four methods, but it also comes with a huge advantage that the entire process doesn’t require root. So with that in mind, let’s get started.
- To begin with, install MacroDroid on your device.
- Now go to the IFTTT website and sign in/log in to it.
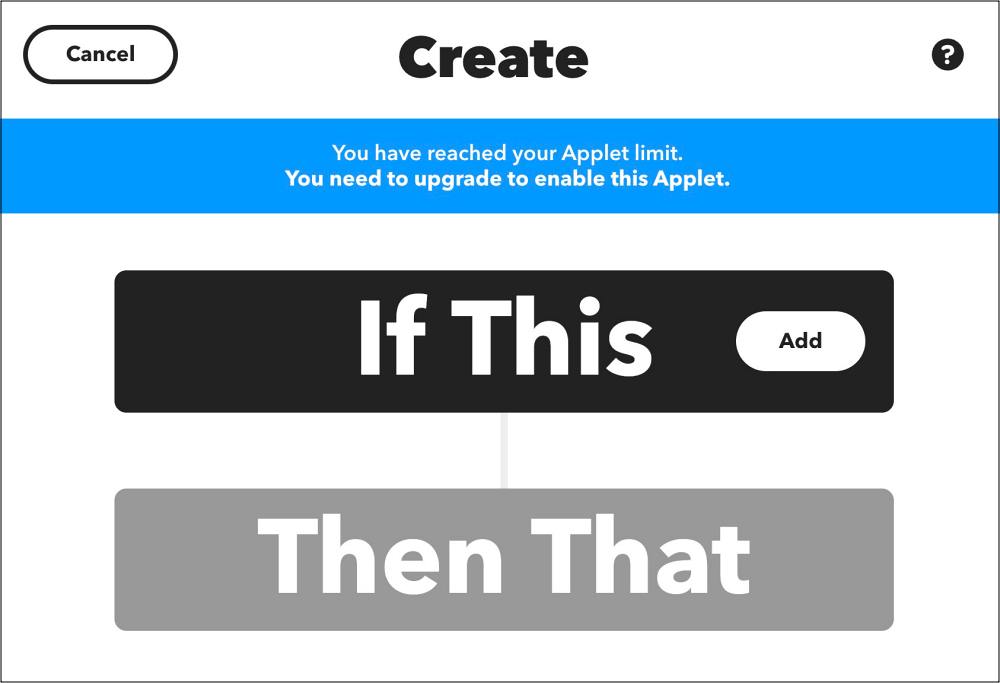
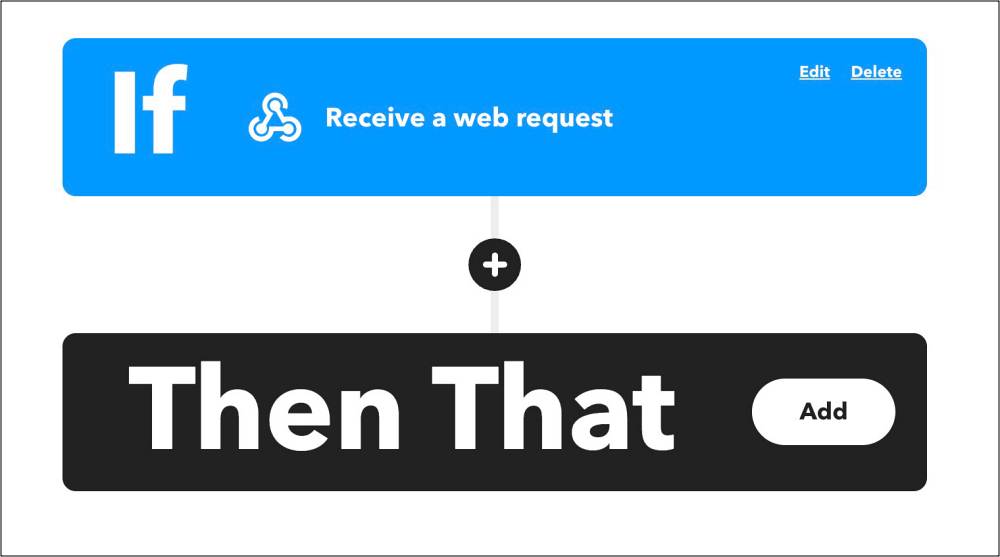
- Then click on Create > If This.
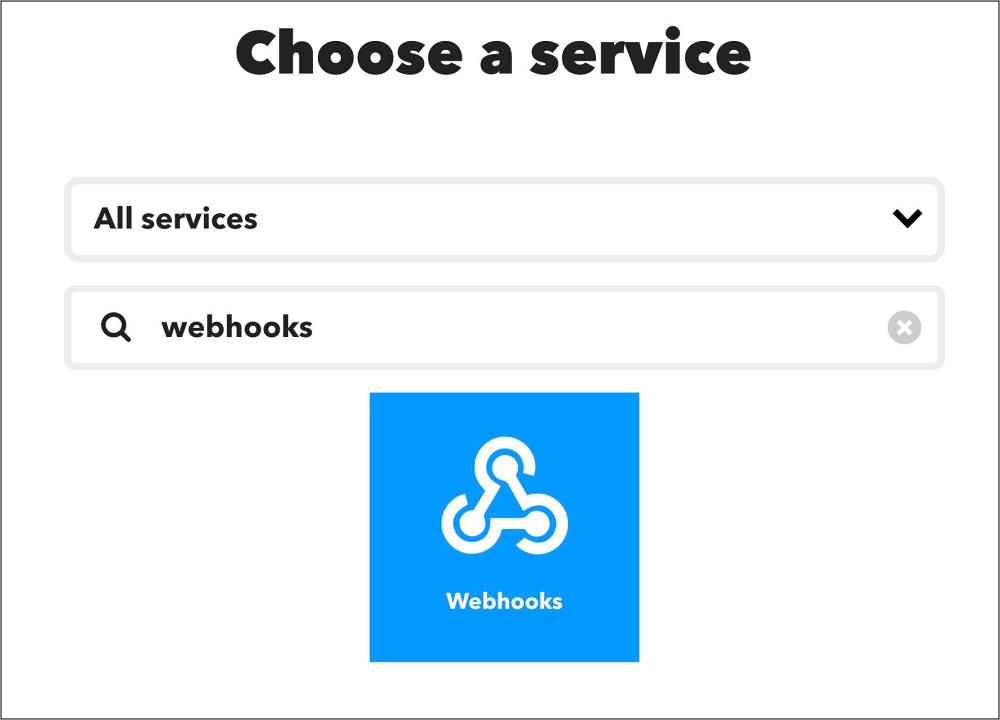
- Now search Webhooks and click on Connect.
- Select Webhooks and click on Receive a Web Request.
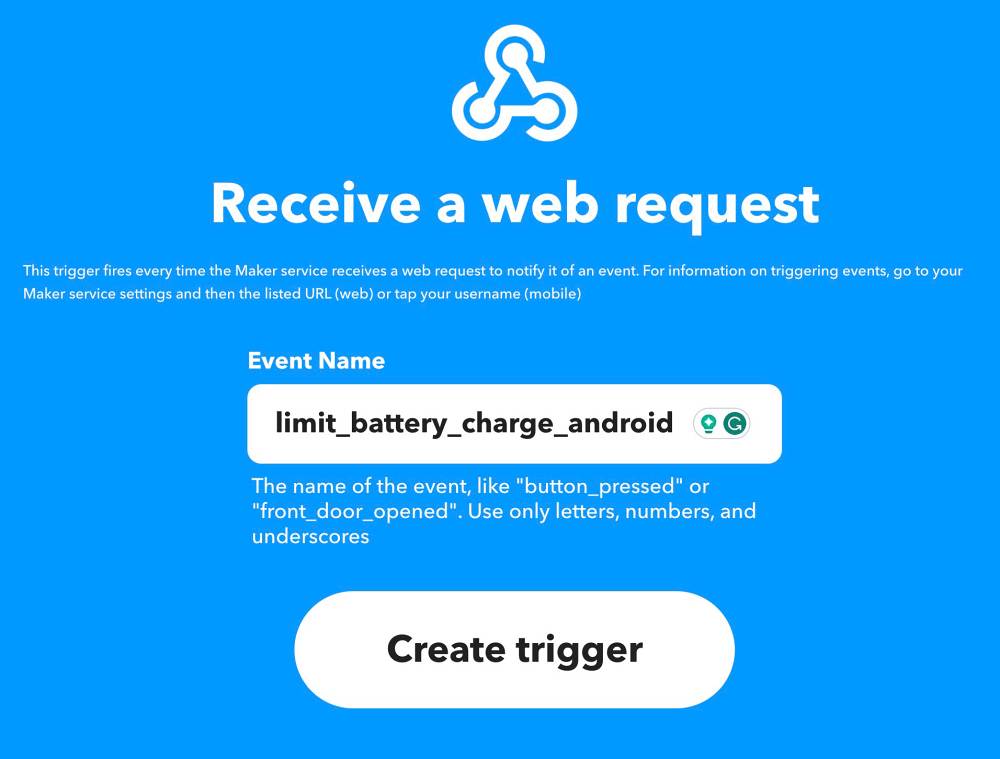
- Name this event limit_battery_charge_android and hit Create.
- Then click on Then That.
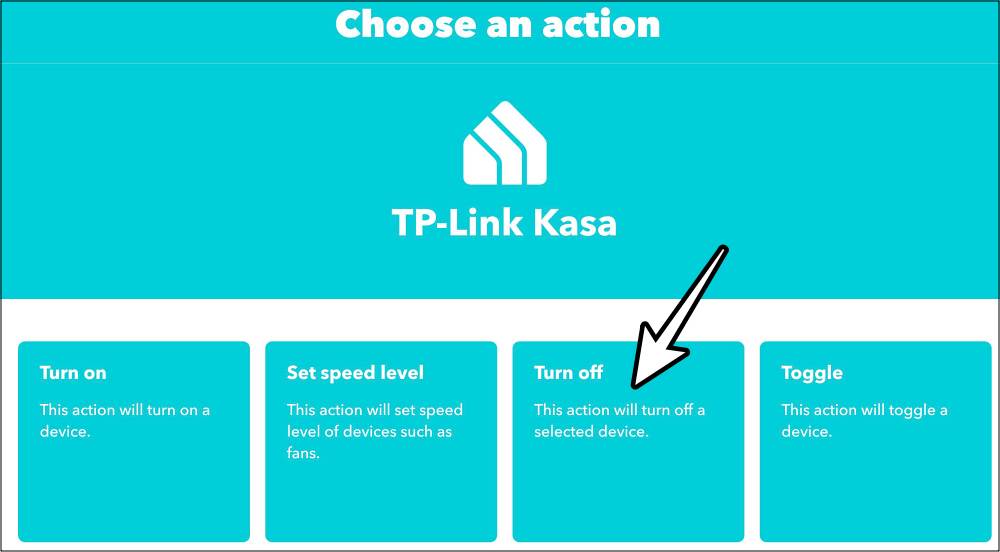
- Now search for your smart plug [I’m using TP-Link Kasa] and select the Turn Off action.
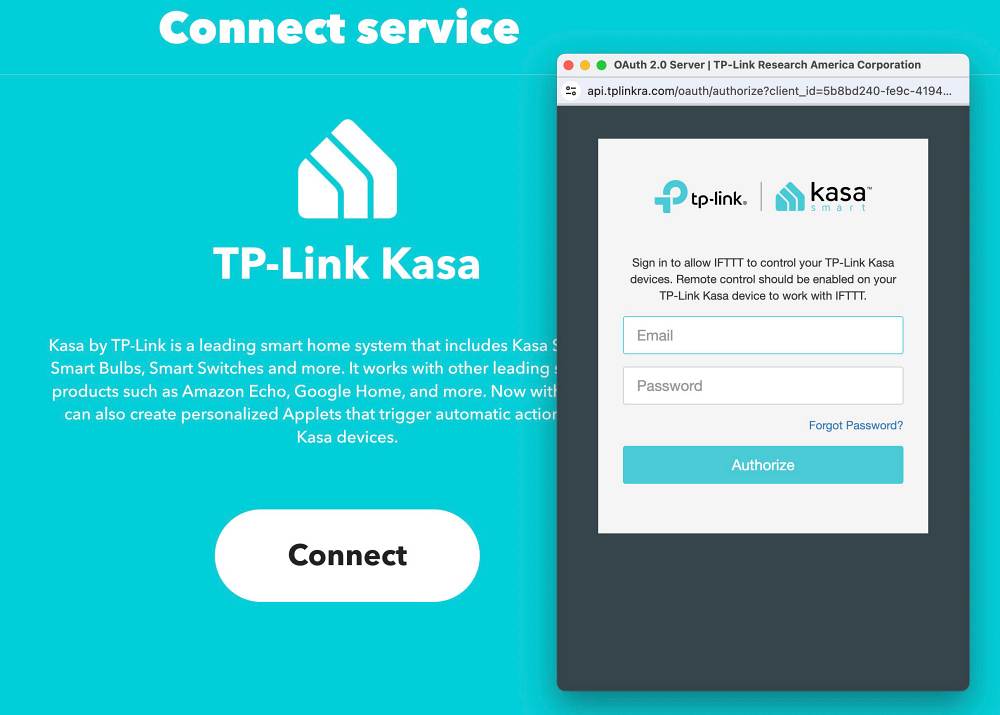
- Then click Connect and authorize via your email ID and password.
- Once done, click on Create Action and hit Continue > Finish.
- Now go to IFTTT Maker and select the Applet that we have just created.
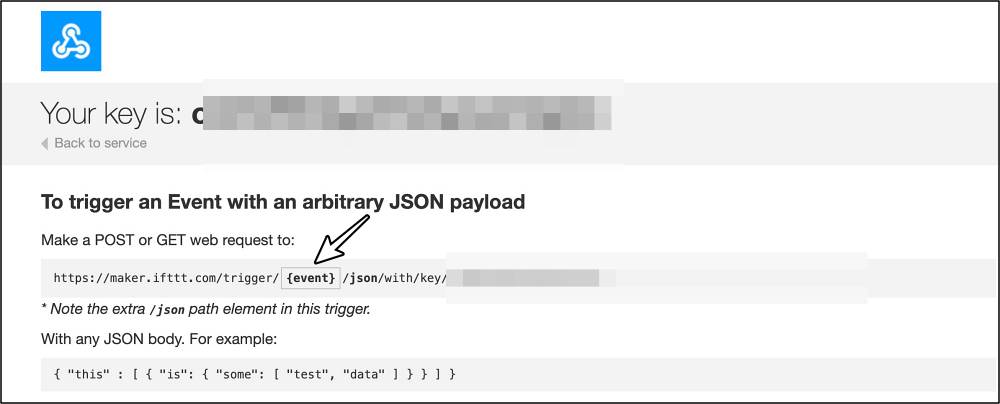
- Then head over to Documentation. It will give you your API key.
- Now paste the event name in the URL provided [under {event}]. Then copy this entire URL.
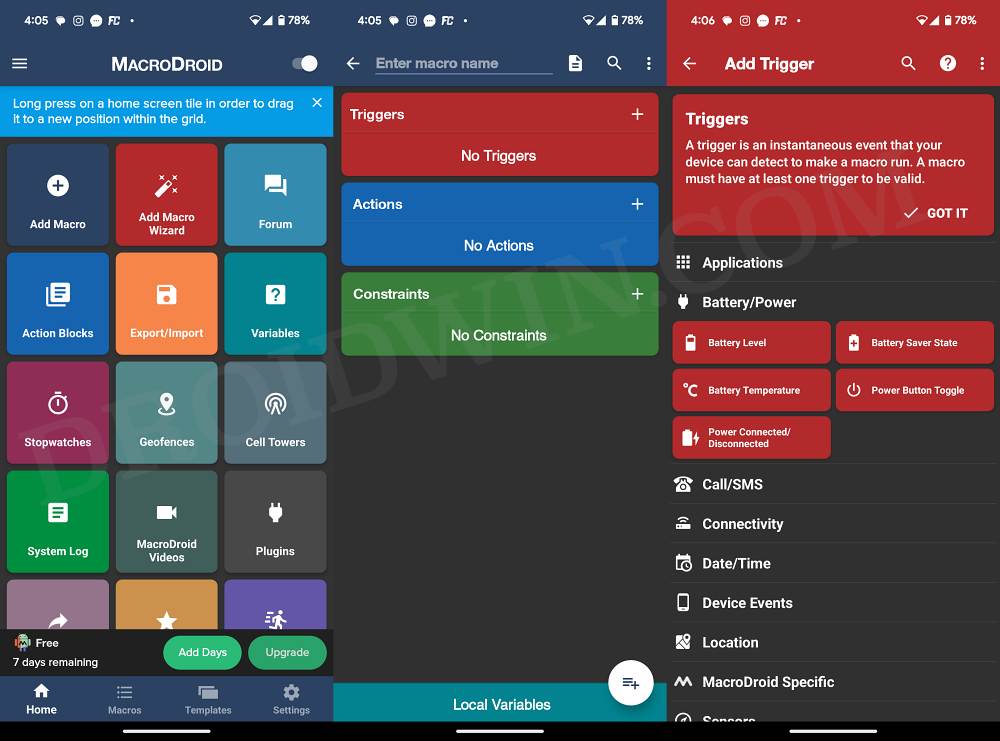
- Now launch MacroDroid on your device and tap on Add Macro.
- Then tap on Plus next to Add Trigger and go to Battery/Power > Battery Level.
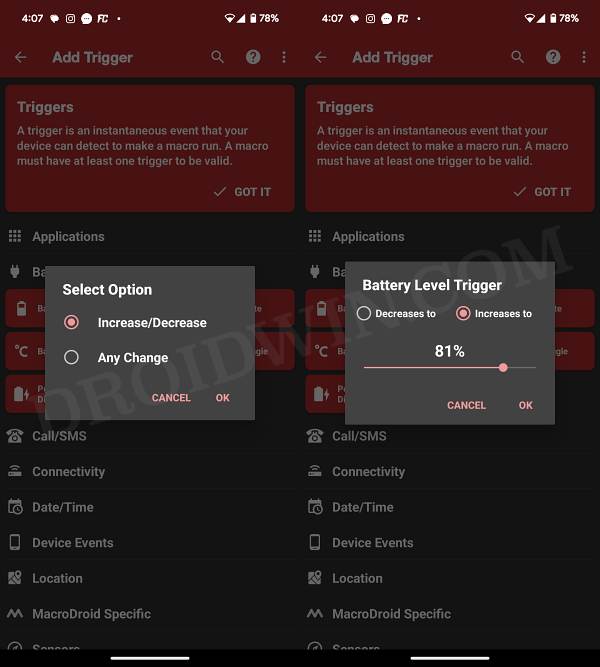
- Now select Increase/Decrease, select Increase To, choose the desired value, and hit OK.
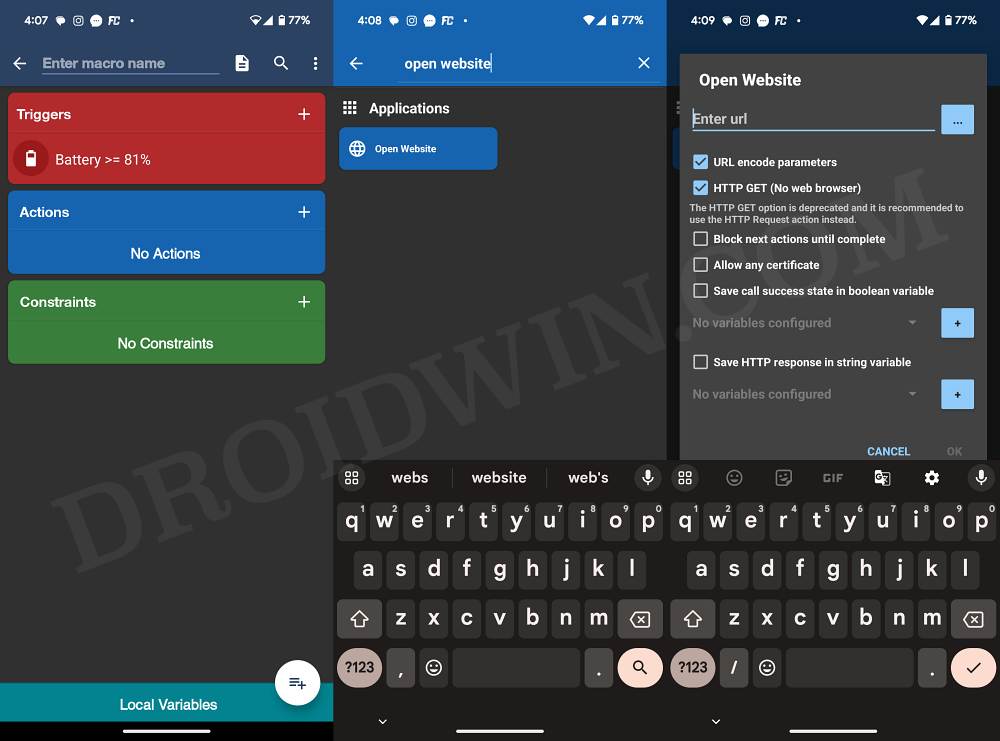
- Then click plus next to Actions, search Open Website, and select it.
- Now paste the URL that we had copied earlier and hit OK.
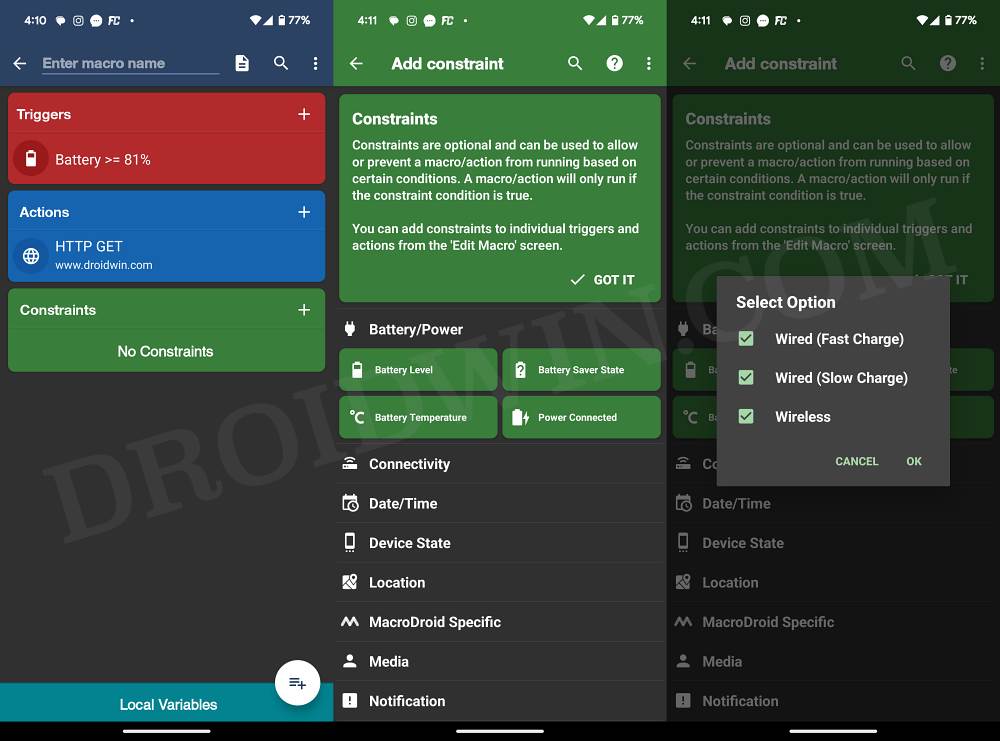
- Then click plus next to Constraint and go to Battery/Power > Power Connected.
- Finally, check all three options and hit OK. Now give this macro a name and save it.
- As soon as the battery reaches 81% [in our case], the smart plug will be turned off and the charging will be stopped!


Bill
Limiting the battery charge to 85% seems an obvious tweak to save your battery, so why does Android hide this option down in the root which voids your warranty if you use it?
Ovidiu
You can use a Chargie device to protect your phone’s overnight charging process.