In this guide, we will show you the steps to unbrick any Xiaomi/Poco/Redmi device via Mi Flash Tool. There are no brownie points in guessing that all three just listed devices are the most active players in the custom development. They already enjoy a rich collection of custom ROMS, mods, and binaries, and a plethora of others are being added to their arsenal at a rapid pace. However, carrying out these tweaks might bring in a few associated risks as well.
If not done, correctly, then there’s every chance of your device ending up in a soft brick or bootloop state. As a result of this, you wouldn’t be able to access the OS and Fastboot Mode will be the only accessible mode. And to be fair, this is the only mode that we would need to bring your device back to life. So without further ado, let’s show you the steps to unbrick any Xiaomi/Poco/Redmi device via Mi Flash Tool.
Table of Contents
How to Unbrick any Xiaomi/Redmi/Poco via Mi Flash Tool

The below instructions are listed under separate sections for ease of understanding. Make sure to follow the same sequence as mentioned. Droidwin and its members wouldn’t be held responsible in case of a thermonuclear war, your alarm doesn’t wake you up, or if anything happens to your device and data by performing the below steps.
Prerequisites
- The below process will wipe off all the data on your device, while you might not be in a position to take a backup, but still, it’s better to have yourself acquainted with this fact.
- Moreover, this process is applicable on soft brick or bootloop devices, you wouldn’t be able to carry out these steps on a hard-bricked state. In other words, you could only carry out this process if your device is able to boot to the Fastboot Mode [as explained in STEP 4].
- Likewise, the bootloader on your device needs to be unlocked beforehand. [If the bootloader is locked, then you wouldn’t be able to carry out this process, even if you could access Fastboot Mode. This is because the unlocking process requires you to enable OEM Unlocking, which isn’t possible in the current state of the device].
Now that you are acquainted with all the requirements, let’s get started with the steps to unbrick any Xiaomi/Poco/Redmi device via Mi Flash Tool. Follow along.
How to Unbrick any Xiaomi/Redmi/Poco via Mi Flash Tool
The below process will wipe off all the data from your device, so please take a complete device backup beforehand. Droidwin and its members wouldn’t be held responsible in case of a thermonuclear war, your alarm doesn’t wake you up, or if anything happens to your device and data by performing the below steps.
STEP 1: Install Android SDK Platform Tools
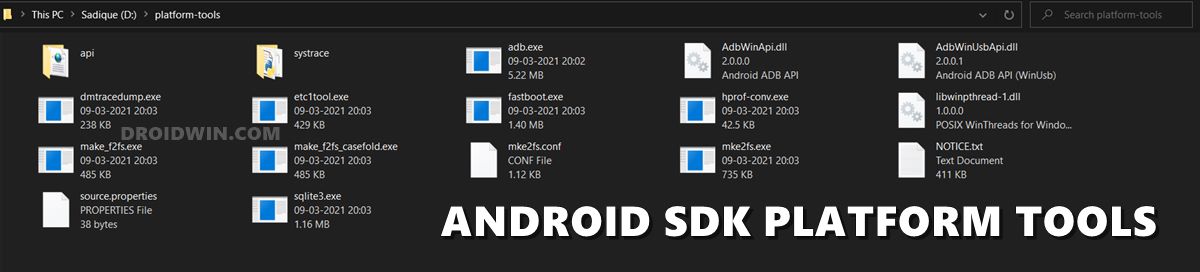
First and foremost, you will have to install the Android SDK Platform Tools on your PC. This is the official ADB and Fastboot binary provided by Google and is the only recommended one. So download it and then extract it to any convenient location on your PC. Doing so will give you the platform tools folder, which will be used throughout this guide.
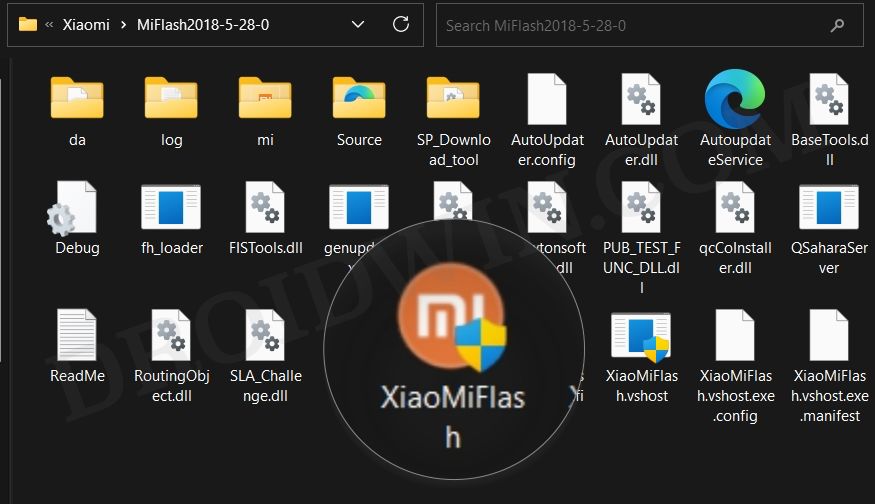
STEP 2: Download Mi Flash Tool
Next up, grab hold of the Mi Flash Tool from here. We will be using this tool to go back to Stock MIUI from the current custom ROM. Once you have downloaded the tool, extract it to any convenient location on your PC.
STEP 3: Download and Extract Fastboot ROM
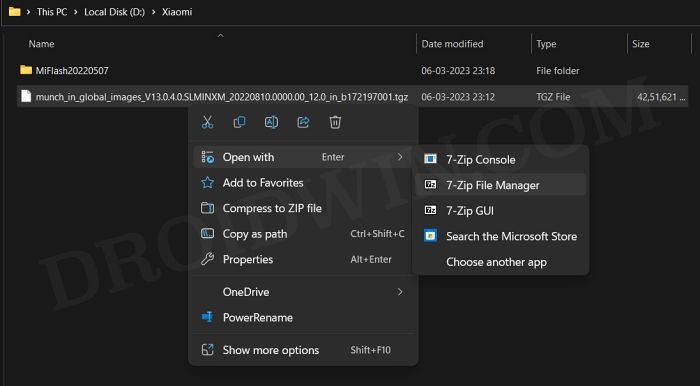
You may now download the Fastboot ROM corresponding to your device from the official site or third-party site of your choice [such as Xiaomi Firmware Updater]. The firmware will be downloaded in TGZ format, so you will have to extract like using an archive utility app like 7ZIP. Here’s how it could be done:
- To begin with, download and install the 7ZIP software on your PC.
- Then right-click on the Fastboot ROM TGZ file and select Open With> 7-ZIP File Manager.

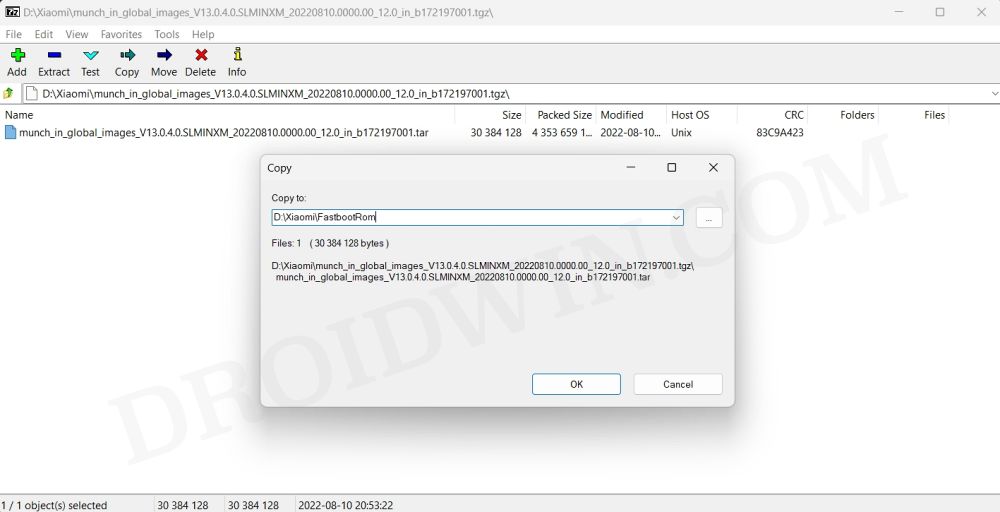
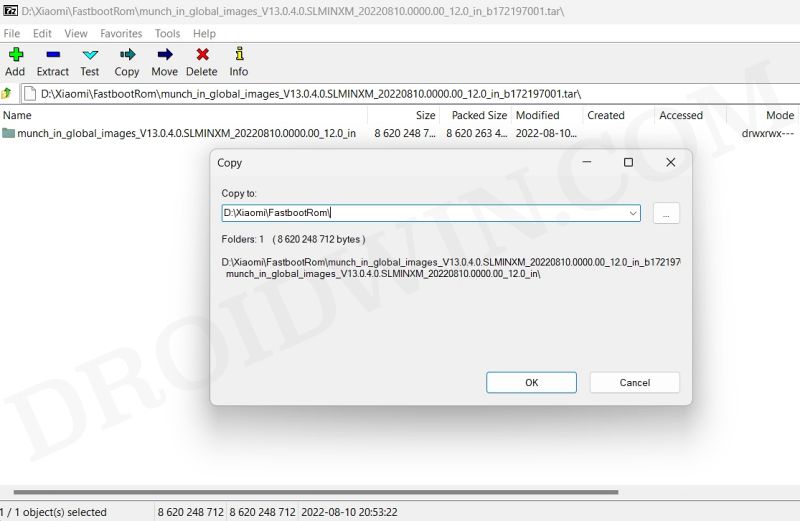
- Once the extraction is complete, you will get another file in TAR format.
- So right-click on the TAR file and select 7ZIP > Extract Here.
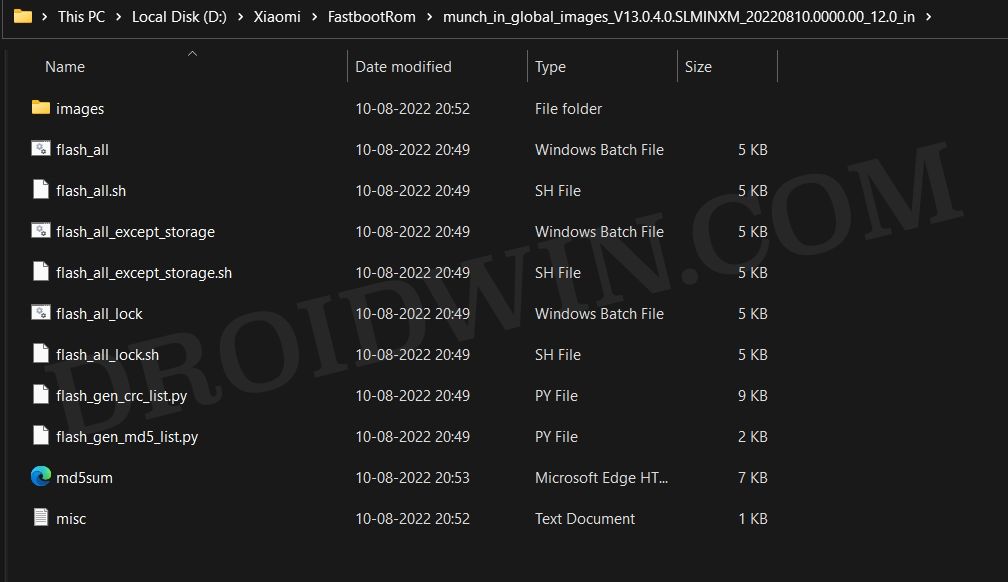
- You will now get all the extracted firmware files, with the partition files present in the Images folder.
STEP 4: Boot the Device to Fastboot Mode
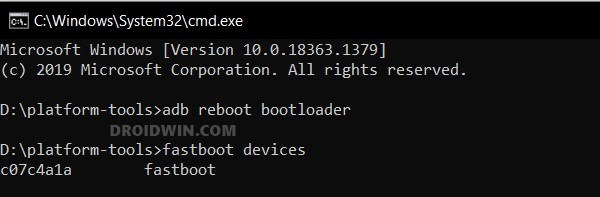
Generally, you could boot your device to Fastboot Mode via the adb reboot bootloader command. But since your device is currently bricked, you wouldn’t be able to execute this command [as you can not enable USB Debugging]. Therefore, you will have to take the help of hardware key combinations to get this job done. So power off your device. Then press and hold the Power and Volume down keys for a few seconds and your device will subsequently boot to the Fastboot Mode.

STEP 5: Verify Fastboot Mode
Now that your device is now booted to the Fastboot Mode, let’s verify if your PC is able to identify the device in this mode or not.
- Type in the below command in the CMD window which is opened in the platform-tools folder.
fastboot devices
- If you are getting a device ID [see above image], then you are good to go ahead.
- However, if you are not getting any serial ID, then install the Fastboot Drivers on your PC.
STEP 6: Install Xiaomi USB Drivers [If needed]
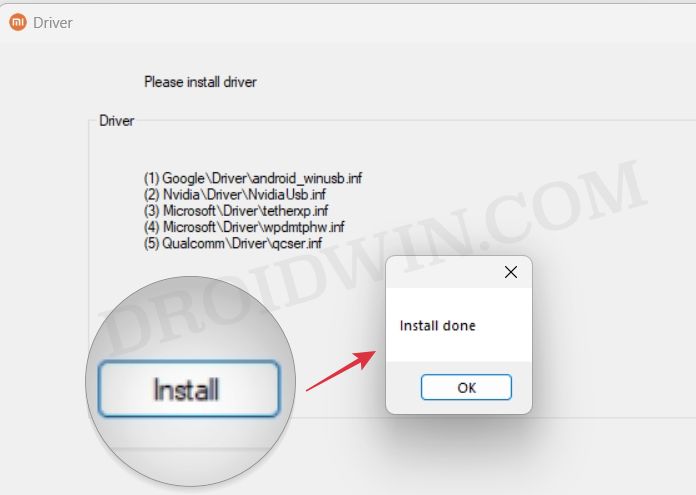
In most cases, the Xiaom drivers are automatically installed the first time you connect your device to your PC. However, let’s manually install them to be on the safer side. So launch the Mi Flash Tool via the XiaoMiFlash.exe file. Then go to the Driver tab and click Install. That’s it. Once these drivers are installed, you could now start the process to go back to Stock MIUI from the current custom ROM on your Xiaomi device.
STEP 7: Install MIUI Fastboot ROM via Mi Flash Tool
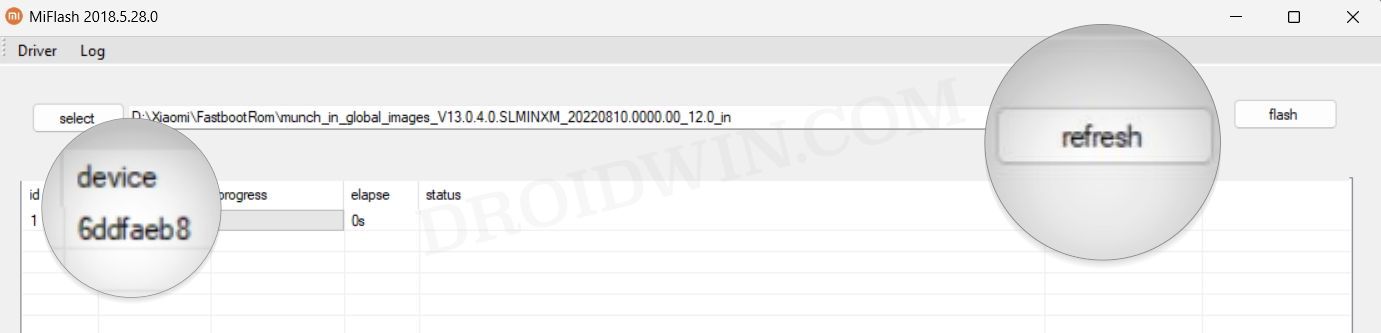
- Launch Mi Flash Tool and click on Refresh. Make sure that your device ID is shown under the device section.
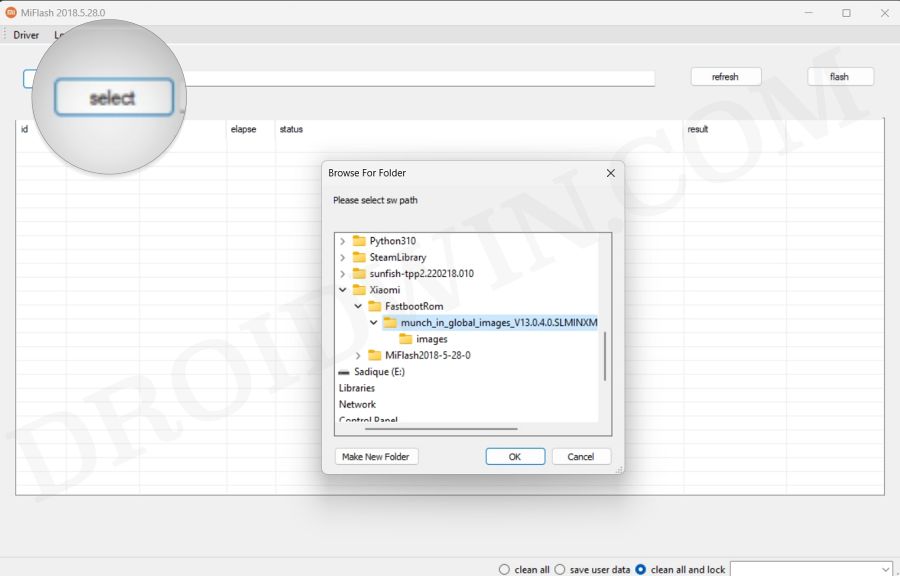
- If that’s well and good, then click on Select, browse to the extracted Fastboot ROM [the entire folder, not just the images folder], and click OK.
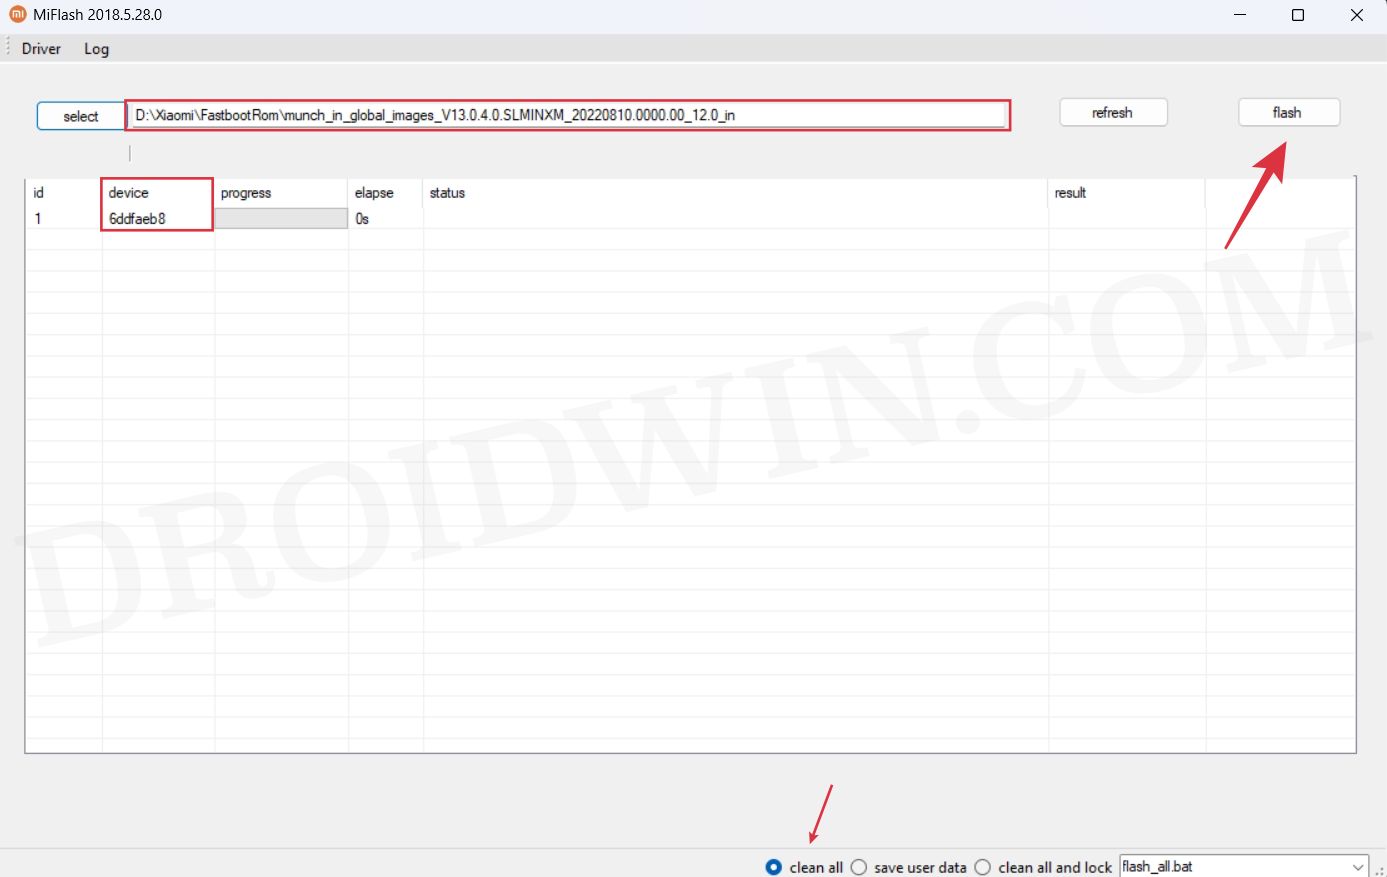
- At the bottom right is the flashing mode with three different options, namely:
clean all: It will reset your device but the device's bootloader will remain unlocked.
save user data: It will preserve the data and the device's bootloader will remain unlocked.
clean all and lock: it will reset your device and lock the device's bootloader as well.
- It is highly recommended that you opt for Clean all [see FAQ 1 for reasoning].
- Now that we have checkmarked all the prerequisites, you could hit the Flash button.
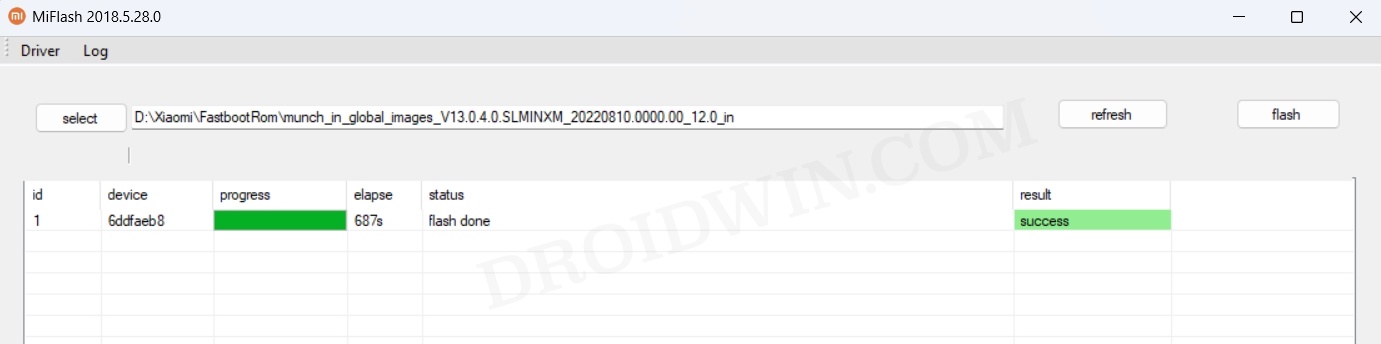
- The flashing will now start. Once done, your device will automatically boot to the OS. [see FAQ 2 if you get an error].

These were the steps to unbrick your Xiaomi/Redmi/Poco device via Mi Flash Tool. If you have any queries concerning the aforementioned steps, do let us know in the comments. We will get back to you with a solution at the earliest.
FAQ 1: Clean All vs Clean All and Lock
We have selected “Clean All” as it is the safest approach. If everything works well and good and your device boots to the OS, then you could easily lock the bootloader later on [if needed]. But if you relock it right now and something goes wrong during the flashing, then it could spell out trouble for you.
Therefore, it is always recommended to select “Clean All”. If we talk about “save user data”, then more often than not, it prevents the booting of the device due to encryption of the device or corrupt data. So it’s best to take a backup beforehand and select “Clean All”.
FAQ 2: Fix error:Not catch checkpoint (\$fastboot -s .*lock), flash is not done
Once the flashing is done, Mi Flash Tool might display the “error:Not catch checkpoint (\$fastboot -s .*lock), flash is not done”. It’s not a cause for concern and the flashing has infact been successfully completed. But still, if you want to know the detailed reasoning behind it and the steps to rectify it, then do check out our guide.