In this guide, we will show you the steps to hide/spoof/fake the bootloader unlock status on your Android device. If you have rooted your device via Magisk, then you might be aware that numerous banking and payment apps will not work along the expected lines. This is because these apps perform a Play Integrity test in which your rooted device would be failing the Device and/or Basic Integrity tests.
Fortunately, you could pass that test using a custom build.prop fingerprint JSON file. But what about an unlocked bootloader? While most apps simply perform a root check, there are others out there that additionally perform a bootloader check as well. So if your device’s bootloader is unlocked [even if your device is not rooted], then it will straightaway refuse to function [such as the Uber Driver app].
So to rectify this issue, you could either relock the bootloader [duh!] or keep the bootloader unlocked, but hide its true status and fake it to show that the bootloader is still locked on your device. Sounds interesting, right? So without further ado, let’s test it out right away.
Table of Contents
How to Spoof/Fake/Hide Bootloader Unlock Status
First and foremost, you will still not be passing the Strong Integrity test. While this is not a case of any concern as none of the banking and payment apps checks for this, but still, we thought of making it apparent beforehand. The reason for the same is that even though you have “spoofed” your device bootloader status to be locked, in actuality, it is still unlocked.
Moreover, this module will not work with devices for which TEE is broken, like OnePlus [though there have been a few cases where it has worked with this OEM, so you could give it a try and check if it spells out success for you].
With that said, let’s now get straight to the point and hide the bootloader unlock status on your Android device right away. Droidwin and its members wouldn’t be held responsible in case of a thermonuclear war, your alarm doesn’t wake you up, or if anything happens to your device and data by performing the below steps.
METHOD 1: Via Tricky Store
- Download the Tricky Store module from below.
Tricky Store
- Then flash it via Magisk and restart your device.
- Now install the Key Attestation app and launch it.
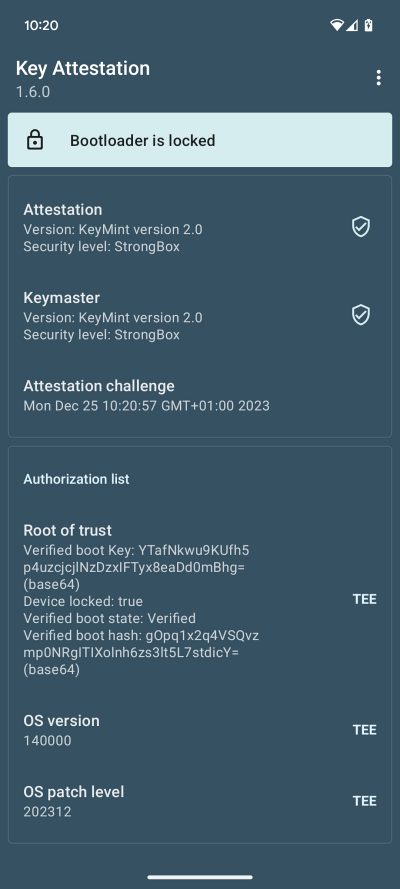
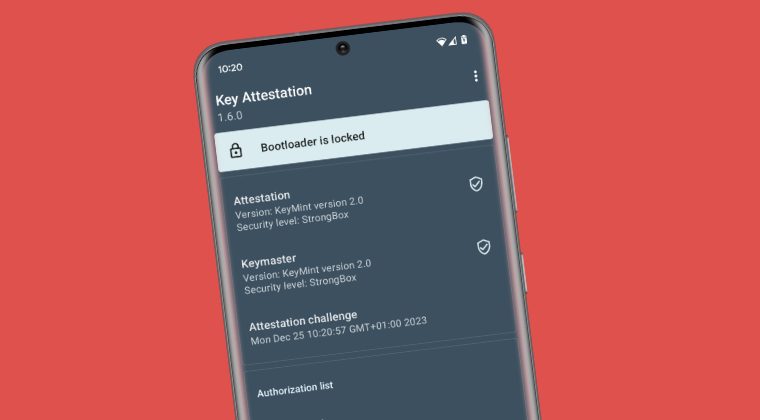
- It will now show your device having a Locked Bootloader.
METHOD 2: Via Bootloader Spoofer
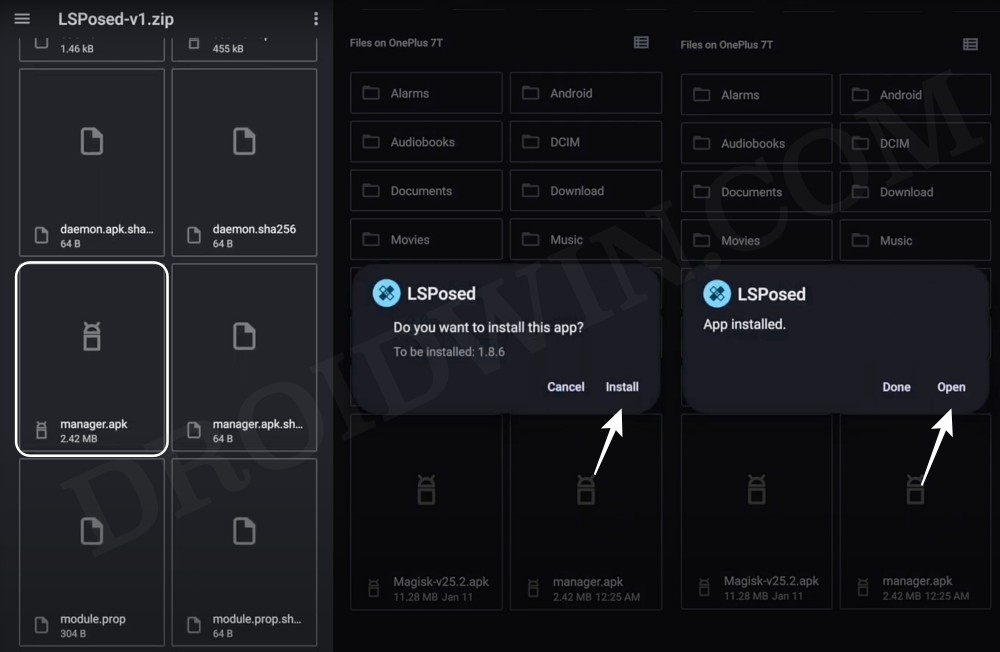
- Root your device via Magisk and then install LSPosed Framework.
- Now download and install Bootloader Spoofer from GitHub.
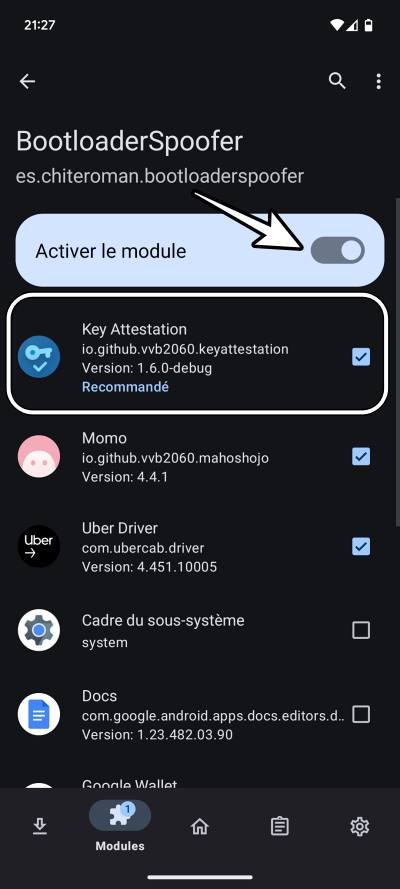
- Then launch LSPosed, go to Modules, and select Bootloader Spoofer.
- Now enable the toggle next to Activate Module and check Key Attestation.
- Then tick the apps that check for an unlocked bootloader.
- Once done, restart your device for the changes to take place.
- Now launch the app from which you have hidden bootloader unlock status and check the result.
- If it is still detecting the root, then delete its data, restart your device, and then re-verify the result.
These were the steps to hide/spoof/fake the bootloader unlock status on your Android device. If you have any queries concerning the aforementioned steps, do let us know in the comments. We will get back to you with a solution at the earliest.
METHOD 3: Via Framework Patcher Go
Up until now, we had the FrameworkPatch by chiteroman which could modify framework.jar to build a valid certificate chain. While that did the job, it was quite technical and required time, effort, and some coding skills. However, thanks to XDA Senior Member Changhuapeng’s Framework Patcher Go, we can now easily hide/spoof the bootloader unlock status by modifying framework.jar directly on the phone!
According to the Developer, when compared when the Framework Patcher, his Patcher Go module “simplifies the process of implementing FrameworkPatch by taking over decompiling, smali code patching, recompiling, and then reintegrating the patched system file. So you don’t have to do it yourself”. Do note that while you can still use your own keybox or fingerprint, however, it’s recommended to use the pre-patched one provided by the module itself, as it will save you a lot of valuable time and effort. So on that note, let’s get started with the process.
- To begin with, root your device via Magisk/APatch/KernelSU.
- Then download Framework Patcher Go module from GitHub.
- Now Launch Magisk, go to Modules, tap Install from Storage.
- Then select the module and hit OK in the prompt that appears.
- It will ask if you want to download a pre-compiled classes.dex.
- Press the Volume Up key to reply in the affirmative [YES].
- Likewise, do the same for the other three questions as well.
- Once done, hit Reboot. Your device will now reboot to the OS.
- You may now install Key Attestation app and check the result.
How to Pass Play Integrity Test
Since you have rooted your device to carry out the aforementioned task, your device will now be failing the Play Integrity test. Well, not an issue! Simply refer to our below guide to pass this test right away:
How to pass ‘Meets Device and Basic Integrity’ via Play Integrity Fix
Do note that the above method will require Zygisk as well, which might end up conflicting with the bootloader unlock spoofing on some devices. In such cases, you’ll have to use the Play Integrity Fix module in the Scripts-Only Mode. Here’s how it could be done.
- Launch Magisk and disable Zygisk [if enabled] from the Settings menu.
- Then download and flash the Play Integrity Fork module on your device.
- Once flashed, hit Reboot. Then download and install Solid File Manager.
- Launch it, go to the Root directory, and then grant it SuperUser request.
- Now go to the below location and create a file named scripts-only-mode
/data/adb/modules/playintegrityfix/
- Once done, reflash the Play Integrity Fork module and restart your device.
- Then launch Magisk, go to Modules, and have a look at Play Integrity Fork.
- It should now show [Script-only mode] in the module’s description section.
Additional Notes: Pass Strong Integrity [WIP]
Via Tricky Store
- First and foremost, change the Magisk channel to Canary, if you are on Stable/Beta.
- For that, download and install the latest Magisk Canary from GitHub. Then launch it.
- Now tap on Install next to Magisk and select Direct Install > OK. Then tap on Reboot.
- Once done, head to Settings > enable the toggle next to Zygisk and restart your device.
- Then download all the below-listed modules and flash them via Magisk, one at a time:
Tricky Store
Play Integrity Fix
Shamiko
Zygisk Next [Only for KernelSU and APatch users, not for Magisk]
Zygisk Assistant
- Once all the modules have been flashed, restart your device. Now install Key Attestation.
- Finally, launch the app and it should now show your device having a Locked Bootloader.
- Now get hold of an unrevoked hardware keybox.xml and place it in the below directory:
/data/adb/tricky_store/keybox.xml
- [You may use Solid File Manager]. It will ask you to replace the existing file, tap on YES.
- Likewise, now download and install the Play Integrity API Checker app. Then launch it.
- Your phone should now pass the Strong Integrity as well, apart from the Device & Basic.