In this guide, we will show you the steps to download and install the latest Android 13 GSI onto any Project Treble supported device. The latest iteration of the OS has just made its way, and with that, so has been a slew of intriguing features. Some of the noteworthy ones include a new system photo picker with cloud storage integration that allows you directly pick up the images from a cloud service like Google Drive, third-party apps quick settings prompts, and new per-app language preferences. Apart from, that, there is a slew of development level changes as well.
However, at the time of writing, all these goodies are aimed at the Pixel devices only. This is because Google only releases the stock AOSP builds of the OS and then OEM takes it upon themselves to customize it according to their OS skin. And this process takes time. So is there any way for the non-Pixel users to welcome the latest OS onto their device as of now? Well, there is one and in this guide, we will make you aware of just that. So without further ado, let’s get started with the steps to install the latest Android 13 GSI onto any Project Treble supported device.
Table of Contents
Android 13: Installation Methods and Supported Device List
There exists four different methods through which you could install Android 13. These include ADB Sideload, Fastboot, Android Flash Tool, and using a GSI image. So which one should you opt for? Well, it depends on the device you own as well as its bootloader status. To be more specific:
- If your device’s bootloader is locked, then use the ADB Sideload method.
- On the other hand, if the bootloader is unlocked, then go for the Fastboot Method or the Android Flash Tool.
- If you own a non-Pixel device, then you will have to opt for the GSI Image.
As far as this guide is concerned, we will show you the steps to install Android 13 using the GSI file onto your device. Do keep in mind that the Developer Preview builds are highly unstable, and it isn’t recommended to use it as your daily driver in its current state. Moreover, you should take a backup of all the data on your device beforehand.
As far as the supported device list is concerned, the Fastboot, ADB Sideload, and Android Flash Tool methods are only aimed at the Pixel devices (from Pixel 4 to Pixel 6/Pixel 6 Pro). So if you have a non-Pixel device, then you will have to opt for the GSI Method to install Android 13 onto your device. And this guide shall help you with just that. Follow along.
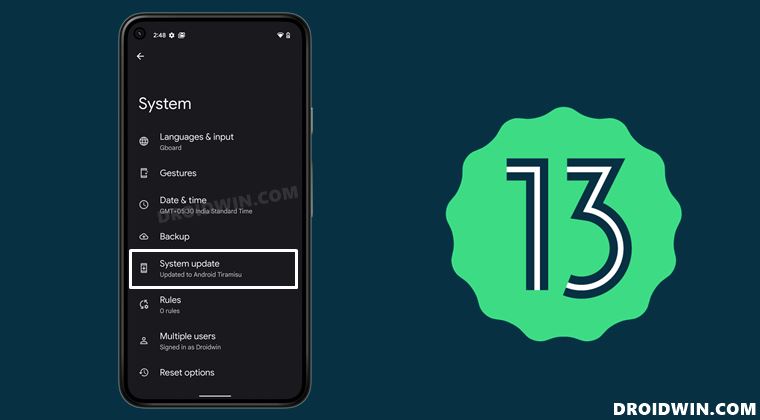
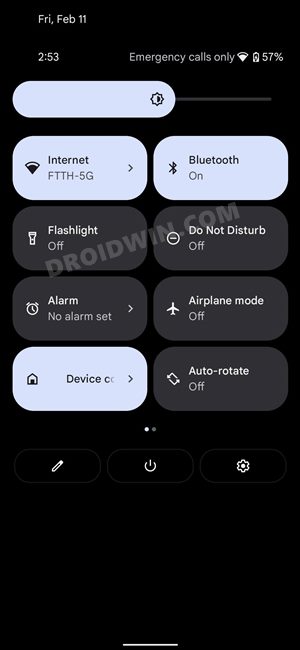
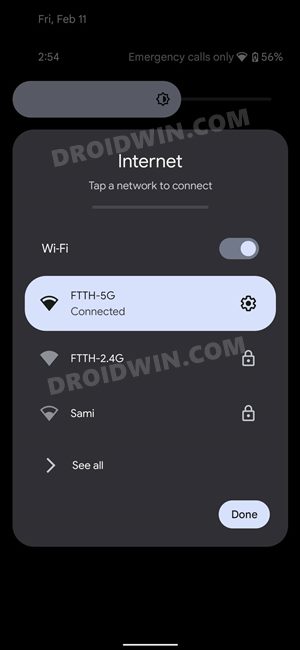
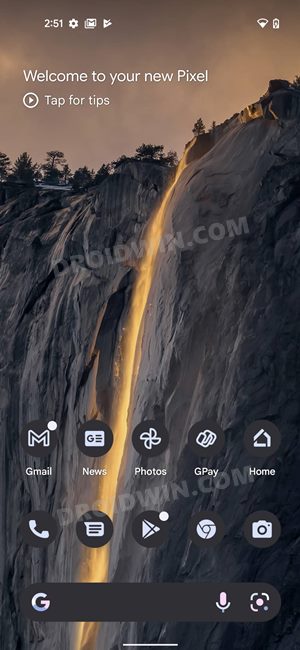
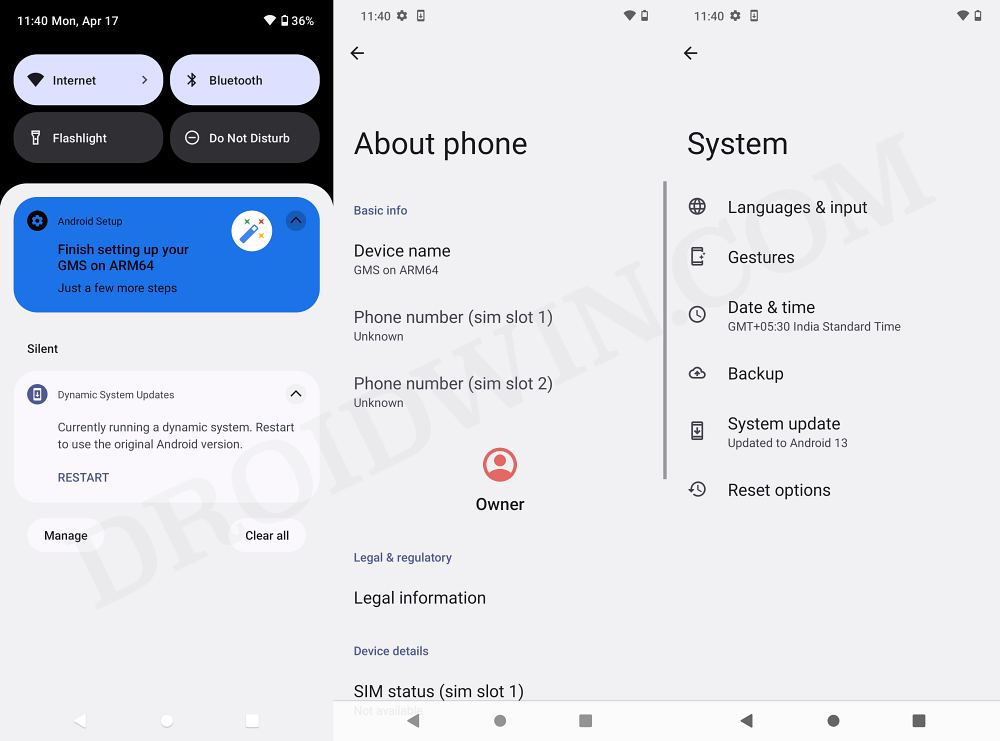
Android 13 Screenshots
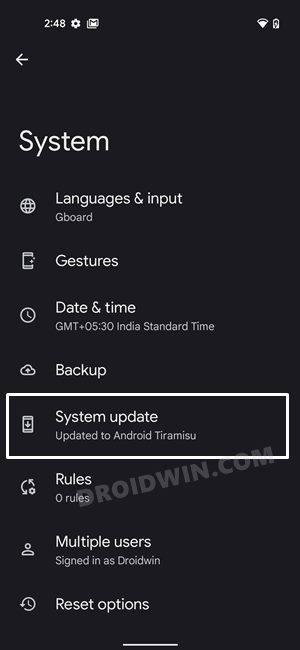
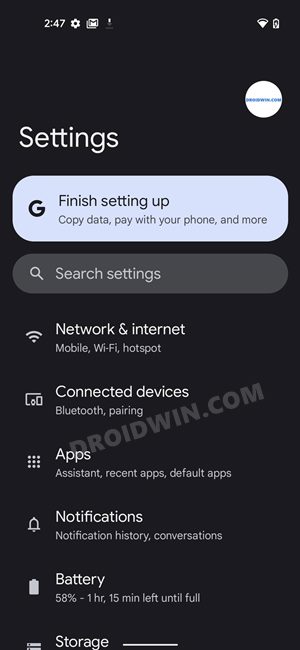
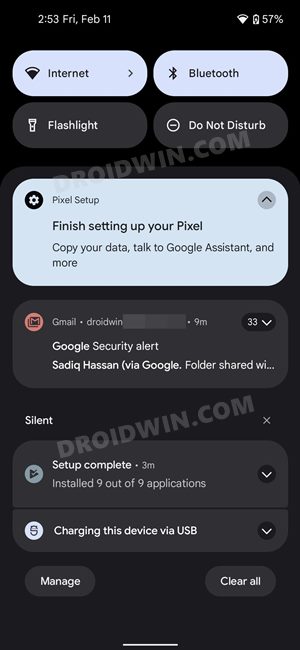
Here are some of the screenshots that I took of some important device pages, namely- Settings menu, Quick Settings toggle, System page, Notification Area, and the revamped WiFi network selection screen. Do note that these images are from the First Developer Preview, and there could be quite a few changes by the time it reaches the stable build. So please don’t mold your installation decision based on just these screenshots.
How to Install Android 13 GSI on any Project Treble Device
The below instructions are listed under separate sections for ease of understanding. Make sure to follow in the exact same sequence as mentioned. Droidwin and its members wouldn’t be held responsible in case of a thermonuclear war, your alarm doesn’t wake you up, or if anything happens to your device and data by performing the below steps.
STEP 1: Check For Project Treble Compatibility
First and foremost, you will have to check if your device is treble compatible or not. A general rule of thumb is every device that came with Android 8.0 Oreo out of the box supports Project Treble. However, let’s still be double sure. So head over to the Play Store and download the Treble Check app.
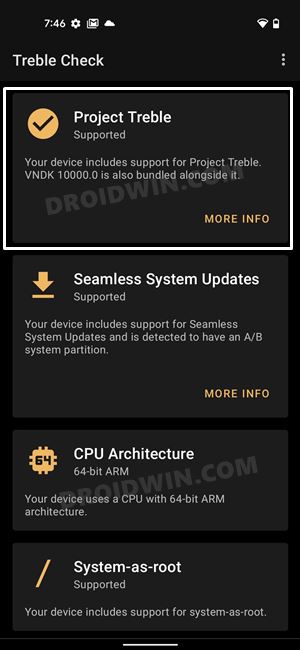
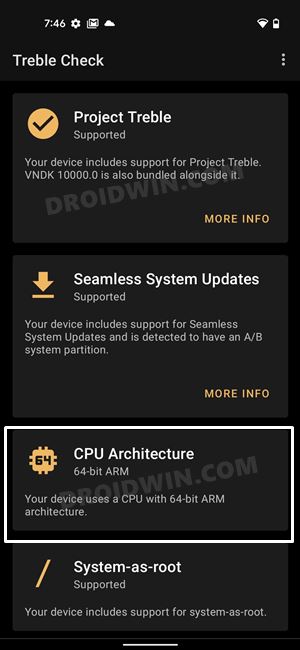
Now launch the app and the result will be right in front of you. If you see a tick mark next to Project Treble along with the text that “Your device includes support for Project Treble…..” then you can proceed ahead with the steps to download and install the latest Android 13 GSI Image on your device.
STEP 2: Check CPU Architechture
Next up, you will have to check your device’s CPU Architecture. Here are a few methods through which could get this information,
- You may refer to our detailed guide: ARM, ARMx64, x86: What processor does my Android Device have?
- Or, you may use the Treble Check app and check out the results under the CPU Architecture section.

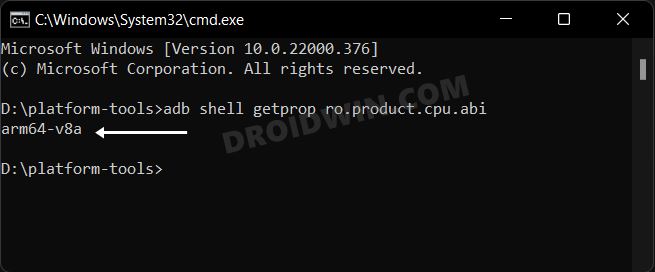
- Likewise, you could also use the below ADB Command:
adb shell getprop ro.product.cpu.abi
STEP 3: Install Android SDK
Next up, install the Android SDK Platform Tools on your PC. This is the official ADB and Fastboot binary provided by Google and is the only recommended one. So download it and then extract it to any convenient location on your PC. Doing so will give you the platform-tools folder, which will be used throughout this guide.

STEP 4: Download Android 13 GSI
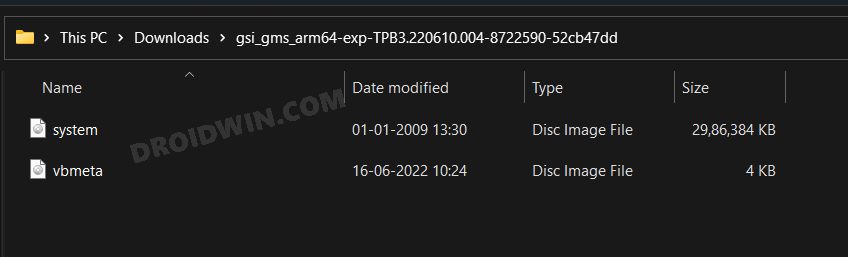
Now download the Android 13 GSI corresponding to your device’s CPU architecture from the below link. Once you have downloaded it, extract it inside the platform-tools folder on your PC. Make sure you have both the system.img and vbmeta.img files.
Download Android 13 GSI ROMs
STEP 5: Enable USB Debugging and OEM Unlocking
Next up, you will also have to enable USB Debugging and OEM Unlocking on your device. The former will make your device recognizable by the PC in ADB mode. This will then allow you to boot your device to Fastboot Mode. On the other hand, OEM Unlocking is required to carry out the bootloader unlocking process.
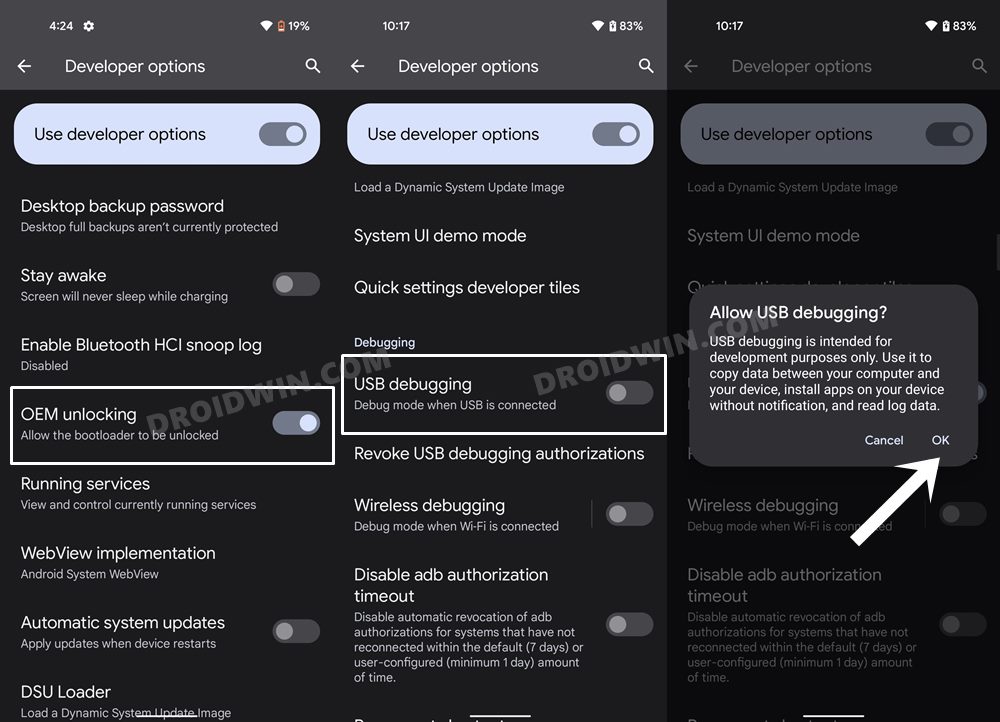
So head over to Settings > About Phone > Tap on Build Number 7 times > Go back to Settings > System > Advanced > Developer Options > Enable USB Debugging and OEM Unlocking.
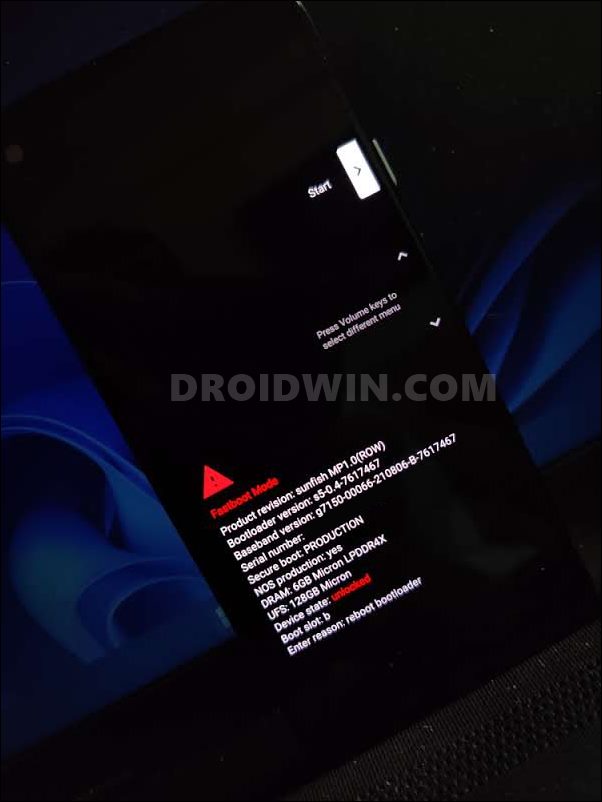
STEP 6: Unlock Bootloader
To flash the Android 13 GSI file onto your device, you will have to unlock its bootloader first. So refer to our guide on How to Unlock Bootloader on any Android Device.
STEP 7: Boot to Fastboot Mode/FastbootD Mode
- Now connect your device to the PC via USB cable. Make sure USB Debugging is enabled.
- Then head over to the platform-tools folder, type in CMD in the address bar, and hit Enter. This will launch the Command Prompt.
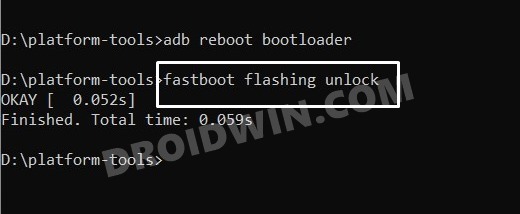
- Type in the following command in the CMD window to boot your device to Fastboot Mode
adb reboot bootloader
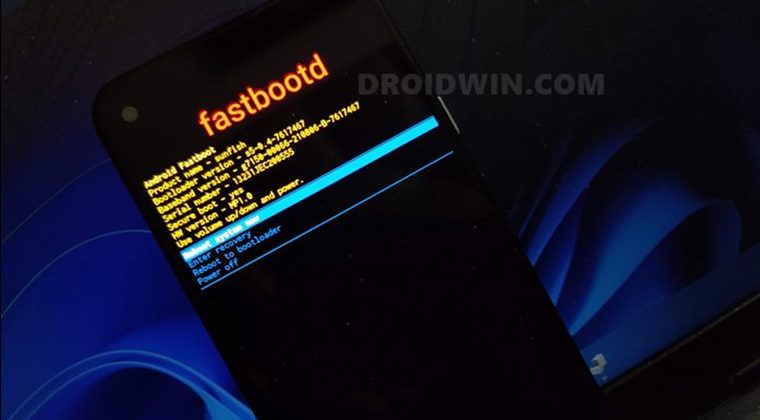
- After that, execute the below command to boot your device to the FastbootD Mode [Note: If your device doesn’t support FastbootD, then you should remain on the Fastboot Mode]
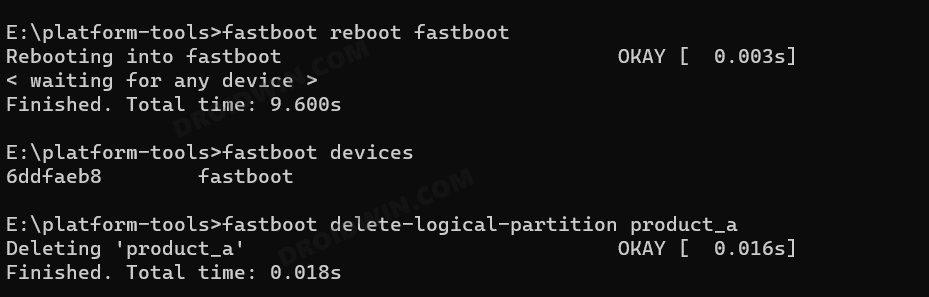
fastboot reboot fastboot
STEP 8: Install Android 13 GSI via Fastboot Commands
- First off, execute the below command to flash the vbmeta file. This will disable Android Verified Boot (AVB):
fastboot --disable-verity --disable-verification flash vbmeta vbmeta.img
- Then delete the logical partition to free up some space on your device [See NOTE 1 & 2]
fastboot delete-logical-partition product_a
- Now delete the data present on the system partition via the below command:
fastboot erase system_a
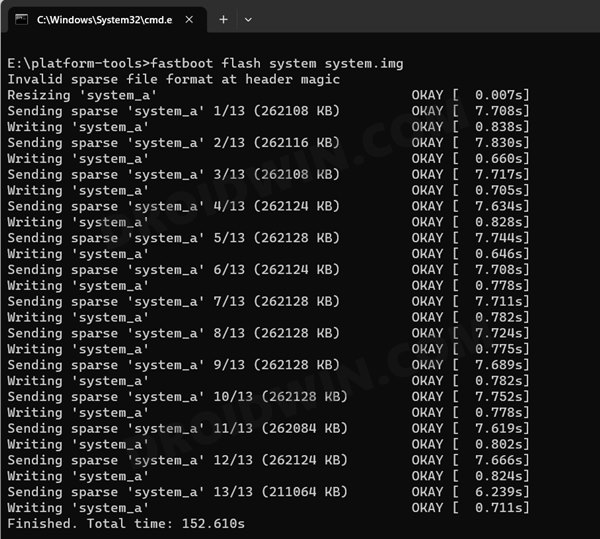
- You may now flash the GSI ROM via the below command [system.img is the name of the GSI ROM]
fastboot flash system_a system.img
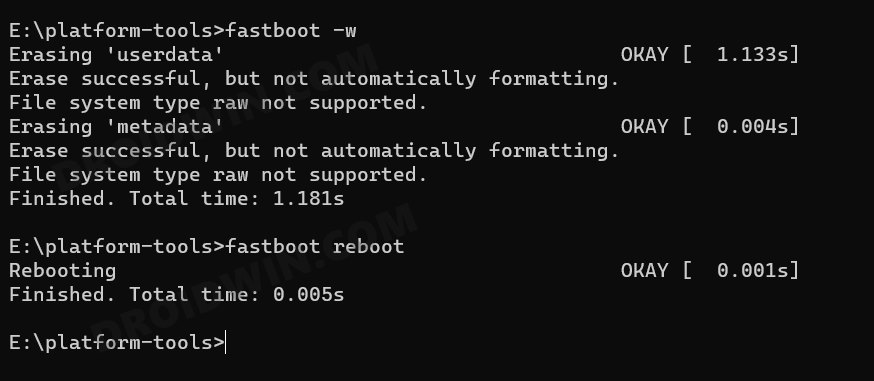
- Once done, you’ll now have to do a format data, so use the below command
fastboot -w
- Finally, reboot your device to the newly installed OS via the below command [See NOTE 3]
fastboot reboot
These were the steps to download and install the Android 13 GSI on Project Treble devices. If you have any queries concerning the aforementioned steps, do let us know in the comments. We will get back to you with a solution at the earliest.
- NOTE 1: Stay in Fastboot Mode and try flashing if FastbootD Mode is not working.
- NOTE 2: On some GSI ROMs, it is not compulsory to delete the logical partition, so if you get any error while deleting this partition, then simply skip it and move over to the next command.
- NOTE 3: If your device is stuck in a bootloop, then use the hardware keys to boot your device to Recovery. Then perform a factory reset from the recovery and your tablet will boot to the OS.
Install Android 13 GSI on any Project Treble Device Without PC
You could also install any Android 13 GSI ROM of your choice without the need to execute any Fastboot Commands. All the process will be carried out on your device only. Moreover, it even allows you to do dual boot, i.e, have GSI ROM in one slot and the stock ROM in another! [see notification in the first screenshot below] To try it out, do check out our guide on How to Install any GSI ROM on Android without PC [Video].
- Android 13: What’s New, Download, Install, Downgrade, and Root
- How to Install Android 13 via Fastboot Method
- How to Install Android 13 via ADB Sideload
- Guide to Install Android 13 via Android Flash Tool
- How to Revert to Stock ROM from GSI ROM (Universal Guide)


NinjaAdmin
Ha, somehow the update to Android 13 Beta 4.1 didn’t wipe my data even after using the ‘fastboot -w’ command, and my GSI updated with all my data still intact. However, my GApps are failing, and I need Playstore to update them. I wonder how I can fix the system errors without a Factory Reset? Anyway, thought you might find this intriguing.
YDBoss
will this work on my samsung a30s?
nico
Worked like a charm! Hardest part was to unlock the bootloader.
Happer64Bit
Thanks! This is useful for me
Kapil Upadhyay
Sir how to get the vb meta and system.img file