In this guide, we will show you the detailed steps to install the latest Android 13 onto your device via Android Flash Tool. There has just been a new addition to the Android family. Codenamed Tiramisu, it brings in a plentitude of new and intriguing features to the fore. Some of the noteworthy ones include a new system photo picker with cloud storage integration that allows you directly pick up the images from a cloud service like Google Drive, third-party apps quick settings prompts, and new per-app language preferences. Apart from, that, there is a slew of development level changes as well.
For example, the developers now have more granular controls over the testing environment as they could easily toggle on/off the desired opt-in functionalities and then perform their test accordingly. All in all, it’s no hidden secret that the builds are still in their early stage and mostly aimed at tech enthusiasts. So if you belong to this domain and wish to get a taste of the Tiramisu dessert, then this guide shall give you a perfect offering of the same. In this guide, we will show you the instructions to install Android 13 onto your device via Android Flash Tool.
Table of Contents
Android 13: Installation Methods and Supported Device List
There exists four different methods through which you could install Android 13. These include ADB Sideload, Fastboot method, and using a GSI image. So which one should you opt for? Well, it depends on the device you own as well as its bootloader status. To be more specific:
- If your device’s bootloader is locked, then use the ADB Sideload method.
- On the other hand, if the bootloader is unlocked, then go for the Fastboot Method or the Android Flash Tool.
- If you own a non-Pixel device, then you will have to opt for the GSI Image.
As far as this guide is concerned, we will show you the steps to install Android 13 via the Android Flash Tool. Do keep in mind that the Developer Preview builds are highly unstable, and it isn’t recommended to use it as your daily driver in its current state. Moreover, you should take a backup of all the data on your device beforehand.
As far as the supported device list is concerned, you could install the Android 13 either via Android Flash Tool on the following devices: Google Pixel 4, Pixel 4 XL, Pixel 4a, Pixel 4a 5G, Pixel 5, Pixel 5a, Pixel 6, and Pixel 6 Pro. On the other hand, if you own a non-Pixel device, then you should probably opt for the GSI Method.
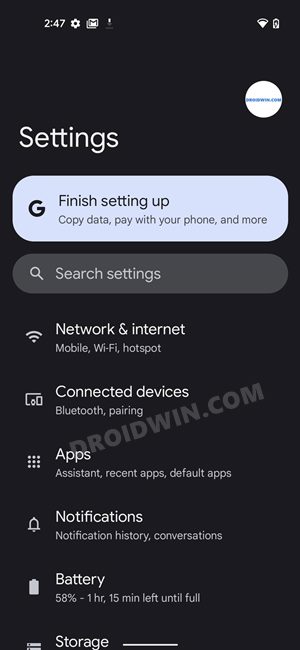
Android 13 Screenshots
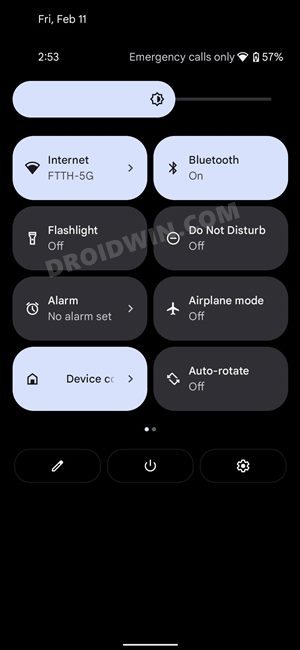
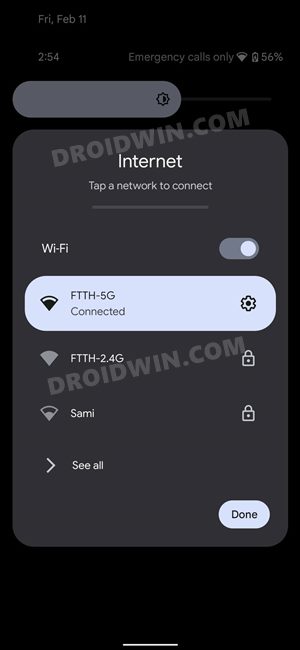
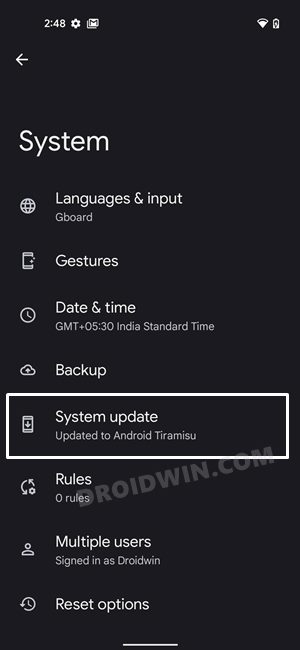
Here are some of the screenshots that I took of some important device pages, namely- Settings menu, Quick Settings toggle, System page, Notification Area, and the revamped WiFi network selection screen. Do note that these images are from the First Developer Preview, and there could be quite a few changes by the time it reaches the stable build. So please don’t mold your installation decision based on just these screenshots.


How to Install Android 13 via Android Flash Tool
The below instructions are listed under separate sections for ease of understanding. Make sure to follow in the exact same sequence as mentioned. Droidwin and its members wouldn’t be held responsible in case of a thermonuclear war, your alarm doesn’t wake you up, or if anything happens to your device and data by performing the below steps.
STEP 1: Install Android SDK

First and foremost, you will have to install the Android SDK Platform Tools on your PC. This is the official ADB and Fastboot binary provided by Google and is the only recommended one. So download it and then extract it to any convenient location on your PC. Doing so will give you the platform-tools folder, which will be used throughout this guide.
STEP 2: Enable USB Debugging and OEM Unlocking
Next up, you will also have to enable USB Debugging and OEM Unlocking on your device. The former will make your device recognizable by the PC in ADB mode. This will then allow you to boot your device to Fastboot Mode. On the other hand, OEM Unlocking is required to carry out the bootloader unlocking process.
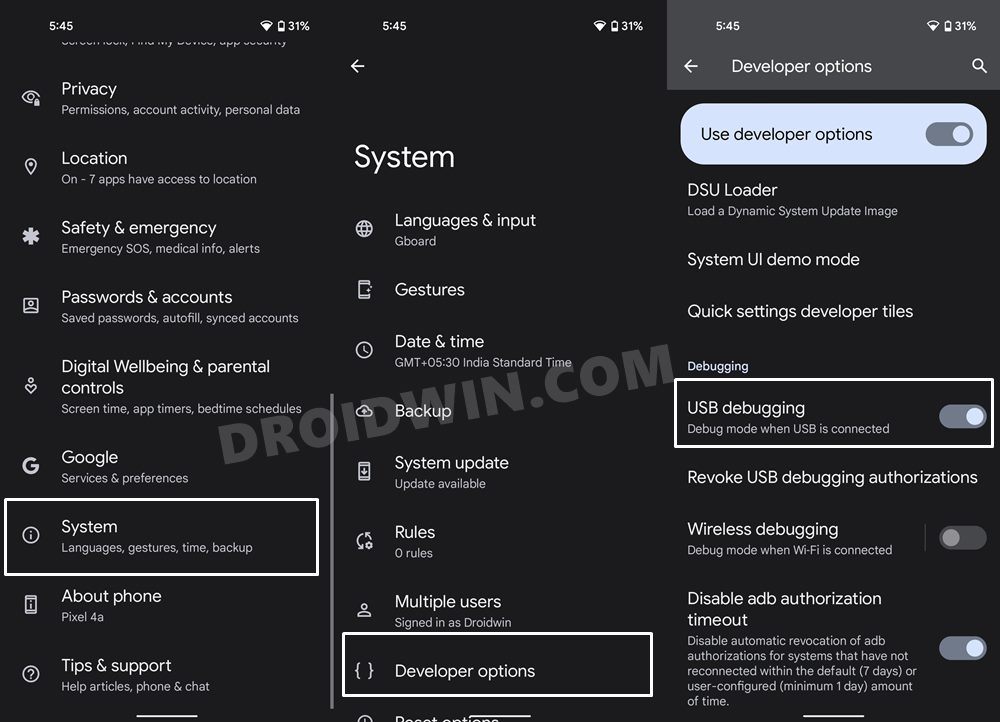
So head over to Settings > About Phone > Tap on Build Number 7 times > Go back to Settings > System > Advanced > Developer Options > Enable USB Debugging and OEM Unlocking.
STEP 3: Unlock Bootloader
In order to flash the Android 13 firmware on your Pixel device via Android Flash Tool, you will have to unlock the device’s bootloader as well. If you haven’t done so, then you may refer to our guide on How to Unlock Bootloader on Google Pixel Devices.
STEP 4: Install Android 13 via Android Flash Tool
- To begin with, connect your device to the PC via USB cable.
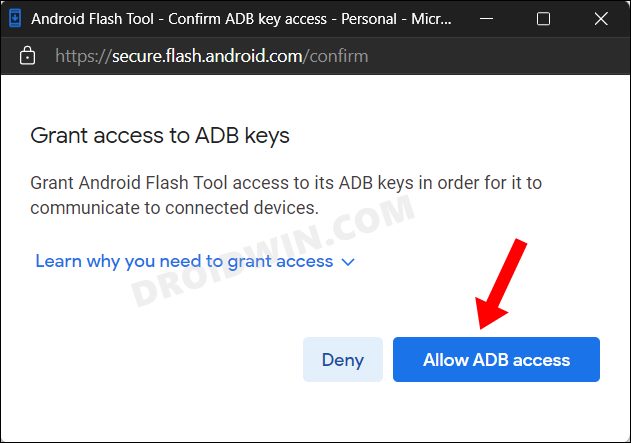
- Then head over to the Android Flash Tool Android 13 website [link] and click on Allow ADB Access.

- You will get a Debugging prompt on your device, click Allow.
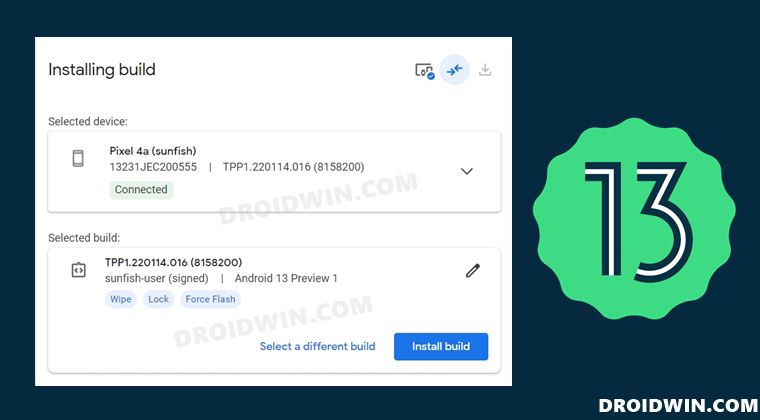
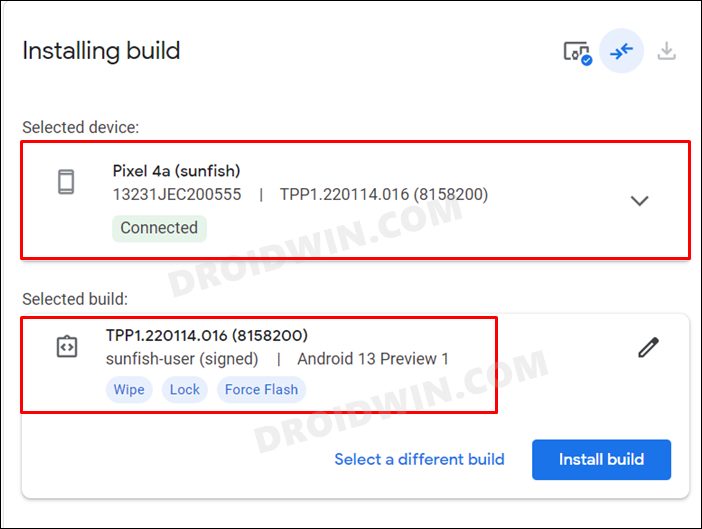
- Make sure that your device shows connected under the Selected Device section. Likewise, also verify that the Selected build shows the correct version, which at the time of writing is Android 13 Preview 1.
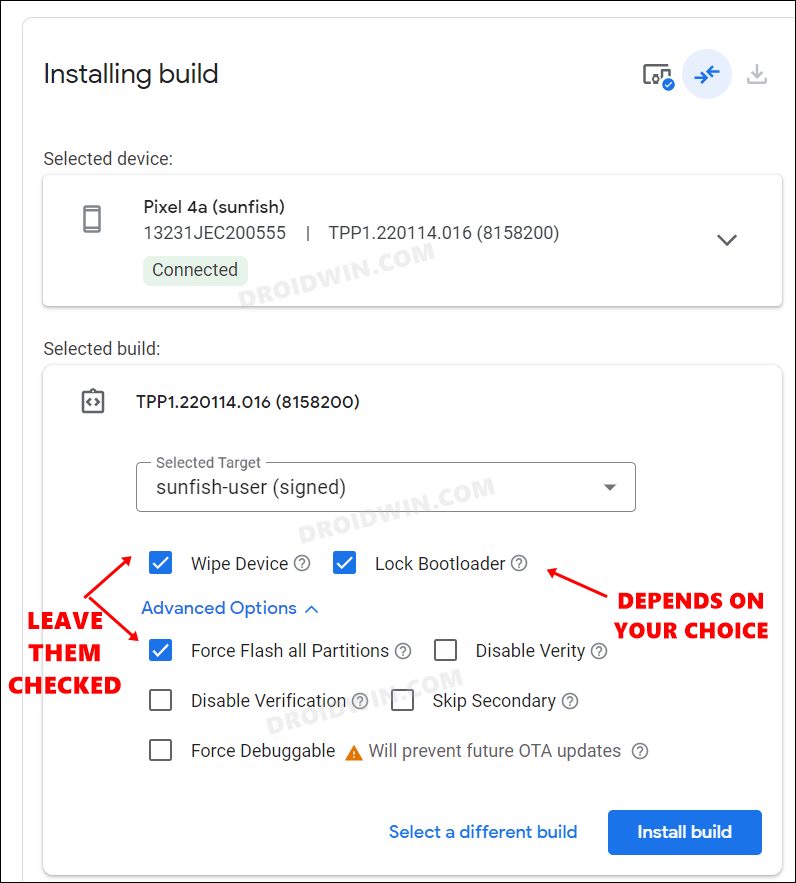
- Now click on the pencil (edit) icon next to Selected build. As you could see Wipe Device, Lock Bootloader, and Force Flash All Partitions are enabled by default.
- In this regard, Wipe Device is highly recommended and Force Flash All Partitions is a must, so leave those boxes checked.
- On the other hand, the bootloader option depends on your personal preference. I wish to have it unlocked even after the flashing is complete, so I have unchecked the Lock Bootloader option.
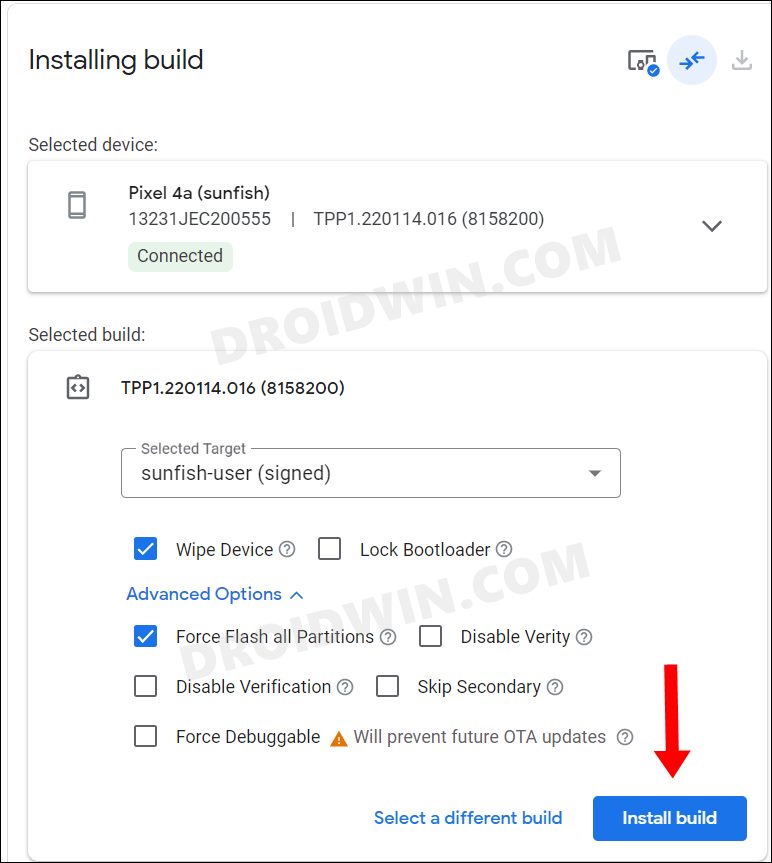
- So once you have made the decision, click on the Install Build button.
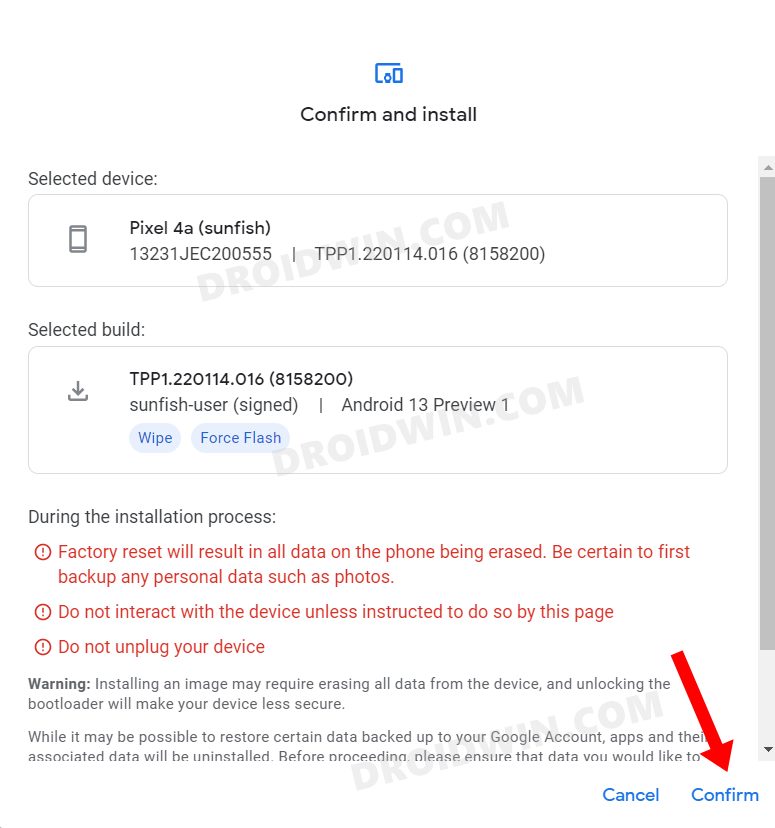
- You will now get a confirmation dialog box, click Confirm.
- The tool will now start downloading and subsequently flashing the Android 13 build onto your device.
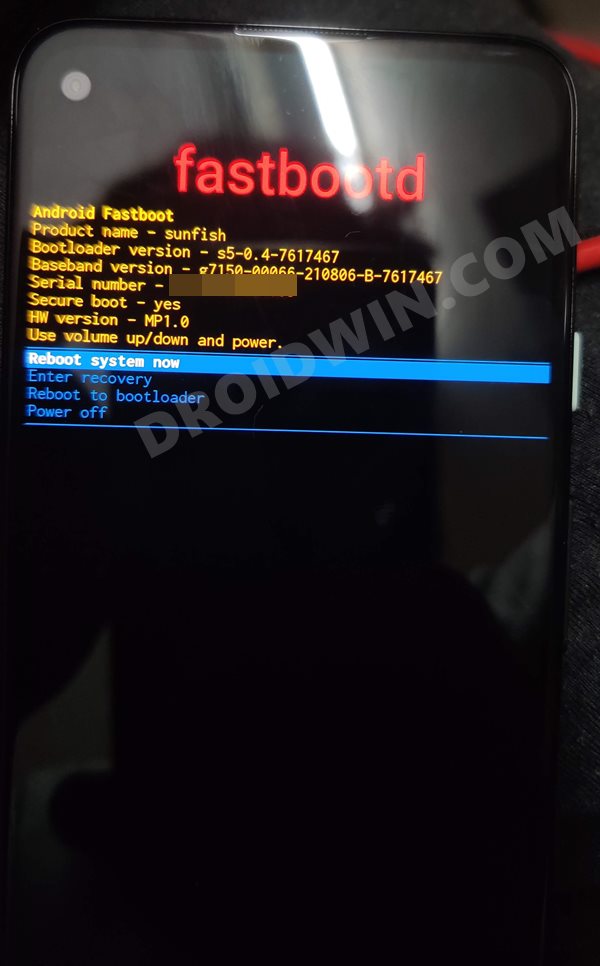
- During the flashing process, your device will automatically boot to Fastboot and FastbootD Modes.
- Once the flashing is done, you will be notified of the same. You may now unplug your device and boot it to the newly installed OS if it doesn’t happen automatically.

That’s it. These were the steps to install the Android 13 on your device using the Android Flash Tool. If you have any queries concerning the aforementioned steps, do let us know in the comments. We will get back to you with a solution at the earliest.


René Scharf
Hello, do you know if the tool flashes both slots? Or is the Force Flash all Partitions option an option to flash both slots?
Sadique Hassan
Sorry for the delay in response, I was testing your query on my device. And it turns out Android Flash Tool DOES NOT flash to both the slots [even if you check flash all partitions]. In my testing, while the active slot had Android 13 firmware, the inactive portion still had Android 12. So for flashing to both the slots, you may check out this guide Install Android 13 in Both Slots on Pixel 6A/6/Pro to Prevent Brick