In this guide, we will show you the steps to flash a custom boot animation on your OnePlus 12. There used to be a time when the likes of CyanogenMod, Titanium Backup, and ClockWorkMod used to reign supreme. And that time frame was the epitome of device customizations. Among these, it was the ability to change the boot-up logo or even the entire animation that used to be the tech enthusiast’s favorite toy.
However, with time, the OEM themselves incorporated these features into their OS and hence these third-party custom animations saw a slow and sad demise. Well, it’s now time to resurrect them back from the dead because they were the OG of their times and could still compete in the ring with today’s players. Unfortunately, there stands a major roadblock in rejuvenating the nostalgia- the system partition is no longer r/w by default[though you could still convert it to r/w].
As a result, you cannot access the directory where the stock bootanimation is present and replace it with a custom one. But thanks to some nifty work done by a developer, you could easily flash a custom boot animation on your OnePlus 12 without the need the make the system partition r/w. So without further ado, let’s show you how this could be achieved.
How to Flash Custom Boot Animation on OnePlus 12
- To begin with, root your device via Magisk.
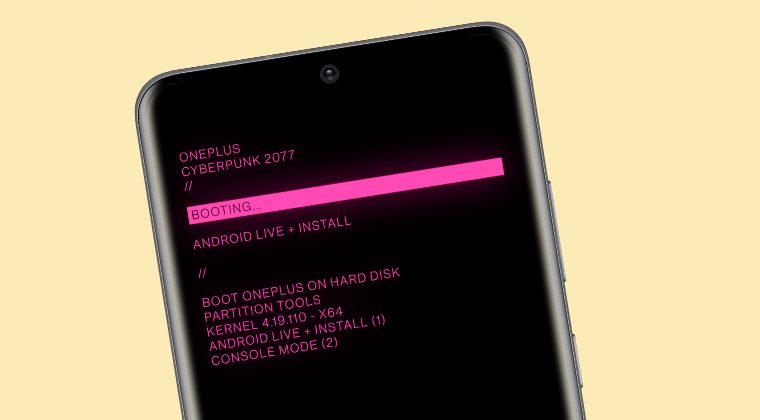
- Then download the Cyberpunk boot animation from below:
DOWNLOAD [Credits: XDA Senior Member DroidShift79].
- Now launch Magisk, go to Modules, and tap on Install from Storage.
- Then select the boot animation ZIP and flash it. Once done hit Reboot.
- Your device will now reboot with the new boot animation!
That’s it. These were the steps to flash the boot animation on your OnePlus 12. If you have any queries concerning the aforementioned steps, do let us know in the comments. We will get back to you with a solution at the earliest.


