In this guide, we will show you the steps to downgrade the OriginOS on your Vivo device. When it comes to customizable OS skin, then the offering from Vivo is definitely right there at the top. if we talk about its latest version based on the fourteenth iteration of the OS, then it brings in a plethora of noteworthy features and intriguing goodies. However, till the time the OS is in the beta stage, you might come across a few bugs and issues.
Apart from that, some third-party apps might take a little bit longer to get compatible with the latest OS. In some instances, the new and revamped UI/UX might not be in sync with a few user’s requirements. Therefore, in all these cases, your best bet is to downgrade the OriginOS to an older device on your Vivo device. And in this guide, we will show you how to do just that. Follow along.
How to Downgrade OriginOS [Any Version] on Vivo Devices
The below process will wipe off all the data from your device, so please take a backup beforehand. Droidwin and its members wouldn’t be held responsible in case of a thermonuclear war, your alarm doesn’t wake you up, or if anything happens to your device and data by performing the below steps. [You could translate the below images via Google Lens]. Moreover, the downgrade process is applicable across the following scenarios:
- Downgrade OriginOS 4 to OriginOS 3
- Downgrade from OriginOS 3 to OriginOS Ocean
- OriginOS 3.0 HD downgraded to OriginOS 1.0 HD (Vivo Pad)
- Android 14 downgrade to Android 13
- Android 13 downgrade to Android 12
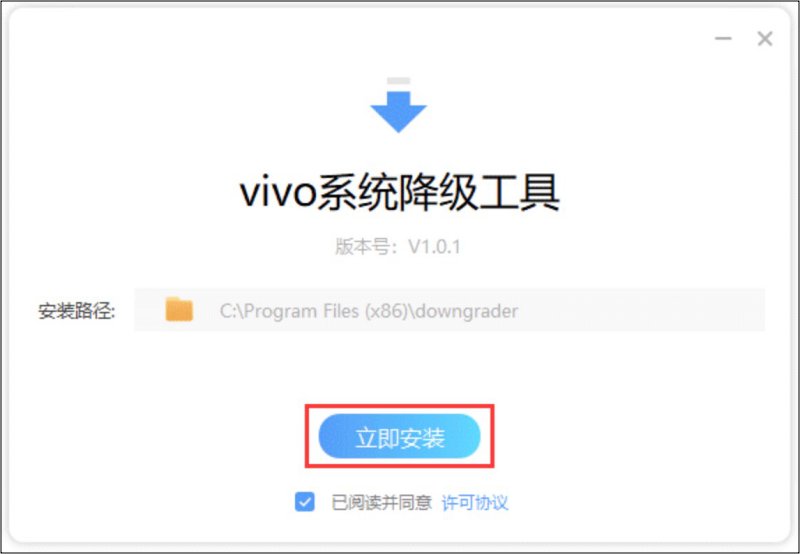
- To begin with, download the Vivo System Downgrade Tool.
- Then follow the on-screen instructions to install it onto your PC.

- Now go to Settings > Search for “Software version number”.
- Then tap “Software version number” 7 times. This will enable Developer Options.
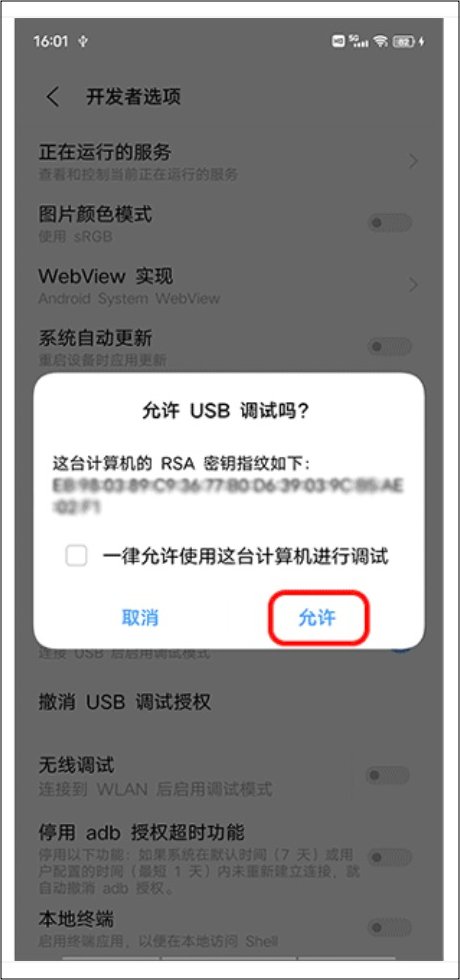
- Now go to Settings > System Management > Developer Options > enable “USB Debugging”.
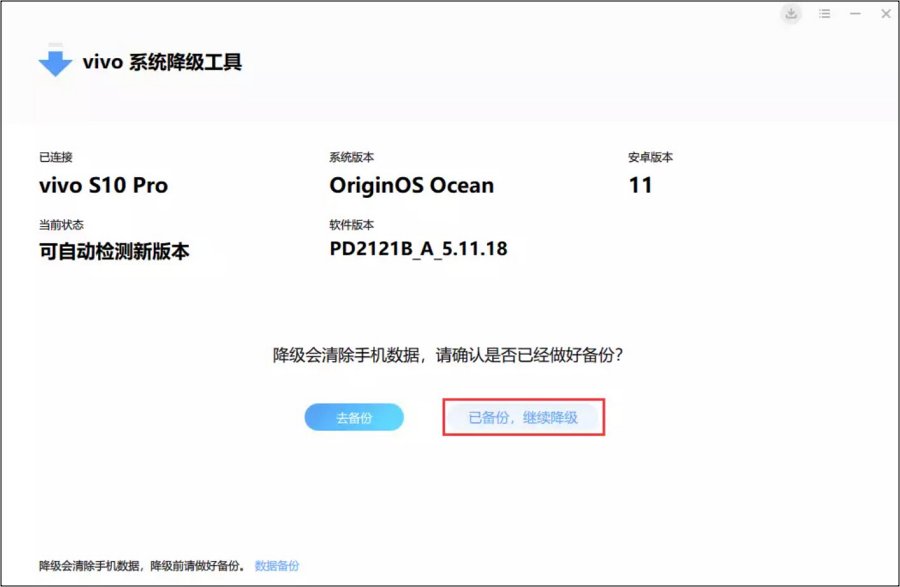
- Click System Downgrade and follow the instructions to click on Go to Backup.
- You’ll now be prompted to take a backup. If you have already done so, click on “Backed up, continue downgrading”.
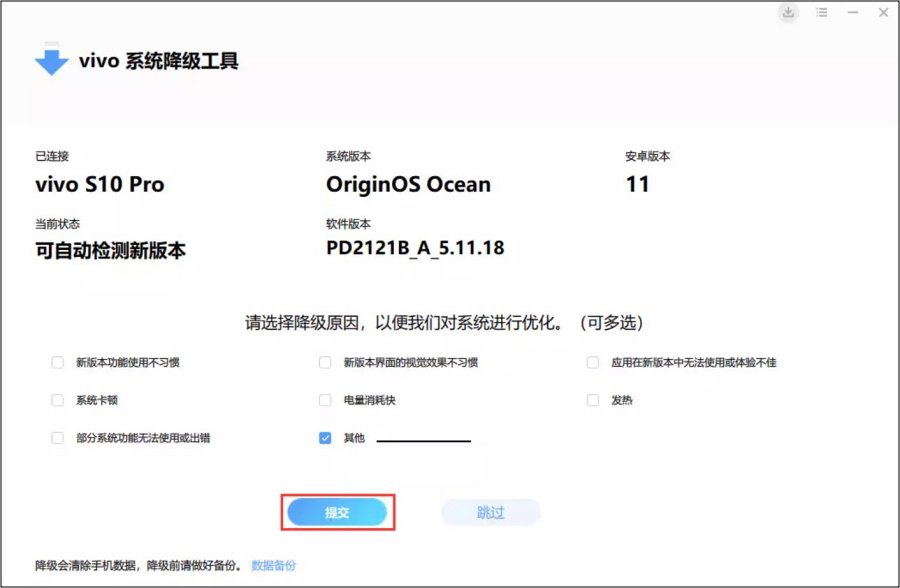
- Select the reason for the downgrade and click Submit.
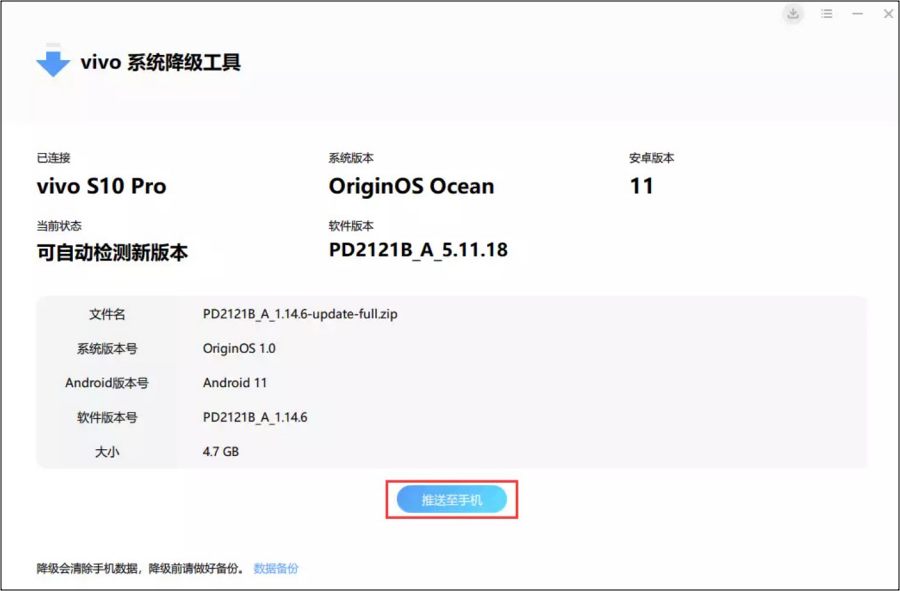
- Now click Download to download the system downgrade package. Once downloaded, click on “Push to mobile phone”.
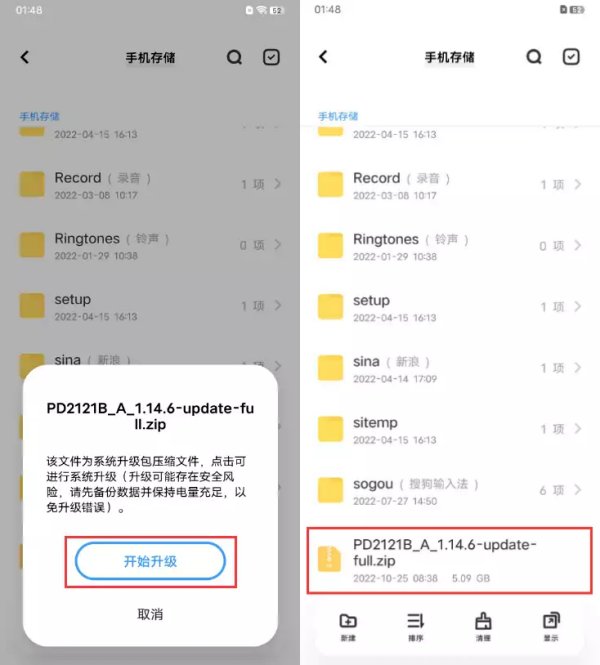
- Once transferred, open File Manager > Phone Storage > select the downgrade firmware > Click Start Upgrade.
- Or go to Settings > System Upgrade > Settings icon at the top right > Local Upgrade > Select the downgrade firmware > Click Start Upgrade.
- The downgrade firmware will now be installed. Once done, your device will boot to the downgraded OS.
That’s it. These were the steps to downgrade the OriginOS on your Vivo device. If you have any queries concerning the aforementioned steps, do let us know in the comments. We will get back to you with a solution at the earliest. [Screenshots Credits: Vivo Community].