In this guide, we will show you two different methods through which you could disable the User Account Control pop-up on your Windows 11 PC. The UAC dialog box appears every time when any user, app, service or background, or process is trying to make any system-level changes. Until and unless the administrator replies in the affirmative, those apps or users wouldn’t be able to carry out the desired tweaks.
This acts as a pretty helpful tool from the security point of view, especially in scenarios when an app or service running in the background is trying to sneak into the C Drive and gain an undue advantage. However, if you are the sole user n your PC and haven’t installed (or plan on installing) any third-party apps from untrusted sites, then this UAC might prove to be quite an irritating pop-up dialog box to deal with. For example, most of the commands that I execute require an elevated privilege to work with.
As a result, every time I launch CMD as an administrator, I have to re-confirm my decision and grant it admin-level access. This ends up consuming an unnecessary couple of seconds, which when compounded after every use, adds up to quite a lot on daily basis. Well, this CMD is just one example, there could be quite a few other instances where you might have had enough in giving your permission every time while launching an app or carrying out any modifications in C Drive.
So if you also echo this thought and wish to bid adieu to this pop-up once and for all, then you’ll be glad to know that there exist a couple of methods through which this could be achieved. So without any further ado, let’s check out both these methods to disable this User Account Control pop-up on your Windows 11 PC.
Table of Contents
How to Disable User Account Control in Windows 11
You could carry out this task from the Control Panel as well as via the Local Security Policy Editor. We have listed the instructions for both these methods, you may refer to the one that is in sync with your requirement. Do keep in mind that irrespective of the method you end up choosing, you should be currently using the administrator account otherwise the methods wouldn’t work (this is done from the security point of view).
Method 1: Via Control Panel
- Head over to the Start Menu, search Control Panel, and open it.
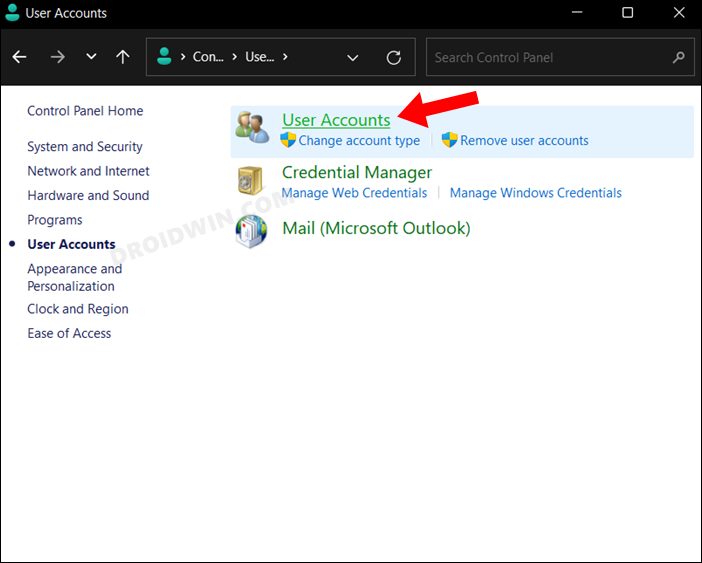
- Then select User Accounts and again click on User Accounts.

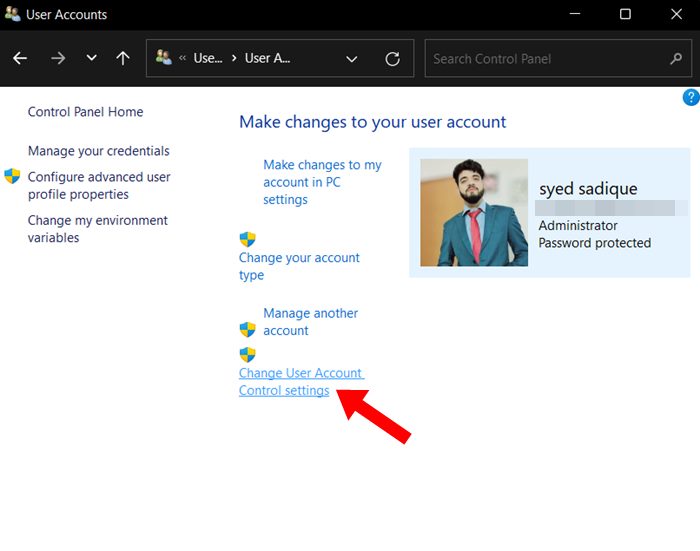
- After that, click on Change User Account Control settings.
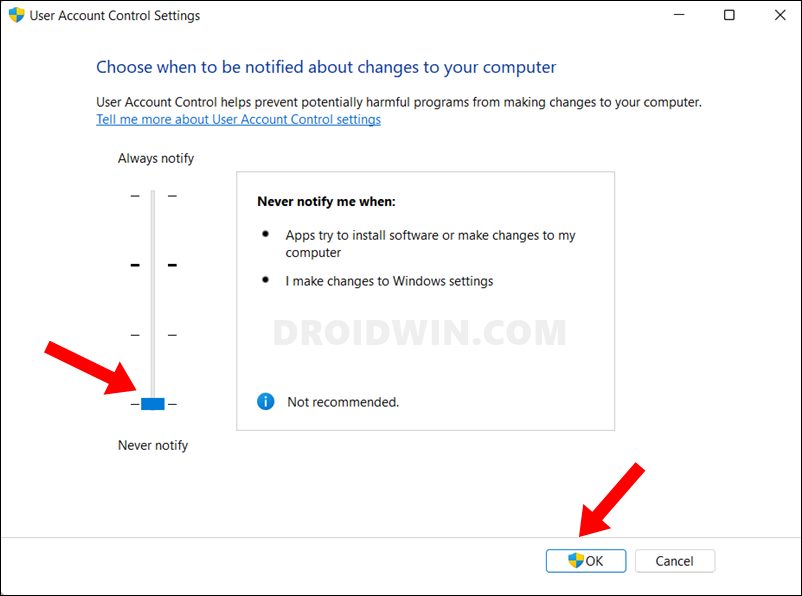
- You will now be given four levels of permissions.
- Drag the slider all the way to the bottom to the Never Notify level.
- Finally, click OK to save the changes.
- From now on you will no longer get these User Account Control pop-ups on your Windows 11 PC.
Method 2: Via Local Security Policy Editor
- If you are using Windows 11 Home Edition, then you will first have to enable Local Security Policy Editor.
- Once that is done, head over to Start Menu, search Local Security Policy Editor, and open it.
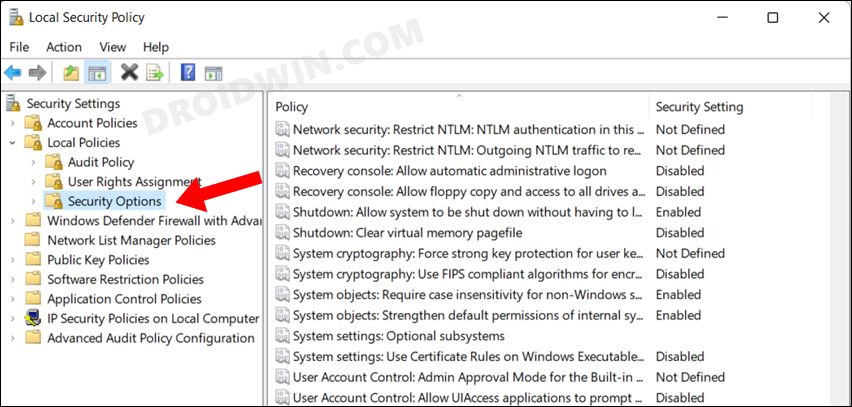
- Then expand Local Policies from the left menu bar and go to Security Options.
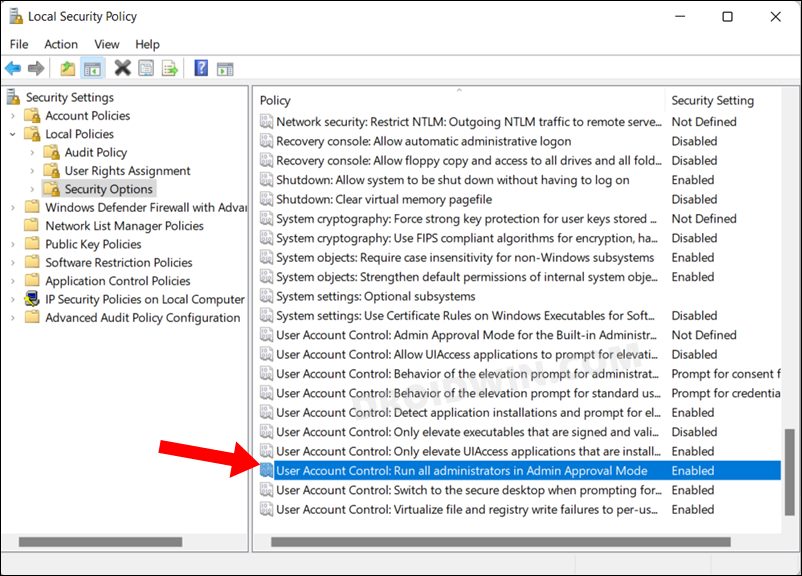
- Now scroll to “User Account Control: Run all administrators in Admin Approval Mode” and double click to open it.
- Select Disabled and click Apply > OK to save the changes.
- You will now no longer see any UAC when dealing with admin-level tasks.
So with this, we round off the guide on how you could disable User Account Control on your Windows 11 PC. We have listed two different methods for the same. If you have any queries concerning the aforementioned steps, do let us know in the comments. We will get back to you with a solution at the earliest.


