In this guide, we will show you various methods to remove your Microsoft account from Windows 11. Having a Microsoft account signed into your Windows desktop brings in a plethora of goodies. From streamlining the sync functionality to using built-in apps such as OneDrive, Microsoft Store. However, there could well be a few instances when you don’t wish to associate your PC with a Microsoft account.
For example, when you are planning to sell off that laptop, or just wish to try out some development relates stuff on it whose data you don’t wish to link with your Microsoft account. In all these cases, you might consider bidding adieu to your account from the latest iteration of Windows. And this guide shall come in handy in all those scenarios. So without any further ado, let’s get started with the steps to remove your Microsoft Account from Windows 11.
- Windows 11 Right Click: How to Get Windows 10 Context Menu
- How to Send or Move the Taskbar Icons to the Left in Windows 11
- How to Change Taskbar Size in Windows 11
- Where is the Never Combine Taskbar Buttons in Windows 11
Table of Contents
How to Remove Microsoft Account from Windows 11 [3 Methods]
Given here are three different methods to carry out the aforementioned task. You may try out the one that you find more suitable to deal with.
Remove Microsoft Account via Settings
- To begin with, use the Windows+I shortcut keys to open the Settings menu.
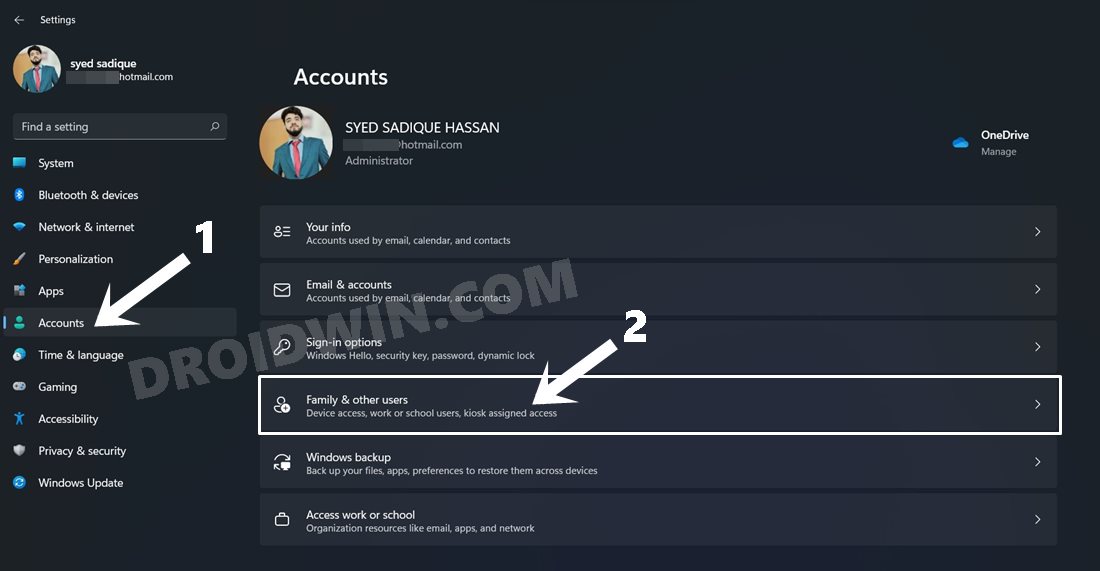
- Then go to the Accounts section from left menu bar and click on Family & other users.

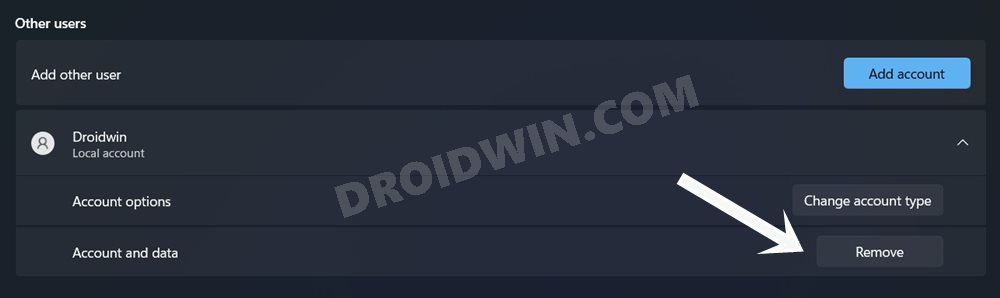
- Now select the account that you need to remove (it would be situated under the Other user section).
- Click on the Remove button next to the Account and data option.
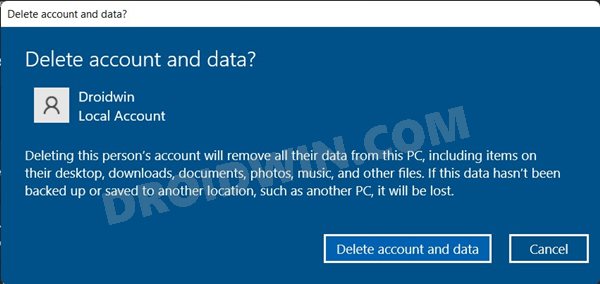
- Finally, click on the Delete account and data option in the confirmation dialog box that appears.
- That’s it. These were the steps to delete or remove your Microsoft account from Windows 11 via the Settings Menu.
Remove Microsoft Account from User Accounts
- Bring up the Run dialog box via Windows+R shortcut keys, type in netplwiz and hit Enter.
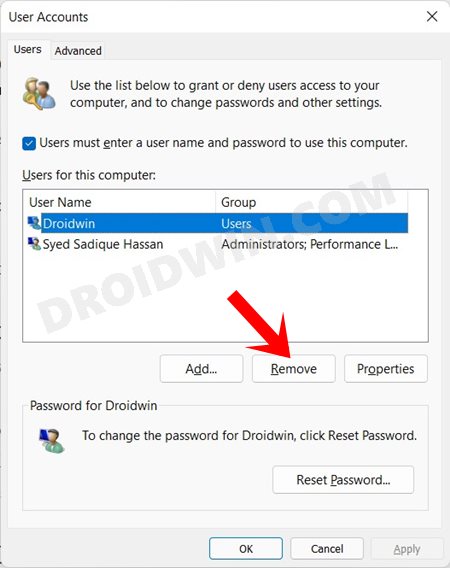
- Now under the User Accounts menu that appears, select the account that you need to delete and hit Remove.
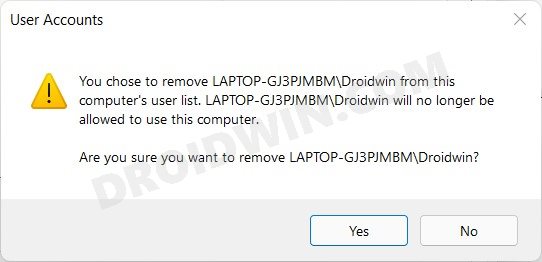
- Finally, click Yes in the confirmation dialog box that appears.
- With this, you have removed the your account from the Windows 11 PC using the User Accounts menu.
Remove User Account via Control Panel
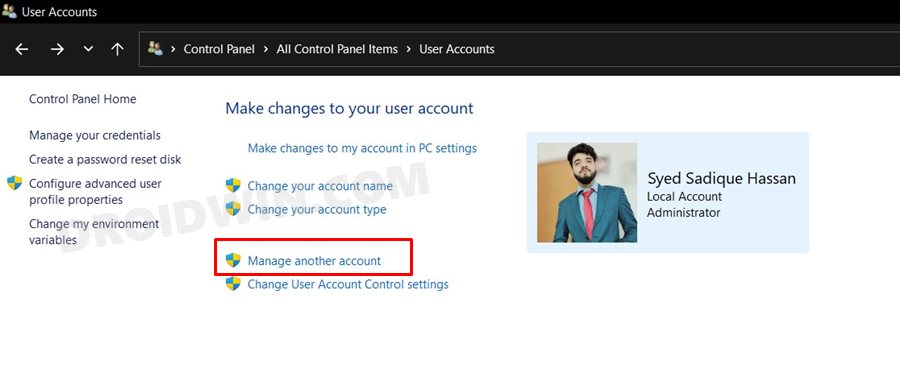
- Launch Control Panel from the Start menu and go to the User Account section.
- Now click on Manage another account.
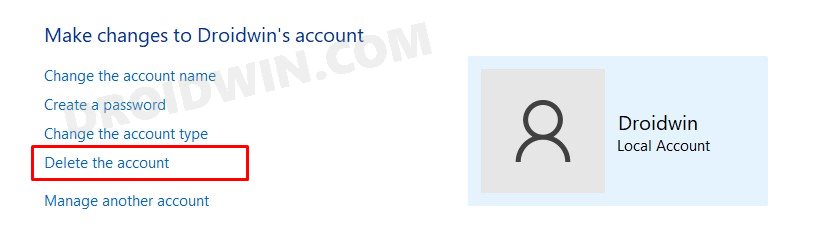
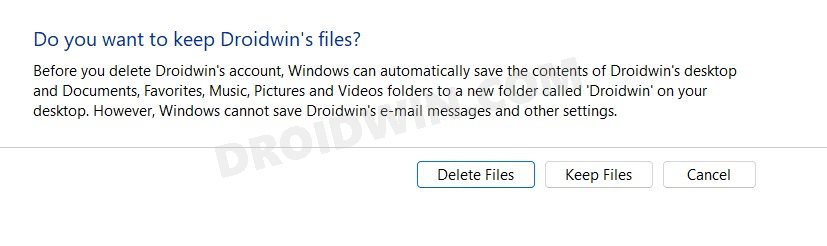
- Select the account that you wish to delete and click on Delete the account.
- You will now get a popup asking if you wish to keep that user’s file or delete it. Choose the desired option and reply accordingly.
- That’s it, you have successfully removed your account from your Windows 11 PC using the Control Panel.
So on that note, we round off this guide on how you could remove your Microsoft account from Windows 11. If you have any queries concerning the aforementioned steps, do let us know in the comments. We will get back to you with a solution at the earliest.


