In this guide, we will show you the steps to disable the automatic save of the screenshots in the Snipping Tool. The latest OS update comes packed in with a slew of noteworthy features. The likes of tabs in File Explorer, the search bar in the taskbar, the new Task Manager, revamped dialog box, did manage to grab the attention of the masses. Apart from that, there were a few minor UI tweaks that slightly went under the radar.
One such tweak was the overhaul of the Windows built-in screenshot tool. Known as Snipping Tool, it allows you to easily capture the portion of the screen [or the entire screen] just by using the Windows+Shift+S shortcut keys. But apart from being blessed with a new settings page, there has been another change to this app that wouldn’t be welcomed by many- it will now automatically save all your screengrabs to the Pictures > Screenshots folder.
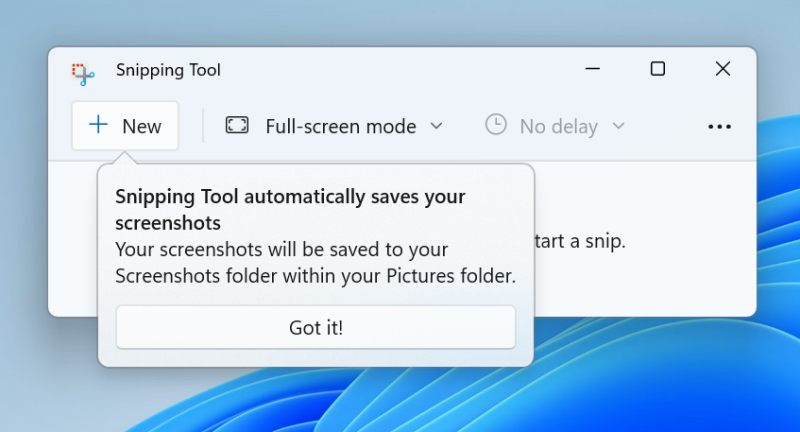
Not only will this unnecessarily clutter the screenshot folder but it will also lead to unnecessary consumption of storage space. So rather than manually deleting the screengrabs every time you take it, a much better approach will be to disable this automatic save of the screenshots in the Snipping Tool. And in this guide, we will show you how to do just that. Follow along.
How to Disable Automatic Save of Screenshots in Snipping Tool

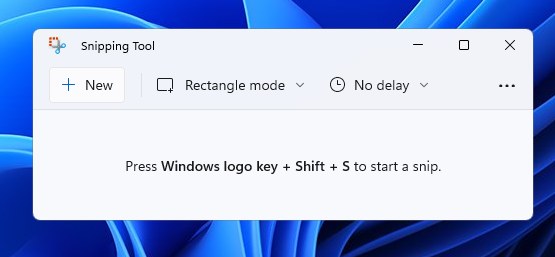
- To begin with, head over to the Start Menu, search Snipping Tool, and open it.
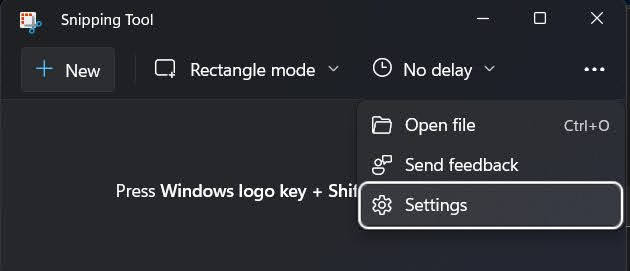
- Then click on the overflow icon situated at the top right and select Settings.

- Now scroll to Snipping and disable the toggle next to Automatically save screenshots.
That’s it. These were the steps to disable the automatic save of the screenshots in the Snipping Tool. If you have any queries concerning the aforementioned steps, do let us know in the comments. We will get back to you with a solution at the earliest.


