In this guide, we will show you the steps to add multiple IP and DNS Addresses on your Windows 11 PC. There could be quite a few instances wherein you might have to assign multiple IPs to a single LAN card. For example, if you are planning to run multiple websites with unique IP addresses or wish to bind the applications to different IP addresses.
Along the same lines, some users also want to have multiple Domain Name Server in one single Local Area Network. If you are also on the same page, then this guide will show you the details steps to add multiple IP and DNS Addresses on your Windows 11 PC. Follow along for the instructions.
How to Add Multiple IP Address in Windows 11
- Bring up Run via Windows+R shortcut keys and type in the below command
ncpa.cpl
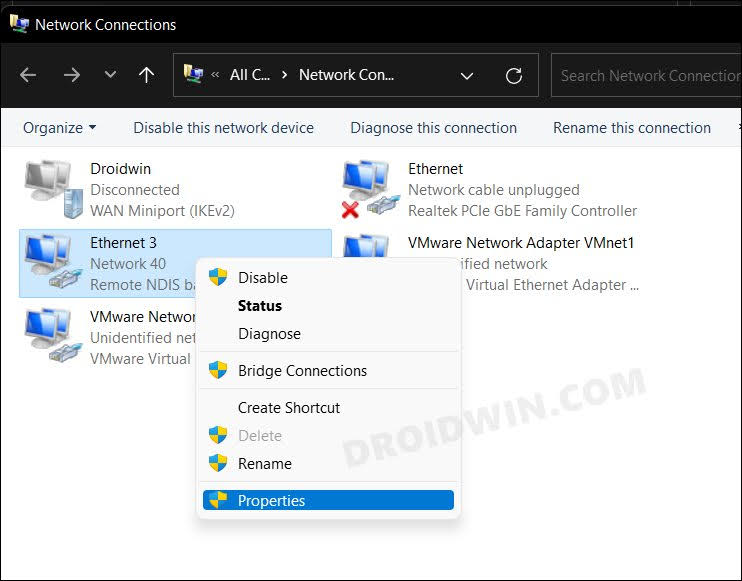
- Now right-click on your WiFi and select Properties.

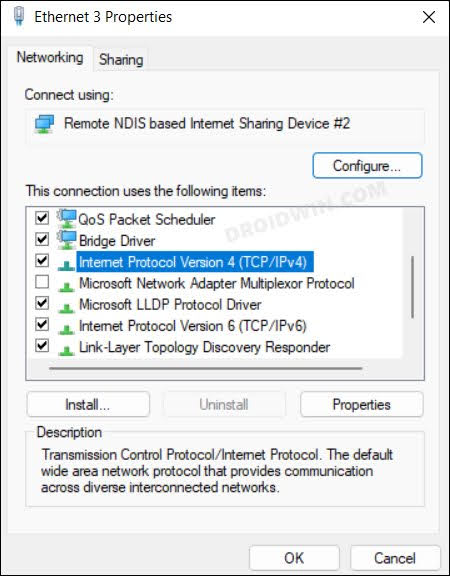
- Then double-click on Internet Protocol Version 4(TCP/IPv4) to open it.
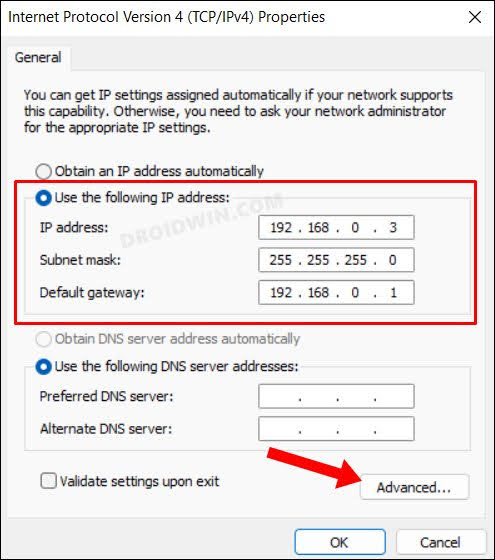
- After that, select Use the following IP address.
- Then input the value next to IP Address, Subnet Mask, and Default Gateway.
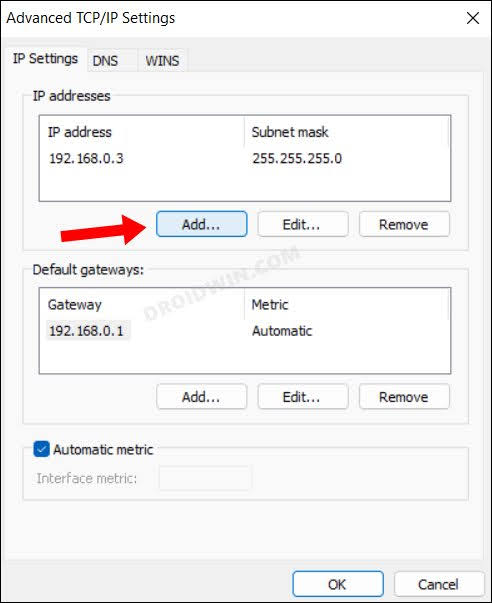
- After that, click on Advanced and hit Add under IP Address.
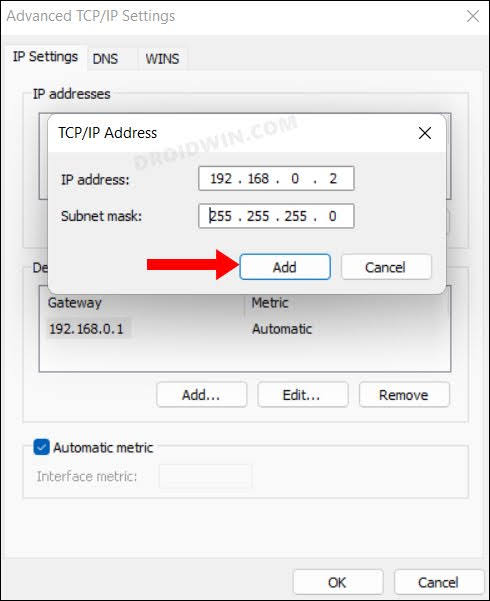
- Now input the new IP Address and the Subnet Mask should be auto-populated.
- You may add multiple IP Addresses in a similar manner and hit OK to save them.
How to Add Multiple DNS Address in Windows 11
- Bring up Run via Windows+R shortcut keys and type in the below command
ncpa.cpl
- Now right-click on your WiFi and select Properties.
- Then double-click on Internet Protocol Version 4(TCP/IPv4) to open it.
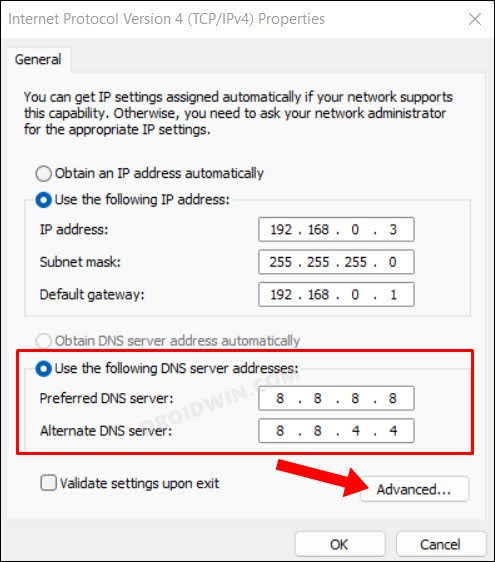
- After that, select Use the following DNS Server address.
- Then input the value next to Preferred DNS Server and Alternate DNS Server.
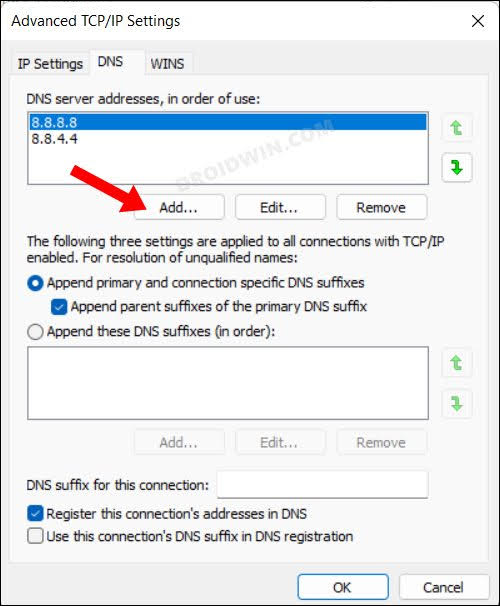
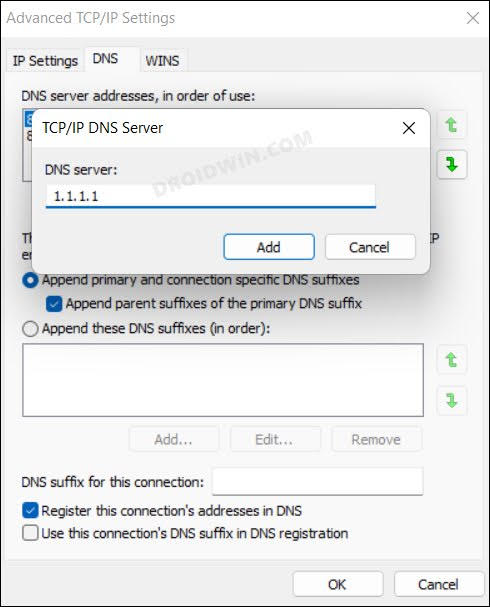
- After that, click on Advanced. Then switch to the DNS tab and hit Add.
- Now input the new TCP/IP DNS Server Address and hit Add.
- You may add multiple DNS Addresses in a similar manner and hit OK to save them.
That’s it. These were the steps to add multiple IP and DNS Addresses on your Windows 11 PC. If you have any queries concerning the aforementioned steps, do let us know in the comments. We will get back to you with a solution at the earliest.


