In this guide, we will show you the steps to block any IP Address using Windows Defender Firewall on your Windows 11 PC. There could b quite a few reasons why you might need to add a specific or a range of IP addresses to the blacklist. These include the likes of protection again brute force attacks, preventing a specific address from accessing your data, restricting access to a specific geographical location, or blocking the gaming client from allocating you servers that have high pings/are far away from your location.
If we talk about the last one, then recently a game from Blizzard was always throwing up the Version Mismatch error. Upon further investigating the issue via Wireshark, I found out that the game had six servers in total, out of which two were the issue-causing ones (data wasn’t being updated in real-time on those servers). Since the game randomly allocated the servers, so whenever my credentials were being sent to one of those servers, I was getting greeted with the Version Mismatch error.
To rectify it, I added the IP address of those two servers to my PC’s blacklist. Hence the game had no choice but to connect to one of the other four working servers which in turn resolved the underlying issue. Well, there could be a plethora of other reasons why you might need to carry out the said task. So without any further delay, let’s check out the steps to block an IP Address using Defender Firewall on your Windows 11 PC.
How to Block IP Address via Windows 11 Firewall
- Bring up the Run dialog box via the Windows+R shortcut, type in the below command, and hit Enter:
WF.msc
- Then select Inbound Rules from the left-hand side and select New Rules from the right-hand side.

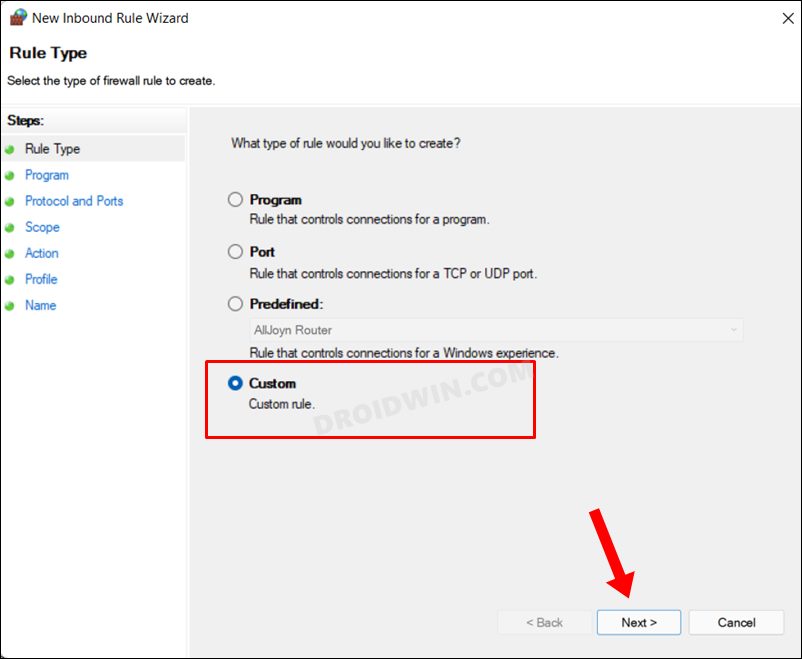
- Next up, select Custom under Rule Type and click Next.
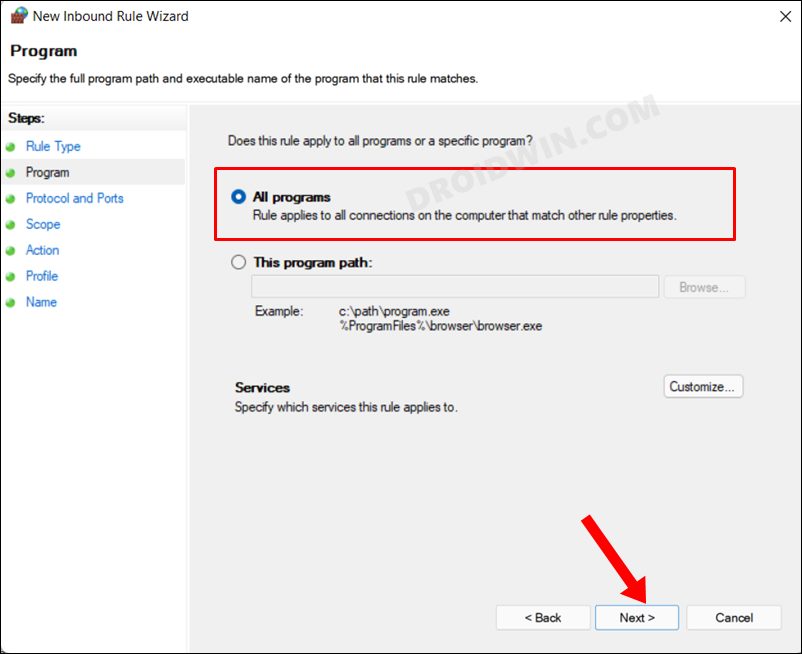
- After that, select All Programs and click Next.
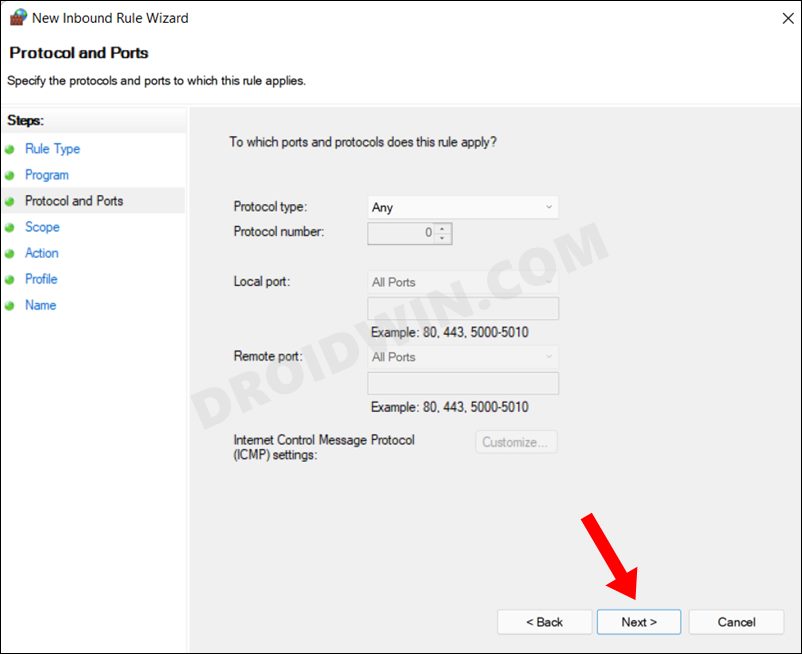
- Leave the Protocol and Ports type as they are and click Next.
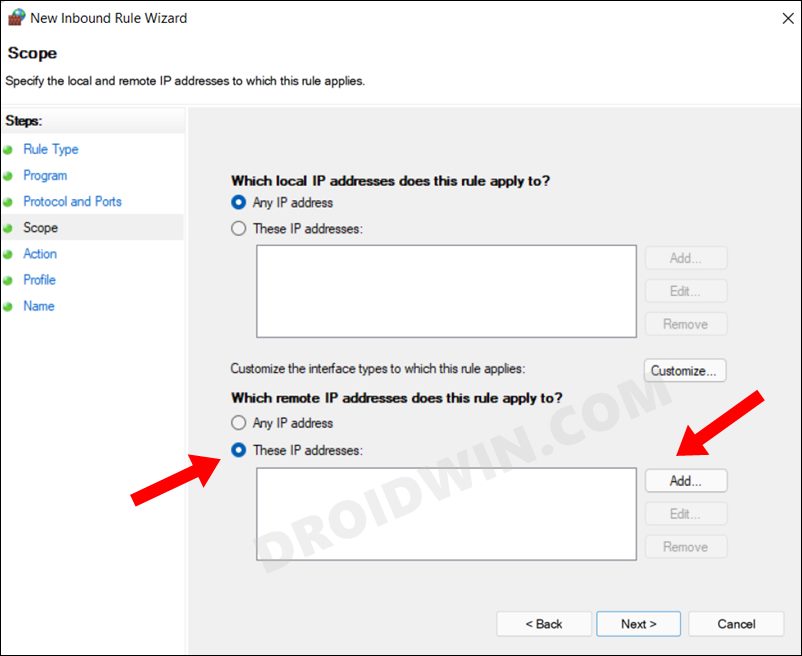
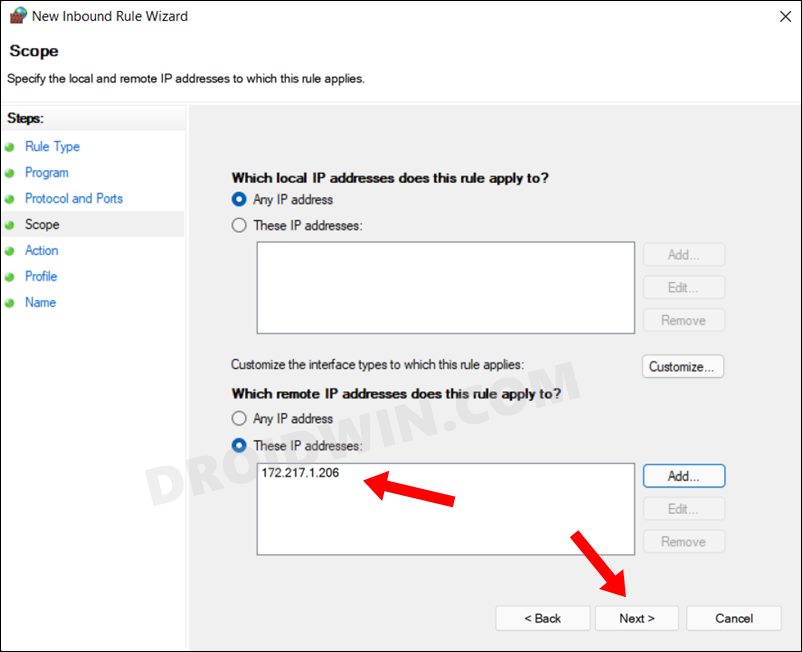
- Then select “These IP addresses” under “Which remote IP addresses does this rule apply to” and click Add.
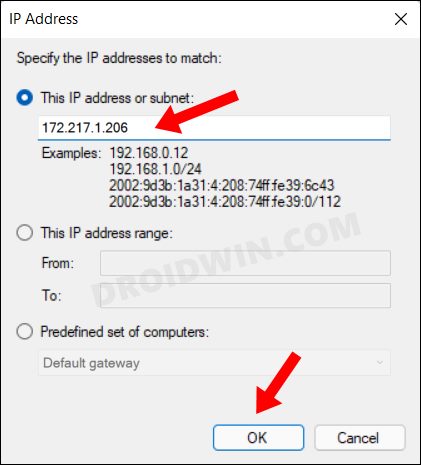
- Now type in the desired IP Address or its range and click OK.
- That IP should now be visible under the “These IP addresses” section. Click Next to continue.
- Now select Block the Connection under the Actions menu and click Next.
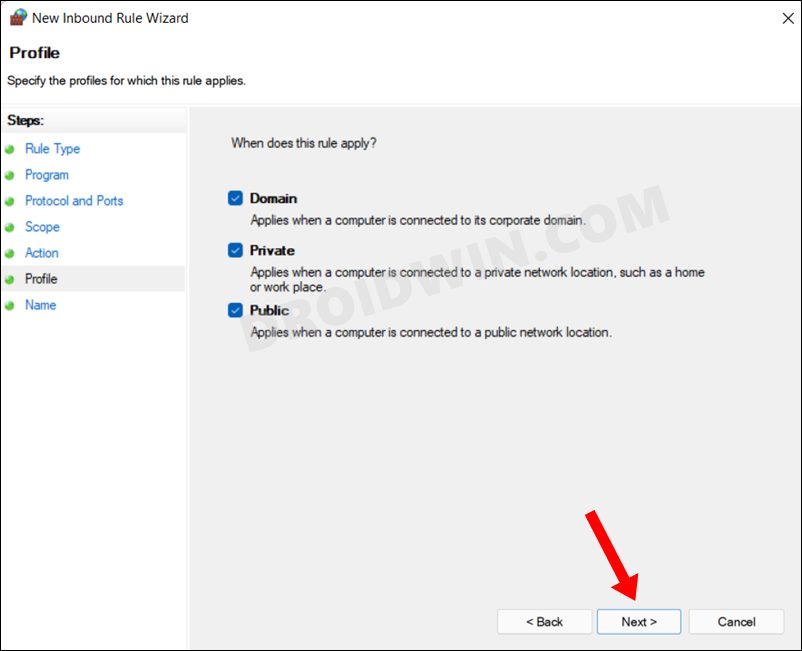
- Leave all the three fields checked under Profile and click Next.
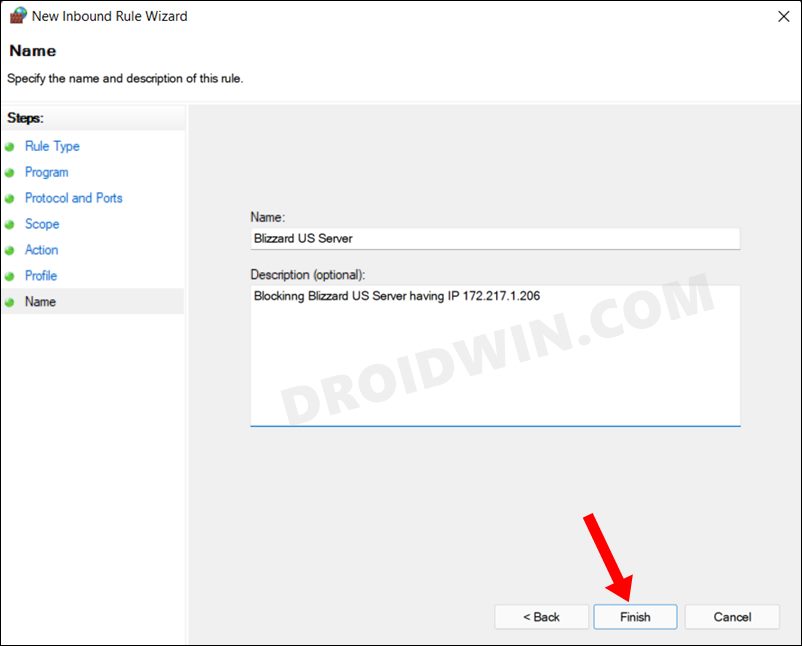
- Finally, give it a name and an optional description and hit Finish.
- That’s it. The said IP Address has now been blocked on your Windows 11 PC via Firewall


How to Unblock an IP Address
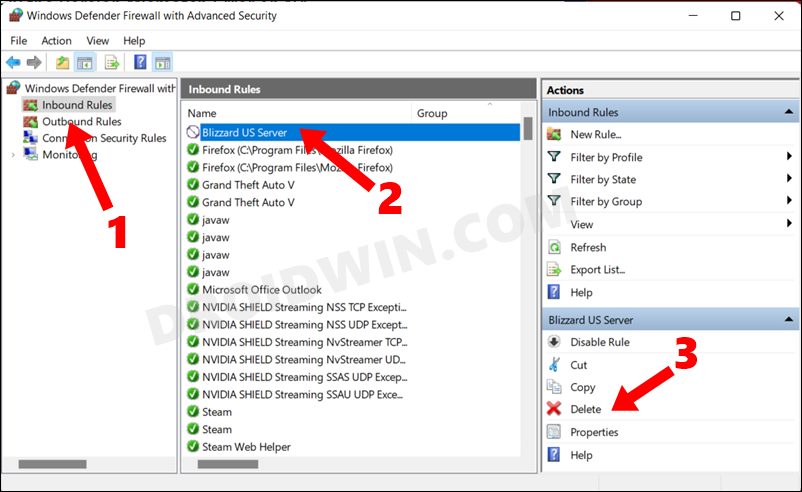
If you wish to unblock an IP, then just delete the Rule that you had initially created to block that IP Address. So launch the WF.msc via Run, select that Inbound Rule from the list, and click Delete from the right-hand side.
That’s it. These were the steps to block a (single or multiple) IP Address using Windows Defender Firewall in Windows 11 PC. Likewise, we have also listed the steps to unblock it. If you have any queries concerning the aforementioned steps, do let us know in the comments section below. We will get back to you with a solution at the earliest.


