In this guide, we will show you the steps to fix the issue of Google Chrome Adding itself to Login Items in Ventura. The thirteenth iteration of the OS build has given a tough time to the end users, especially when it comes to dealing with Login Items. In the past, we have already covered issues with the deleted app appearing in the Login Items and Login Items being no longer hidden in Ventura.
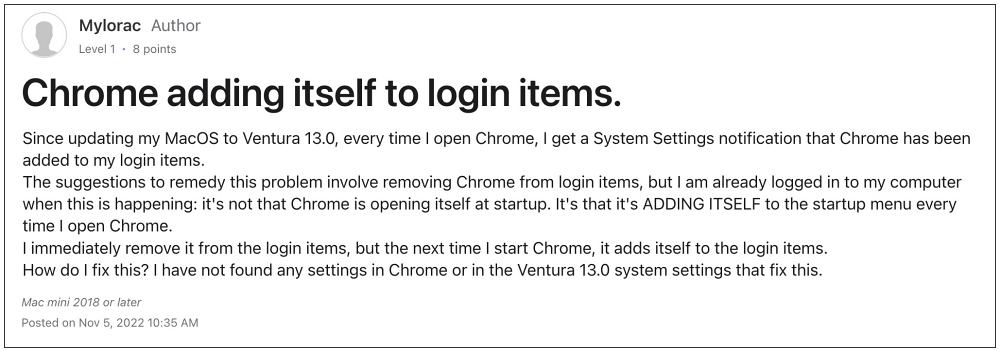
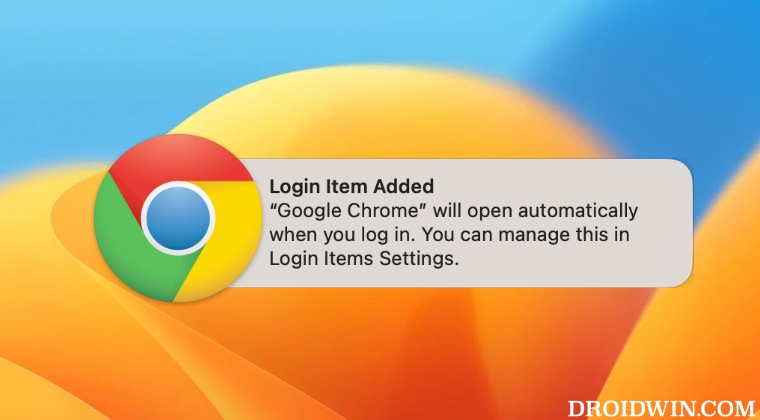
And now, there has been another unfortunate entry to this list. Numerous users have voiced their concern that Google Chrome tends to automatically add itself to the Login Items list in Ventura. Even if they remove it from System Settings > General > Login Items, then the next time the browser starts, it gets added to the list once again.
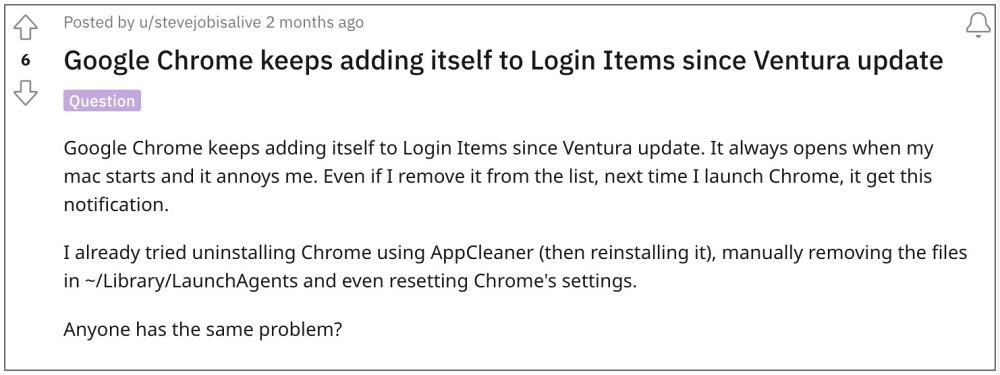
Moroever, for many, the issue first came into existence after the Ventura update [though some have reported it on Monterey as well]. With that said, there does exist a nifty workaround that should help you rectify this issue. So without further ado, let’s check them out.
Fix Google Chrome Adding itself to Login Items in Ventura
The culprit behind this issue is one of the third-party extensions. As of now, it is being attributed to one of the following three extensions: SessionBox, Feedly, or VidIQ. So if you have one of these three installed, then remove them and check out the results. However, if you don’t have them installed, then proceed with the below steps to catch the culprit.
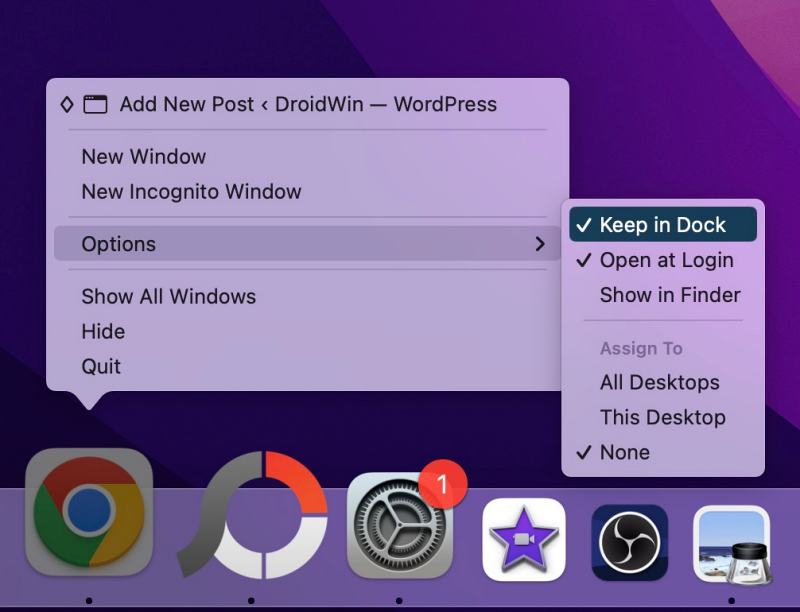
- Right-click on the Chrome icon present at the Dock and uncheck Keep in Dock [if present].

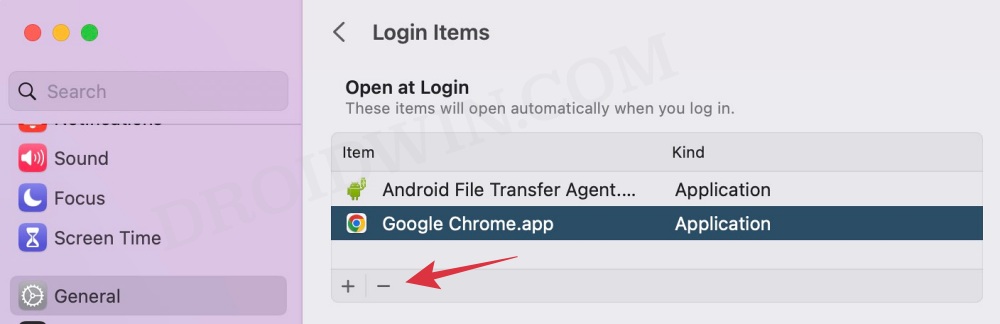
- Then go to System Settings > General > Login Items. Select Chrome and hit Remove.
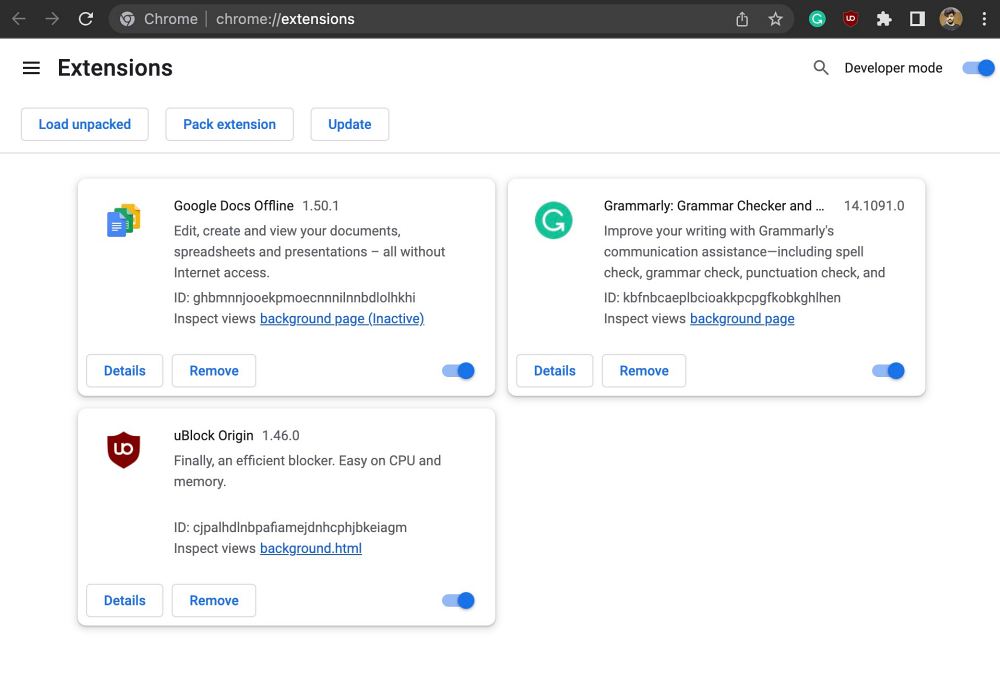
- Now head over to Chrome’s extension menu via chrome://extensions/
- Then disable all the installed extensions. Now enable one at a time until Chrome gets re-added to Login Items.
- When that happens, the last enabled extension is the culprit, so remove it from your browser right away.
That’s it. This should fix the issue of Google Chrome Adding itself to Login Items in Ventura. As far as the official stance on this matter is concerned, the developers are yet to acknowledge this issue, let alone give out any ETA for the rollout of a fix. As and when any of these two things happen, we will update this guide accordingly. In the meantime, the aforementioned workaround is your best bet.