In this guide, we will show you various methods to stop the “Your Windows license will expire soon” message on your Windows 11 PC. It’s no hidden secret that each copy of Windows comes with a unique product key. If you are buying a new laptop, then the manufacturer will enable it on your behalf and would send you the product key for future reference.
On the other hand, if you have purchased the OS from the Microsoft website, then they will e-mail you the key which you need to manually enter during the setup process. However, if you were already running the activated version of Windows 10, then you don’t have to re-enable it in Windows 11. Just download and install via any of the available options [Media Creation Tool, ISO file, Settings menu] and you are good to go. However, that is proving to be easier said than done for some users.
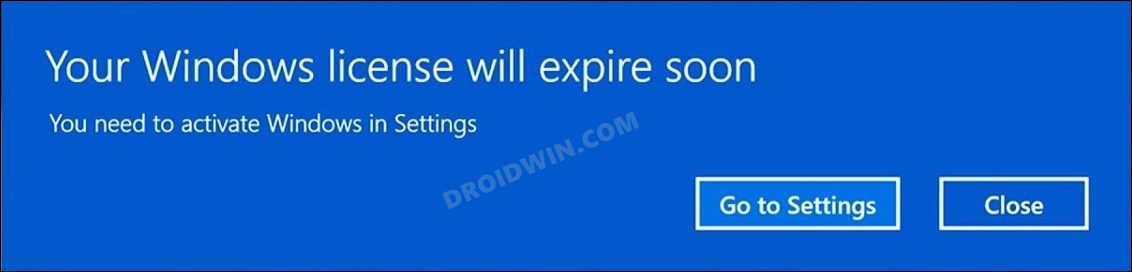
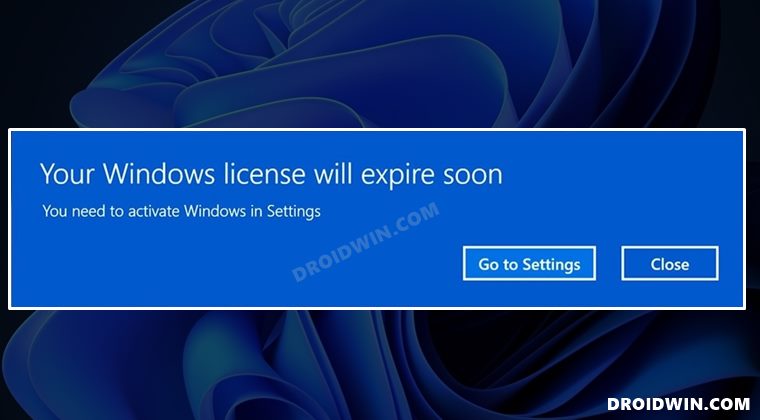
They have voiced their concern that they are constantly getting bugged with the “Your Windows license will expire soon” prompt on their Windows 11 PC, even though they were already using an activated version of Windows before performing the upgrade. If you are also in a similar situation, then fret not. In this guide, we will make you aware of various methods to put an end to this annoying prompt. Follow along.
Table of Contents
Your Windows license will expire soon: Windows 11 Fix
It is recommended that you try out each of the below-mentioned workarounds and then see which one spells out success for you. So with that in mind, let’s get started.
FIX 1: Manually Enter the Key
First and foremost, let’s take the direct approach that should resolve this issue in one go. What you need to do is get hold of your license key via CMD and then manually type it in the designated field. Microsoft will then approve that key and you would no longer get that prompt.
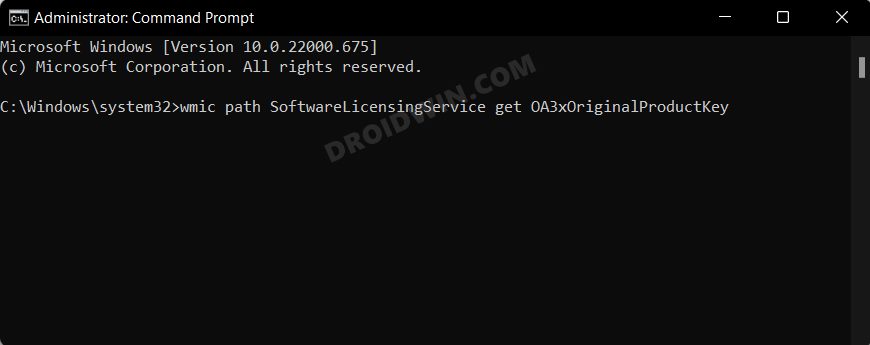
- Launch Command Prompt as an administrator and execute the below command.
wmic path SoftwareLicensingService get OA3xOriginalProductKey
- This should give you the Product Key. Copy it.

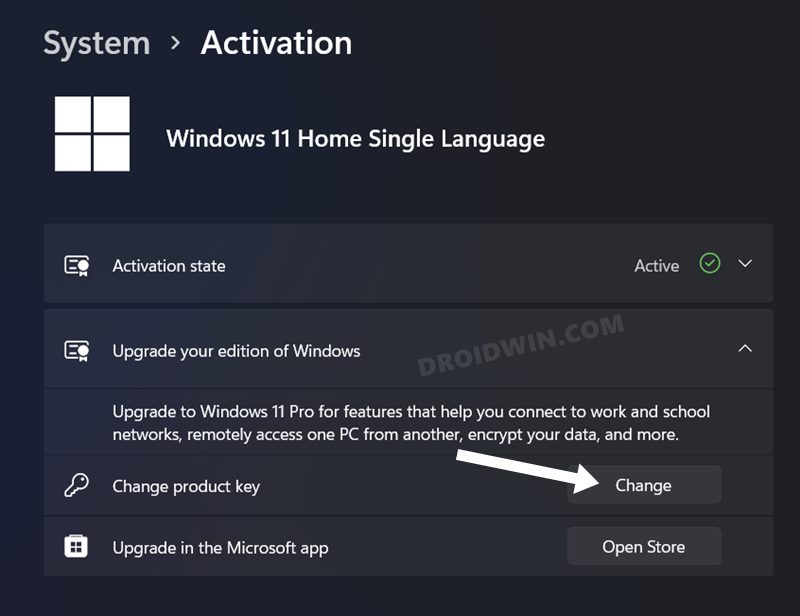
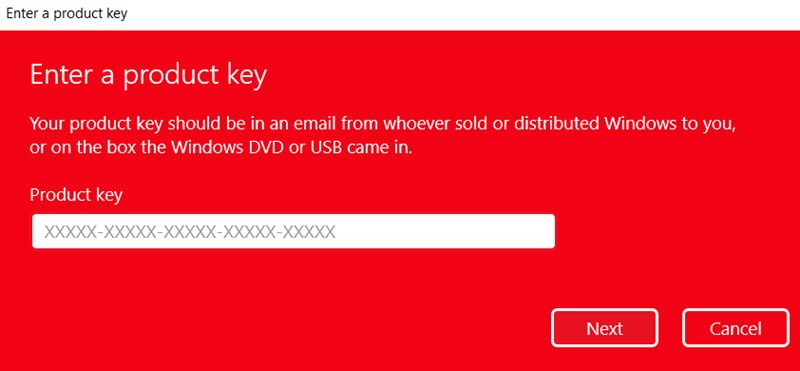
- Now go to Settings > System > Activation and click on Change next to Change Product Key.
- Paste the key that you had copied from Command Prompt and click Next.
- Then proceed with the on-screen instructions to complete the setup.
- You will no longer get the “Your Windows license will expire soon” message on your Windows 11 PC.
FIX 2: Using Command Prompt Tweak
We will now execute a couple of commands that shall help you put an end to this prompt for good. But before that, we will create a new instance of Windows Explorer and then carry out the tweak in this new working directory.
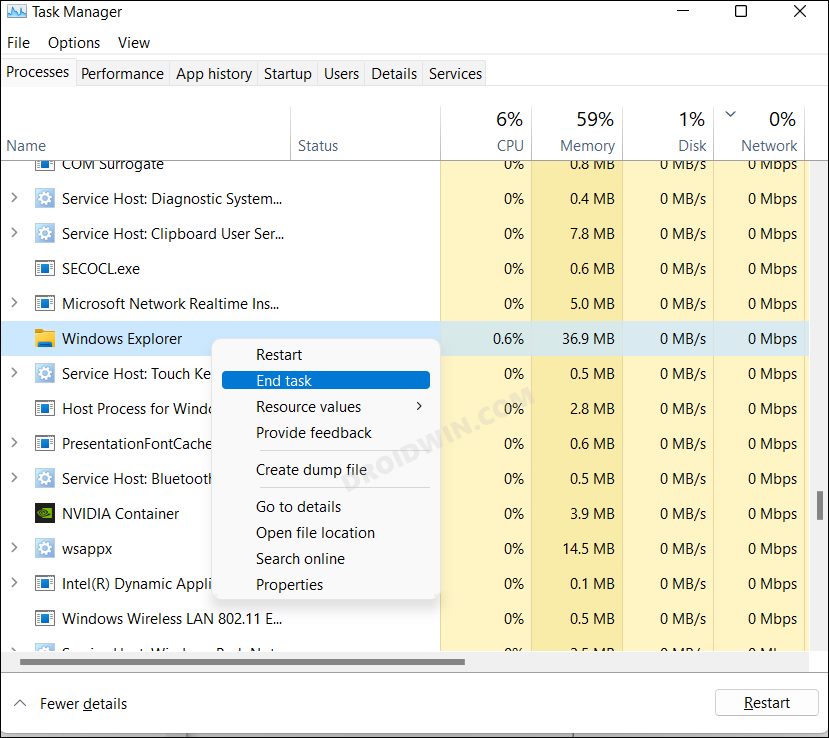
- Bring up the Task Manager via Ctrl+Shift+Esc shortcut keys.
- Then select Windows Explorer, right-click on it, and select End Task.
- Your screen might go blank for a few seconds, it’s nothing to worry about.
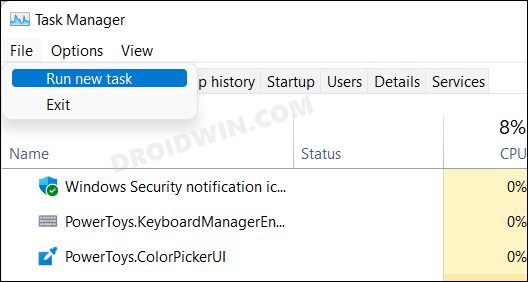
- Now go to File >Run New Task.
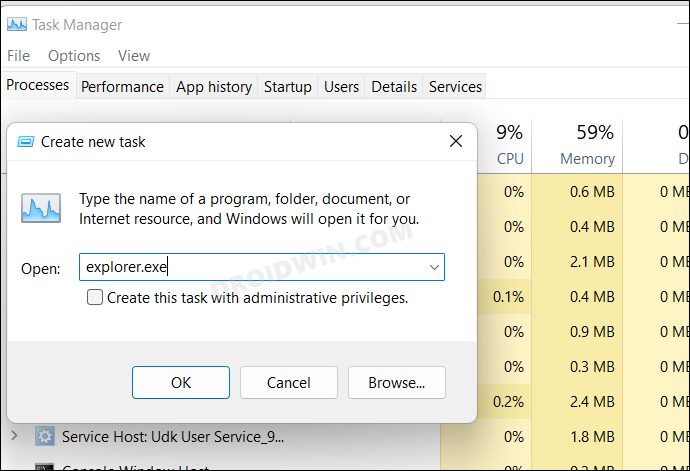
- Then type in the below command and hit OK.
explorer.exe
- Next up, launch Command Prompt as an administrator and execute the below two commands.
slmgr –rearm
slmgr /upk
- Once both the commands have been successfully executed, restart your PC.
- That’s it. This should stop the “Your Windows license will expire soon” message on your Windows 11 PC.
FIX 3: Using Group Policy
In this method, we will be tweaking a Windows Update policy that will allow us to bypass this prompt. Here’s how it could be carried out.
- To begin with, enable the Local Group Policy Editor on your PC.
- Then open Run via Windows+R and type in the below command to open Group Policy
gpedit.msc
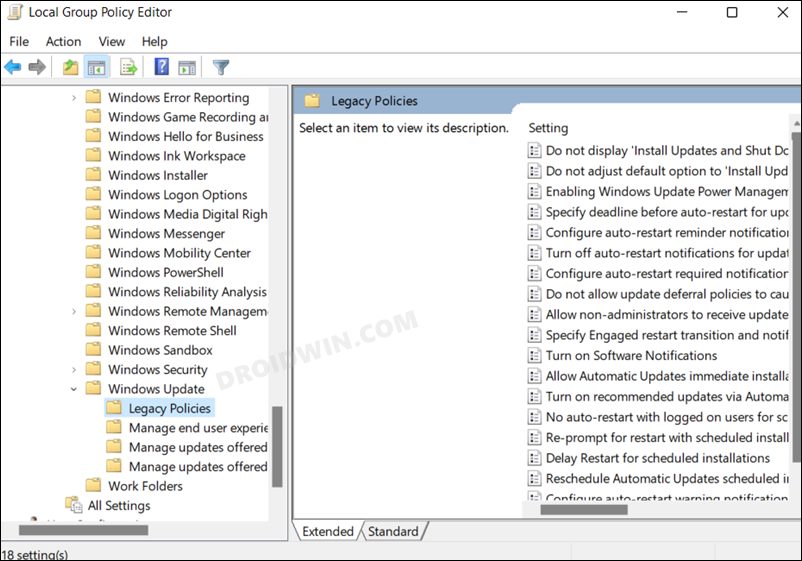
- After that, head over to the following location from its left menu bar
Computer Configuration\Administrative Templates\Windows Components\Windows Update\Legacy Policies
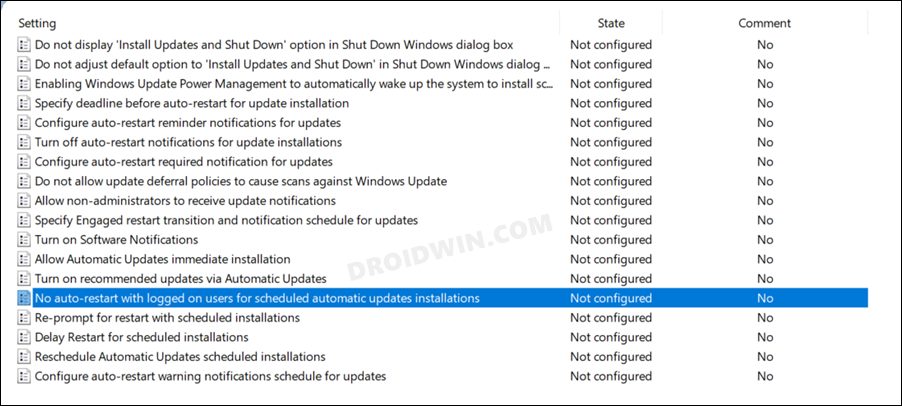
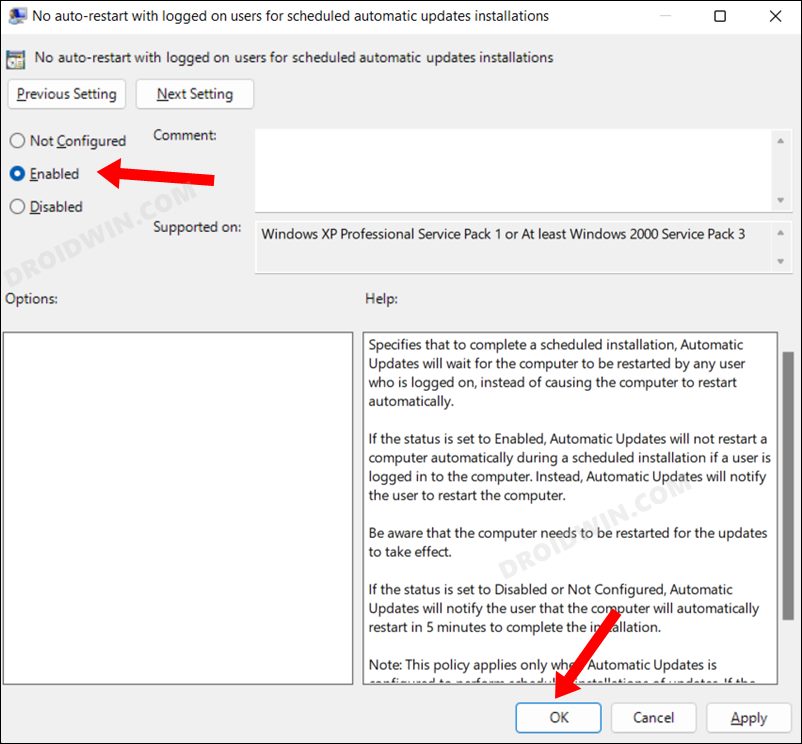
- Now double click on No auto-restart with logged on users for scheduled automatic updates installations.
- Change its state to Enabled and click OK to save it. Finally, restart your PC for the changes to take place.
- Check if it stops the “Your Windows license will expire soon” message on your Windows 11 PC.
FIX 4: Disable Services
In this tweak, we will be preventing two Windows services from starting up when your PC boots up. As a result, they wouldn’t be able to perform the license check and hence you wouldn’t get those pop-ups.
- To begin with, Open the Services app from the Start menu.
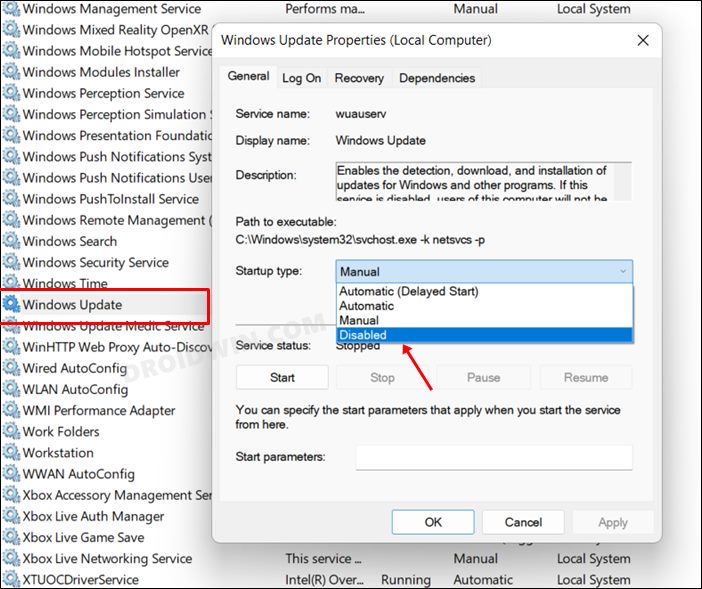
- Then double click on the Windows License Manager Service to open it.
- Change its Startup type to Disabled and click OK to save it.
- In a similar manner, disable the Windows Update service as well.
- This should put an end to the “Your Windows license will expire soon” message on your Windows 11 PC.

FIX 5: Using Registry Tweak
In this method, we will be making some tweaks to the NoGenTicket registry file. But rather than doing so from the Registry Editor, we will do that directly using CMD, via just a single line of command. But before that, it is recommended that you take a registry backup. Once done, you may then proceed with the below steps
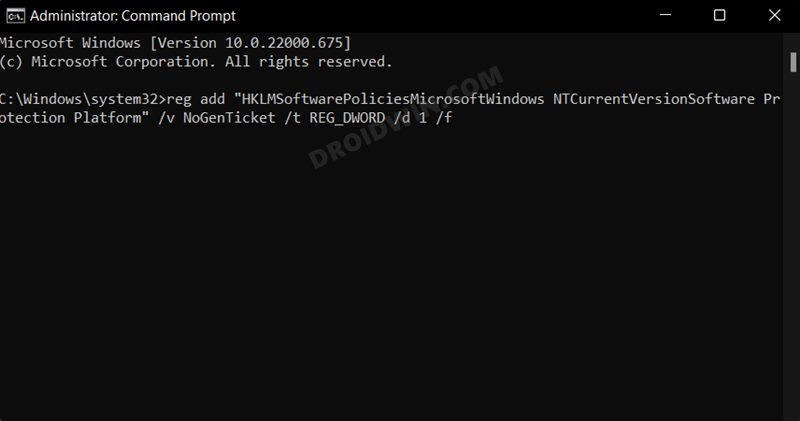
- Launch Command prompt as an administrator.
- Then copy-paste the below command and hit Enter.
reg add "HKLMSoftwarePoliciesMicrosoftWindows NTCurrentVersionSoftware Protection Platform" /v NoGenTicket /t REG_DWORD /d 1 /f
- Finally, restart your PC and you will no longer get license prompts.
That’s it. These were the five different methods that shall help you stop the “Your Windows license will expire soon” message on your Windows 11 PC. If you have any queries concerning the aforementioned steps, do let us know in the comments. We will get back to you with a solution at the earliest.


anime
FIX 3: Korištenje pravila grupe, mi je stvarno pomoglo. Hvala na pomoći samo je krenulo neprekino dolaziti ta poruka.