In this guide, we will show you various methods to fix the Spotlight/Lock Screen Image not working issue on your Windows 11 PC. Windows provides a slew of customization options for your lock screen. These include the likes of setting a lock screen status (calendar/weather/mail) or personalizing it via a custom image, a slideshow, or the Spotlight. As far as the latter one is concerned, Microsoft brings curated images from different genres, and along with that, gives a slight description of that image.
You could further interact with these images upon clicking on its description (and subsequently entering the lock screen password). However, many users aren’t able to make full use of these features. A slew of complaints is lined up across Microsoft Forums where users have voiced their concern that the Spotlight/Lock Screen Image is not working on their Windows 11 PC. If you also getting bugged with this issue, then this guide is here to help you out. Follow along for the instructions.
Table of Contents
How to Fix Windows 11 Spotlight (Lock Screen Image) Not Working
Do note that there’s no universal fix as such. You will have to try out each of the below-mentioned workarounds and then see which one works out in your favor. So with that in mind, let’s get started.
FIX 1: Re-Enable Spotlight
To begin with, you should consider disabling and then re-enabling the Spotlight feature. Doing so will give it a fresh instance to work upon and this, in turn, might fix the underlying issue as well. So let’s put it to the test right away.
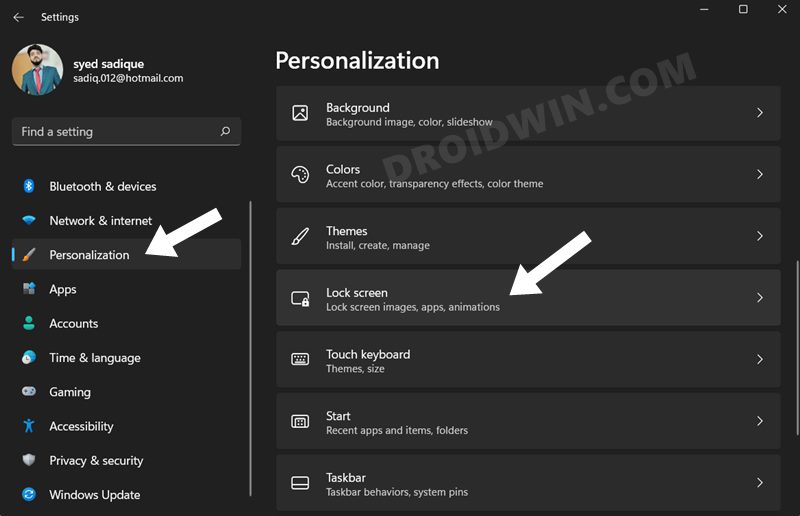
- To begin with, use the Windows+I shortcut keys to open the Settings menu.
- Then select Personalization from the left menu bar and go to the Lock Screen section.

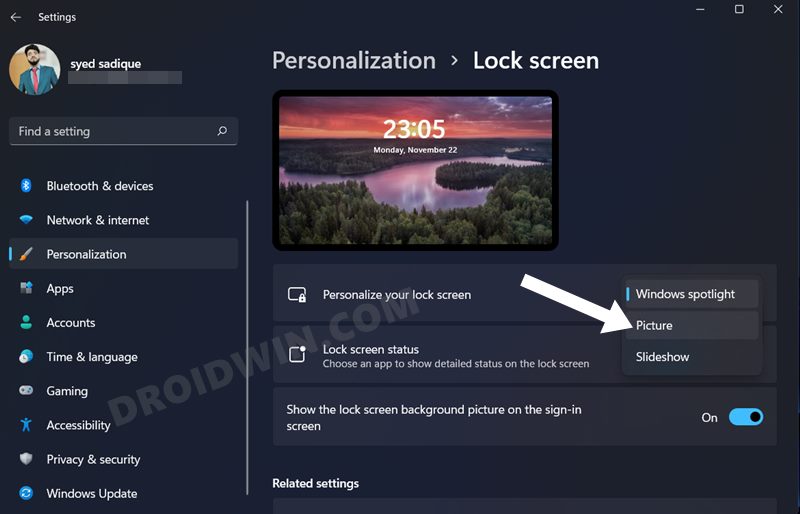
- Now click on Spotlight drop-down menu and select Picture for the time being.
- Then wait for a few seconds and switch back to Spotlight.
- Check if it manages to fix the Spotlight/Lock Screen Image not working issue on Windows 11.
FIX 2: Use System Maintenance Troubleshooter
This troubleshooter app is used to perform system maintenance tasks such as cleaning up unused files and shortcuts. Apart from that, it also performs a check on the system apps, scans for underlying issues, and then rectifies them accordingly. And in the current scenario, it could definitely prove to a be helping hand. So let’s try it out:
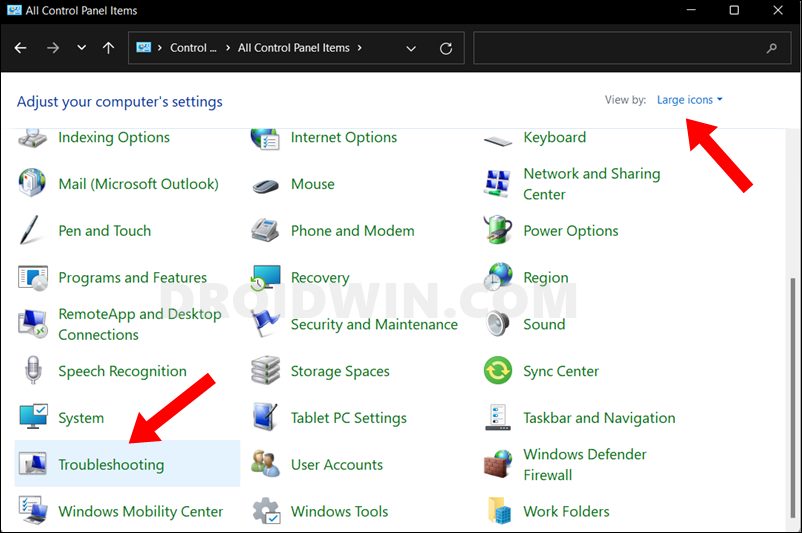
- Start off by opening the Control Panel from the Start Menu,
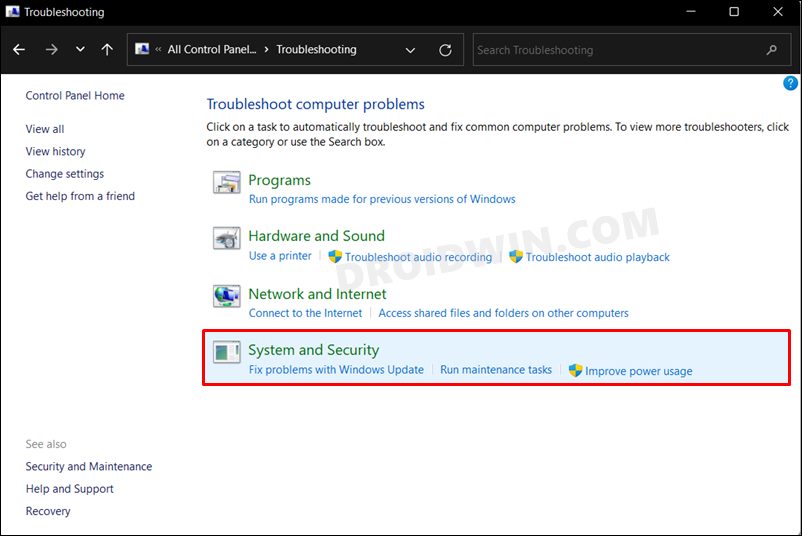
- Then change the View by to Large icons and then select Troubleshooting.
- After that, click on System and Security.
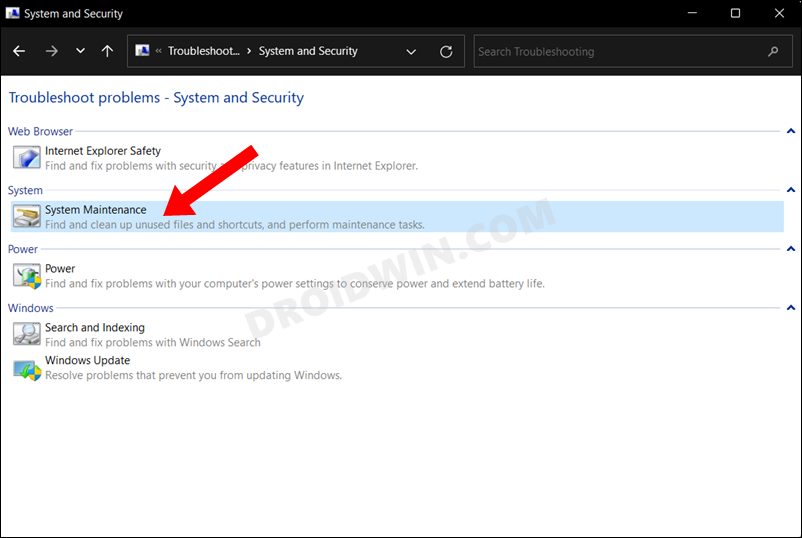
- Next up, click on System Maintenance.
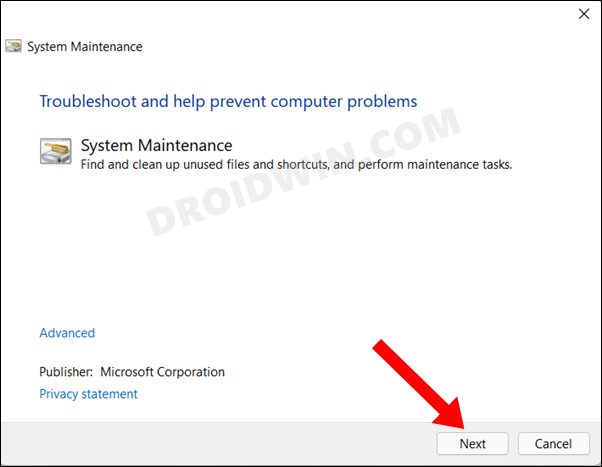
- Now click on the Start button to initiate the process. Once the scanning is complete, it will bring up the associated fixes.
- You just need to click on the fix to implement it and then restart your PC for it to become active.
- Once your PC boots up, verify if the Spotlight/Lock Screen Image not working issue on Windows 11 stands fixed or not.
FIX 3: Delete Spotlight Cache
If a lot of temporary data gets accrued over the due course of time, then it might conflict with the proper functioning of the app. Therefore, it is recommended to delete these cached files, which could be done as follows:
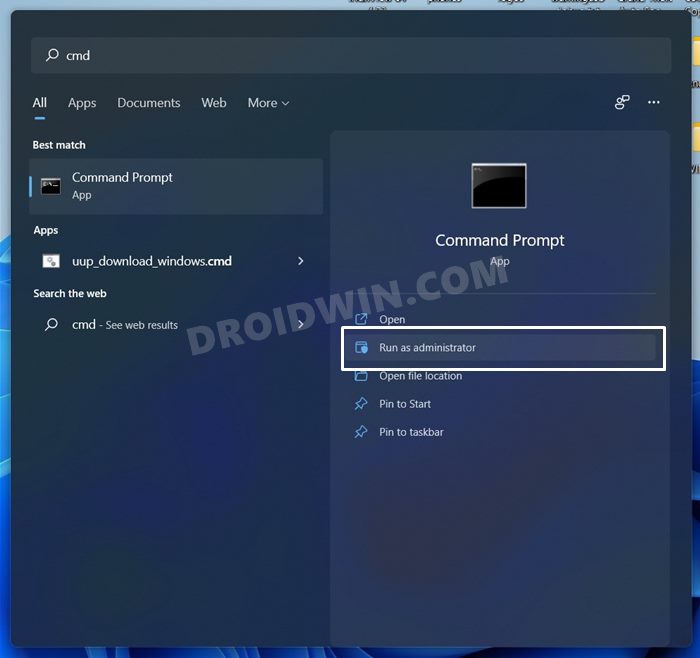
- Head over to the Start Menu, search Command Prompt, and launch it as an administrator.
- Then execute the following two commands in this CMD window (one at a time):
DEL /F /S /Q /A "%USERPROFILE%/AppData\Local\Packages\Microsoft.Windows.ContentDeliveryManager_cw5n1h2txyewy\LocalState\Assets"
DEL /F /S /Q /A "%USERPROFILE%/AppData\Local\Packages\Microsoft.Windows.ContentDeliveryManager_cw5n1h2txyewy\Settings"
- Now check if it fixes the Spotlight/Lock Screen Image not working issue on Windows 11.
FIX 4: Use SFC and DISM Commands
System File Checker and Deployment Image Servicing and Management are two command-line utility tools that scan for the corrupt Windows files and then replace them with their working counterpart. The major difference between the two is whereas the SFC replaces the corrupt files with the working ones from the cached directory on your PC, DISM does so by downloading the working files from the online Microsoft servers. And as of now, we would be making use of both these tools to fix the underlying issue. Follow along.
- To begin with, right-click on the Start Menu and select Windows Terminal (Admin).
- Then click on the down arrow present next to the new tab icon and select Command Prompt from the list.
- Once the CMD window is opened, copy-paste the below command to open the SFC Tool:
sfc /scannow
- Once the SFC Scanning is complete, it’s time to use the DISM Tool. So copy-paste the below command:
DISM /Online /Cleanup-Image /RestoreHealth

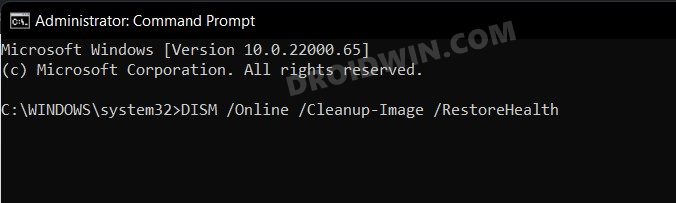
Once DISM finishes the scanning, it is recommended to reboot your PC. Once it boots up, check if the Spotlight/Lock Screen Image not working issue on Windows 11 has been fixed or not.
FIX 5: Delete Spotlight Assets
After every display of a Spotlight image, the app generates a temporary resource file. In case any of these files gets corrupted, then it could have a negative impact on the functioning of the lock screen image. The only way out is to delete all these resource files and let it generate them from scratch. Here’s how:
- To begin with, disable Spotlight via Settings > Personalization > Lock Screen > Select Picture.
- Then open the File Explorer via the Windows+E shortcut key combination.
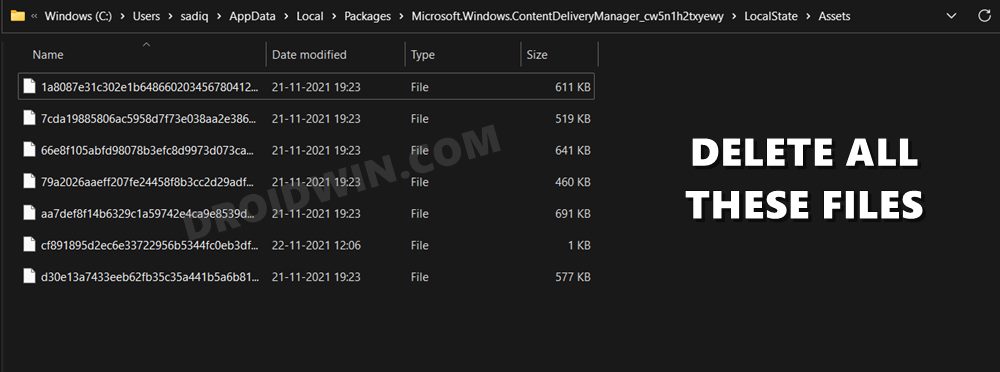
- Now copy-paste the below location in the address bar and hit Enter. Make sure to replace the USERNAME keyword accordingly.
C:\Users\<USERNAME>\AppData\Local\Packages\Microsoft.Windows.ContentDeliveryManager_<Package ID>\LocalState\Assets
- Use the Ctrl+A shortcut keys to select all the files inside this Asset folder and hit the Delete key to remove them.
- Once that is done, restart your PC and check if the Spotlight/Lock Screen Image not working issue on Windows 11 has been fixed or not.
FIX 6: Re-Register Spotlight App
If none of the aforementioned methods managed to spell out success, then you should consider re-registering the app onto your PC. This is is along the lines of a factory resetting the app, which will bring all its settings back to its factory default state. So refer to the below instructions to try it out:
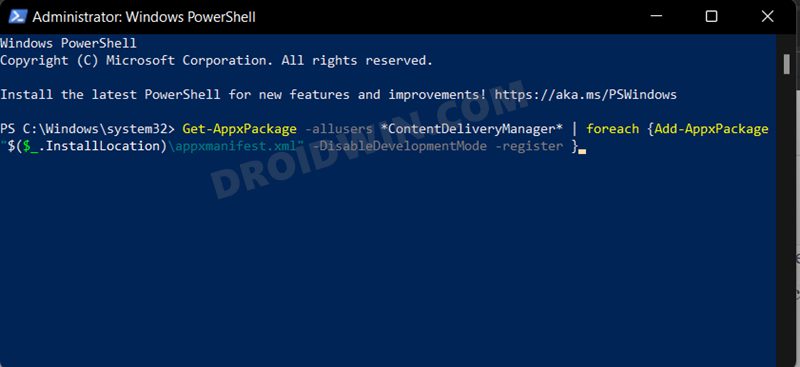
- Head over to the Start Menu, search Powershell, and launch it as an administrator.
- Then copy-paste the below location in this window and hit Enter:
Get-AppxPackage -allusers *ContentDeliveryManager* | foreach {Add-AppxPackage "$($_.InstallLocation)\appxmanifest.xml" -DisableDevelopmentMode -register } - Now restart your PC and when it boots up, the underlying issue should be fixed.
So with this, we round off the guide on how you could fix the Spotlight/Lock Screen Image not working issue on your Windows 11 PC. We have listed six different methods for the same. Do let us know in the comments which method spelled out success for you. Likewise, all your queries are welcomed in the comments section.