In this guide, we will show you various methods to fix the Start Menu not working issue on your Windows 11 PC. With the eleventh iteration of the OS, one of the major talking points was the plethora of UI tweaks that the Silicon Valley giants had introduced. The new icon sets, Settings menu, and the revamped Start Menu managed to catch everyone’s attention. Talking about the latter one, it ended up receiving mixed reviews.
While it was praised for its redesigned new look, the introduction of the Recommendation section (and more importantly the inability to remove it) infuriated quite a few users. However, that isn’t the only issue bugging the users. Few users have raised their concerns that they are unable to access the Start Menu. Others have said that it only appears for a second or two before going back to the shell.
Likewise, some have said that as soon as they invoke the Start Menu, it tends to crash the System UI. While these issues are nod out quite worrisome, fortunately, there do exist a few tweaks that have managed to rectify them. And this guide shall make you aware of just that. So without further ado, let’s get started with the instructions to fix the Start Menu not working issue on your Windows 11 PC.
Table of Contents
How to Fix Windows 11 Start Menu Not Working
First off, if you are still on Windows Update KB5004300, then make sure to update your PC to the latest build right away (via Settings > Windows Update ). This is because the KB5004300 update ended up broking the Start Menu and Taskbar functionalities.
However, if you are on the latest build, then proceed ahead with the rest of the methods. Talking about which, do note that there’s no universal fix as such. You will have to try out each of the below-mentioned workarounds and then see which one gives out the best result. So with that in mind, let’s get started.
FIX 1: Restart Windows Explorer
Windows Explorer houses the Taskbar, Start Menu, and other related components like Action Center. So in case, there’s an issue with the Explorer, then the Start Menu is bound to be among the suffering parties. Therefore, you should consider restarting Windows Explorer, which could be done as follows:
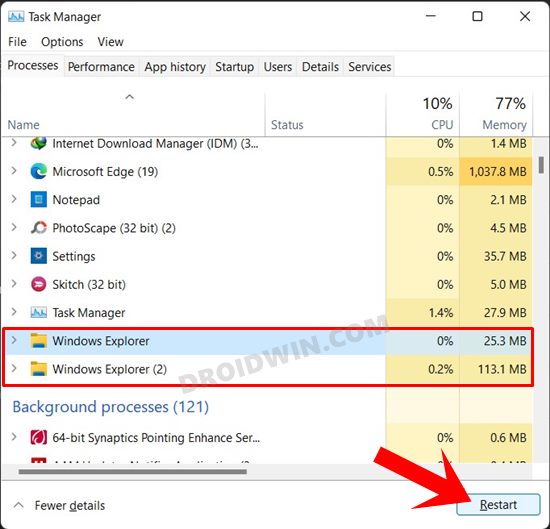
- Use the Ctrl+Shift+Esc shortcut keys to open Task Manager.
- Then go to the Processes tab and select Windows Explorer.
- Now click Restart from the bottom menu bar.
If there’s more than one instance of Windows Explorer, then make sure to restart all of them, one at a time. Once they are restarted, which should only take a couple of seconds, verify if the Start Menu not working issue is fixed or not on your Windows 11 PC.
FIX 2: Restart Start Menu Services
For the Start Menu to be working along the expected lines, all its background services and processes need to be working well and good as well. If there’s an issue with any of these services, then its negative consequences will be felt by the Start Menu. So the best route forward is to restart all these services, which could be done as follows:
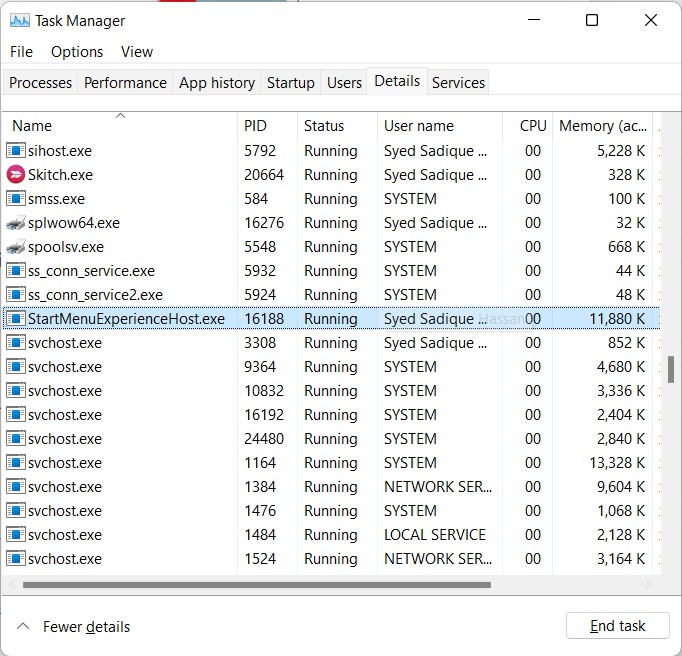
- Use the Ctrl+Shift+Esc shortcut keys to open Task Manager.
- Then go to the Details tab and select the StartMenuExperienceHost.exe Service.
- Now hit the End Task button situated at the bottom right.
- Finally, restart your PC and then check if the Windows 11 Start Menu not working issue has been fixed or not.
FIX 3: Using Microsoft Start Menu Troubleshooter App
Back in 2019, Windows released a feature update that ended up breaking the Start Menu. To rectify this issue, they released the Start Menu Troubleshooter App. And this is what we will be using right now as well.
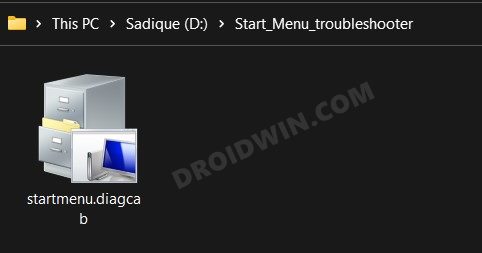
- So start off by downloading the tool: Microsoft Start Menu Troubleshooter App.
- Then extract it to any convenient location on your PC.

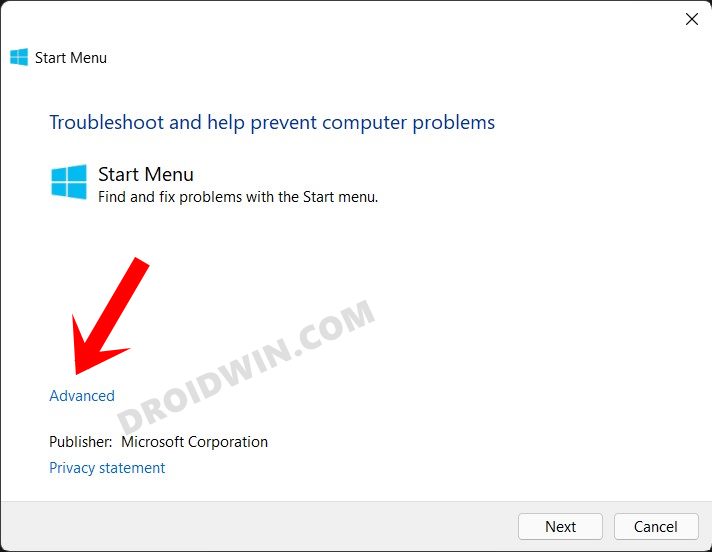
- Now double-click on the startmenu.diagcab file to open the app.
- Next up, click on Advanced.
- After that, enable the ‘Apply repairs automatically’ option and click Next.
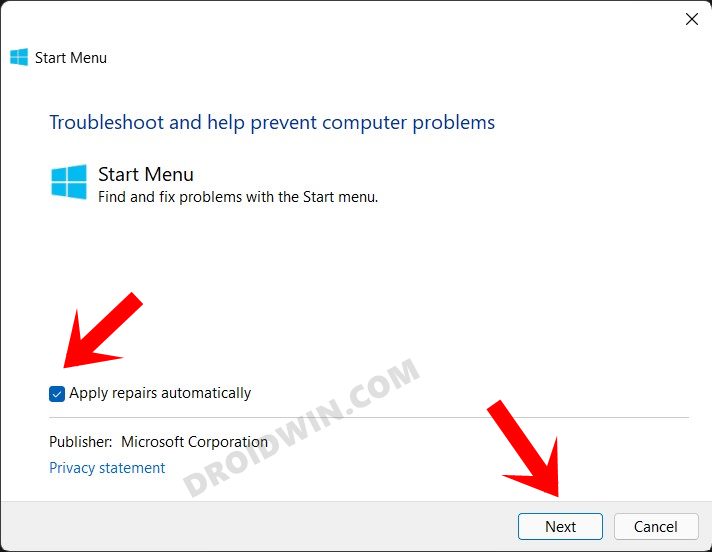
The troubleshooter app will now scan for the issues and should fix them as well. Once done, reboot your PC and see whether the Windows 11 Start Menu not working issue has been fixed or not.
FIX 4: Using DISM and SFC Commands
System File Checker and Deployment Image Servicing and Management are two command-line utility tools that scan for the corrupt Windows files and then replace them with their working counterpart. The major difference between the two is whereas the SFC replaces the corrupt files with the working ones from the cached directory on your PC, DISM does so by downloading the working files from the online Microsoft servers. And as of now, we would be making use of both these tools to fix the underlying issue. Follow along.
- To begin with, right-click on the Start Menu and select Windows Terminal (Admin).
- Then click on the down arrow present next to the new tab icon and select Command Prompt from the list.
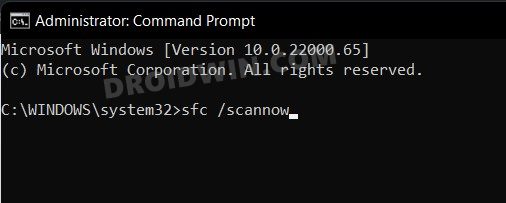
- Once the CMD window is opened, copy-paste the below command to open the SFC Tool:
sfc /scannow
Once the SFC Scanning is complete, it’s time to use the DISM Tool. So copy-paste the below command:
DISM /Online /Cleanup-Image /RestoreHealth
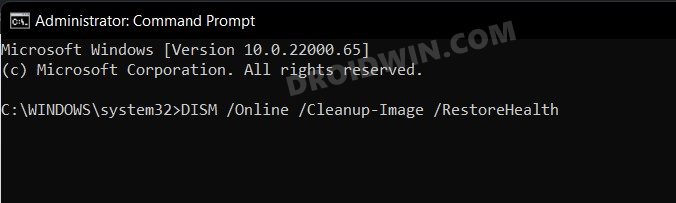
Once DISM finishes the scanning, it is recommended to reboot your PC. Once it boots up, check if the Start Menu not working issue on Windows 11 has been fixed or not.
FIX 5: Uninstall Third-Party Taskbar/Start Menu Hacks
Since the OS is still in its ‘initial’ stable release, there are quite a few rough edges features. These include the missing drag and drop functionality, no clock in the second display, and the unnecessary Recommended section in the Start Menu.
To overcome all these, users have opted for various different types of third-party taskbar tweaks and customizations. However, these add-ons might conflict with the Start Menu and hence you should consider uninstalling them via the Control Panel.
FIX 6: Rebuild Search Index
The Start Menu comes baked in with a universal search bar. And issues with this Search bar, such as its database getting corrupted, have been known to cause a few problems to the Start Menu. Therefore, you should consider rebuilding its index database from scratch so that it is able to carry out its search functionality without any problems. This in turn will end up benefiting the Start Menu itself. So proceed ahead with the below instructions to carry out this task:
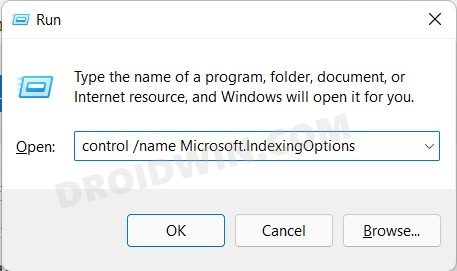
- Bring up the Run dialog box via Windows+R shortcut keys.
- Then type in the below command and hit Enter:
control /name Microsoft.IndexingOptions
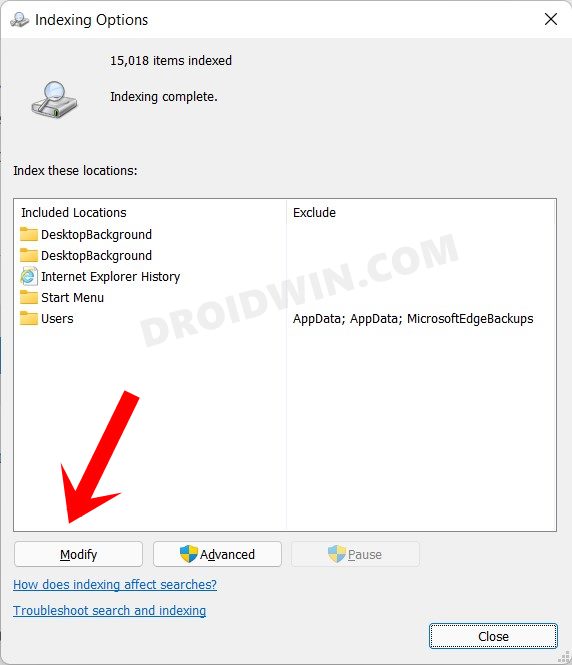
- Now click on the Modify button situated at the bottom left.
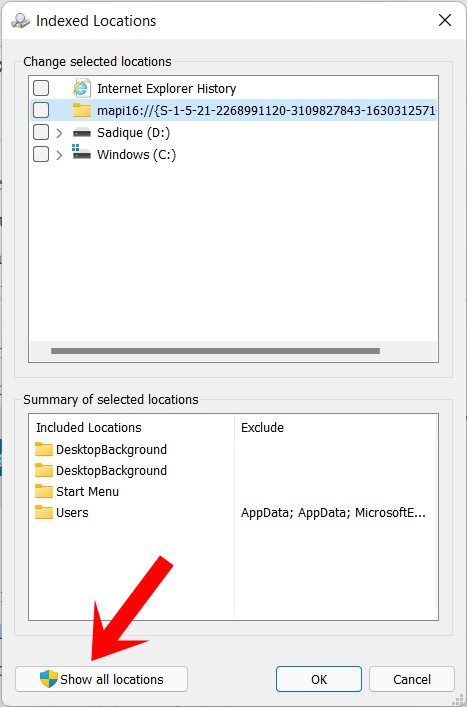
- After that, click on the Show all locations button.
- Now uncheck all the locations from the list and click OK.
- Next up, click on Advanced followed by Rebuild.
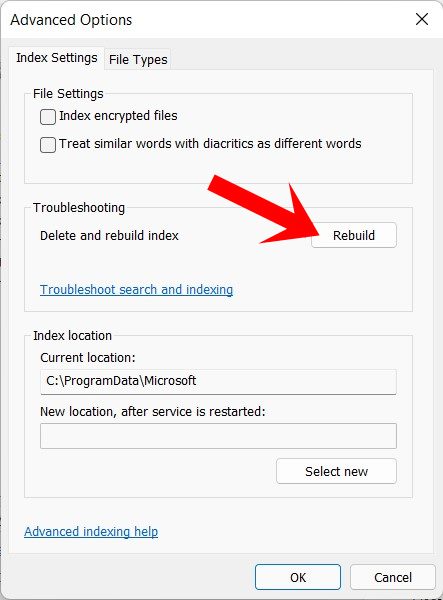
Windows will now start re-building the Search index database. Once done, it is recommended to restart your PC. After it boots up, verify whether the Windows 11 Start Menu issue is fixed or not.
FIX 7: Update Graphics Drivers
If you are using old or outdated graphics drivers, then they could have an adverse impact on various Windows UI elements, including the Start Menu. Therefore, it is recommended to update these drivers to the latest build, which could be done as follows:
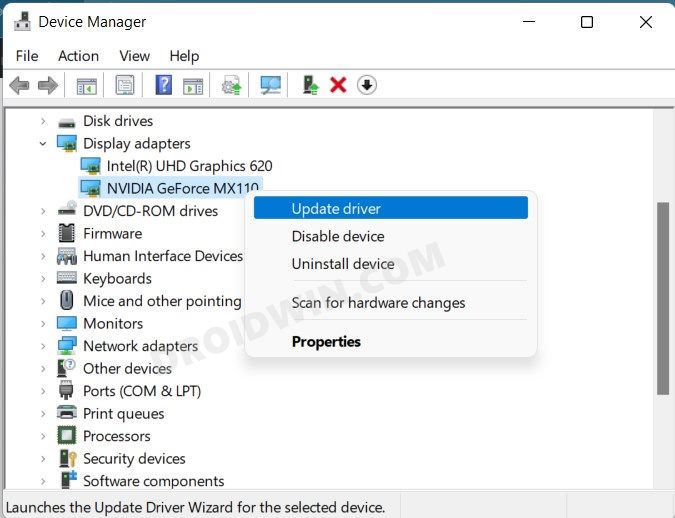
- Use the Windows+X shortcut keys and select Device Manager from the menu that appears.
- Then expand the Display Adapters section, right-click on your graphics card, and select Update Drivers.
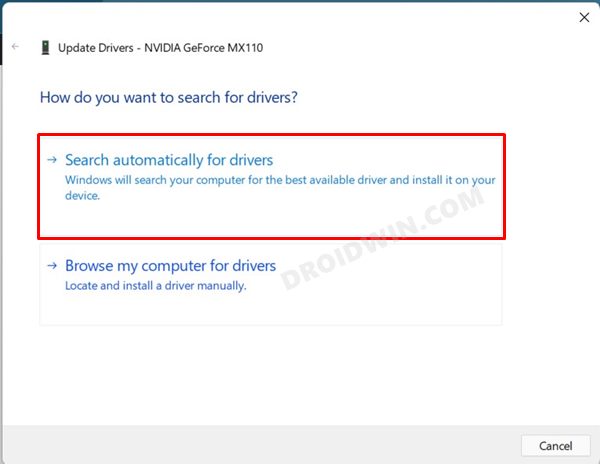
- Now select Search Automatically for updated drivers.
- Windows will now search online for the latest drivers, and would subsequently download and install them.
Once the installation is complete, restart your PC. Then check if it manages to fix the Start Menu not working issue on your Windows 11 PC.
FIX 8: Restart Iris Service
While there’s still a cloud of uncertainty surrounding the actual purpose of this service, but more often than not, re-installing proves to be sufficient when it comes to rectifying Start Menu and Taskbar issue.
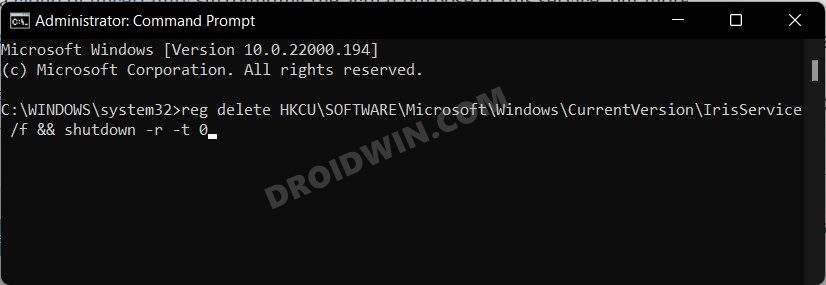
- So head over to the Start Menu, search CMD, and launch the Command Prompt as an administrator.
- Now type in the below command and hit Enter. This command will uninstall the Iris Service, restart your PC, and then re-install the service, all on its own:
reg delete HKCU\SOFTWARE\Microsoft\Windows\CurrentVersion\IrisService /f && shutdown -r -t 0

- As mentioned before, your PC will now undergo a restart, and upon booting up, it should automatically install the Iris Service. Once installed, check if the Windows 11 Taskbar not working issue is fixed or not.
FIX 9: Re-Install Start Menu Packages
For the proper functioning of the Start Menu, it is extremely important that all its packages are working along the expected lines. If any of them gets corrupted, then the Start Menu might not respond to your clicks or the keyboard button presses. In this regard, manually finding the corrupt package might be like finding a needle in the haystack, so let’s a shorter approach and re-install all these packages.
- To do so, launch the Command Prompt window as an admin and execute the below command in it:
Get-appxpackage -all *shellexperience* -packagetype bundle |% {add-appxpackage -register -disabledevelopmentmode ($_.installlocation + “\appxmetadata\appxbundlemanifest.xml”)} - Once that is done, it is advised that you rebuild the Search index as well, as mentioned in FIX 6 [ Run > control /name Microsoft.IndexingOptions > Modify > Show all Locations > Uncheck All Locations > Advanced > Rebuild].
FIX 10: Disable Start Menu ‘XAML’ process
If you have carried out any Start Menu tweaks or registry editor hacks, then it might have enabled the Start Menu XAML process. So you should consider disabling it, which could be done as follows:
- Use the Windows+R shortcut keys to open the Run dialog box.
- Then type in the below command to open the Registry Editor.
regedit
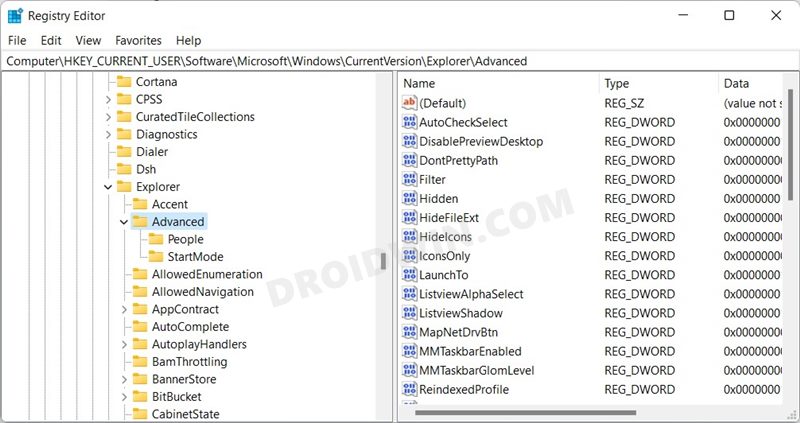
- Now copy-paste the below location in the Registry Editor’s address bar:
HKEY_CURRENT_USER\Software\Microsoft\Windows\CurrentVersion\Explorer\Advanced
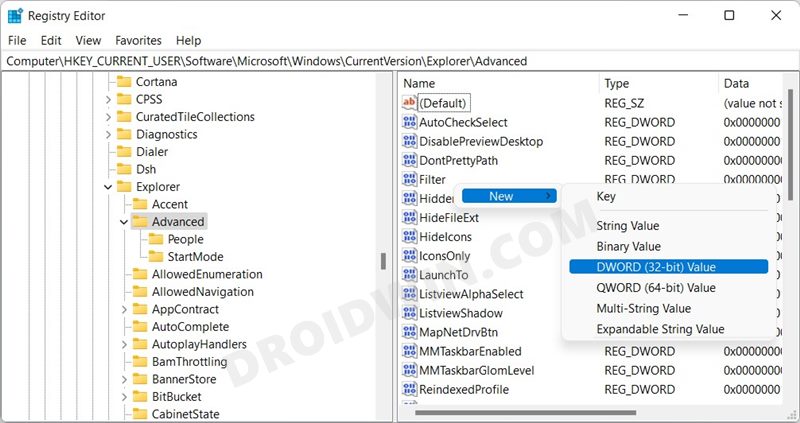
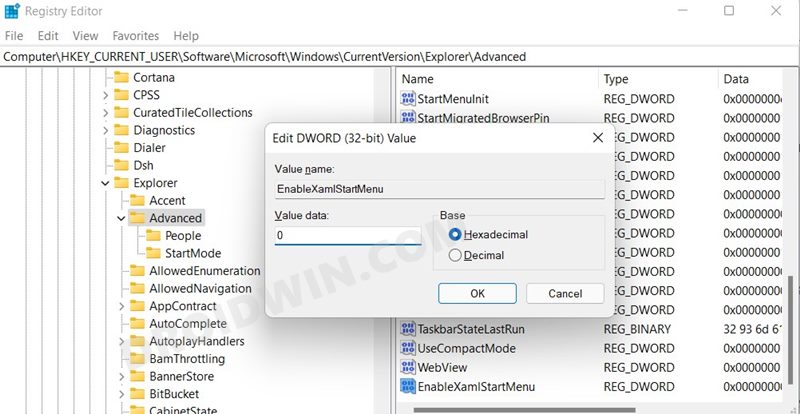
- Now right-click on an empty area on the right-hand side, select New > DWORD (32-bit value) and name it EnableXamlStartMenu.
- Then double click to open this file and assign 0 in the Value Data field.
With this, the Start Menu XAML process stands disabled. Verify if it ends up fixing the Windows 11 Taskbar not working issue as well.
FIX 11: Create a New Local Account
Some users were able to rectify this issue only after creating a new Local Account and then accessing the Start Menu via it. After that, they transferred all their data from their original account over to this newly created Local Account. While this calls for quite a lot of effort, but it might prove to be worth the investment. So let’s give it a shot.
- To begin with, launch the Command Prompt window as an admin.
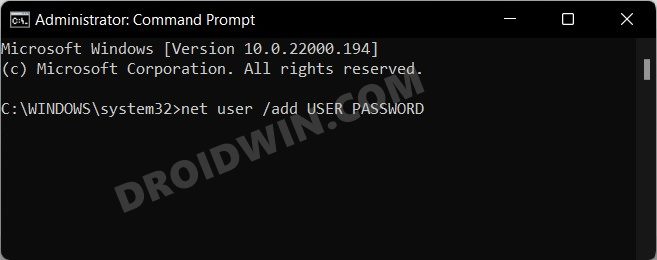
- Then type in the below command and hit Enter. Make sure to replace the USER and PASSWORD keywords as per your requirement.
net user /add USER PASSWORD
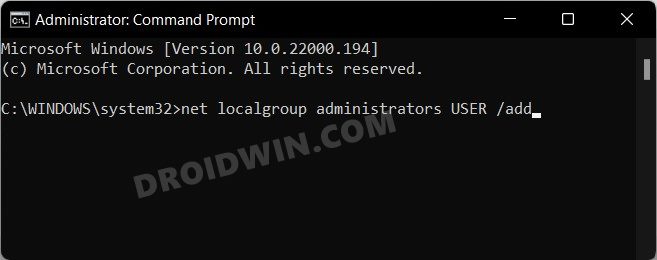
- After that, execute the below command. Again, replace the USER keyword accordingly.
net localgroup administrators USER /add
- Once that is done, restart your PC and log in to the newly created Local Account.
- That’s it. The Start menu should be working normally now. If you wish to copy your data from your primary account over to this local account, then launch File Explorer via Windows+E shortcut keys and head over to C:\Users.
- Here you will find both your Primary Account and Local Accounts, Copy the desired data from the primary account and send it to the local one.
So with this, we round off the guide on how you could fix the Windows 11 Start Menu not working issue. We have shared eleven different methods for the same. Do let us know in the comments section which method worked out in your favor. Likewise, all your queries are welcomed in the comments below.


