In this guide, we will show you the steps to add custom fonts on your Android device without using any Magisk module. One of the biggest perks of having an open-source ecosystem like Android is the plethora of customization options that it holds up its sleeves. Right from tweaking the UI/UX of the OS via modules like Project Themer and Iconify to adding new features to your device via AOSP Mods, the possibilities stand endless.
Along the same lines, you also have the option to change the default font style on your Android device. While most OEMs like OnePlus and Samsung treat it as a basic feature, for Pixel users, it’s still a luxury as Google seems to have no intention of proving this functionality. Well, that isn’t an issue as we will show you a nifty method through which you could add custom fonts on your Android device without using any Magisk module. So without further ado, let’s get started.
Add Custom Fonts on Android without using any Magisk Module!

Note: If you want to do the below task via a module, then check out this guide instead: How to Change Font/Apply Custom Font in Android via Magisk Module.
- Download the desired fonts.ttf and rename it to Roboto-Regular.ttf.
- Then root your device via Magisk.
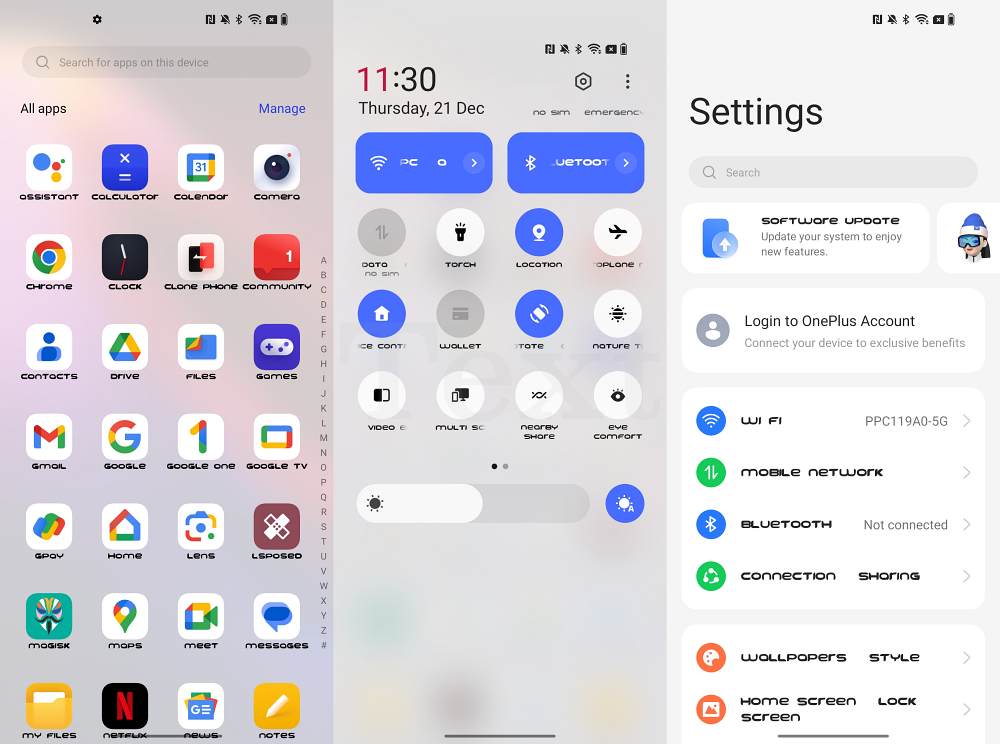
- Then download and install a root-supported file manager app like Solid Explorer.
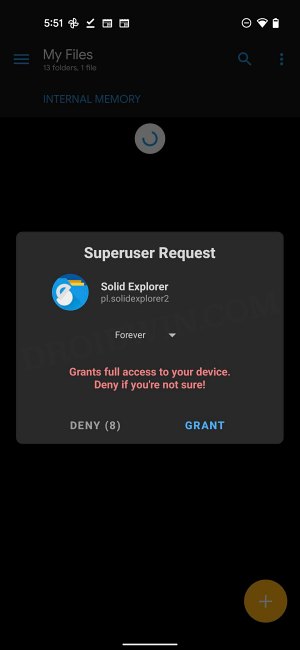
- Now launch it, tap on the hamburger menu, and select the Root directory.

- You’ll get a Magisk prompt on your device, tap Grant.
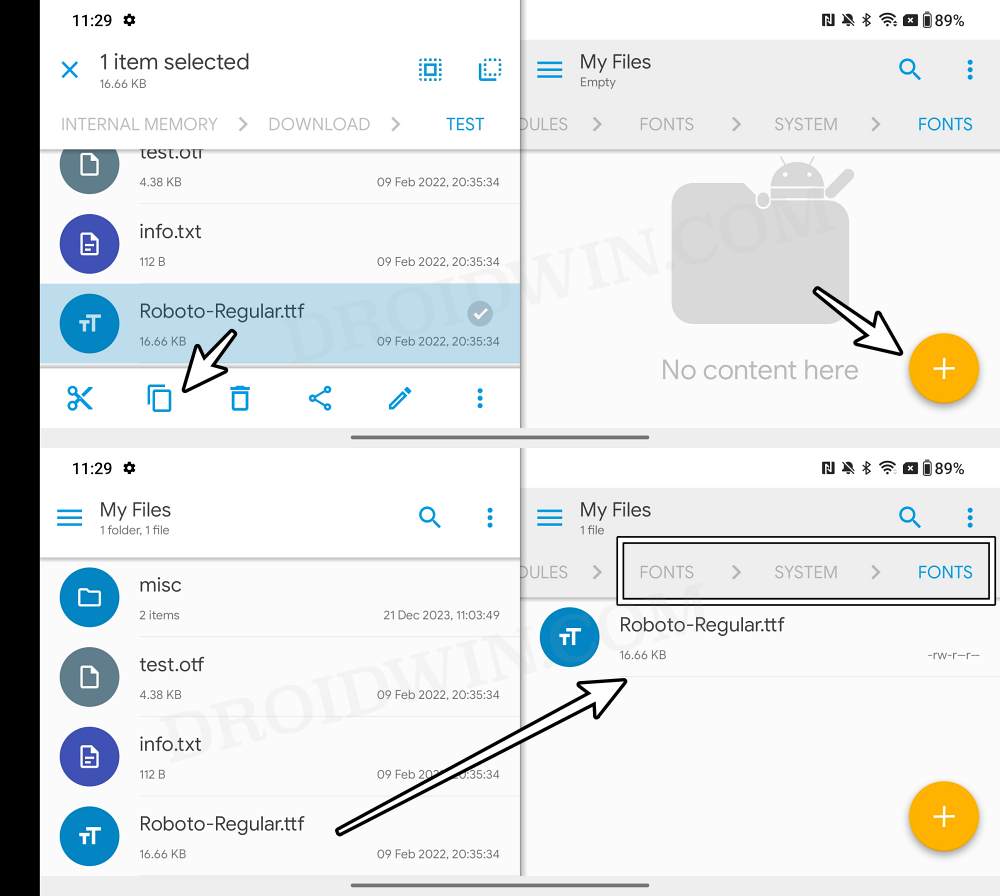
- Then head over to /data/adb/modules directory.
- Now tap on the overflow icon and select New Folder. Name it Fonts.
- Inside Fonts, create a new folder named System.
- Then inside System, create a new folder named Fonts.
- Finally, place the downloaded fonts.ttf file inside this folder and restart your device.
- To make the font bold, just add the ‘Bold’ keyword to its name.
- For instance, to make the Roboto-Regular.ttf font bold, rename it to Roboto-Bold.ttf.
That’s it. These were the steps to add custom fonts on your Android device without using any Magisk module. If you have any queries concerning the aforementioned steps, do let us know in the comments. We will get back to you with a solution at the earliest.


