In this guide, we will show you the steps to fix the issue of Google Pay not working on OnePlus devices running OxygenOS 13 based on Android 13. The thirteenth iteration of the OS build has bought a slew of intriguing goodies and some noteworthy features to the fore. Not to mention the fact that you are now closer to ColorOS and farther away from OxygenOS than ever before.
However, that isn’t the only point of concern. Numerous users have also voiced their concern that Google Pay is no longer working on their OnePlus running OxygenOS 13 based on Android 13. As far as the culprit behind this bug is concerned, it is attributed to the Multiple Users feature of OnePlus. So, if you had more than one main user before updating to OxygenOS 13 (Work Profile, Guest, Other Users), then things are bound to go south.
When you use the cloning feature to create clones of apps on your device, then it tends to create a new userspace [user -999]. And this new user profile ends up creating a new Google Mobile Service package, which tends to conflict with the original GMS associated with the default userspace [user-0]. So to rectify this issue, you will either have to manually delete this new userspace or the new GMS package. And in this guide, we will show you how to do just that. Follow along.
Table of Contents
Fix Google Pay not working on OnePlus Android 13 OxygenOS 13
Before starting, do note that both these fixes come with their fair share of drawbacks. If you delete the user -999 profile, then it might have an adverse impact on all the clone apps. On the other hand, if you delete the new GMS package, then the clone apps dependent on Google apps and services might not function along the expected lines. With that said, we have listed both these methods below, you may refer to the one that is in sync with your requirement.
STEP 1: Install Android SDK
First and foremost, you will have to install the Android SDK Platform Tools on your PC. This is the official ADB and Fastboot binary provided by Google and is the only recommended one. So download it and then extract it to any convenient location on your PC. Doing so will give you the platform tools folder, which will be used throughout this guide.

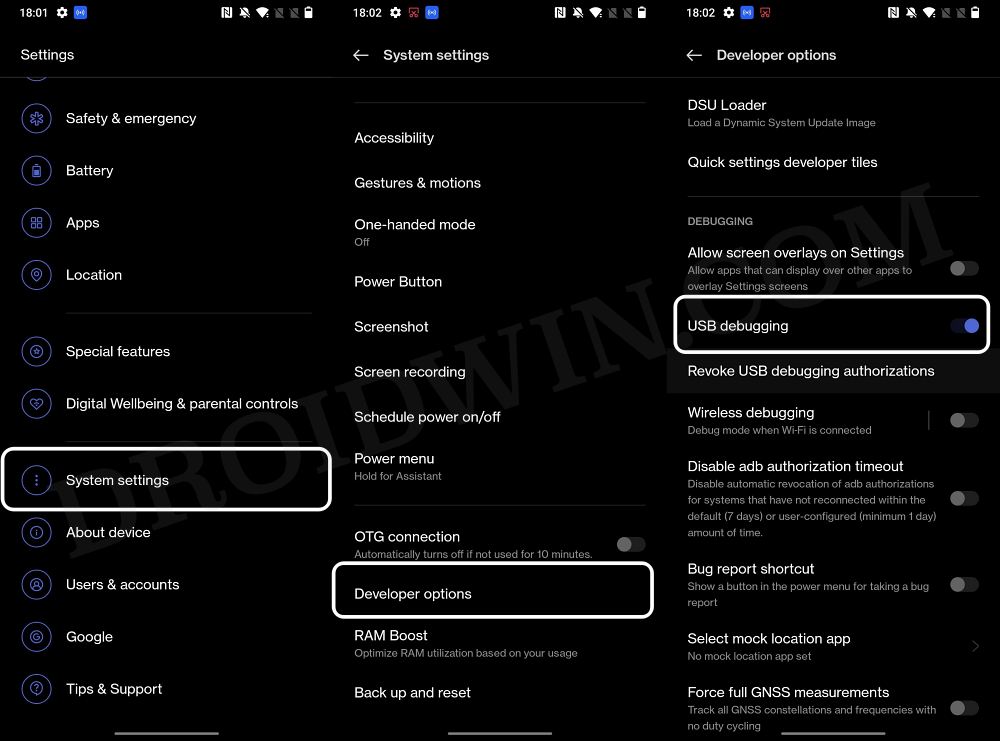
STEP 2: Enable USB Debugging
Next up, you will have to enable USB Debugging on your device so that it is recognizable by the PC in ADB mode. So head over to Settings > About Phone > Tap on Build Number 7 times > Go back to Settings > System Settings > Developer Options > Enable USB Debugging.
STEP 3: Establish ADB Shell Connection
- To begin with, connect your device to the PC via a USB cable. Make sure USB Debugging is enabled.
- Then head over to the platform-tools folder, type in CMD in the address bar, and hit Enter. This will launch the Command Prompt.

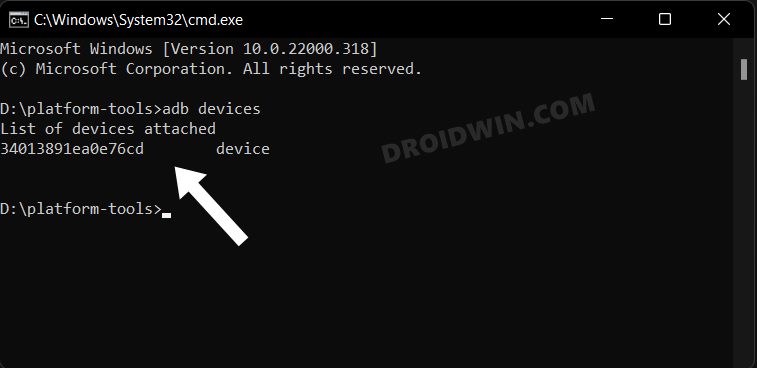
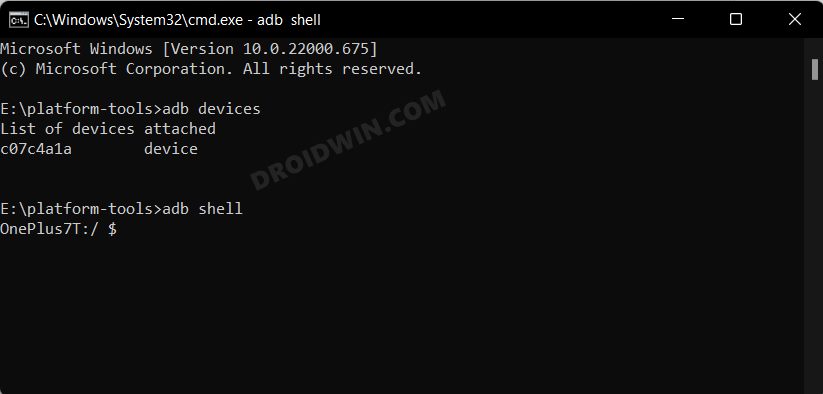
- Now in the following command in the CMD window to verify the ADB connection. If you get the device ID, then the connection stands successful.
adb devices

- Now type in the below command to open the Shell environment:
adb shell
- It will now list out your device codename, which means that the shell connection has been successfully established as well, and you are good to go ahead. [NOTE: Either try STEP 4A OR STEP 4B given below].
STEP 4A: Delete user -999 profile
- Now execute the below command to delete the user-999 profile
pm remove-user 999
- If the above command doesn’t work, then try out this one:
pm disable-user 999
STEP 4B: Delete cloned GMS package
Execute the below command to delete the cloned GMS package
pm uninstall -k --user 999 com.google.android.gms
STEP 5: Delete Play Service Data and Reinstall Google Pay
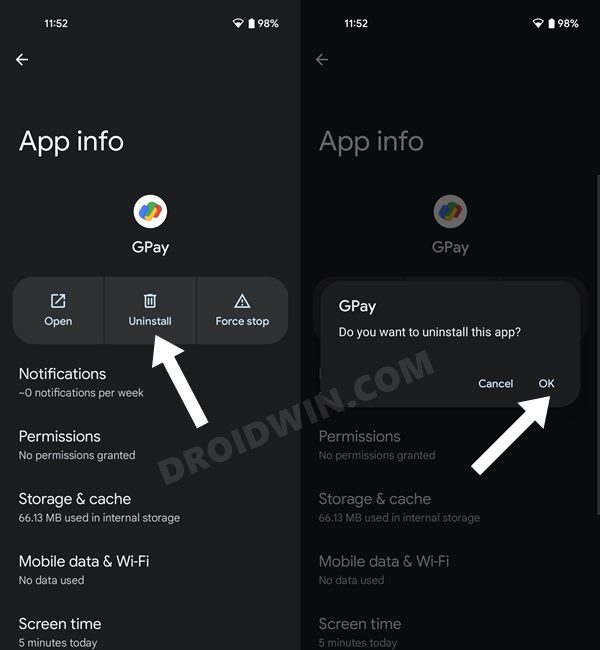
- Head over to Settings > Apps > select Google Pay and tap on Uninstall > OK.
- If Uninstall option is missing, then search Google Pay on Play Store and hit Uninstall.
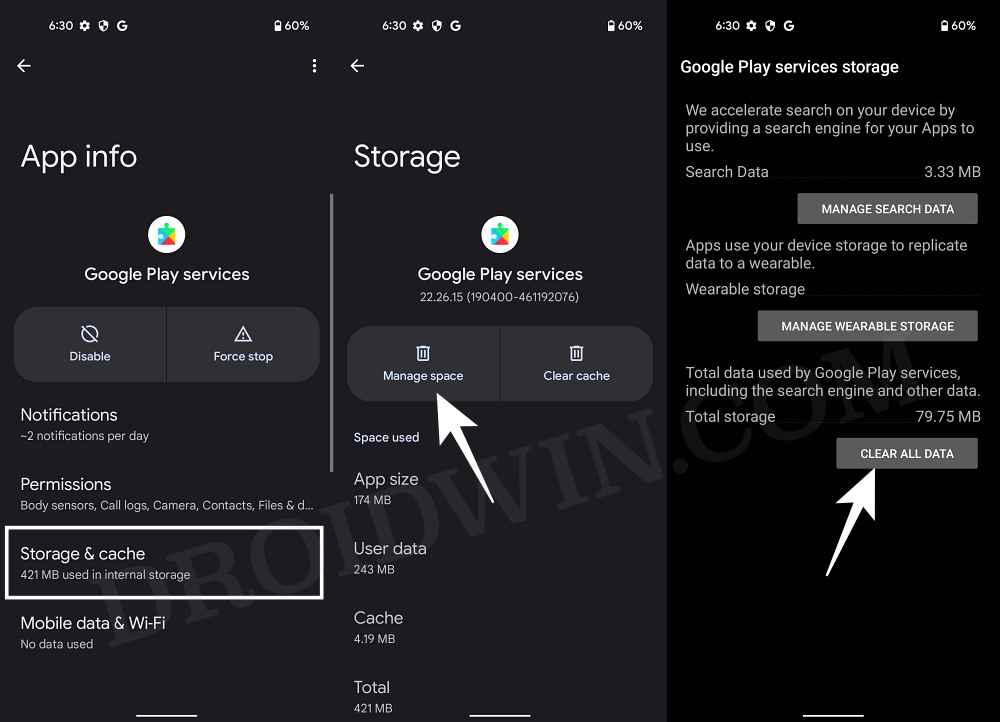
- After that, install Google Pay from Play Store. Then go to Settings > Apps > select Google Play Service.
- Then go to its Storage and Cache section and tap on Manage Space > Clar All Data.
- Finally, restart your phone and the underlying GPay issue should be resolved.
That’s it. These were the steps to fix the issue of Google Pay not working with OnePlus OxygenOS 13 based on Android 13. If you have any queries concerning the aforementioned steps, do let us know in the comments. We will get back to you with a solution at the earliest.
- Make Google Pay work on Galaxy Watch 4/5 when the Phone is rooted
- Google Pay not working in OnePlus 10 Pro [OOS 13 C.20]: How to Fix
- Google Pay ‘Your phone doesn’t meet security requirements’ error [Fixed]
- Install Google Pay/Wallet in Galaxy Watch 5/Pro in Unsupported Country
FAQ: Important Details
Here are some other crucial information that might come in handy pertaining to the subject in discussion.
List of all User Profiles
- To check the list of all the user profiles on your device, execute the below command:
pm list users
- You will get at least two user profiles, user 0 and user 999. The former is the default user profile whereas user 999 is the cloned apps profile which we had deleted [you should never delete user 0].
List of Installed apps for user 999
- You could check the list of all the installed apps that are specially linked with user-999 via the below command.
pm list packages –user 999 - This will give you an idea as to which cloned apps might be affected after uninstalling GMS or the profile altogether.
- For example, in my case, the output was the following apps:
package:com.google.android.gsf
package:com.viber.voip
package:com.android.providers.media
package:com.google.android.permissioncontroller.overlay.oplus
package:android
package:com.google.android.ext.services
package:com.google.android.webview
package:com.google.android.permissioncontroller
package:com.google.android.gms
package:com.oplus.securitypermission
Reinstall GMS
If the uninstallation of the GMS ends up doing more harm than good, then you could easily reinstall it via the below command:
pm install-existing --user 999 com.google.android.gms