In this guide, we will show you the steps to install the latest LineageOS ROM on your Galaxy Tab S8/S8+/Ultra. When it comes to the tablet domain, then there’s hardly an ota of doubt that the offering from the South Korean conglomerate is among the best in this segment. In this regard, its eighth iteration has managed to grab the attention of the masses. However, the same can’t be said for the tech enthusiast as the tablet hasn’t quite reached its full potential in custom development.
Well, this is where the role of Generic System Images comes into the picture. Since the Galaxy Tab S8/S8+/Ultra is Project Treble compatible, you could easily welcome abode the latest LineageOS 20 based on Android 13. This in turn will give you the perfect opportunity to break free from the shackles of the One UI and try out a clean, stock, and snappy OS experience with just the required features. So on that note, let’s make you aware of the installation steps.
Table of Contents
Install LineageOS 20 on Galaxy Tab S8/S8+/Ultra

The below process will wipe off all the data from your device, so please take a complete device backup beforehand. Moreover, make sure that you are on the latest Android 13 firmware. Droidwin and its members wouldn’t be held responsible in case of a thermonuclear war, your alarm doesn’t wake you up, or if anything happens to your device and data by performing the below steps.
STEP 1: Install Android SDK
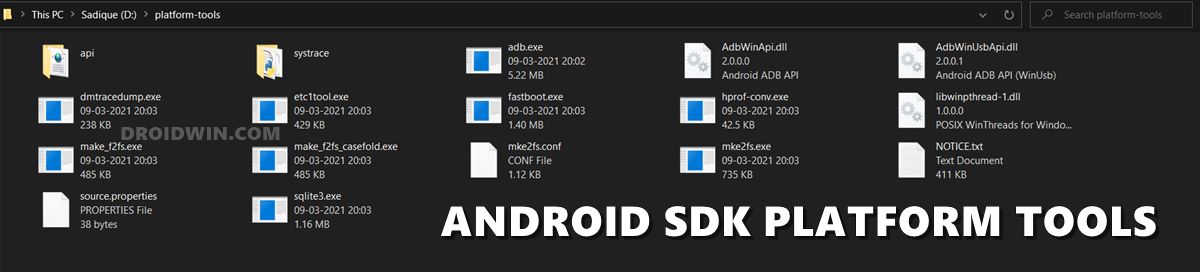
First and foremost, you will have to install the Android SDK Platform Tools on your PC. This is the official ADB and Fastboot binary provided by Google and is the only recommended one. So download it and then extract it to any convenient location on your PC. Doing so will give you the platform-tools folder, which will be used throughout this guide to install the LineageOS 20 ROM on Galaxy Tab S8/S8+/Ultra
STEP 2: Enable USB Debugging and OEM Unlocking
You will also have to enable USB Debugging and OEM Unlocking on your device. The former will make your device recognizable by the PC in ADB mode. This will then allow you to boot your device to Fastboot Mode. On the other hand, OEM Unlocking is required to carry out the bootloader unlocking process.
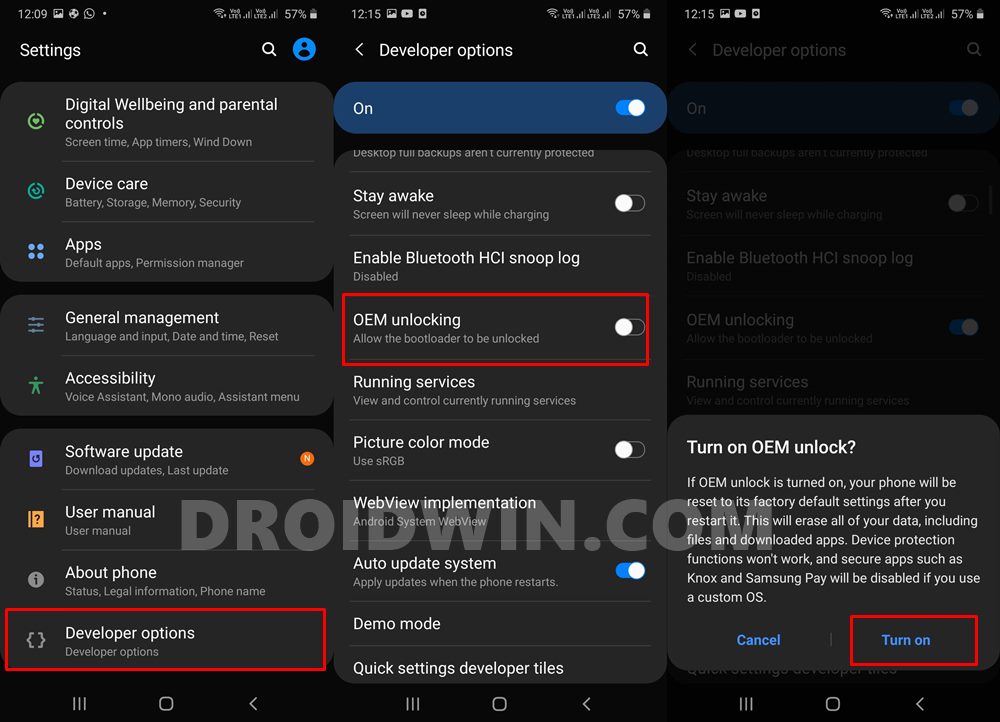
So head over to Settings > About Phone > Tap on Build Number 7 times > Go back to Settings > System > Advanced > Developer Options > Enable USB Debugging and OEM Unlocking.
STEP 3: Unlock Bootloader on Samsung
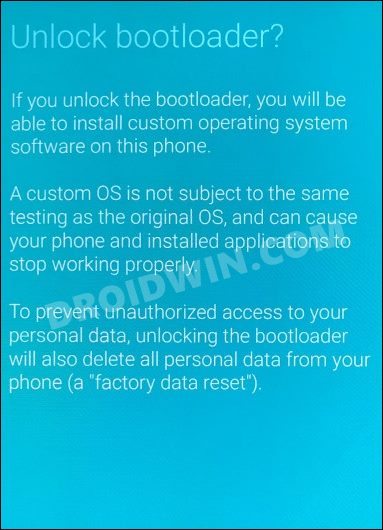
You will also have to unlock the device’s bootloader to install the LineageOS GSI ROM onto the Samsung device. Do note that doing so will wipe off all the data from your device and could nullify its warranty as well. So if that’s all and good, then please refer to our guide on How to Unlock Bootloader on any Samsung Device [New VaultKeeper Method]
STEP 4: Boot Samsung Device to Download Mode
You will have to boot your device to Download Mode so that you are able to flash the required mods. So either refer to our detailed guide on How to Boot any Samsung Device to Download Mode or refer to the below shorter instructions:
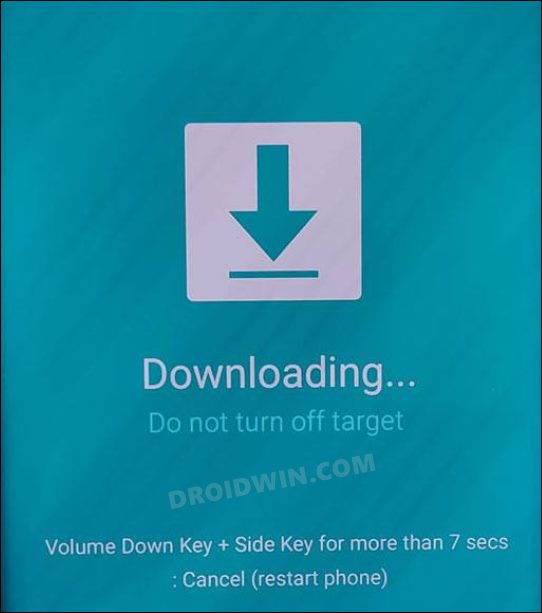
- To begin with, power off your device.
- Then press and hold the Power and Volume Up keys and your device will be booted to Stock Recovery.
- Now highlight the Reboot to Bootloader option using the Volume keys and then press the Power key to confirm it.
- Your device should now boot to the Download Mode.
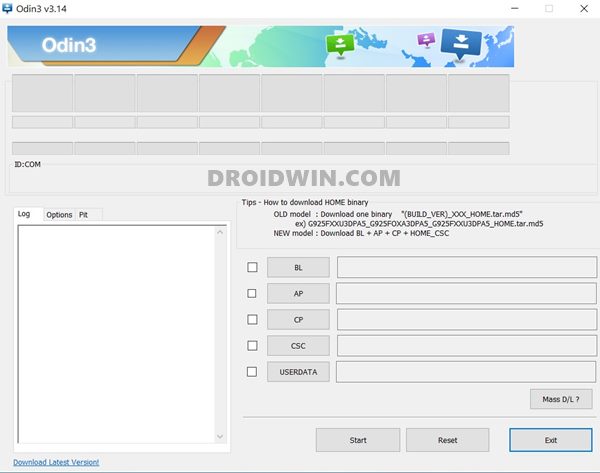
STEP 5: Install Odin
Next up, you will have to download and install the Odin Tool onto your PC. This is needed to flash the TWRP and disable AVB on your device. So get hold of the latest Odin from here: Download: Odin3-v3.14.4.zip. Once downloaded, extract it to any convenient location on your PC.
STEP 6: Download LineageOS 20 for Galaxy Tab S8/S8+/Ultra
You may now grab hold of the ROM file for your device from below:
Galaxy Tab S8/S8+/Ultra: LineageOS 20 GSI ROM
STEP 7: Disable Android Verified Boot
Next up, you will have to disable AVB on your device which would then allow you to flash the desired custom binary (in this case, TWRP).
- So start off by downloading the vbmeta_disabled.tar file onto your PC.
- Now connect your device to the PC via USB cable (make sure that it is booted to Download Mode)
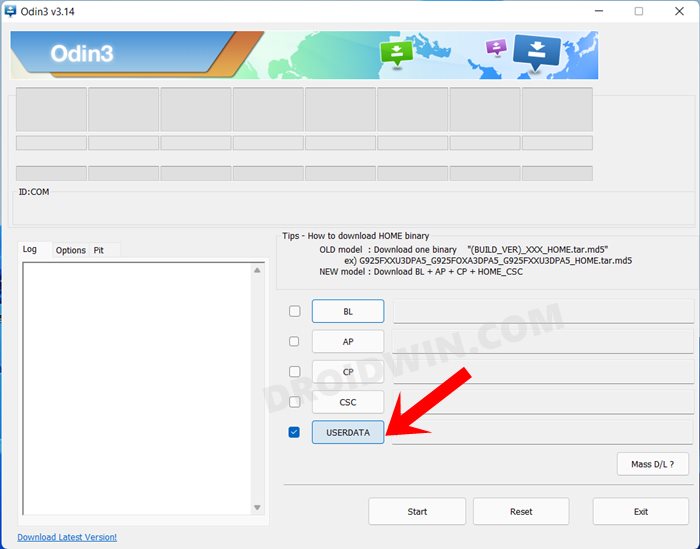
- Then launch the Odin Tool and click on the Userdata button.

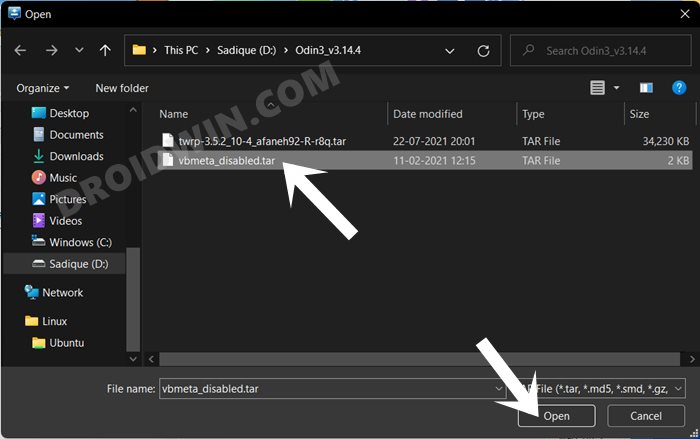
- Navigate to the vbmeta_disabled.tar file, select it and click Open.
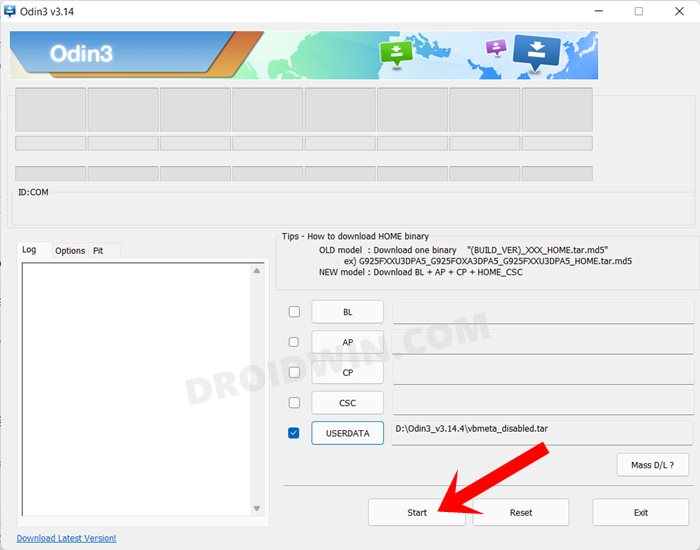
- Finally, click on the Start button. You shall now get a prompt on your device, stating that “You have to reset your device to factory settings”.
- So use the Volume Keys to select the reset option and hit the Power key to confirm it.
Your device will now undergo a reset and then, the AVB stands disabled. You may now proceed ahead to install the TWRP Recovery and the LineageOS 20 on Galaxy Tab S8/S8+/Ultra.
STEP 8: Install TWRP Recovery
- Download the TWRP Recovery for your device from here.
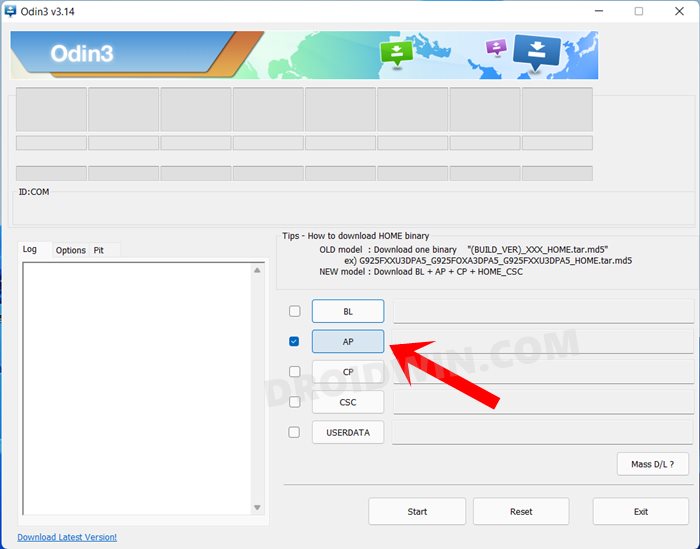
- Then launch the Odin Tool on your PC and click on the AP button.
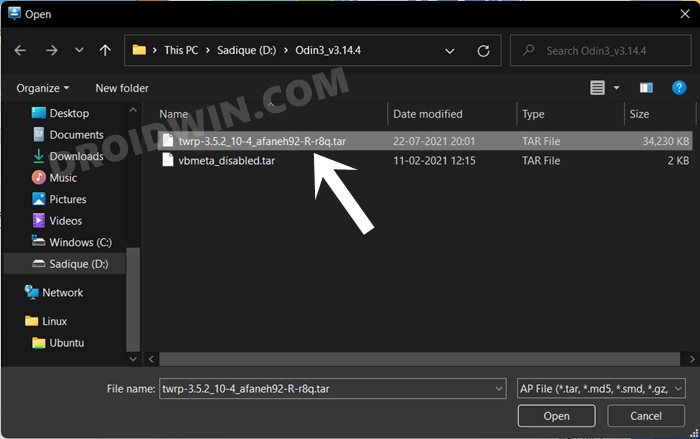
- Navigate to the downloaded TWRP.tar file, select it and click Open.
- Finally, hit the Start button and TWRP will be flashed onto your device.
- Now use the hardware key combinations to boot your device directly to TWRP.

STEP 9: Disable Encryption via TWRP
- Once your device boots to TWRP, go to Advanced > Terminal.
- Then type in the below command and hit Enter
multidisabler
- Your device will now resize the vendor and will ask you to run multidisabler again.
- So again execute the below command and hit Enter
multidisabler

STEP 10: Install LineageOS 20 on Galaxy Tab S8/S8+/Ultra
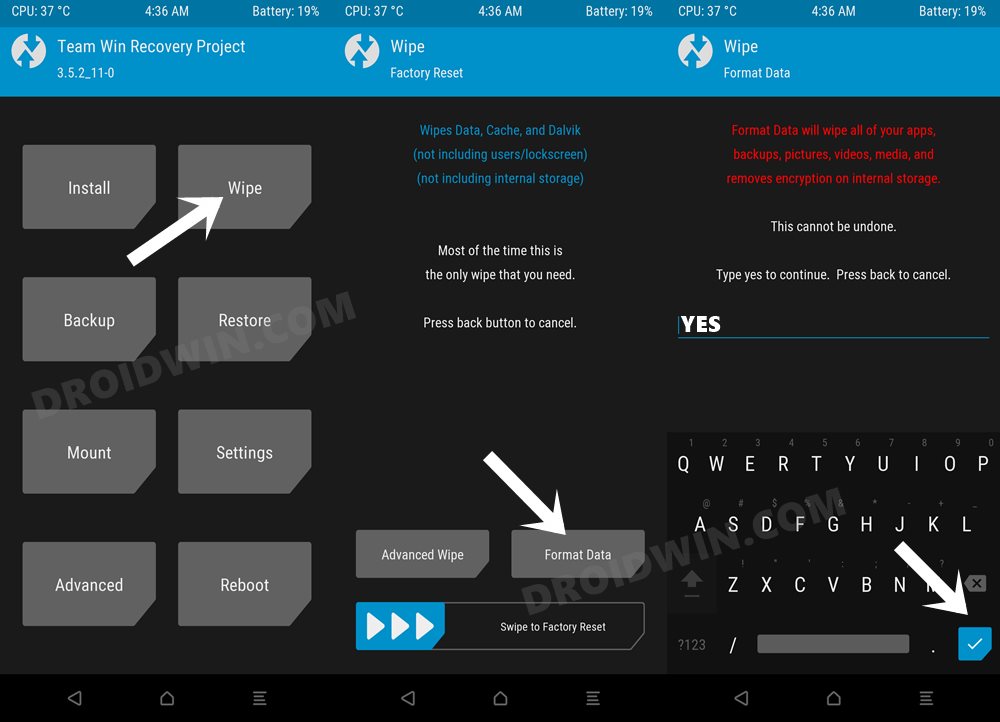
- From TWRP, go to Wipe > Format Data and type in YES in the space provided.
- Then hit the checkmark situated at the bottom right and wait for the wipe to complete.
- After that, transfer the GSI ZIP file to your device using ADB Sideload, Mount, or OTG.
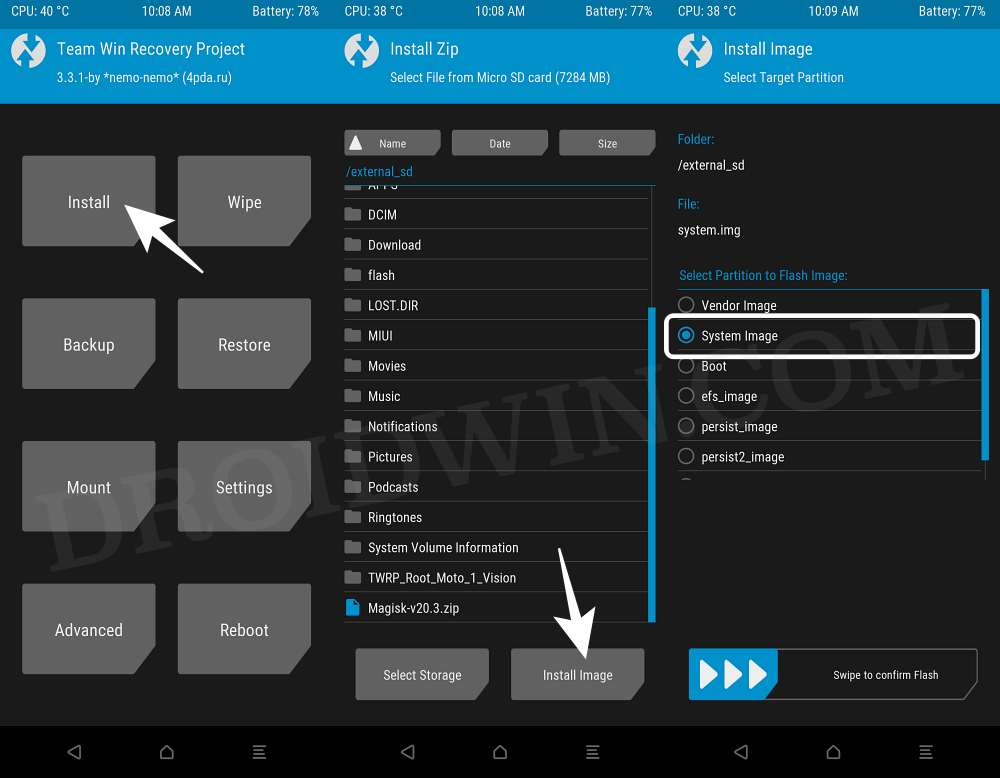
- Now tap on Install image and select the GSI IMG file.
- Then choose the system/super partition [if asked] and proceed ahead to flash it.
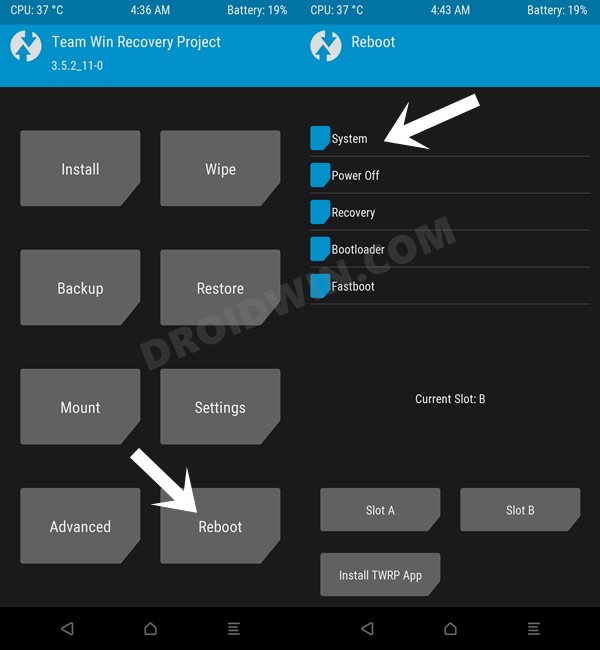
- Once flashed, go to Reboot and select System. Your device will now boot to the newly installed ROM.
That’s it. These were the steps to install the LineageOS 20 on Galaxy Tab S8/S8+/Ultra. If you have any queries concerning the aforementioned steps, do let us know in the comments. We will get back to you with a solution at the earliest.