In this guide, we will show you the steps to install the Kali Linux NetHunter ROM on your Redmi Note 10 Pro. This open-source mobile penetration testing platform beholds a slew of intriguing features up its sleeves and is literally one of the most powerful tools that a tech enthusiast could have in their arsenal, more so if they are into the networking domain.
Some of its noteworthy features include the likes of Vulnerability Analysis, Database Assessment, Password Attacks, Passwords Attacks, Wireless Attacks, Reverse Engineering, Snipping and Spoofing, and Exploitation Tools. With that said, installing the Kali Linux NetHunter ROM on an Android device is usually considered quite a challenging task, but not anymore, especially if you own a Redmi Note 10 Pro. Do on that note, let’s make you aware of the installation steps.
Table of Contents
Install Kali Linux NetHunter ROM on Redmi Note 10 Pro
The ROM has been built on top of PixelOS Android 13. So this way you’ll be getting dual benefits- a clean stock OS coupled with the Kali Linux networking tools. Moreover, he has also incorporated most of the modules into the ROM, including but not limited to wireless, Bluetooth, USB, and SDR.
Before starting, please take a backup of all the data on your device. Droidwin and its members wouldn’t be held responsible in case of a thermonuclear war, your alarm doesn’t wake you up, or if anything happens to your device and data by performing the below steps.
STEP 1: Install Android SDK

First and foremost, you will have to install the Android SDK Platform Tools on your PC. This is the official ADB and Fastboot binary provided by Google and is the only recommended one. So download it and then extract it to any convenient location on your PC. Doing so will give you the platform-tools folder, which will be used throughout this guide to install Kali Linux NetHunter on Redmi Note 10 Pro/Max.
STEP 2: Enable USB Debugging and OEM Unlocking
Next up, you will also have to enable USB Debugging and OEM Unlocking on your device. The former will make your device recognizable by the PC in ADB mode. This will then allow you to boot your device to Fastboot Mode. On the other hand, OEM Unlocking is required to carry out the bootloader unlocking.
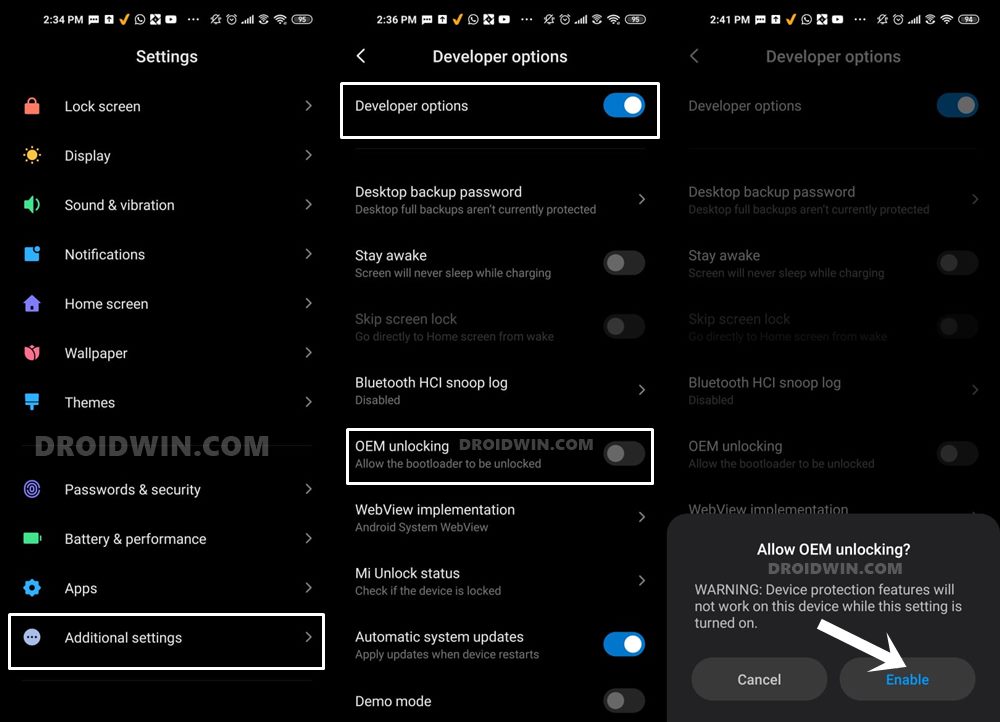
So head over to Settings > About Phone > Tap on Build Number 7 times > Go back to Settings > System > Advanced > Developer Options > Enable USB Debugging and OEM Unlocking.
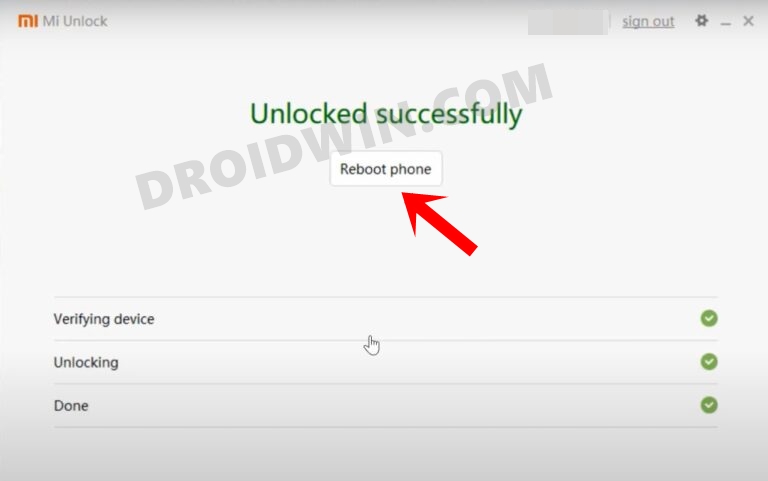
STEP 3: Unlock Bootloader on Redmi Note 10 Pro/Max
Next up, you will also have to unlock the device’s bootloader. Do keep in mind that doing so will wipe off all the data from your device and could nullify its warranty as well. So if that’s all well and good, then please refer to our detailed guide on How to Unlock Bootloader on any Xiaomi Device.
STEP 4: Flash Firmware
Next up, you’ll have to download the latest firmware corresponding to your region. You may get them from below. For flashing firmware, do check out our guide on How to Flash/Update Firmware on Redmi Note 10 Pro.
Redmi Note 10 Pro (sweet)
Redmi Note 10 Pro/Pro Max (sweetin)
STEP 5: Download PixelOS for Redmi Note 10 Pro/Max
- Grab hold of the PixelOS ROM and Magisk ZIP from below [Credit: XDA Member wvthoog].
PixelOS ROM: DOWNLOAD LINK
Latest Magisk ZIP: DOWNLOAD LINK
- Rename the ROM file to rom.zip and the Magisk file to magisk.zip.
- Then transfer both of them to the platform-tools folder on your PC.
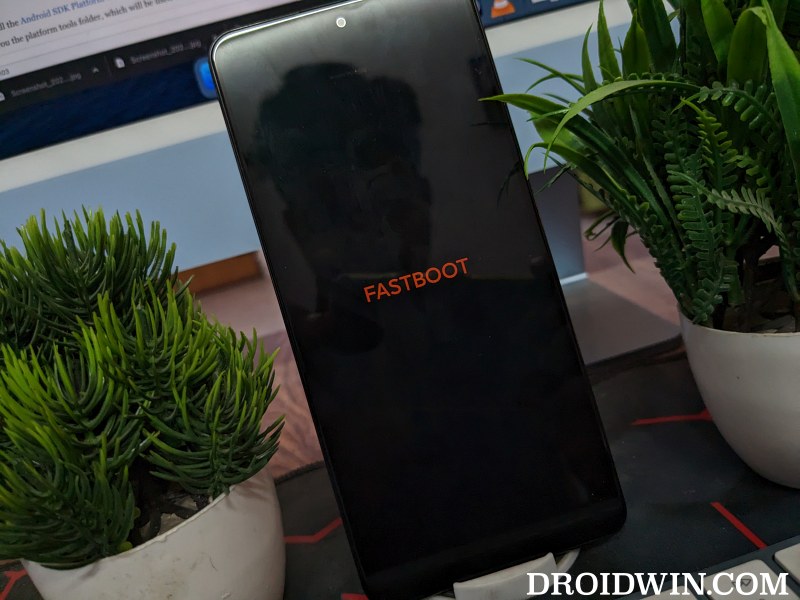
STEP 6: Boot to Fastboot Mode
- Connect your device to the PC via a USB cable. Make sure USB Debugging is enabled.
- Then head over to the platform-tools folder, type in CMD in the address bar, and hit Enter. This will launch the Command Prompt.
- After that, type in the following command in the CMD window to boot your device to Fastboot Mode
adb reboot bootloader

- To verify the Fastboot connection, type in the below command and you should get back the device ID.
fastboot devices
- If you don’t get any serial ID, then please install Fastboot Drivers.

STEP 7: Install and Boot to TWRP Recovery
Next up, you’ll have to install the OrangeFox Recovery on your device. For that, do check out our guide on How to Install TWRP Recovery on Redmi Note 10 Pro. Once you have flashed the OrangeFox Recovery, use the below command to boot to the recovery:
fastboot reboot recovery
STEP 8: Sideload PixelOS ROM and Magisk
 STEP 8: Sideload PixelOS ROM and Magisk
- From TWRP, go to Wipe > Format Data > Type in YES > hit Enter.
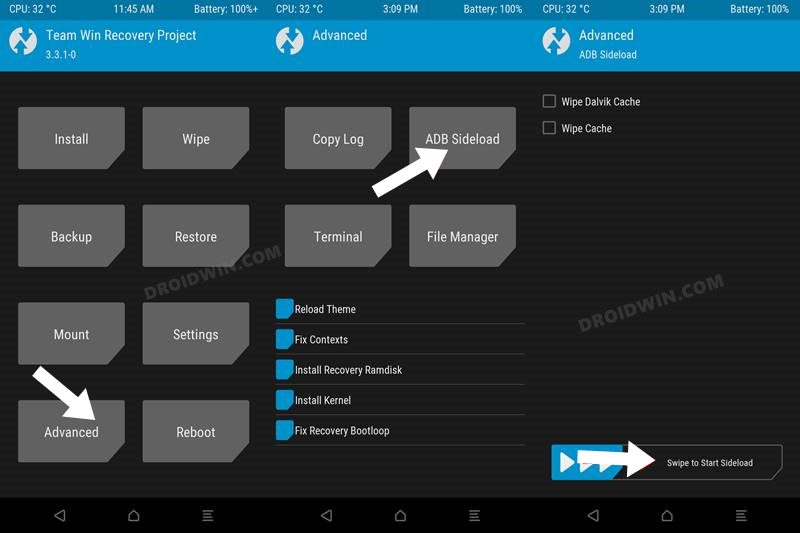
- Then go to Advanced > ADB Sideload > Swipe to Start Sideload.
- Now use the below command to sideload the PixelOS ROM:
adb sideload rom.zip
- Again go to Advanced > ADB Sideload > Swipe to Start Sideload.
- Now use the below command to sideload the Magisk ZIP:
adb sideload magisk.zip
- Finally, go to Reboot and select System. Your device will boot to the newly flashed OS.

STEP 9: Flash Kali NetHunter Image
- First off, download the Kali NetHunter Image from here.
- You should download the Generic arm64 Full ZIP version:
For example: nethunter-2023.2-generic-arm64-kalifs-full.zip
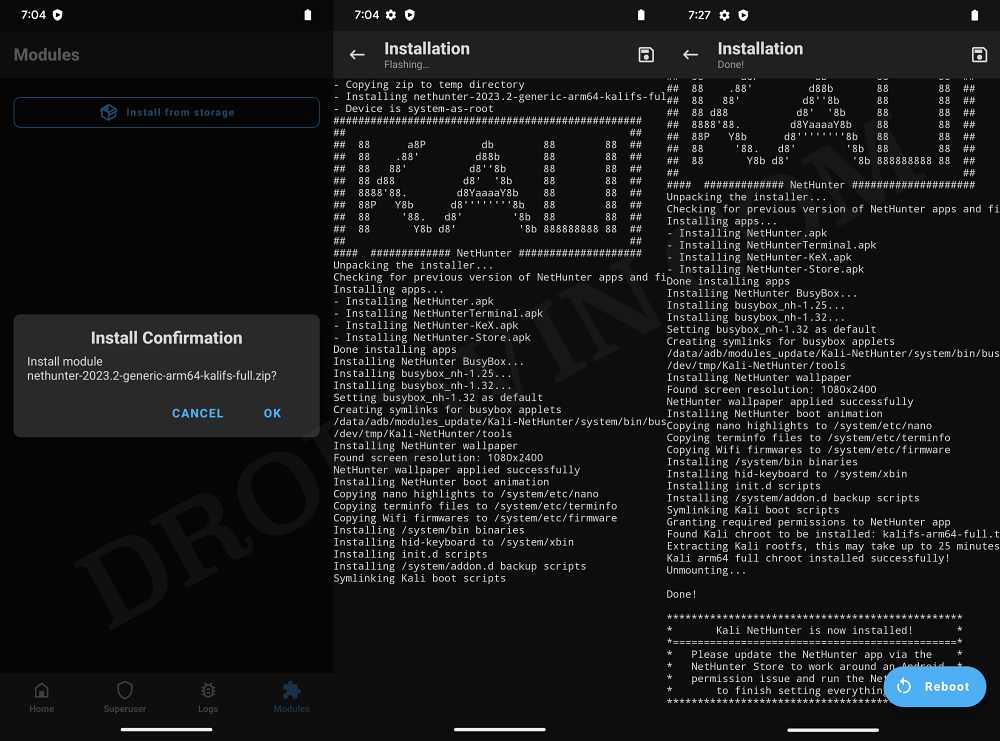
- Now launch Magisk > go to Modules > tap on Install from Storage.
- Then select the Nethunter module and install it [flashing could take up to 20 mins].
- Once done, hit Reboot. Your device will now reboot with the Nethunbter modules.
STEP 10: Set Up NetHunter and Get Going!
- Launch the NetHunter app and grant it the Magisk request.
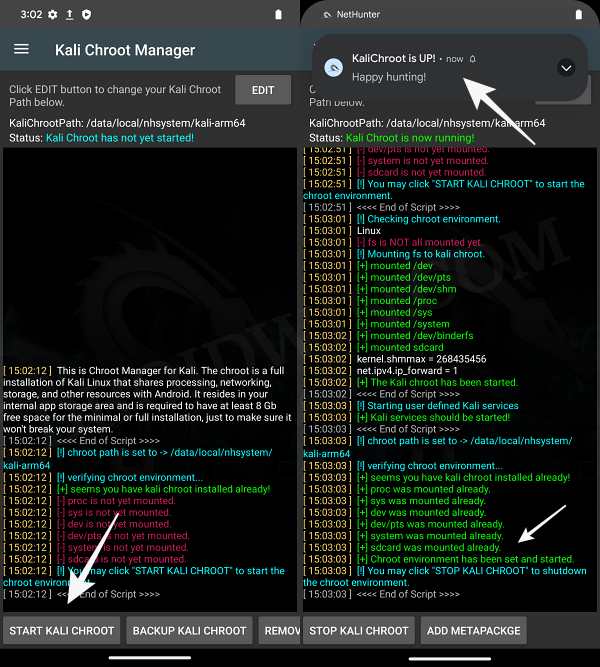
- Then tap on the hamburger menu and select Kali Chroot Manager.
- Now tap on Start Kali Chroot. Magisk might ask for root permission, grant it.
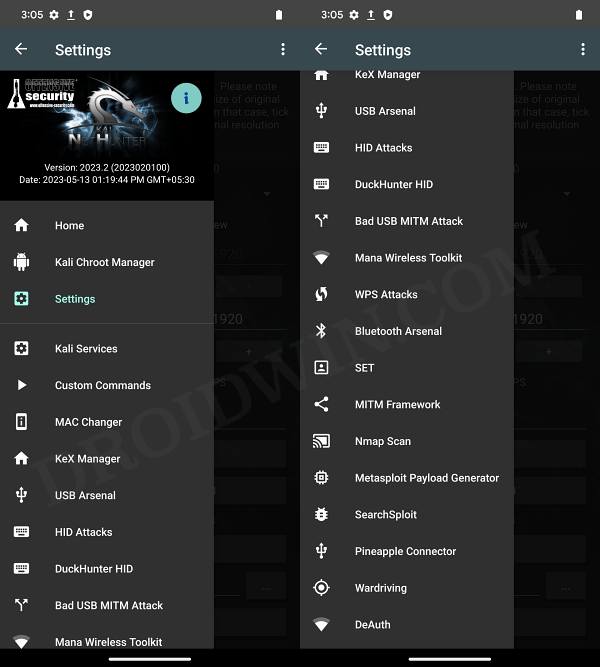
- Chroot has now started. Just tap on the hamburger menu once again and you can access all the tools.
- Once you are done carrying out the tweaks, make sure to stop Kali Chroot via the button at the bottom.
STEP 11: Access Kali NetHunter Modules
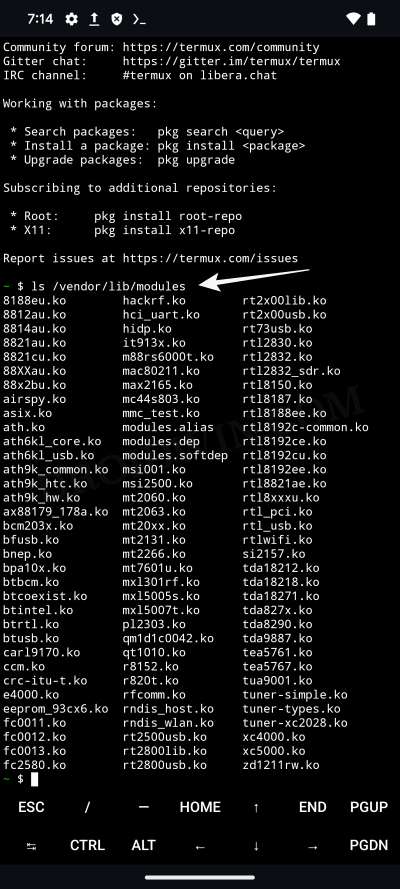
- All the modules are placed inside the /vendor/lib/modules directory.
- To use a module, you will need to install a terminal app like Termux.
- So launch Termux and type in the below command to list all the modules:
ls /vendor/lib/modules
- To load a particular module, such as MediaTek MT7601U, the command will be:
su -c modprobe -d /vendor/lib/modules mt7601u
- In a similar manner, you may load the rest of the modules as well.
So on that note, we round off this guide on how you could install the Kali Linux NetHunter ROM on your Redmi Note 10 Pro. If you have any queries concerning the aforementioned steps, do let us know in the comments. We will get back to you with a solution at the earliest.


Friend
Hi Sadique! Thanks great guide. everything works but there is a question on step 11. not loaded the modules into the kernel, the /vendor/lib/modules directory is missing. The question arose due to the fact that I can’t install and connect an external wifi adapter (mt7601u), I added Wireless firmware for Nethunter to magisk, but it didn’t work.
Idar
hello how to operate kex manager .vnc does not launch. thank you