In this guide, we will show you various methods to turn off the Time Machine on your macOS Ventura. The latest OS build from the Cupertino giant has bought in quite a few noteworthy changes, including the likes of Stage Manager and revamped System Settings. On the flip side, it has also removed some important functionalities as well, such as Network Location. And now there has been another unwanted entry to this list.
Starting with Ventura, Apple has removed the option to turn on/off the Time Machine directly from its Settings menu. While the reason for the same is anyone’s guess, however, this decision hasn’t caused much furor in the tech community. One major reason for the same is the fact that there exist quite a few other ways through which you get this job done. And in this guide, we will make you aware of all those approaches. So without further ado, let’s get started.
Table of Contents
How to Turn off Time Machine in macOS Ventura

Given here are three different methods to carry out the said task. Go through each one of them and then try out the one that is in sync with your requirement.
Via Options
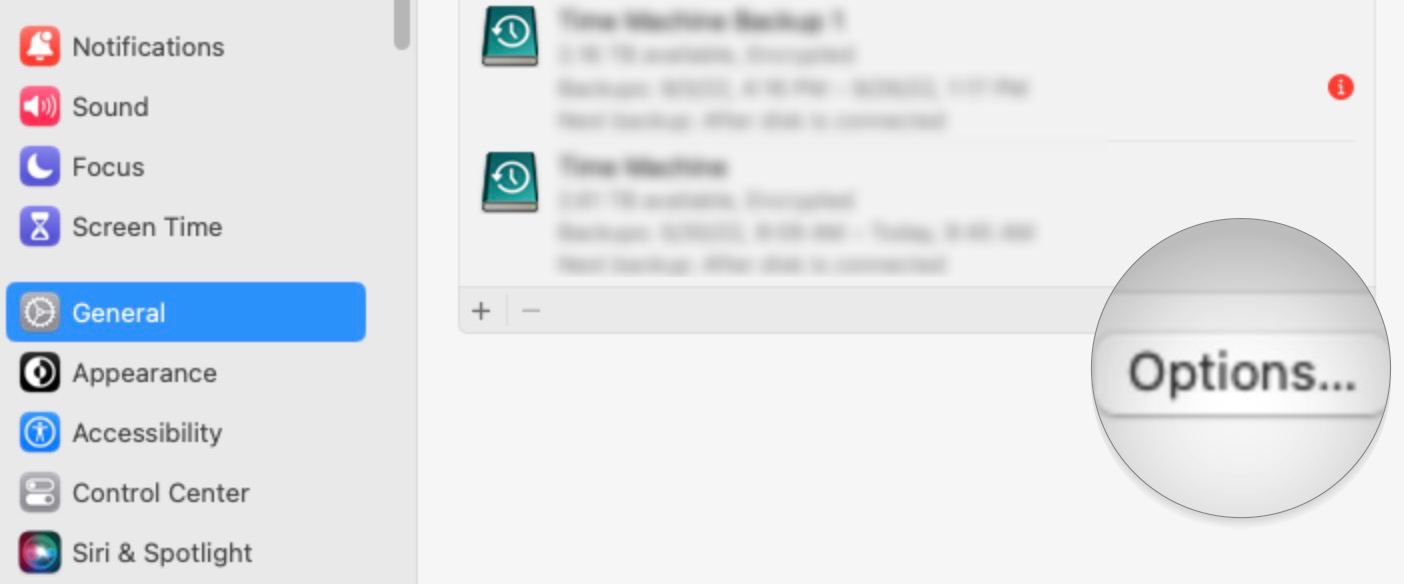
- Open System Settings and select General from the left-hand side.
- Then go to Time Machine and click on the Options button.

- Now change the Backup Interval to Manual. That’s it.
- This should “turn off” Time Machine on your macOS Ventura.
Via Control Center
- Open System Settings and select Control Center from the left-hand side.
- Then scroll to the bottom and click on the drop-down next to Time Machine.

- Now select Show in menu bar. Its icon will now appear at the top right of your screen.
- Click on it and you could easily turn off Time Machine on your macOS Ventura via it.
Using Terminal
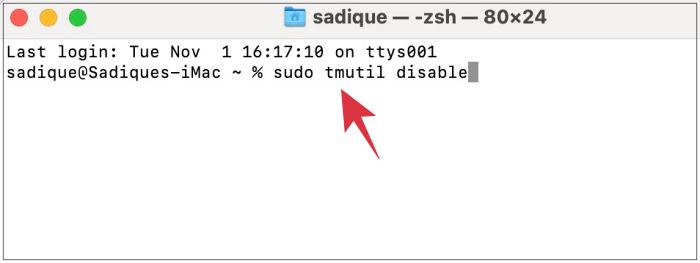
- Go to Launchpad > Others and open Terminal.
- Then type in the below command in the Terminal:
sudo tmutil disable
- Now type in your password and hit Enter. That’s it.
These were the three different methods that shall help you turn off the Time Machine on your macOS Ventura. If you have any queries concerning the aforementioned steps, do let us know in the comments. We will get back to you with a solution at the earliest.


