In this guide, we will show you the steps to bring back the missing Network Location feature in macOS Ventura. While the latest OS iteration of the OS brings in a slew of noteworthy features [Stage Manager, Continuity Camera, and System Preferences], on the flip side though it has also chopped off a few features as well. One among them was the Network Location feature.
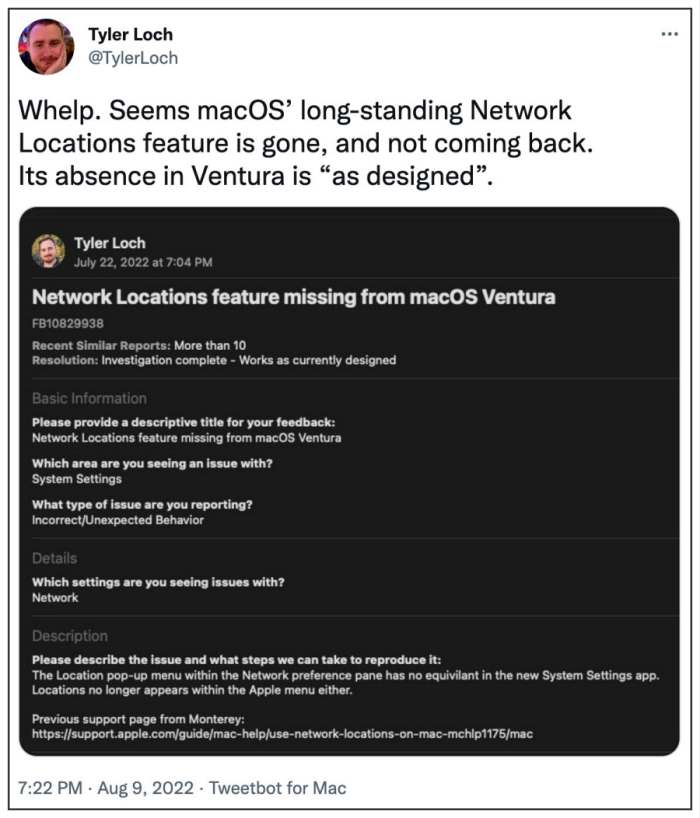
This allowed us to easily and quickly switch between different Wi-Fi, Ethernet, and other network settings, based on your current location. Let’s suppose your Mac has the network settings saved for both the WiFi and Ethernet, and you want it to connect to your WiFi first when you are at Home but to the Ethernet first when you’re in your office. In such scenarios, the Network Location feature would just work perfectly.
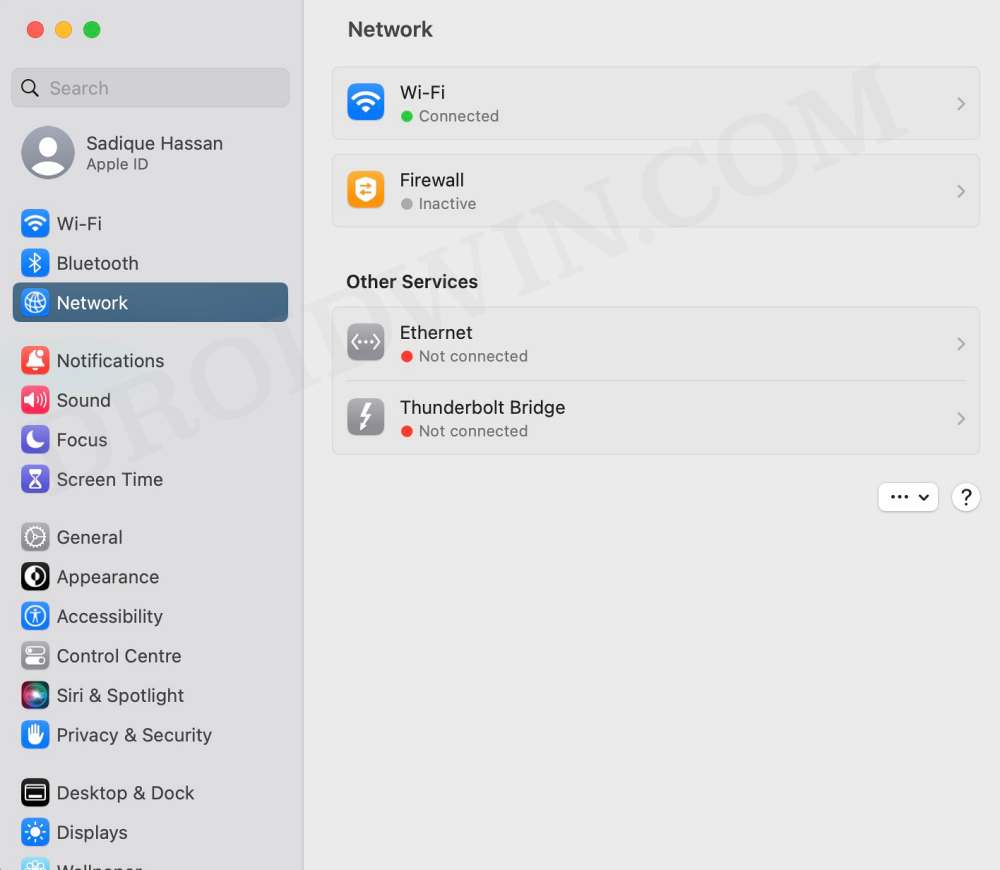
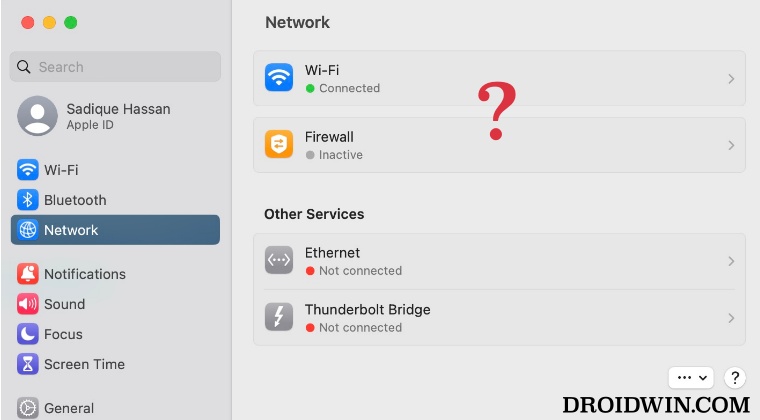
Granted you could also do so by adjusting your network configuration settings so that it automatically uses a different DNS server at home vs work, but many users preferred to have it the conventional way. But now that the Network Location feature is missing or rather removed from macOS Ventura, what else could be done? Well, you could easily bring back this feature in the latest OS build. And in this guide, we will show you how to do just that. Follow along.
Bring Back the missing Network Location in macOS Ventura
In order to carry out this task, you could use the below-listed commands. The first two commands will help you get the desired network information. The third command could be used to create a new location [make sure to populate it with the required information and change the <location name> accordingly]. Likewise, the fourth and fifth commands could be used to switch and delete these locations, if required. So open Terminal from Launchpad > Others and get started!
networksetup -getcurrentlocation
networksetup -listlocations
networksetup -createlocation <location name> [populate]
networksetup -deletelocation <location name>
networksetup -switchtolocation <location name>
That’s it. These were the steps to bring back the missing Network Location feature in macOS Ventura. If you have any queries concerning the aforementioned steps, do let us know in the comments. We will get back to you with a solution at the earliest.


Desmond Foulger
After much searching since the introduction of Ventura, along comes this awesome fix! Thanks so much.
Could you further expand it with an AppleScript or similar for each command with a Keyboard trigger for each. Example : shows a list of locations perhaps with a number (1), (2) etc. and then a command “Press to change location.
I use network locations constantly every day so I would gladly pay for an app that does this.
PS I note in Ventura, all my locations still show after updating to Ventura but I can’t obviously, create new ones.
On another computer where I migrated from a previous one, locations have disappeared.
Thank you again: Kind Regards – Desmond Foulger
Yves
Hi,
Thanks for this helpful article.
I’m so sad Apple decided to remove the network location feature. I rely on it heavily every time I change location (home, work, public space).
I created a new location using the command networksetup -createlocation in the Terminal. Every time I switch to this new location I created then the Wi-Fi is disabled and I can not figure out how to enable it because the Wi-Fi switch in the menu bar is gray and I can’t turn it on. Any idea on how to fix this?
Thank you for your help!
Yves
Sorry, my mistake. I forgot to add ‘populate’ at the end of the command line. Everything’s fine now. Thanks again for this helpful resource!
MOHD AKHIL
Hi
networksetup -createlocation [populate]
Could you please elaborate it.
How to configure proxy details for location ?
Thanks